• SUBSCRIBE TO SHIPS IN SCALE TODAY!

    The beloved Ships in Scale Magazine is back and charting a new course for 2026!
    Discover new skills, new techniques, and new inspirations in every issue.

    NOTE THAT OUR NEXT ISSUE WILL BE July/August 2026
  • Win a Free Custom Engraved Brass Coin!!!
    As a way to introduce our brass coins to the community, we will raffle off a free coin during the month of August. Follow link ABOVE for instructions for entering.

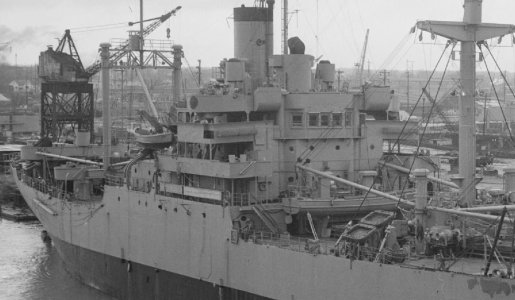
Liberty Ship

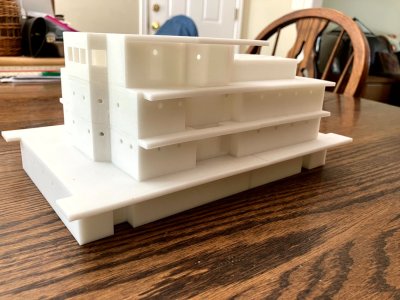
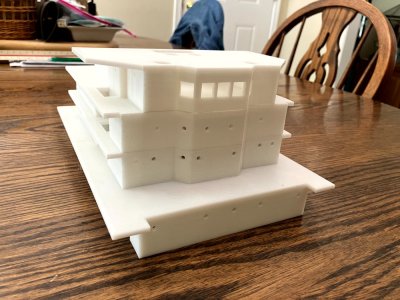
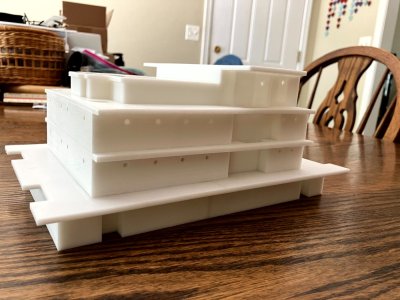
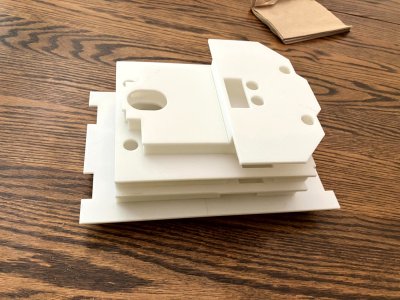
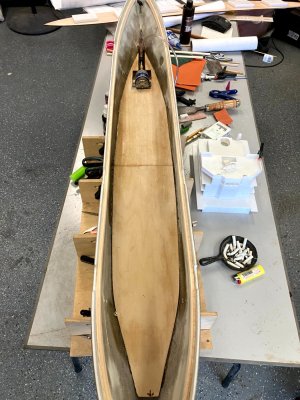
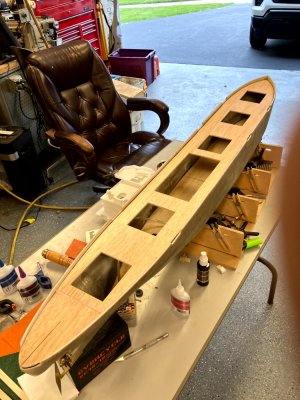
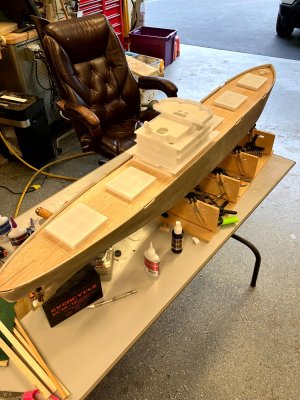
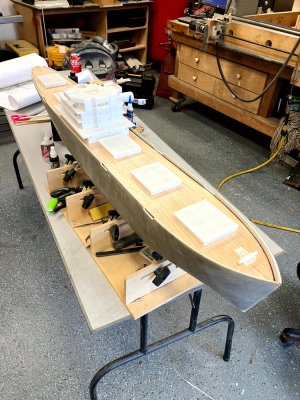
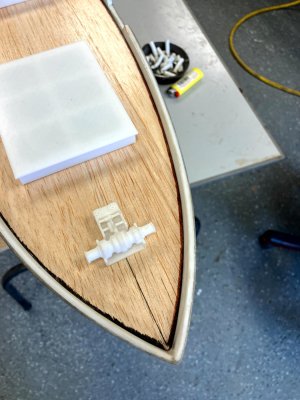
Started building the superstructure and needed to take some 'poetic license' to make it 3d printable. Still a ton of detail missing but it's looking good. I needed to print this and try it before I cut the deck for access holes (cargo hatches and main cabin access points) so I can layout the electronics.

IMG_1059.jpg

IMG_1060.jpg

IMG_1061.jpg

IMG_1062.jpg
 
What kind of airbrush paint are you all using? I wish I could get some automotive lacquer for airbrushing.
 
Sorry if this is an interruption, but I was wandering down the hall and happened to see your post about decking.
Seeing you choices I wonder if you have considered using tongue depressor Birch?
Then I remembered that I bought a pack of Coffee stirrer Birch from TEMU. I just took my mic to one
7" 7/32" x 3/64" (5.35mm x 1.25mm) 900 for ~$10 stateside warehouse item.

Then I remembered putting around the James River ghost fleet when I was a kid and checked to see if there was still a Liberty or Victory ship still there - it seems not, but they bragged about one of their alumni John W. Brown - now living in Baltimore harbor.
 
Started building the superstructure and needed to take some 'poetic license' to make it 3d printable. Still a ton of detail missing but it's looking good. I needed to print this and try it before I cut the deck for access holes (cargo hatches and main cabin access points) so I can layout the electronics.

View attachment 613059

View attachment 613060

View attachment 613061

View attachment 613062
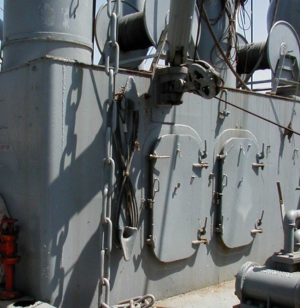
The depressions on the sides of the first level are ostensibly for doorways. I believe they should be in the front and back. The sides will not be visible or accessible to crewmembers because they will be covered by the hull. Also, how are the vertical parapets (not sure of the correct terminology for ships, bulkheads?) to be attached? They will surround much of the second, third, and fourth levels.
 
The depressions on the sides of the first level are ostensibly for doorways. I believe they should be in the front and back. The sides will not be visible or accessible to crewmembers because they will be covered by the hull. Also, how are the vertical parapets (not sure of the correct terminology for ships, bulkheads?) to be attached? They will surround much of the second, third, and fourth levels.
There were so many variations between the ELY and the American Scout that I couldn't makeup my mind. Due to the fact that this is going to be RC I need to remove the entire 'superstructure' in one piece. Any upright supports have been eliminated for that reason, hense 'poetic license'. You are correct that the depressions are doorways and there are none in the front and back, only on the sides.
 
Sorry if this is an interruption, but I was wandering down the hall and happened to see your post about decking.
Seeing you choices I wonder if you have considered using tongue depressor Birch?
Then I remembered that I bought a pack of Coffee stirrer Birch from TEMU. I just took my mic to one

7" 7/32" x 3/64" (5.35mm x 1.25mm) 900 for ~$10 stateside warehouse item.

Then I remembered putting around the James River ghost fleet when I was a kid and checked to see if there was still a Liberty or Victory ship still there - it seems not, but they bragged about one of their alumni John W. Brown - now living in Baltimore harbor.
Most of my ships have wood deck planking but the C2 had a steel deck therefore the deck is 3/16" balsa that will be sealed before painting. Although it is soft there will be plenty of below deck supports to prevent warping. Here is an example of one of my other ships with the wood decking.Emma 1.jpg
 
Started building the superstructure and needed to take some 'poetic license' to make it 3d printable. Still a ton of detail missing but it's looking good. I needed to print this and try it before I cut the deck for access holes (cargo hatches and main cabin access points) so I can layout the electronics.
The superstructure, with a protrusion at the front, began to resemble the classic C2, but not the "Liberty". Is it worth doing this?

1.jpg
 
I'm guessing because I'm not sure, a C2. A LOT of the detailing is from the American Scout by Sterling.
 
Two completely different ship designs. C-2 was designed by the US Maritime Commission (MARAD). They were considered “high end” ships with steam turbine power plants and, therefore, unsuitable for quick mass production.

The Liberty Ships were based on the British Economy Ship designed by a Northeastern English shipbuilder ( Thompson or DoxfordI don’t remember which) at the height of the great depression in part to keep their design staff busy. These were coal fired, powered by triple expansion engines and had a different hull form than the American designed C-2’s.

President Roosevelt overruled recommendations for a MARAD designed high end ship like a C-2 in favor of a quick and dirty” vessel that could be mass produced. It was not expected that these ships would last beyond the end of the war.

The New York based naval architecture firm Gibbs and Cox was hired to adapt the British Economy Ship for American construction work included:

Welded in lieu of riveted construction.

Redesign of the midships bridge/cabin structure from two separate ones to one.

Oil instead of coal firing.

So, other than the fact that they both floated the Liberty ship was not related to the C-2. Instead, it sounds like you’re building a “Generic American Built World War II Cargo Ship.

Roger
 
A ship is always recognizable by the silhouette of its above-water part. Check out the EC2 hull. Perhaps it could be converted to a C2 class by changing the hull ends. This would make it easier to rebuild it into the correct ship type.
I think interest in viewing this thread may decline if the ship model's historical accuracy isn't restored.
( I once managed to rebuild a long-hulled Essex from WW2 in this way, to build it under the SCB-125А program.)
 
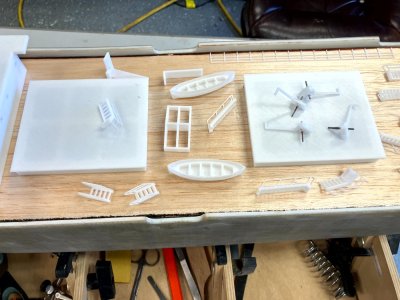
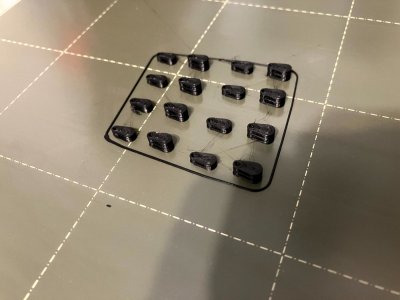
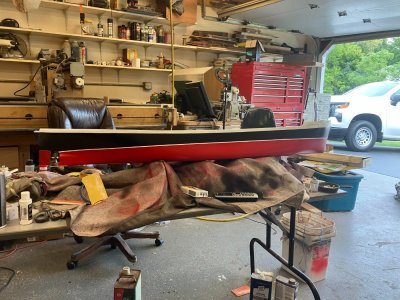
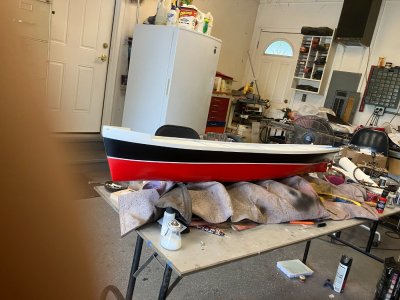
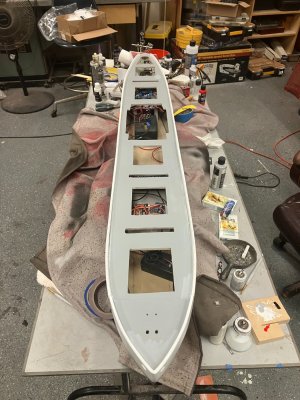
Making progress. Motor and inner deck are in and I finally cut the openings in the main deck. I've had to model everything to 3d print them. The stairs and blocks were a real pain that took multiple attempts to get it right.

IMG_1064.jpg

IMG_1065.jpg

IMG_1066.jpg

IMG_1067.jpg

IMG_1068.jpg

IMG_1069.jpg

IMG_1071.jpg
 
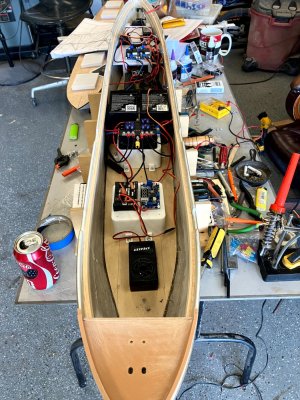
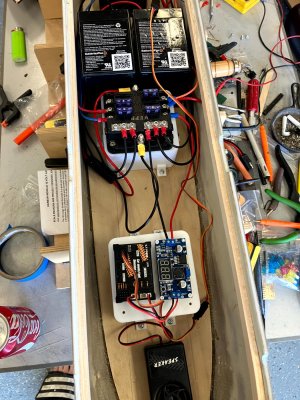
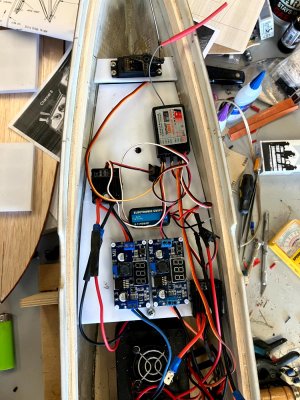
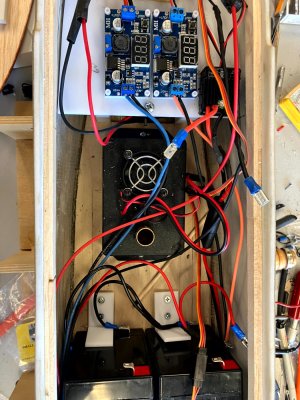
Been waiting on electronics to get here and I got everything but the LED's for lighting and running lights. I had purchased a DUMAS 6v motor from ebay after DUMAS shut it's doors. When I hooked it up it was dead. Seller never got back to me so I hooked up a volt meter to the contacts and didn't get an reading when I spun the shaft. (No continuity). Figured the brushed were screwed up so I opened the can and sure as sh*t, one of the brushes was bent to not touching the commutator. Straightened that out and got it running. All the electronics are working correctly so I can finish strapping the wire to clean it up. Next step it to mount the deck so I can get it ready for paint.

IMG_1076.jpg

IMG_1077.jpg

IMG_1078.jpg

IMG_1079.jpg
 
Back
Top