Two topics are addressed in this thread that I have some experience with and might be able to offer some useful insight
Topic One Scanners:
Watching the scanner advertisements, the vendors sure make it look easy. Just check out their ads on social media and the majority of the comments read like those in this thread. Easy? Nothing could be further from the truth - especially if you need to edit the mesh produced. (Usually called "point clouds" which I think is an apt description.) One example was shown on the first page of this thread containing bazillions of points. To reduce a mesh by combining adjacent polygons to something you could work with in your lifetime would take more time than it takes to learn how to model and build your own part!
Mesh reduction is very labor-intensive. CAD programs like Fusion, SolidWorks, ProE and the like don't care about polygons. You can change the mesh density within them, but you aren't going to get something that's easy to work with in it's simplest form (four-point polygons) if you ever need to manually edit the mesh.
CAD programs output their meshes in triangles, so the first step is to combine each pair of triangles into a quad (four-point) polygon. I've reduced some humongous CAD-generated meshes, but I had to convert them to STL files and reduce the mesh density before they were worth spending a week of eight-hour days reducing them to prevent my modeling program from choking to death. I specialize in tedious, but the workflow isn't for everyone. It took me several weeks to figure out how to reduce SolidWorks (our CAD program of choice at work) to be compatible with my modeling program which was used to turn the SolidWorks parts into photo-realistic objects. Nobody online seemed to know how to do it.
The first time I sat down with a mechanical design engineer to attempt a conversion, we took down the server at our facility and another connected server in another city. We thought it was just our computer that locked up at first. The chorus of "WTFs!!!!" a moment later that echoed down the halls convinced us otherwise. We never said a word and an onsite IT guru brought everything online after a major outage that lasted a weekend. We refined the procedure with smaller CAD files until we found an optimal solution. I'm sure he's recounting that story to this day at that place.
I've attached a file that explains how I converted it into my modeling program of choice, (Lightwave3D) but it should work with modeling programs like Blender, Maya, and others too.
I posted how to do this years ago in the main Lightwave forum that generated a lot of thanks and interest, but it assumed you're using SolidWorks. At the time, I imported the STLs exported by SolidWorks, into LW as OBJs without using any additional software. The workflow was a free solution that the community loved.
The conversion program mentioned below, is from Canada, which didn't meet the US-made software criteria for where I worked, but I have it installed on my personal computer for times I find a cool file built in say, Maya and need it converted without having to own a copy of Maya.
This is a paid program I've used for nearly twenty years called "PolyTrans64" which can turn nearly any CAD or modeling program output file into an STL. You can check their site and decide if it fits your needs and budget.
Okino PolyTrans and NuGraf, the primary 3D CAD, VR/AR and DCC/Animation conversion + optimization products on the market for well over 30 years. Hand's on, one-on-one, personal communications and customer driven '3D conversion solutions'.
www.okino.com
Topic Two: Printer Resolution
There is no comparison between FDM (filament) and Resin print resolution when detail counts. It just isn't physically possible because of hardware limitations.
The default hole diameter on most FDM printers extruding molten plastic filament is .4 mm. I've seen smaller, (and larger) but the smaller sizes clog so easily it's a PITA to deal with the aftermath.
Once a .4mm bead is laid on the warm build plate, the next layer has to be compressed against it. Let's say by half for a .2mm layer height (I'm being generous). The result is the visible layer lines common to nearly all FDM printers. Great for Braille, but not-so-good for modelers. When removing layer lines, you either get to spend an inordinate amount of time sanding, or covering the part with an epoxy-like finish and you'll still get to sand. Acetone vapor smoothing can be used, but have fun using it. That's just for the surface finish - FDM cannot get the resolution needed by most of the highly-detailed model parts used in this hobby unless you're printing at a scale so large, you actually could float in.
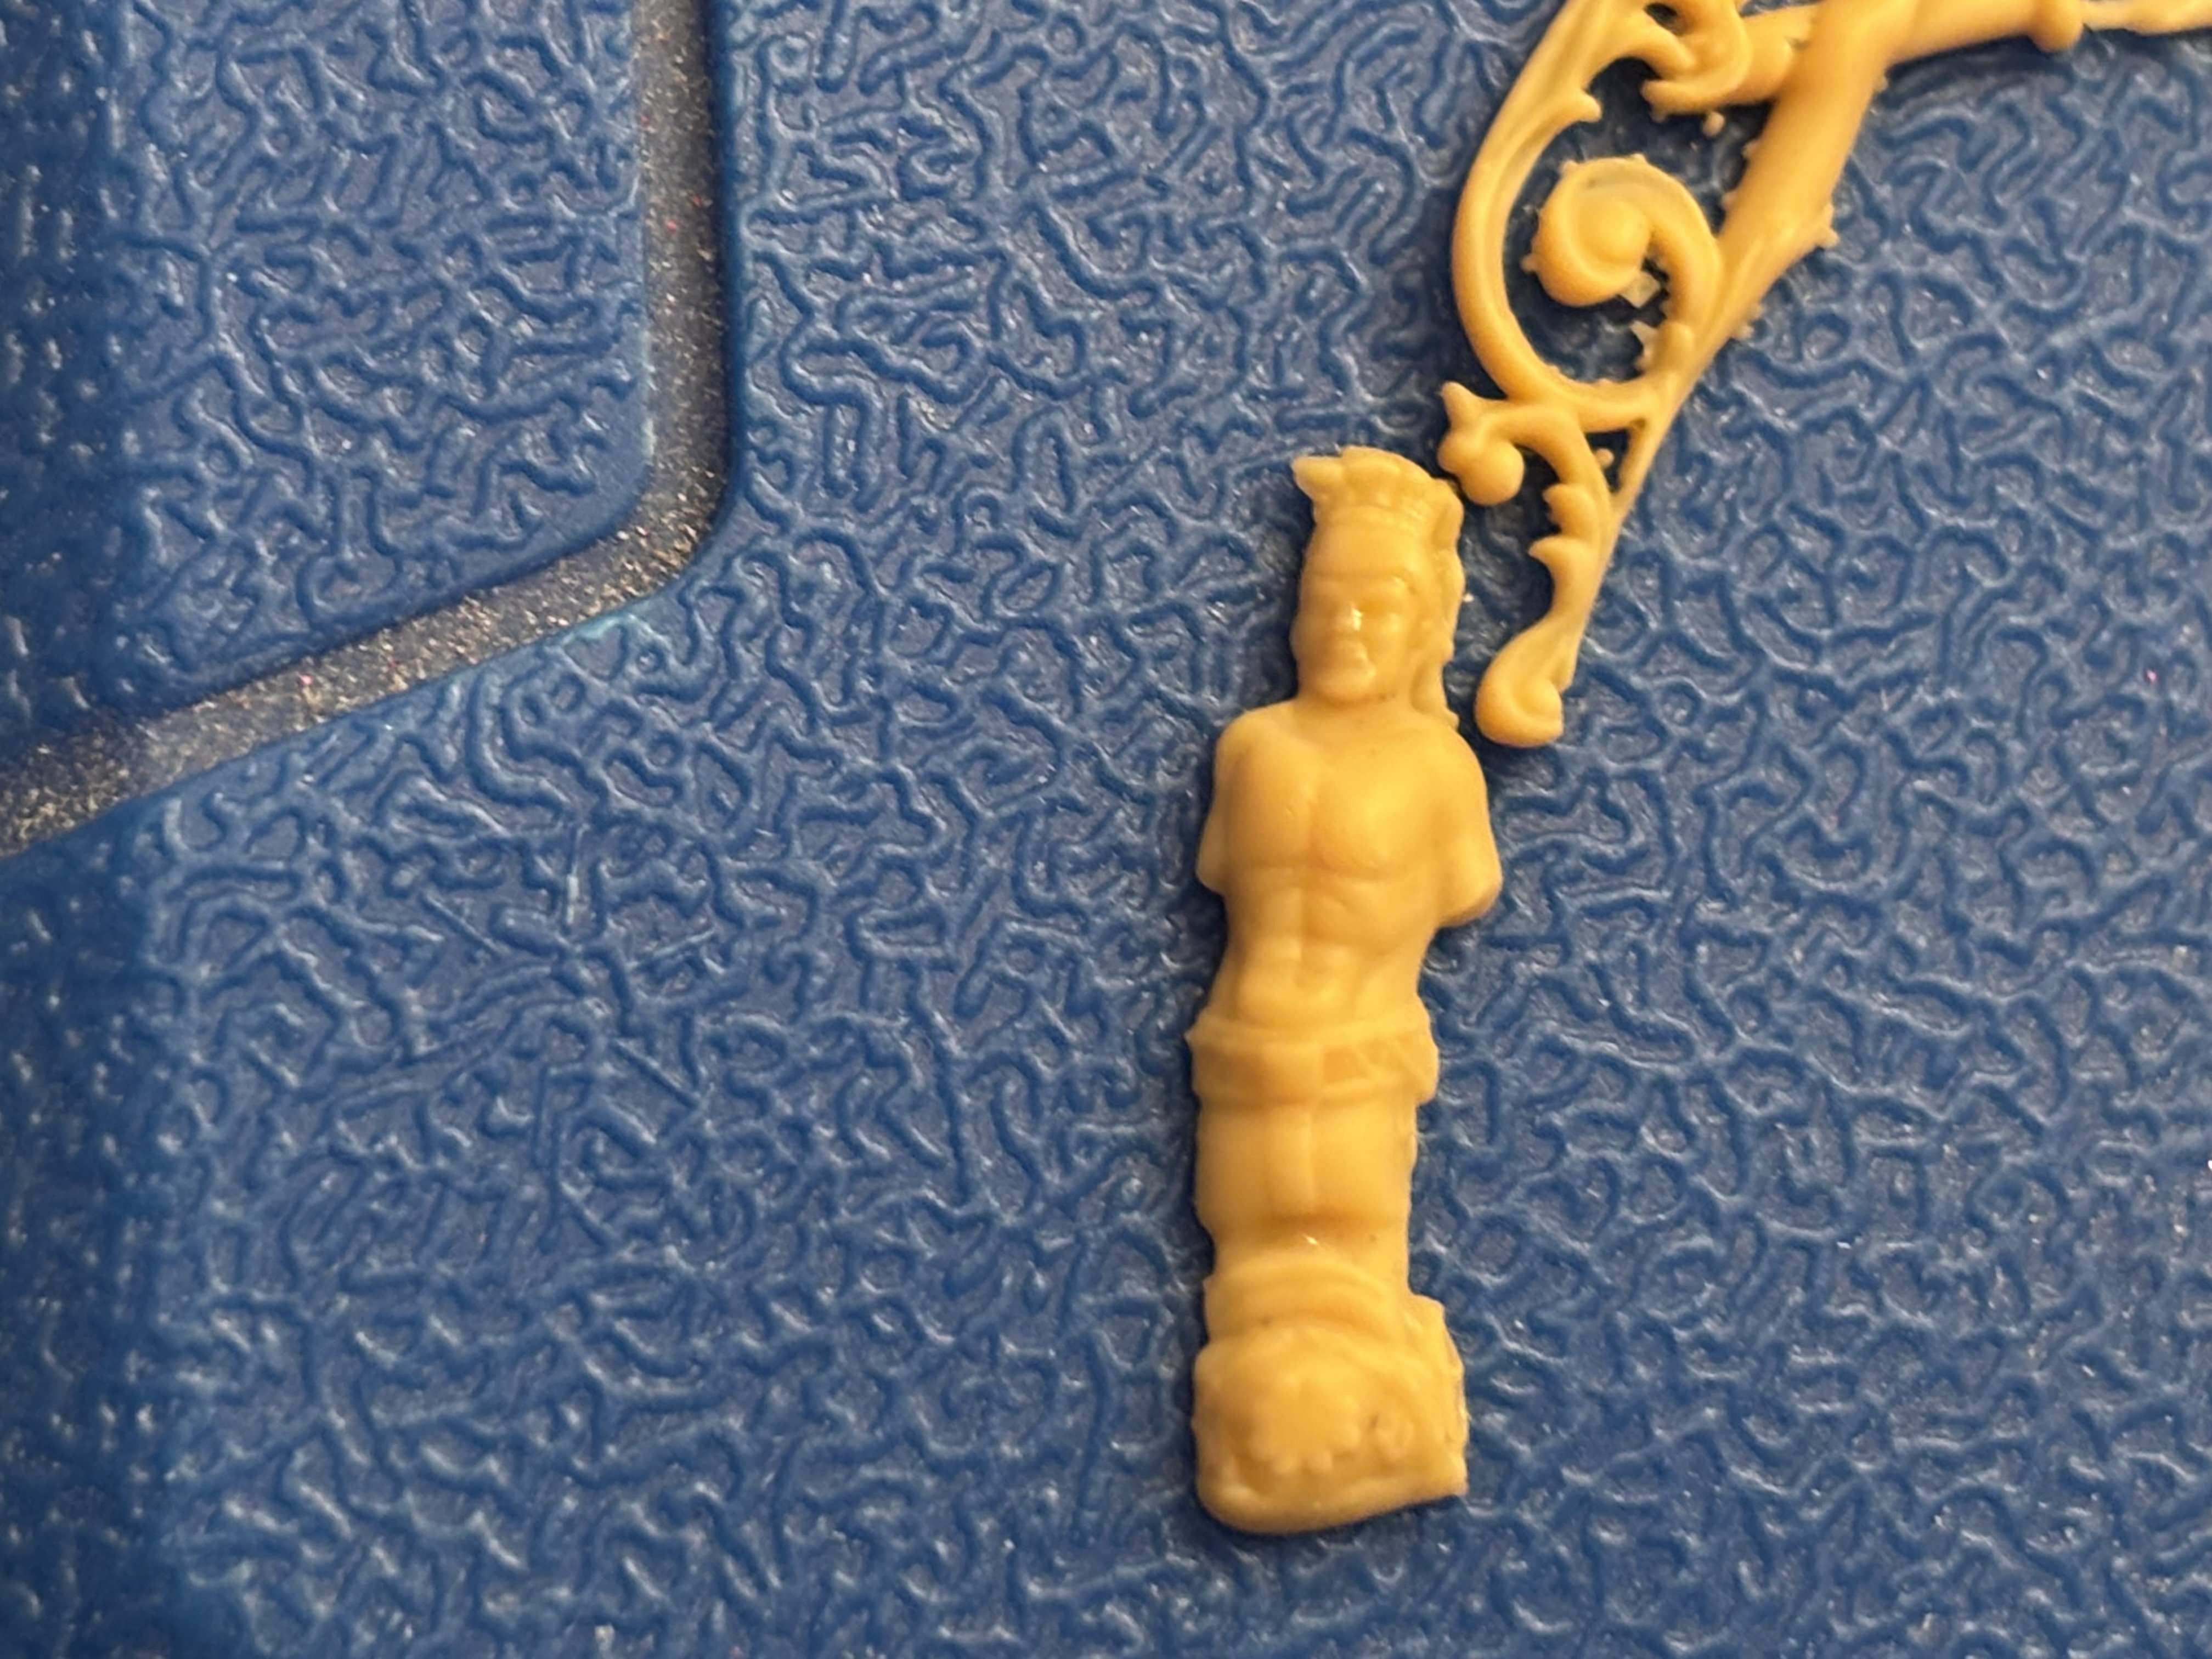
Resin printing can get down to 22 microns (and smaller.) That's .022mm compared to .4mm in the example cited above. After using several ridiculously expensive ($6K) high-maintenance, FDM Raise3D printers at work for years, I took a chance and splurged on a $500 Amazon deal for a 50-micron printer and UV cure station for home use.
My first submarine hull section was silky-smooth and needed just a few minutes of 600 grit sanding to be ready for priming. I took the parts to work and every engineer that saw them was blown away by the level of detail, which looked like it was machined or injection-molded. I hope they added a few resin printers after I retired.
FDM printing is great for fixtures and jigs though. FDM printing is fast, and it isn't very messy. (Unless there's an issue and the print head gets stuck in a molten blob of plastic, or it starts air-printing and you return to a printer full of spaghetti.) PLA is non-toxic but easily warps when heated. ABS requires a heated enclosure. I lost a completed PLA submarine hull when I painted it and left it to dry outside for ten minutes in the sun once after investing days sanding it and returned to find a banana. Lesson learned.
Resin printing is for detail work and smooth parts that require minimal sanding if they're modeled with small polygons. Large polygons can be seen as faceted surfaces and require sanding to remove, but nothing on the order of FDM prints.
Resin printing is messy as hell. I don't advise doing it in a room inside a house - especially if you're married. It needs a specially-prepared work area, with surfaces protected by silicon mats and smooth floors like concrete. The fumes can be a little toxic and require a ventilated space that is climate-controlled. The temp band is usually centered around 72 degrees. A heated enclosure can be used but the thermostat's duty cycle is important to prevent banding on the model.
Resin is slightly corrosive, so rubber gloves and eye protection are required until it is cleaned with IPA, rinsed with water, and cured with UV light. If any resin gets on your gloves, it will etch the plastic covers that most printers use. Get a drop flicked in an eye and you've got serious problems - especially if it cures even a little bit under ambient light. Spill resin, (and you will) and you'll thank the day you put a paper towel holder within easy reach.
Before every cleaning cycle, I cut paper towels into different sizes for the amount of resin I need to clean off my tools and build plate.
Routine parts cleaning is messy. The outside of the part is covered with liquid resin. The only cured part is the space between the layers. Some folks like to submerge their printed parts for a few minutes in 91 IPA in a cleaning station that may have an agitator. (IPA dissolves resin and will ruin your detail if you forget about it while it's submerged.)
Then you have to place the part in water to rinse off the remaining resin and dry the part with compressed air. If you cure it with water on the part, it leaves a white film you have to clean off.
After cleaning, you have to deal with the waste.
I started out submerging my parts in IPA which got expensive. On a large format machine, you can easily use a gallon and it is less effective with each cleaning cycle.
I read a tip online about spraying a finished part with IPA in a spray bottle with the part in a plastic tub along with an inexpensive foam brush and reduced my IPA use by 95%.
The brushes last a couple of cleaning cycles and get tossed in the trash, along with the contents of the plastic tub, which is usually just a couple of tablespoons of IPA. It evaporates but still stinks up the garage, so I place the plastic-lined trash can outside when necessary. The used water goes in a plastic jug and any resin settles on the bottom where it's cured by sunlight. I pour out the water and toss the jug.
Both of the plastic tubs I use, (for resin cleaning and water rinsing) get wiped down with clean paper towels sprayed with IPA after each use. The "clean" tub (for water rinsing) will get covered with sticky, uncured resin residue.
The first couple of times I cleaned my resin parts, (after four years of FDM printing at work) I was depressed. Cleaning parts took so much longer than pulling off a bunch of plastic filament supports with my bare hands when FDM printing. I got used to it and could do it faster, but it wasn't until I quit submerging my parts that it became bearable, and less expensive. Now, it's a 20-minute process and much more tolerable. Having a dedicated, protected spot in the garage to clean parts with everything set up beforehand is a big timesaver.
The incredible detail and minimal sanding (if required) is worth the extra time and effort to print with resin.
Support removal is easy. Once I soak the part in hot water, (to help release the part from the build plate, with the aid of a thin, metal scraper) the supports soften. I either pull them off with my gloved hands or cut them off (if it's a super-delicate part) with nippers after curing.) The supports go into the trash containing paper towels and IPA.
The learning curve for resin print slicing is steeper than FDM. One of my favorite FDM printing slicers has always been ideaMaker - free from Raise3D. The same screen graphics are replicated on their (large) 3D printers.
I use ChituBox Pro for slicing STLs when resin printing.
I hope this doesn't put anyone off regarding resin printing, but if you're on the fence, you need to know these things before pulling the trigger and/or getting divorced. My brother-in-law bought a resin printing setup for his gaming miniatures without knowing any of this, and thought he was going to do this indoors on his card table in a carpeted room. I brought him to his senses, and he got a refund without opening the boxes.
If you love the detail of resin printing but hate the hassle, your best bet is to have someone else do it for you.
For the conversion procedure below, substitute "Lightwave" for whatever modeling program you're using if converting to an editable mesh.
I hope this helps!
CC
Questions? Fire away.
CC


") . I prefer the Pentel, partly because I was able to buy spare felt nibs, which allows me to shape and/or feather a nib for specific purposes.
. I prefer the Pentel, partly because I was able to buy spare felt nibs, which allows me to shape and/or feather a nib for specific purposes.


