More progress. After sanding the hull, made from cardboard foam and filled with wood plaster (balsa filling was a total failure), the hull was covered with sapelly wood that I kept from an old kit. The most difficult parts, obviously, were the bow and stern. As I don´t need a perfect cover, like in a sail ship, I added more wood plaster were needed, and sanded the whole thing again, adding finally the keel. As I don´t have references, I think 3 mm wide is more or less right for the keel. The rudder is made from 0,5mm plasticard, and, obviously, the propeller is an aftermarket piece.
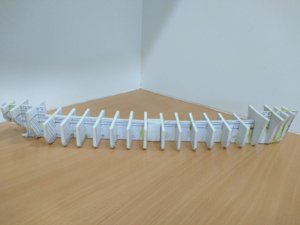
The decks are from Evergreen V shaped sheets, 1mm spaced. Finally, the stringers are more Evergreen, this time 0´25mm thick. The bulwarks, Evergreen 0,50mm thick. After studyng photos, it seems that the freeing ports in the bulwarks were removed, so I cut out the needed holes in place.
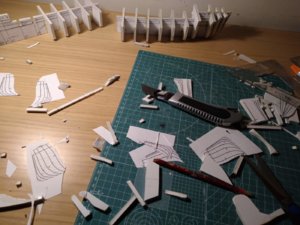
Now is time to complete stringers in the stern, sand again the whole thing and practice several portholes and doors in the hull, and place anchors after making the needed holes in the hull.
Not a perfect work, but good enough for me, as I have never scratchbuilt a model.


 sklep.gpm.pl


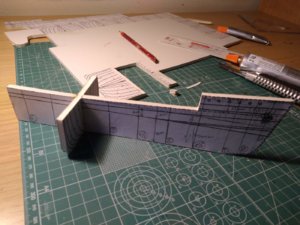
 None of the various forums show much interest in commercial ships, but I am suprised that my Facebook group now has more than 3,000 members, where the most interest is in steam or motor ships. The Semiramis build (above) is fantastic. The plan referred to is called the "lines" plan, the cross section part is the "body" plan. The official name for the ribs is "frames," but so far, I can't fault the build at all, and look forward to seeing it progress.


")


