• Ships of Scale has incorportated an extra level of security when you log In. Please follow on-screen prompts to acknowledge that you are not a robot via a "Check Box" or a "Pictorial Check Box Puzzle". This is needed due to higher level of AI Activity Security.
  • SUBSCRIBE TO SHIPS IN SCALE TODAY!

    The beloved Ships in Scale Magazine is back and charting a new course for 2026!
    Discover new skills, new techniques, and new inspirations in every issue.

    NOTE THAT OUR NEXT ISSUE WILL BE July/August 2026
  • Win a Free Custom Engraved Brass Coin!!!
    As a way to introduce our brass coins to the community, we will raffle off a free coin during the month of August. Follow link ABOVE for instructions for entering.

Tutorial Making 1:90 scale sails for HMS Victory model. One more way to do it.

  • Thread starter Thread starter Y.T.
  • Start date Start date
  • Watchers Watchers 3
Joined
Sep 3, 2018
Messages
2,222
Points
538

Location
Toronto, Canada
I make this tutorial mostly to document my research in this matter and to remember the next time I make sails, what techniques I used in the past. This thread will be written in the mode "to be continued" as I am going thru the process as I speak. So please do not get upset that tutorial is not getting completed immediately.
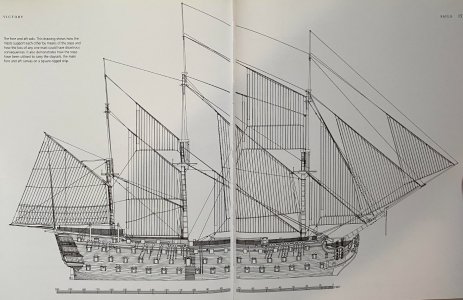
 
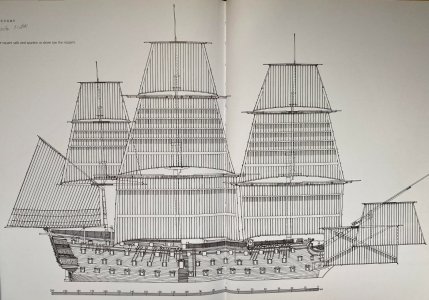
First thing to do is to find sails drawings somewhere. I use drawings from the book HMS Victory, her construction et cetera by McGowan. Here are the drawings attached. The book has a scale ribbon so one can take a ruler and measure how many millimeters are in 100 feet of scale ribbon is on the drawing. It was 127 mm for 100 feet measured off the book drawing. 100 feet = 25.4 * 12 feet = 30,480 mm. Divide this by 127. This gives us a scale of 1:240 drawing.

Now measuring the sails dimensions off the drawing with the ruler in millimeters I find first the real sail size in millimeters and then divide this value by 90 which gives me a dimension in millimeters for any dimension of the sail.

To be continued.

02.jpg

01.jpg
 
Example of above drawing sail dimension finding would be as follows:

You measure that one side of sail is 100 mm. Multiply this by drawing scale 240. This gives you actual size of that sail dimension as 100 x 240 = 24,000 mm. What is your model scale? In my case it is 1 : 90. Divide 24,000 mm by 90. This means that the dimension of sail you measures is 266.7 mm. Use this measurement to draw the sail you want to make.
 
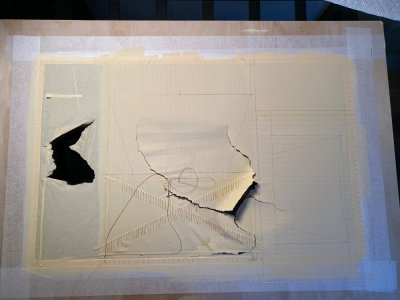
Next thing is a material of the sail. I switched to thin cotton batiste fabric quickly after my experiments with Silkspan paper went bad. Silkspan may provide some advantages when building furled sails but its fragility is so obvious when one tries making a "hanging in calm" sails. I spent many hours of building a sail from Silkspan. All went very well till the instance when my sail fixture fell accidentally on the floor and got totally destroyed. This sail cannot be repaired. I had to put it thru the garbage bin. Since then I said to myself - never again to Silkspan. I do not build what I cannot repair. See attached pictures. From this - to this.

silkspan 3.jpeg

silkspan 2.jpeg

silkspan 1.jpeg
 
Now as we have a thin cotton batiste purchased it must be painted to resemble the real canvas. I use simple concentrated tea to paint my cotton batiste. What I did is I took 1.5 liters of water and made a tea from 6 Tetley tea bags. I boiled this for a few minutes and let it cool down for an hour or so, so it is close to a room temperature.

06.jpg
 
Last edited:
Then I took my batiste and made it wet completely in the water under the water tap. This is important as if you put it directly into a tea solution the canvass may get unevenly painted.

Then I put it in the tea solution. I kept it there for about 10 minutes. After this I washed it the container of clean water. Squeezed the water out with my hands and dried it on the string.
 
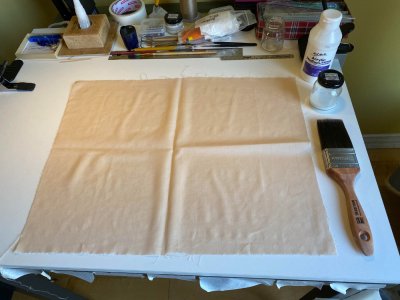
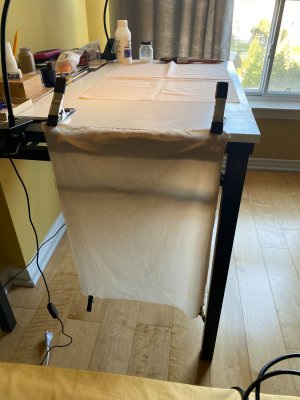
After canvass dried out we have to impregnate it with Acrylic medium. The medium is diluted in water at 50 - 50 ratio. This is done so wiggly batiste fabric becomes manageable for making sails. Canvass is placed on some plastic flat surface. Then using a brush the Acrylic medium diluted to 50 - 50 ratio is applied onto it till it is completely wet. Then it is hanged vertically as shown on the picture to dry out. You may help it with hair drying fan to dry it out. Acrylic medium bottle and the brush I used are shown on the picture. Canvass is hanged to dry with help of anvil clamps. The heavier clamps are on top and the lighter ones are at the bottom.

04.jpg

05.jpg
 
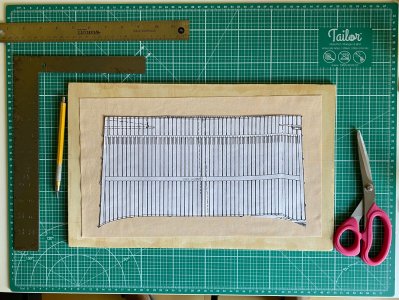
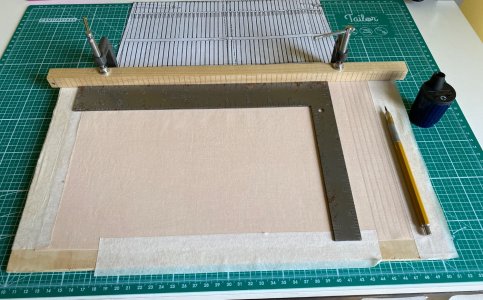
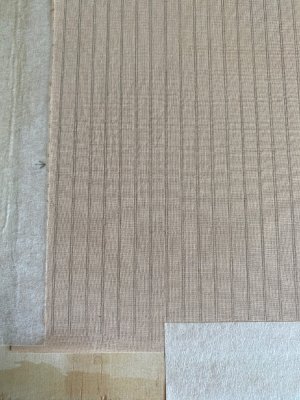
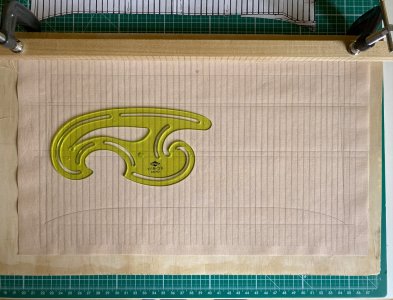
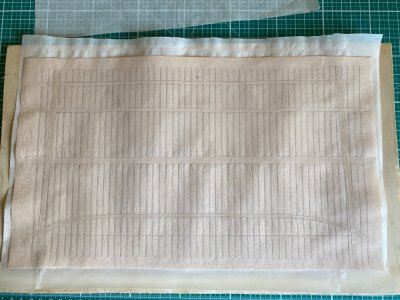
After fabric dries I iron it. Then I take a piece of 1/4” plywood 10 x 16 inch. I cut fabric about 3/4 to 1” short around the plywood edges. I tape it on the edges with masking tape. This is done so the fabric doesn’t wiggle when I draw that parallel lines on it with 5H pencil. These lines are imitating the seams between pieces of canvas. I do this on both sides of sail.
Sails were made of 2 feet wide strips of canvas sawn on edges. After folding and sewing the strips together there was about 21 inches between the parallel seams.
For drawing the lines with proper spacing, I took a piece of straight wooden dowel and marked it up with checkmarks as shown on attached picture.
I must sharpen a pencil once in a while. I found no better sharpener than the one you can see on the right.

IMG_1545.jpeg

IMG_1546.jpeg

IMG_1547.jpeg
 
Last edited:
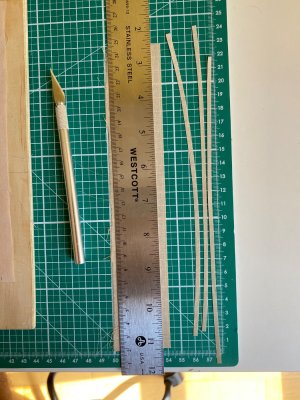
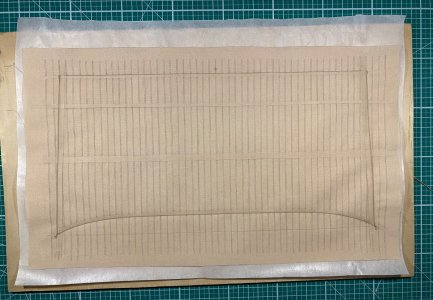
Reinforcement strips are cut off with Xacto knife from scrap pieces of fabric we cut off previously. Using a fresh blade is mandatory to ensure the strips are cut straight. Also the ruler must press firmly against the fabric. Avoid rulers with some air gap at cutting edge. Remember how we impregnated the fabric with Acrylic medium solution. If we did not, cutting straight strips out would not be possible.

IMG_1544.jpeg
 
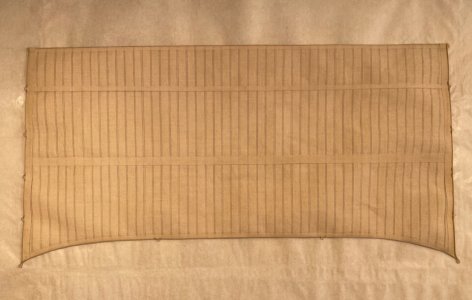
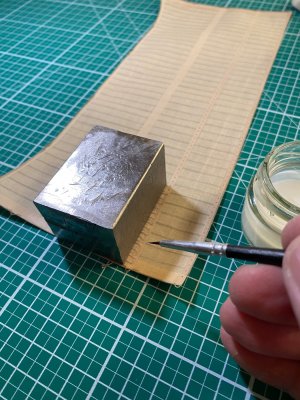
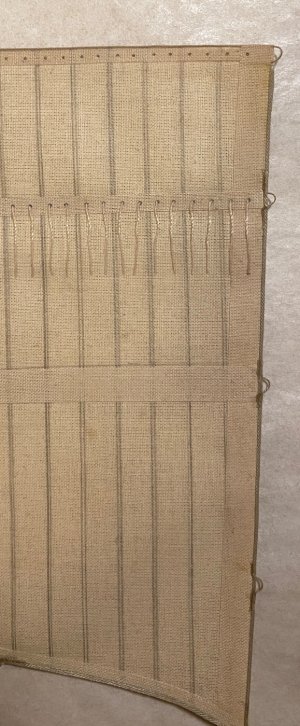
Now as reinforcement strips are precut for the width and length, we are starting to glue them on with undiluted acrylic medium.
Before glueing some cooking parchment sheet is placed under the fabric.
The glueing medium is applied with small brush only on the sale itself, not on this trip.
As the strip is positioned and pressed on with the finger, the process is finished by applying the heat with small travelling iron. Ironing is done through another piece of parchment. Iron is set to some middle temperature setting. Something between the wool and synthetics.
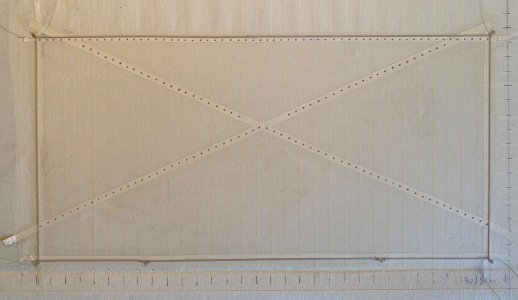
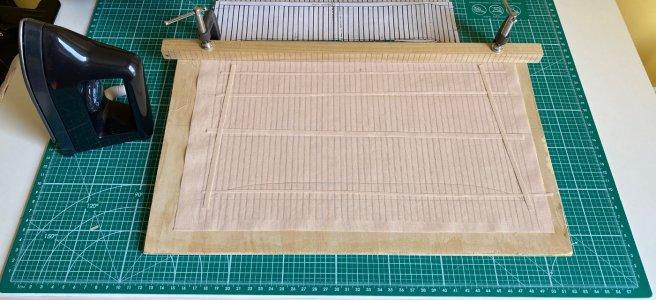
Picture below is before the strips are glued on.
IMG_1549.jpeg
 
Thanks for putting this together and all the effort that goes with documentation.

There is an old saying that goes something like "I can do it myself in an hour, I can show you how to do it in two hours"
 
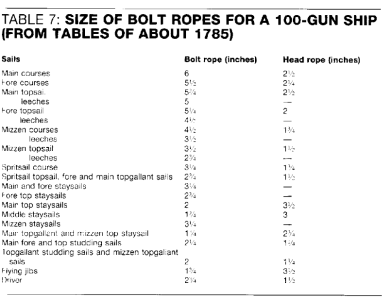
I was surprised to learn that sail edge ropes were not of same size on all 4 edges. The head rope on square sails, the one on top edge was about half circumference of rope on bottom and sides. Here is a rope size table.

1786972343871.png
 
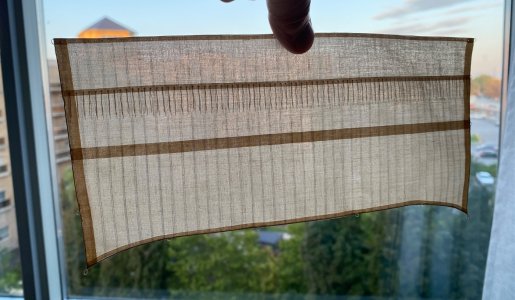
Now the rope is on. it is glued on with undiluted acrylic medium. At the corners of the sail, the rope connection is reinforced with some very small amount of CA glue. When corners are done, the rest is being glued on with the acrylic medium. Acrylic medium. I applied a few times not trying to save it at all. Doesn’t matter how much you apply. It’s still dries out and becomes invisible but this ensures stronger connection.

IMG_1552.jpeg
 
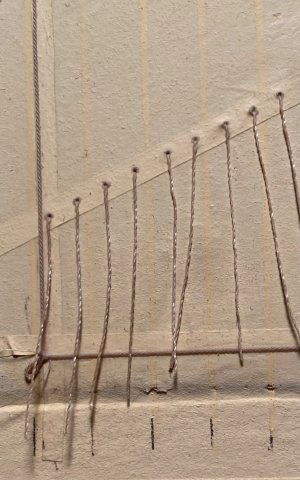
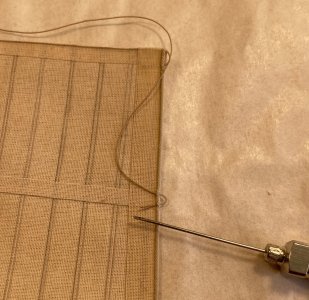
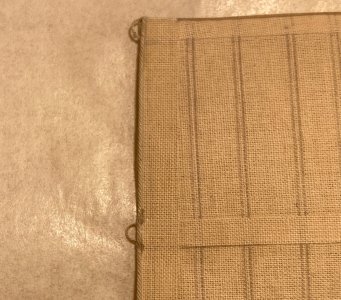
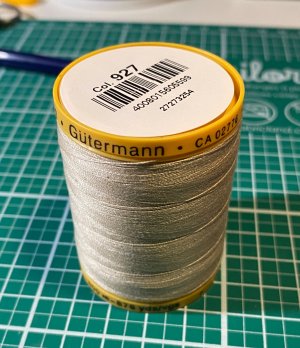
Imitate grommets for tying top of sail to yard and ones for reefs with 5H pencil. This is done on both sides. Pierce each grommet with needle. For reefs use cotton thread only. This is because a polyester thread is extremely difficult to straighten. I used Gutermann 927 Beige Cotton All Purpose thread. Thread it with needle through the hole. Wet with water to straighten, cut to length with scissors and secure with acrylics medium undiluted. Done.

IMG_1589.jpeg

IMG_1591.jpeg

IMG_1590.jpeg
 
When made wet with water sail gets lots of flexibility. It then can be formed to represent a furled sail. I am not am planning to do this on this model.
 
Thanks, Y.T., for putting this together. I’m working on a 1:48 scratch built USS Constitution, and I’m soon to begin making the sails. What you have put together here is going to be a big help.

I have a couple of quick questions. Did you whip stitch the edge ropes to the sails or is that glued on too with the acrylic medium? Also, once the sail is complete can it be rewetted and dried in a shape to give it a weathered wind billowed look?

Thanks again. I really like the look of your sails.

Chuck
 
Back
Top