-

Win a Free Custom Engraved Brass Coin!!!
As a way to introduce our brass coins to the community, we will raffle off a free coin during the month of August. Follow link ABOVE for instructions for entering.
You are using an out of date browser. It may not display this or other websites correctly.
You should upgrade or use an alternative browser.
You should upgrade or use an alternative browser.
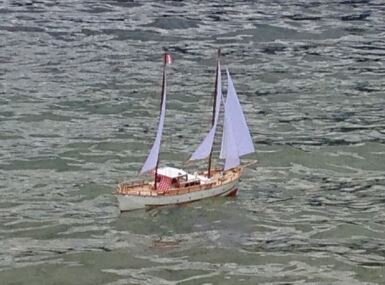
Before I start the planking and fitting the deck I would like some help and advice on how to control the sails. I've bought a winch motor but I would like some ideas on how to attach the control lines to the sails. I would like to know the best way to get the lines from inside the hull out to the sails and also how to create the necessary rope outlets in the deck. Also will one servo control the 3 sails? If I need another winch can it be controlled from the same channel? The photo is one I obtained off the internet and is the same model as I'm building. Any photos of the control lines and winch setup etc on any ketch model will be a great help. Thanks in advance.

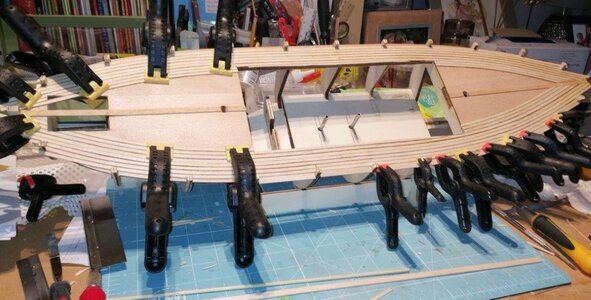
Started planking the deck with alternate limewood and walnut strips. The planking follows the shape of the hull so clamping is necessary and therefore can only do a bit at a time before running out of clamps! I've been dry fitting a walnut and limewood plank bending them to follow the curve and then marking the outline with a pencil. This helps to make sure I'm not putting Aliphatic glue where it isn't needed and causing a problem for the next plank! I decided to plank across the hatch and then cut away the planks when the glue has dried. I'm now getting to the point where the clamps are not big enough to hold the inner planks in place. Perhaps have to use masking tape. Any better suggestions? It is a slow process but rewarding to see it coming together. Whilst the last lot of planks were drying I have been doing the infills between the hull ribs. For this they recommend using one of the wider planks that will be used for the hull planking. I will then trim when completely dry. Hoping to get a rudder servo, UBEC and possibly a battery from the Blackpool Model Show this coming weekend.

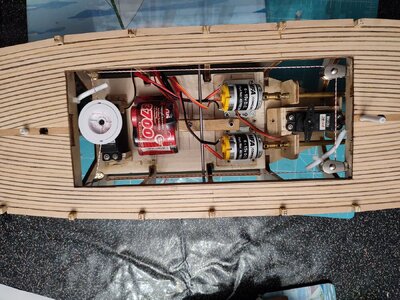
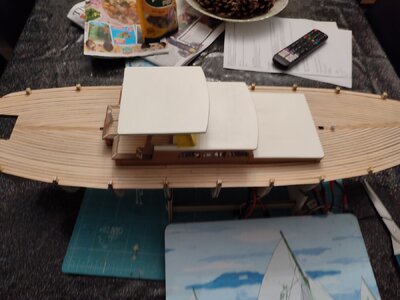
After a lot of deliberation I think I have finally decided on the layout of the winch and lines etc. The corner pulleys are on elastic cord to enable it to take up some possible slack. The plastic tubes will take the sail sheets out to the deck area. The next problem is where to put the receiver, splitter and the two ESCs. I'm thinking of making/buying a box to mount them under the middle cabin roof to contain all these electrics. All the setup of the corner winch pulleys and the sheet line tubes (white plastic tubes) needed to be done before planking otherwise it would have been very difficult - if not impossible. I will now remove the servo and winch and leave the motors in. I will cover the motors and the pulleys in plastic to protect them during the rest of the build. Aligning the motors was quite difficult but it was made a lot easier by being able to see through the hull! The job was more difficult than expected because the brass prop shafts weren't absolutely true! I bought some stainless steel rods to make into prop shafts but these were even more out of true so I resorted back to working on the brass ones.


In the first picture of the boat in post #2 it shows the booms facing aft. The next picture of the boat under sail it shows the boom facing foreward. Is that an optical illusion or which way is right? Booms usually face aft except for a jib sail outrigger. Interesting arrangement. Norgale.
I think it is an optical illusion !
I think you are right. Looking at it again I see the stern where I thought the bow was. Oh well.
Yes the stern is almost like another bow. Haha!I think you are right. Looking at it again I see the stern where I thought the bow was. Oh we
Sure fooled me. maybe the owner didn't know if he was coming or going?
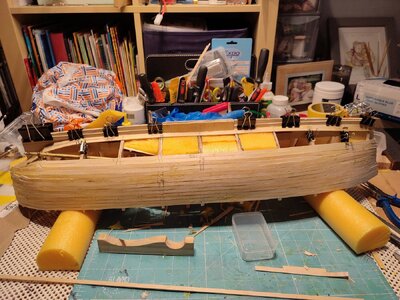
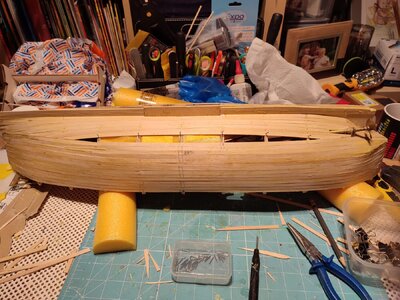
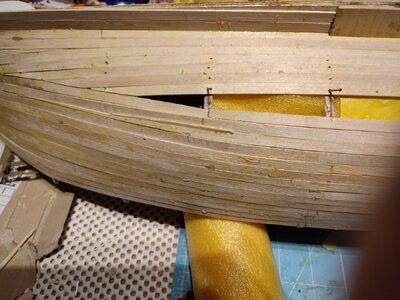
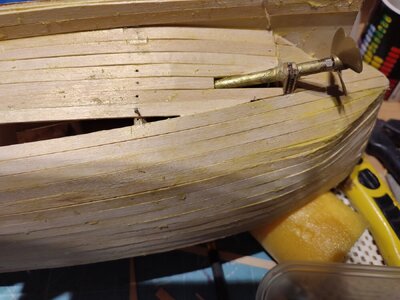
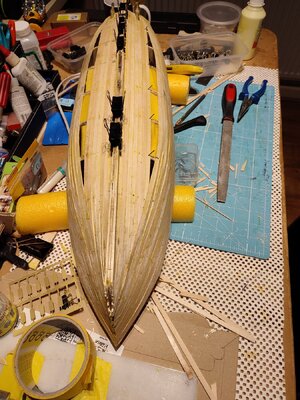
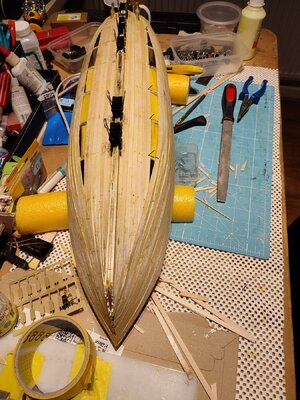
Planking slowly coming along. Attaching each 7mm strip of limewood with Aliphatic glue. Before fitting I'm spreading the glue the entire length of the strip to waterproof it. I've decided to put strips of Pond Noodle under the flooring to stop any build up of water and also to provide buoyancy if required - hopefully not!! It also provides a suitable scratch free support for the hull when turned upside down as the deck is already complete. It is getting more tricky as I'm now encountering curves in two directions. I'm using a Model craft electric plank bending tool which certainly helps. Unfortunately it is rather time consuming and then I keep having recurring thoughts that I need to do it all again for the second layer! Hopefully with a flat surface to glue to it will be easier - wishful thinking! 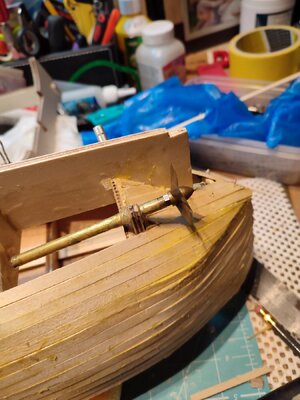




A suggestion for RC boats. Get a small 12v computer fan and a cigarette lighter plug. Then when you are driving home from the pond you can aim the fan down a hatch and get the drying process started right away. It works a treat.


