• Ships of Scale has incorportated an extra level of security when you log In. Please follow on-screen prompts to acknowledge that you are not a robot via a "Check Box" or a "Pictorial Check Box Puzzle". This is needed due to higher level of AI Activity Security.
  • SUBSCRIBE TO SHIPS IN SCALE TODAY!

    The beloved Ships in Scale Magazine is back and charting a new course for 2026!
    Discover new skills, new techniques, and new inspirations in every issue.

    NOTE THAT OUR NEXT ISSUE WILL BE July/August 2026
  • Win a Free Custom Engraved Brass Coin!!!
    As a way to introduce our brass coins to the community, we will raffle off a free coin during the month of August. Follow link ABOVE for instructions for entering.

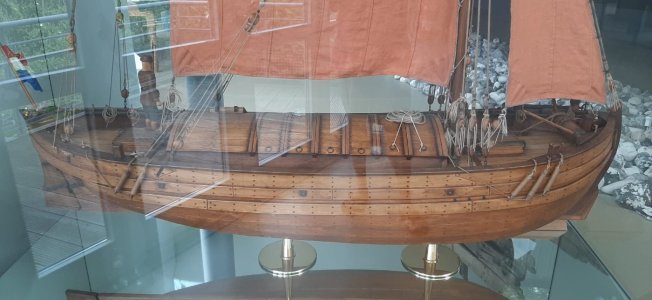
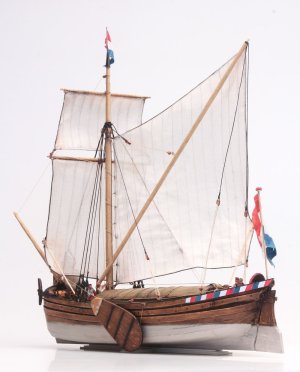
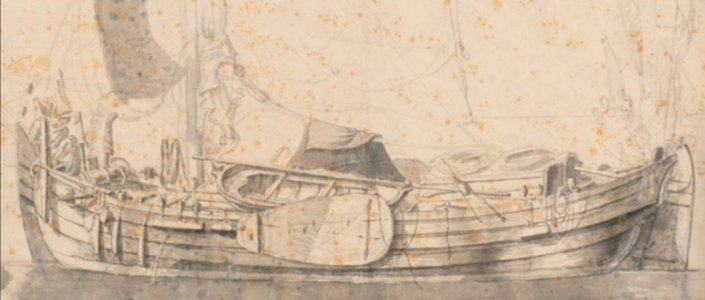
MEERMIN Dutch wijdschip 1/44

  • Thread starter Thread starter Iterum
  • Start date Start date
  • Watchers Watchers 7
I.
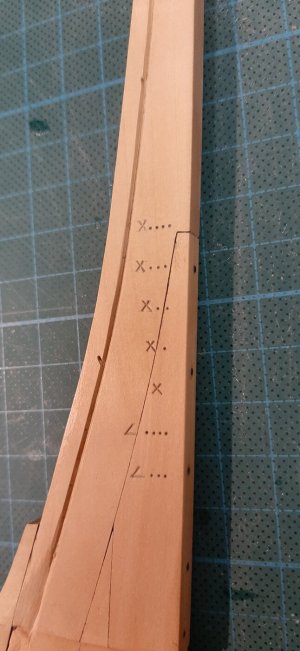
The depth markings:

This evening I found some time to work my way through @Maarten 's important reconstruction and stopped by the scale for the draught differing from place to place:
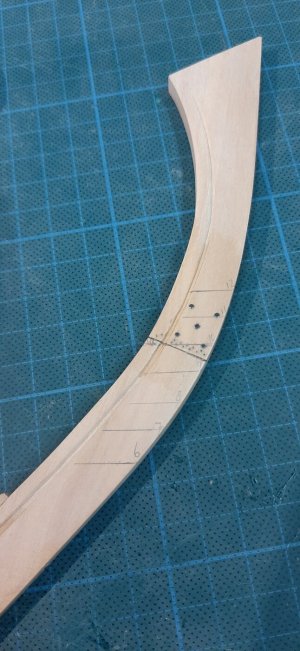
Stem - Starboard:
20230520_170455.jpg
Stem - Port:
20230521_115310.jpg
Stern - Starboard:
20230520_170518.jpg
Stern - Port:
20230521_112234.jpg
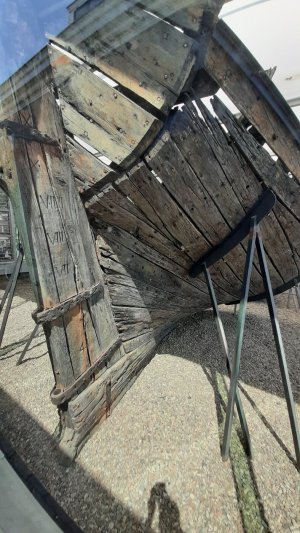
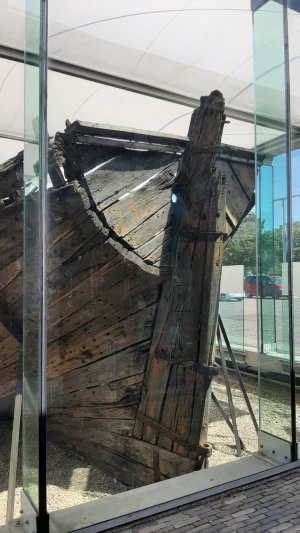
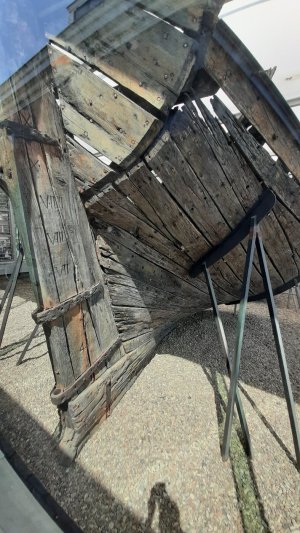
Herr the wreck as a source:
20190727_125550 (1).jpg

20190727_125457.jpg
Would these method also be used on Wijdschips' stem&stern also?

And I do start the measurement from the keels underside, right?
20230520_154424.jpg


II.
Stem to keel join
Certainly there is my question is the Fluyte as much bigger the right example to follow?
20230423_105627.jpg
Thank you very much,
Greetings from the Berlin Card Yard,
Chris
 
Hi Chris.

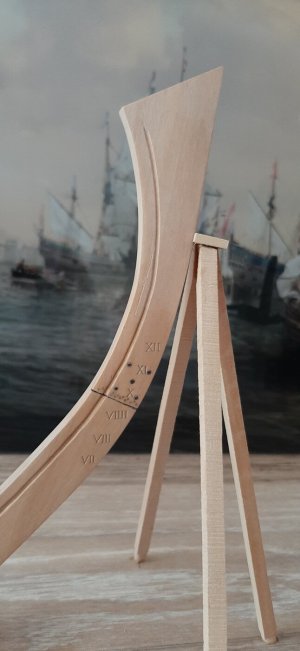
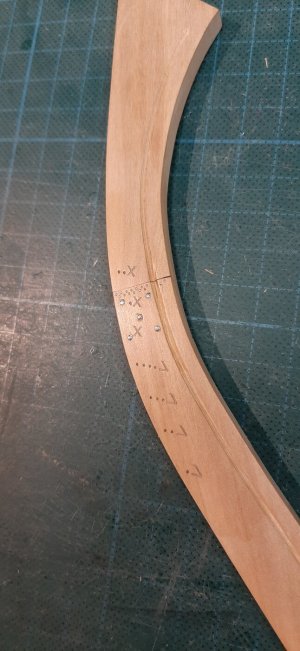
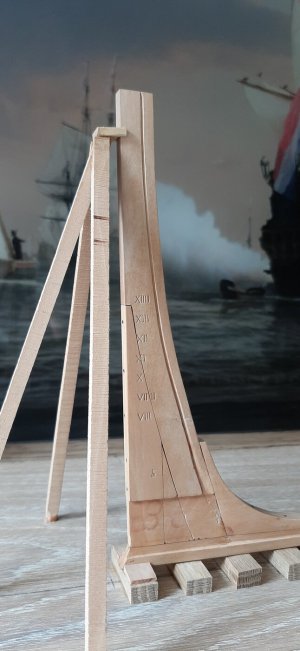
G.C.Dik states in his book De 7 Provinciën, a ship larger than a Fluyte, that the draft (draft, so measured from the underside of the keel) are on the stem marked on the starboard side and on the sternbeam on the port side. The markings on those sides are in the roman numerals, tilted version with dots. The 9 not being IX but V….(4 dots).

On the wreck of the Samuel the other side is marked with the normal roman numerals.

I do not know if all ships in that period were marked like that but I would assume so.
 
Hi Chris,

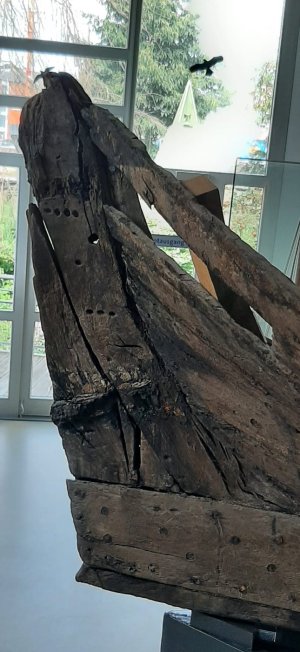
I do also have some pictures of the wreck in Husum which is a small Dutch freighter from the 17th century.
Here you see the depth marks on the SB side of the stern post. With 1 dot for half a foot and 3 and 4 dots for full foots.
IMG-20260308-WA0001.jpgIMG-20260308-WA0000.jpg
 
Last edited:
Hi Chris,

I do also have some pictures of the wreck in Husum which is a small freighter from the 17th century.
Here you see the depth marks on the SB side of the stern post. With 1 dot for half a foot and 3 and 4 dots for full foots.
View attachment 583312View attachment 583313
Hello Maarten,

Thank you very much for these informations, they are very interesting and as I learned in my first building trial of AKERBOOM and GIDEON by Ab: "The rule is, there isn't any rule."

So I can give her the holes by using a needle and a prop of dark brown ink - very easy and satisfying! So this is very helpfull, so I will use this pointy pattern in MEERMIN and the Latin numbering on the stem and stern of LAMANTIJN.

This was very helpfull.

Sorry for the theoretical part, but due to a visitor no physical progress was made in the Card Yard this very weekend.
 
Dear friends!

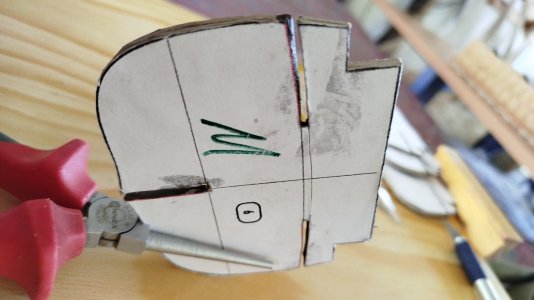
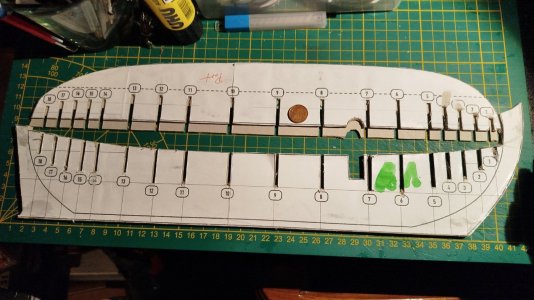
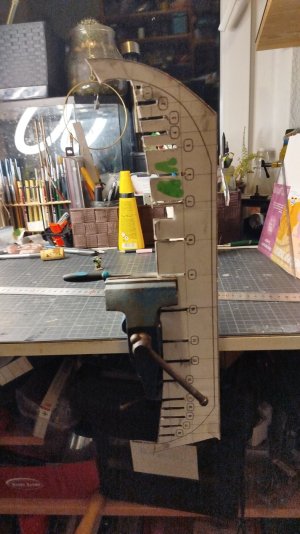
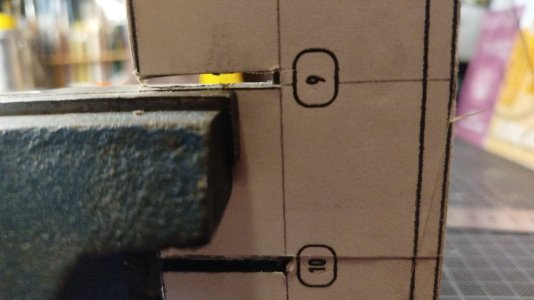
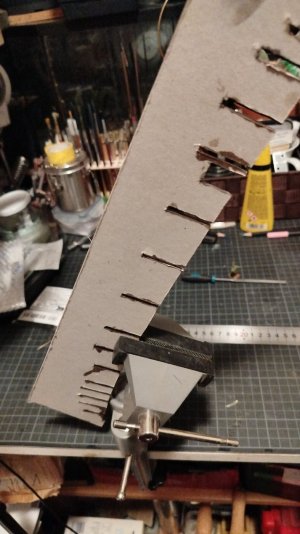
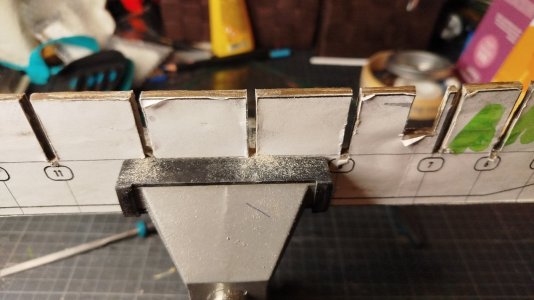
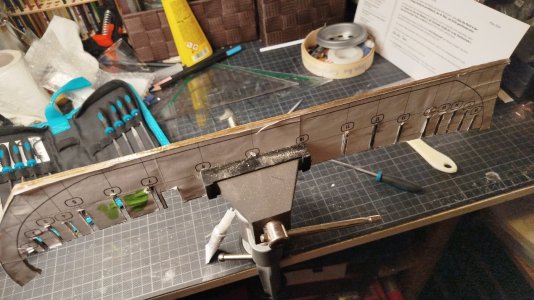
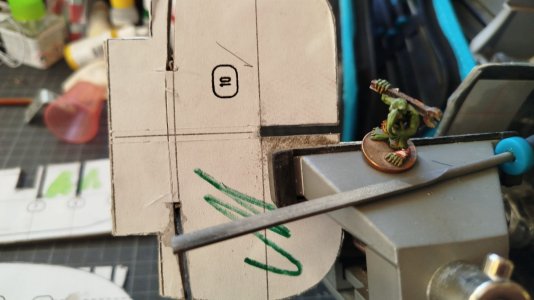
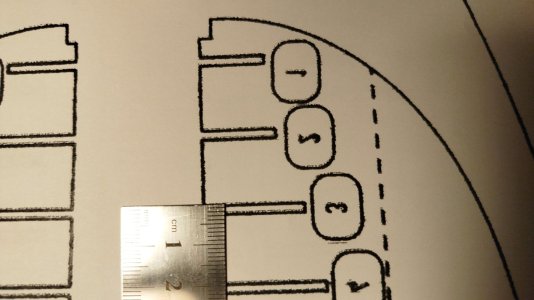
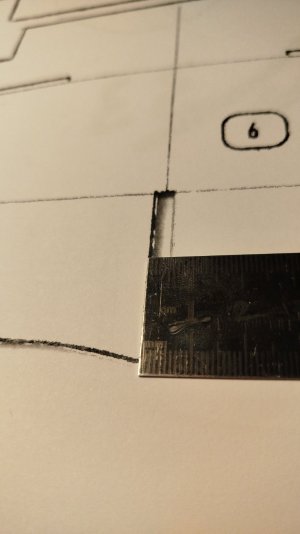
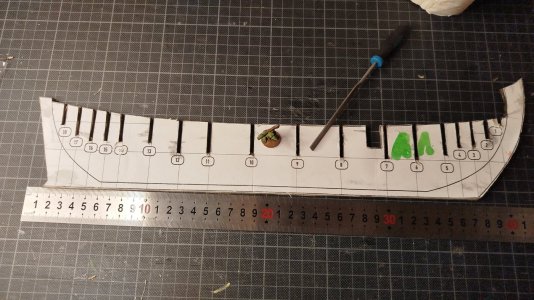
Tonight I was able to made some progress on my Dutch girl by starting to file the slots in the spine/centerboard rectangular.
IMG_20260328_023045_923.jpg
This is done by the use of what we in Germany do call a "key-file".
IMG_20260328_023306_217.jpg
So the work is very exhausting to me due to the dust of the paper and hardener (cheap superglue) is getting behind my glases
IMG_20260328_023318_968.jpg
and the work at the vice is very hard. So I will try an other vice with its ball-edge to get a better ergonomy.
IMG_20260328_024413_975.jpg
That's all from here and today. Best wishes from Berlin Card Yard,
Chris
 
Hello friends,

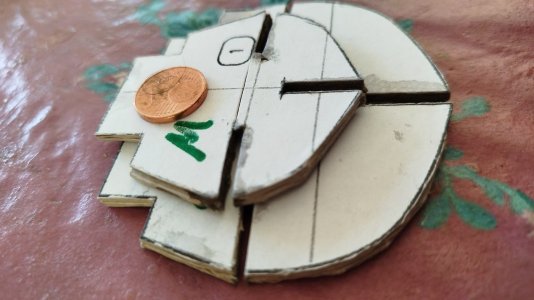
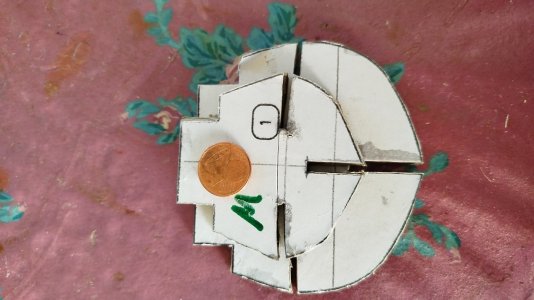
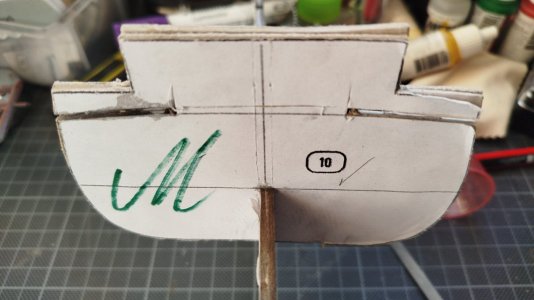
today abbit of progress again still working in rectangular 3mms slots for the bulkheads on the centerboard,
IMG_20260329_221215_313.jpg
after this working for 3mms rectangular slots in the bulkheads for the centerboard.

Thank I hardened the keel as usually with Woolworth superglue:
IMG_20260329_221921_116.jpg
Tobfile this also to its plane surface.

There is a question to my Dutch colleauges:
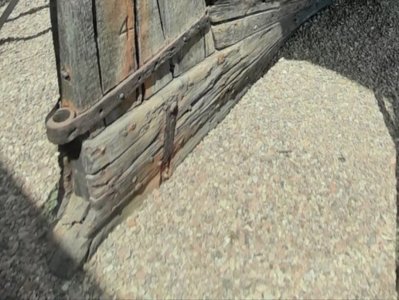
20190727_125550 (1) (1).jpg
Is this a seperated plank below the keel due to protect the spine of the boat? Or was it under the u-shaped iron part and was lost?
Polish_20260329_223042662.jpg
Thank you very much for your interest and warm Support!
 
That particular plank is called 'de zandstrook' in Dutch (garboard strake in English) and it serves to make a better connection between the keel and the sternpost. In bigger ships sometimes three or more strakes are led to the end of the stern, making a twist to the vertical there, but in smaller ships sometimes it was not applied, for whatever reason. Witsen did not picture the item in his drawing, which is why I did not drew it in the plans.
Wijdschip_4.jpg
There is of course no reason to leave it out if you like the looks. I did add it in another wijdship model (though hardly visible), after drawings of a wreck made by Fred Hocker during his internship in Holland years ago.
 
Exactly admid - the measurement and drawings really percise enough...
IMG_20260429_185057_051.jpg
...filedust is flying from MEERMIN again...
IMG_20260429_184717_171.jpg
...but there must be a simpler method to get the slots rectangular Cautious ...

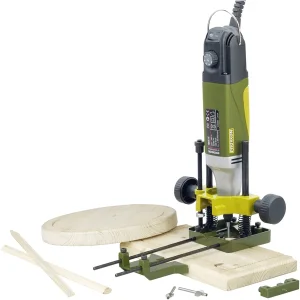
...perchance I could try my Proxxon tablesaw?
 
Hello friends,

blowing the dust from cardboard I also figured out where my Oberfräse is. So noe the slots can be rectangular:

Proxxon-Micromot-Oberfraesenvorsatz-28566-OFV.webp

More orogress this evening, when my Card Yard is freed and tidy again.
 
Also glad to see you active again! Looking forward to seeing the results. I am just catching up on the March posts, which I missed because I was travelling. I can report that Vasa has the Dutch style draft marks with a single dot for the half-foot marks, measured from the bottom of the keel (although the foot used is the Swedish foot). The marks are cut into the port side of the stem and the starboard side of the sternpost. Vasa has three strakes of planking that cross over the base of the sternpost, while the beurtschip wreck OB71 (built in 1587, sunk ca 1625) has just a single strake. This is the vessel Ab mentioned.

Fred
 
Also glad to see you active again! Looking forward to seeing the results. I am just catching up on the March posts, which I missed because I was travelling. I can report that Vasa has the Dutch style draft marks with a single dot for the half-foot marks, measured from the bottom of the keel (although the foot used is the Swedish foot). The marks are cut into the port side of the stem and the starboard side of the sternpost. Vasa has three strakes of planking that cross over the base of the sternpost, while the beurtschip wreck OB71 (built in 1587, sunk ca 1625) has just a single strake. This is the vessel Ab mentioned.

Fred
Thanks, Fred! There will be slow progess and I am happy to know about these VASA details...

By the way: The hole traditional wooden bargebuilding on the southern Coast of the Baltica Sea was measured not (as to be expected) in Prussian - but in Swedish Foot.
 
Hello colleauges,

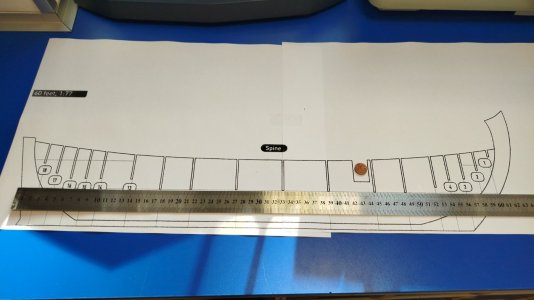
today I decided to rescale MEERMIN up to 1/33, too. So I did my math:

70' × 283,1 = 19.817,0
19,817 /33 = 600,5
19,817/44 = 450,4
450,4 ×1,33 = 599,03
450,4 × 1,34 = 603,54

So I do need some 150% enlargement for my new bigger scale 1/33...

Polish_20260205_201319343.jpg

An I want to build her with mast and sail, I will have to figure out about theory measurements, too.

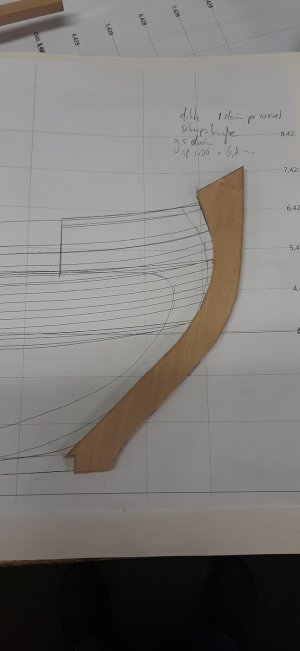
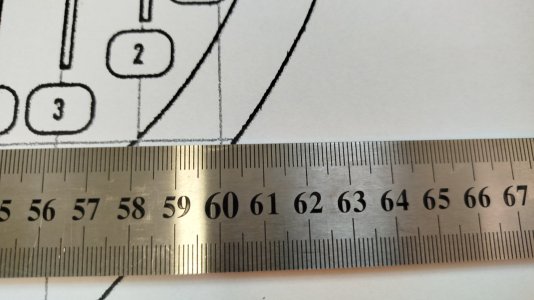
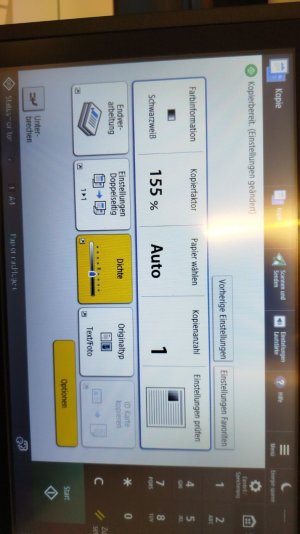
Here the "NIEUWE MEERMIN" beginns her start by enlarging them plan set up to 1/33 scale by 155% came the closest to 600mms.
IMG_20260923_170537_895.jpg

So the Lpp is arround 600mms as computed
IMG_20260923_170113_552.jpg
I ended up with 603mms - should be fair enough and Madame looks fine in her bigger "suit".

IMG_20260923_170120_675.jpg
So now I have to look for the spine's and bulkheads' thicknesses and have to get used to work with it in this very large scale:

IMG_20260923_185237_543.jpg
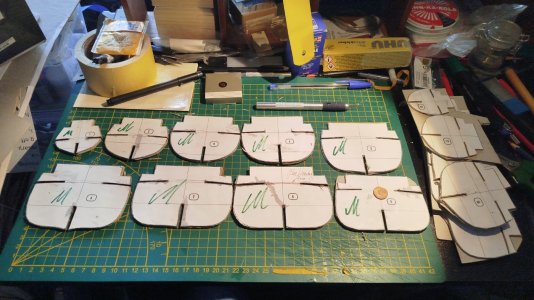
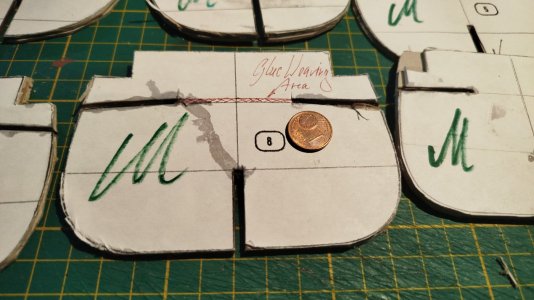
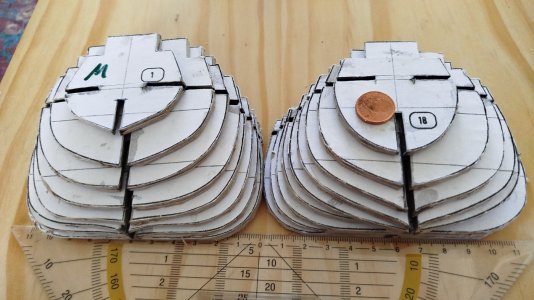
So cutting OUTSIDE the lines it is 3mms thickness for the bulkheads - cutting INSIDE it will be only 2mms of thickness.
The spine has grown up to 5mm of thickness, so there is a stiff CenterBoard to handle:
IMG_20260923_190045_468.jpg

The spine has grown up to 5mm of thickness, so there is a stiff CenterBoard to handle. The full breadth of the keel will be 9mm (2mms+5mms+2mms)

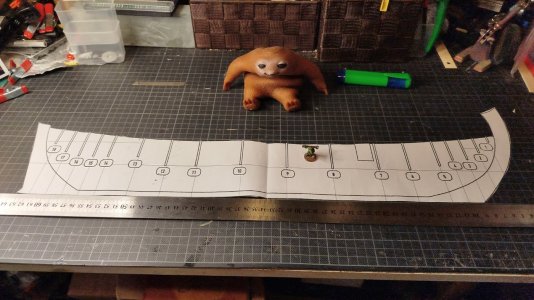
Tomorrow I will handle the plan set and cut and glue the pices together to a proper plan set I can work with at home.

Best wishes from Berlin Card Yard,

Chris
 
Last edited:
A very good friend credenced a Sloth to me to reminds me of "SLOTHING DOWN" in the Card Yard:
IMG_20260923_194207_762.jpg
And the spine is cut out and does fit into the given space at home's kitchen.
 
Back
Top