-

Win a Free Custom Engraved Brass Coin!!!
As a way to introduce our brass coins to the community, we will raffle off a free coin during the month of August. Follow link ABOVE for instructions for entering.
-

PRE-ORDER SHIPS IN SCALE TODAY!
The beloved Ships in Scale Magazine is back and charting a new course for 2026!
Discover new skills, new techniques, and new inspirations in every issue.
NOTE THAT OUR FIRST ISSUE WILL BE JAN/FEB 2026
You are using an out of date browser. It may not display this or other websites correctly.
You should upgrade or use an alternative browser.
You should upgrade or use an alternative browser.
The Lifeboat.
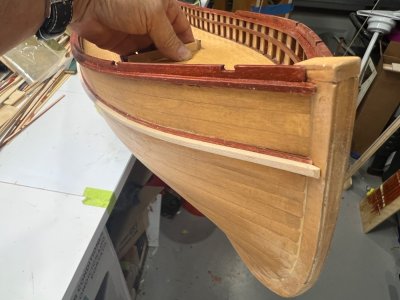
This is a vacuum form piece that is supplied with the kit.
The basic form should be cut free of excess plastic, using a sharp knife.
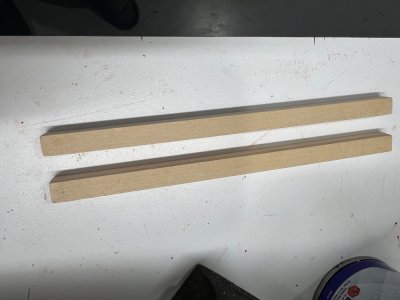
The ridge pole is made of 1/16''x 1/4" scrap strip shaped as the bottom of the life boat.
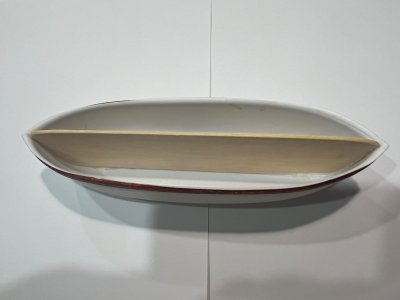
For the canvas cover and according to the instruction you could used 2"masking tape. This is the first time I tried this and came out pretty good.
I glue two pieces first.
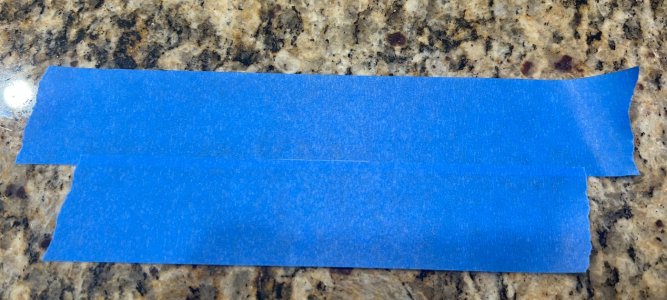
Then I placed the lifeboat upside down on top of the glues side.
Fold the edges stretching the tape as much as possible but not too much since the life boat is very thing.
Cut the tape alone the edges leaving at least 1/8" to create a border. This could also be accomplished by adding an 1'/8" tape strip.
Also cut 4 pieces for each side, of triangular shape to resemble the tie down of the canvas.
In this picture, you only see three but later on I changed it to be 4 pieces.
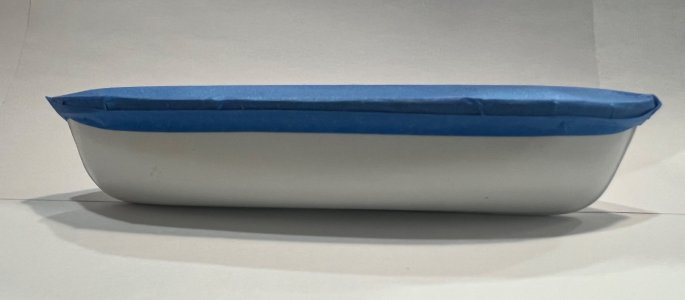
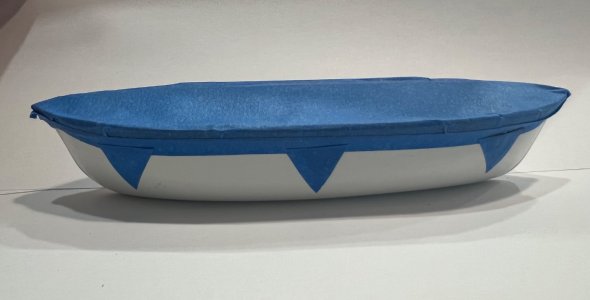
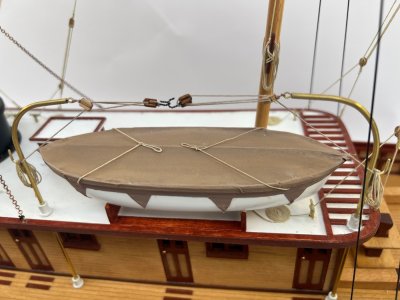
I also built my own life boat stand since the one from the blueprint was too small.
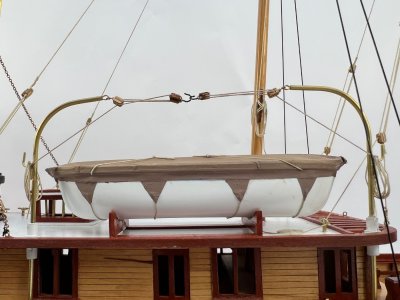
This is a vacuum form piece that is supplied with the kit.
The basic form should be cut free of excess plastic, using a sharp knife.
The ridge pole is made of 1/16''x 1/4" scrap strip shaped as the bottom of the life boat.

For the canvas cover and according to the instruction you could used 2"masking tape. This is the first time I tried this and came out pretty good.
I glue two pieces first.

Then I placed the lifeboat upside down on top of the glues side.
Fold the edges stretching the tape as much as possible but not too much since the life boat is very thing.
Cut the tape alone the edges leaving at least 1/8" to create a border. This could also be accomplished by adding an 1'/8" tape strip.
Also cut 4 pieces for each side, of triangular shape to resemble the tie down of the canvas.
In this picture, you only see three but later on I changed it to be 4 pieces.


I also built my own life boat stand since the one from the blueprint was too small.

Last edited:
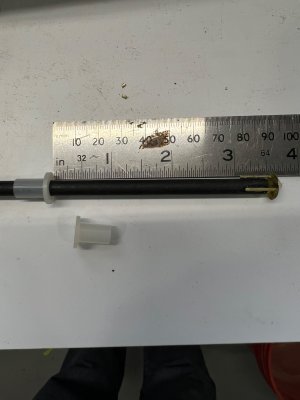
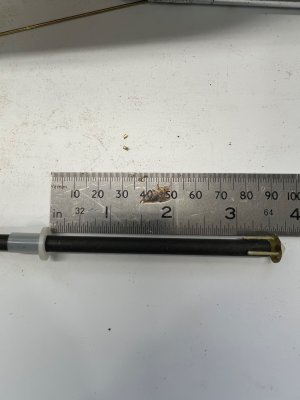
For the Life Boat Davits I used the 3/32" brass tubes that comes with the kit but before I bent them into shape I inserted solid 1/16" long enough that would leave a 3/16" gap at the tip so I could receive an eyebolt.
AlsoI bought at my local hardware store four small plastic flanges 3/16" i.d. to use as davit bases.
Since the flange openings were a bit too wide I inserted some aluminum sleeves in them.
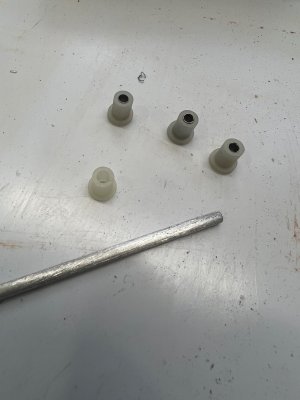
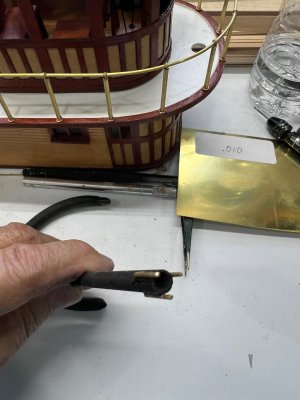
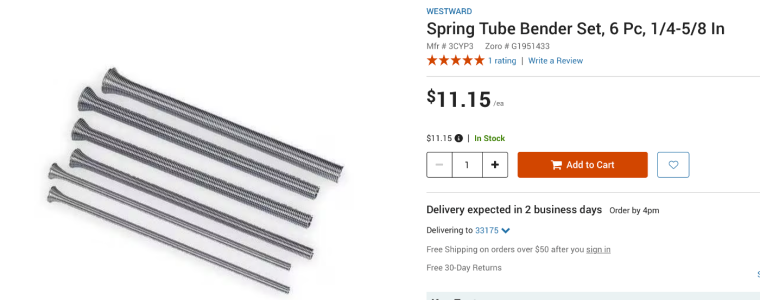
To bend the tubes I used this handy guy that I had none of my work shop drawers.
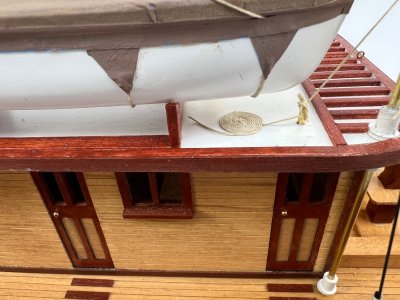
This is how they looked after installation.
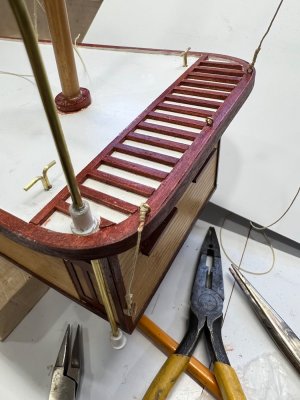
Also notice the brass cleats I made out of 3/16" brass rods.
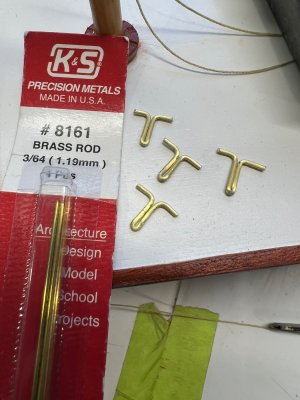
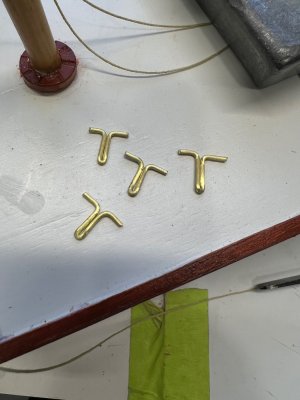
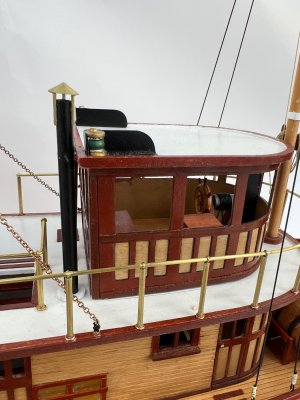
This is how the davits came out.
After I had them glued to the top deck I realized that it needed some kind of hook or cleats to receive the curled end of he cables, so I glue a couple of 3/16" rods bent upwards on the sides. This would have come out much better and stronger if I had soldered them before installation.
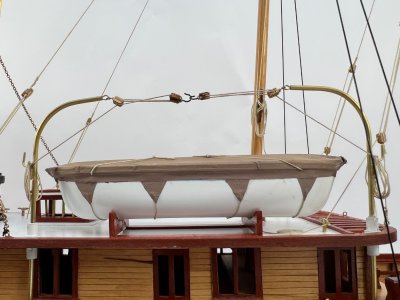
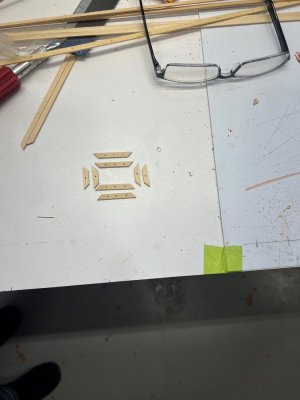
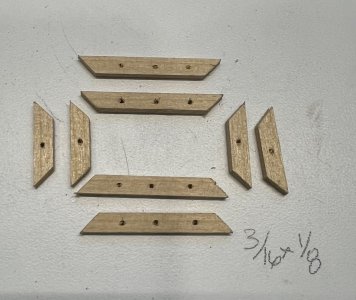
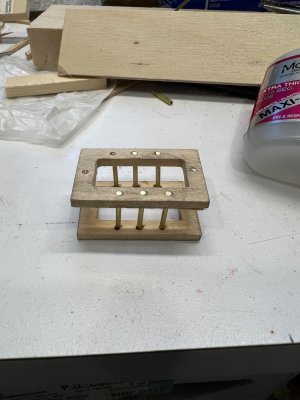
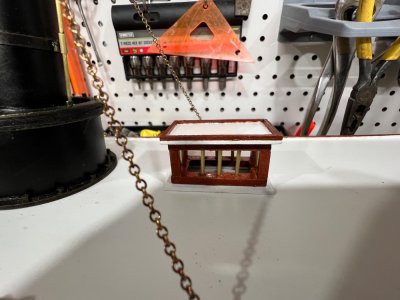
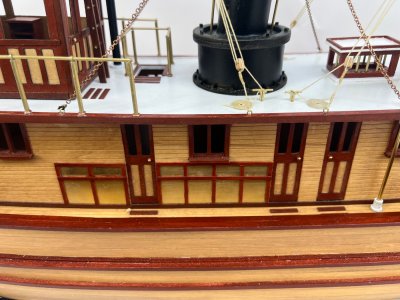
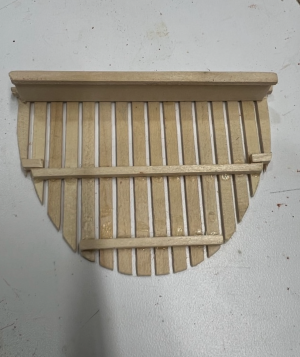
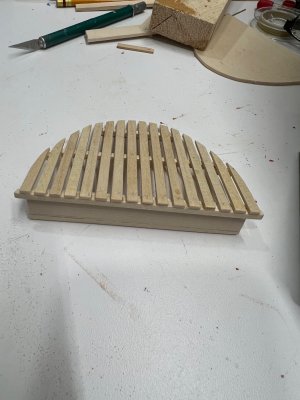
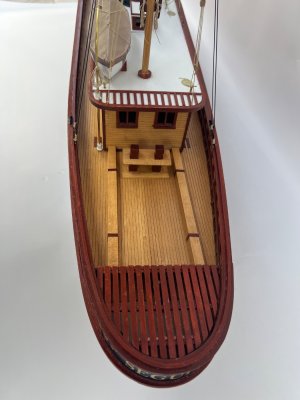
The lattice work on the back end of the upper deck is something I added because I saw in another built model, besides it gives a nice look to that section.
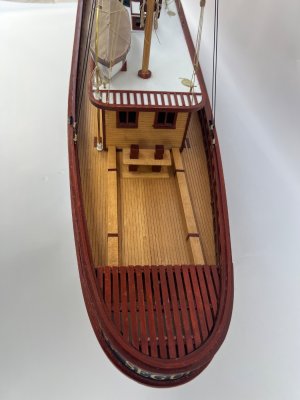
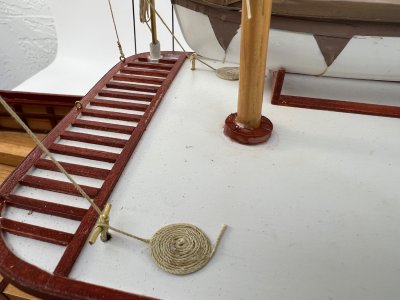
AlsoI bought at my local hardware store four small plastic flanges 3/16" i.d. to use as davit bases.
Since the flange openings were a bit too wide I inserted some aluminum sleeves in them.

To bend the tubes I used this handy guy that I had none of my work shop drawers.

This is how they looked after installation.

Also notice the brass cleats I made out of 3/16" brass rods.


This is how the davits came out.
After I had them glued to the top deck I realized that it needed some kind of hook or cleats to receive the curled end of he cables, so I glue a couple of 3/16" rods bent upwards on the sides. This would have come out much better and stronger if I had soldered them before installation.

The lattice work on the back end of the upper deck is something I added because I saw in another built model, besides it gives a nice look to that section.


Last edited:
Last edited:
- Joined
- Oct 31, 2022
- Messages
- 5
- Points
- 3

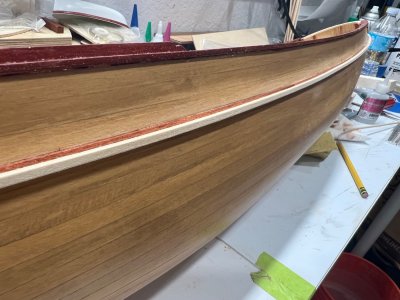
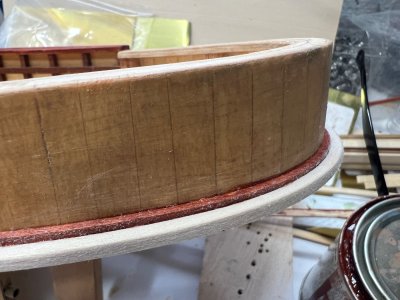
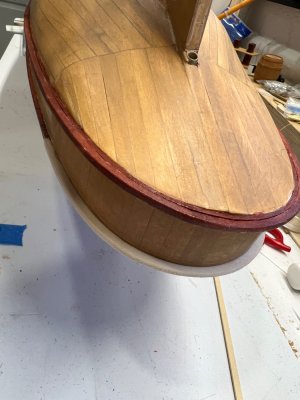
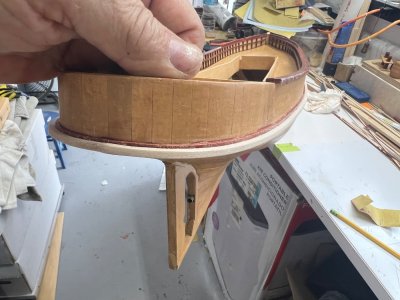
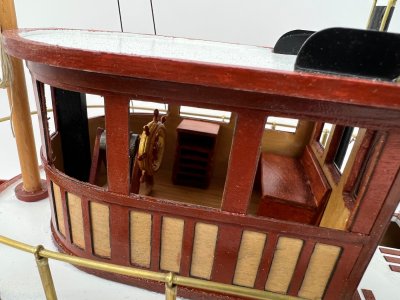
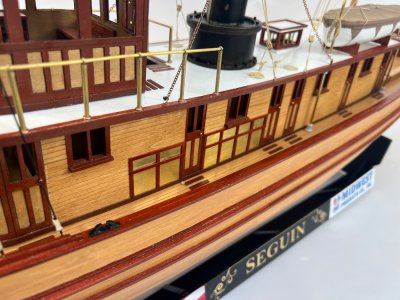
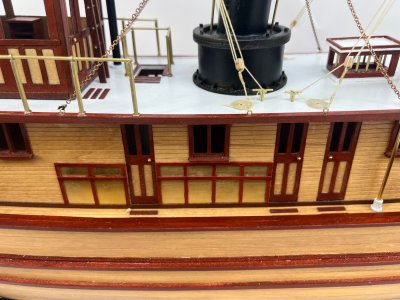
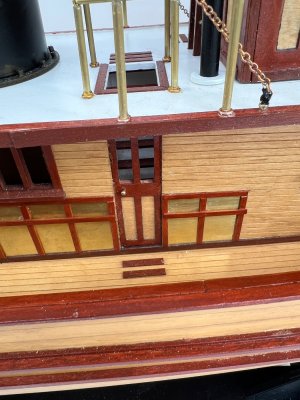
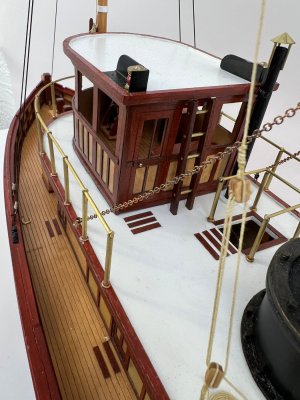
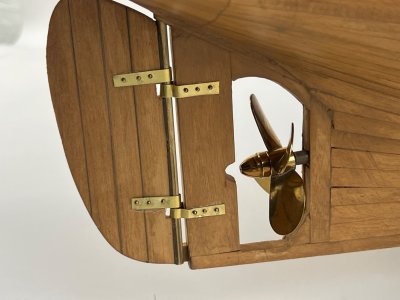
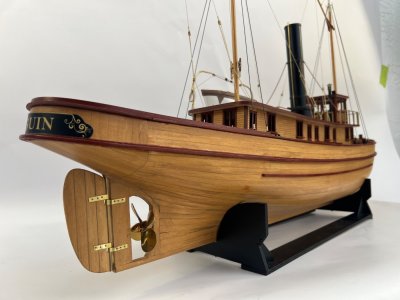
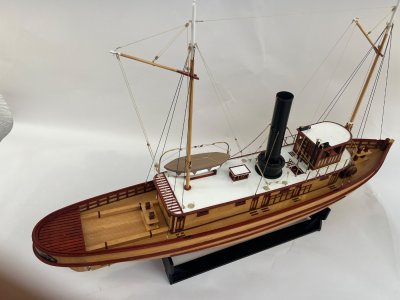
VERY nice! Great job on the planking and the details. I built BlueJacket's version which I think is about 1/3 smaller, wish I could have left the hull unpainted but I needed to ensure it was watertight.
Once again, great job.
Once again, great job.


