Modified Building of OcCre German Boxcar

Kurt Konrath

Kurt Konrath
Joined
Feb 11, 2020
Messages
4,049
Points
588

Location
Oklahoma City OK
I am working on building a modified version of the OcCre German Boxcar (Wagon) kit.

This is a 1:32 Scale, G-gauge train car, with good details working wheels and doors.

This boxcar kit is of special interest to me and one of the military veteran groups I belong to.

Our group known by it's short name "The 40&8" was formed in Europe after WWI, and has units all around the world.

After WWII was over the people of Germany put together what was known as a Freedom Train, made up of boxcars (wagons) painted and affixed with shields of the various regions and filled with items local people wanted to donate to the US to show kindness for support after the end of fighting in WWII.

These wagons were loaded on a ship and brought to the USA, where the train was assembled and pulled around the country for a while before individual wagons were left in each state.

Our groups short name comes from the fact these wagons could hold 40 men or 8 horses in normal load. During WWI many a solder and their horses were moved around Europe in these wagons.

The boxcar that my state received is one with no brakeman's shed on the end, just a plain simple wagon.

I will be posting more photos of the original that inspired this build and my work as I go.
 
This build is based on OcCre Kit 56002 Wagon.

The boxed kit comes with all items needed to make a German or Spanish version of the rail wagon with brakeman's house on one end.

It has working doors and is scaled to fit standard G scale 1:32 track.

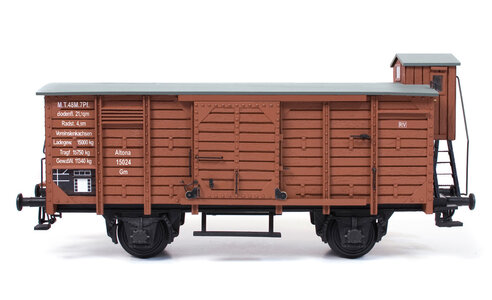
occre-wagon-001_1.jpg
This is stock photo from OcCre website of what a finished standard wagon would look like. Springs on axles are non-working and bearing caps are just for looks in casting which doesn't attach to axles or wheels at all.

The build is fairly straight forward from instructions except I made changes to replace the brakeman's house as standard plain end.

So far all the items needed to make the modification are in the box, just some extra glue and cutting to get new parts to duplicate plain ends.

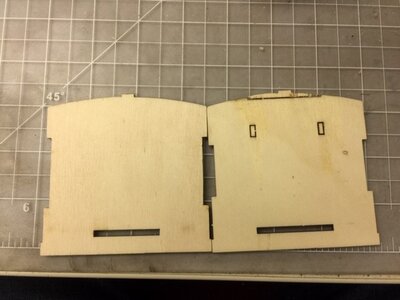
Ends.jpg
First thing I did was was glue the trim on top of the flat end Part A5, I think, and then cut it out to match the A6 plain end of wagon.

I left the two small openings filled to get better surface to glue siding onto, as they aren't needed.

One thing noted in assembly is these parts only go on one place and one way, as they are not exact opposites of each other, slots and opening are different sizes on each end and side to ensure proper placement of parts during assembly. It really helps to ensure your paying attention during build.

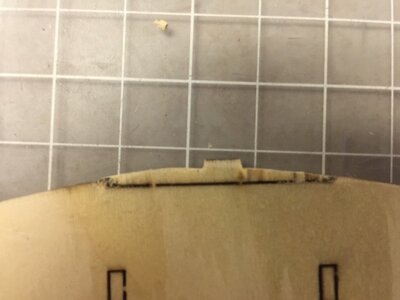
Modified End.jpg
Not perfect laser cut top, but works for what is needed.

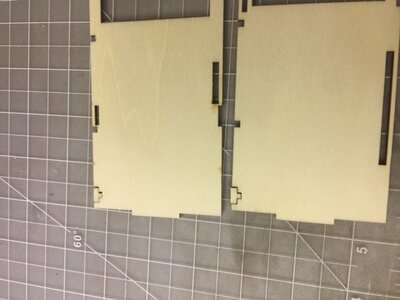
Sides.jpg
I cut off the pieces from support frame and glued it as filler in notches for roof supports under the brakeman's house, as they are not needed.

A little thick CA and fill with saw dust and sand when done fills in nicely.

floor two.jpg
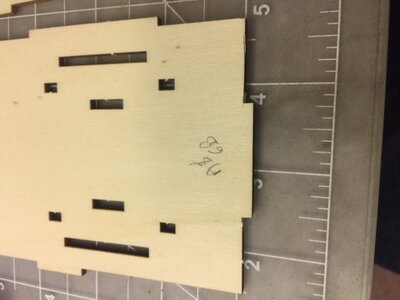
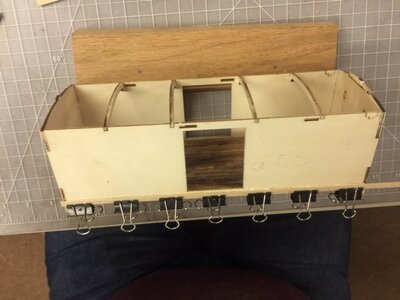
Basic floor piece with slots for wheels and under frame supports, these get planked over.

Note penciled in on ends to identify which end goes where.

floor stained.jpg
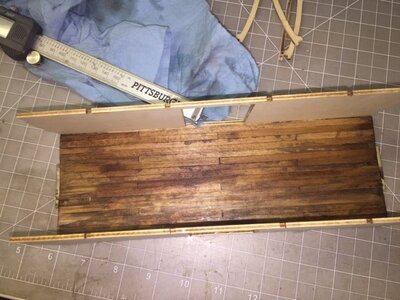
The kit comes with strips to line the floor and I used standard deck planking techniques to cut and glue them in. When done I stained and oiled the deck to give some used look to the floor.

Walls Installed.jpg
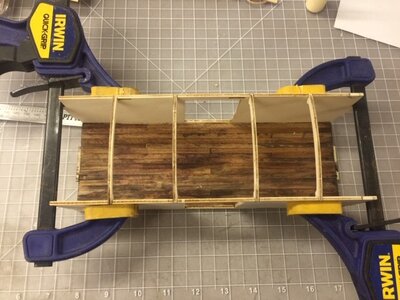
Both side walls installed and roof supports glued in to keep box close to square.

Note as mentioned earlier, the sides have different slots and only install one way, and this help get ends installed correctly later.

First Plank.jpg
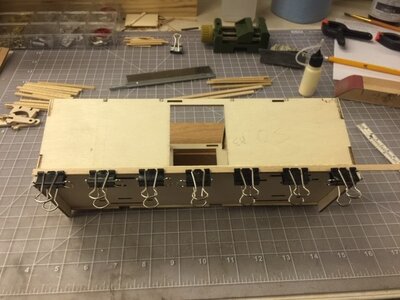
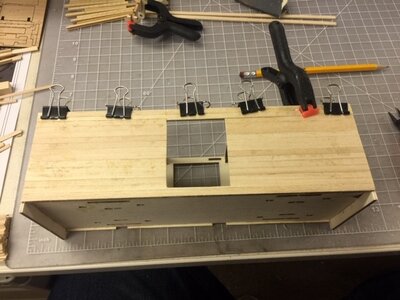
First lower plank or side panel installed and clamped in place.

First Plank 2.jpg
Second full length plank installed, when dry it will be trimmed to clear doorway inside and length adjusted.

Next to start all the half width planks and then top full length when all done.

One Side Done.jpg
Now to clear mounting slots for door track pieces and top and bottom of door opening.

And them repeat on other side and then the two ends when both sides are completed.
 
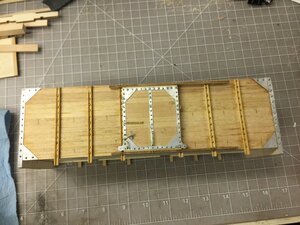
As seen in the completed photo from OcCre, the kit comes with 16 ribbed channels that are attached to side and ends.

Each of these wood ribs is U shaped and have to be cut to length, and drilled for the attaching hardware to be installed.

OcCre ships a large collection of nails to use to secure the ribs and the metal work on ends and doors.

In order to put the nails in, I had to mark and drill 12-13 holes in each rib, depending on length.

I used one of the metal strips for the ends as a template to mark hole location on back side of each rib, after I cut them to length from stock provided.

The parts list gives good length and quantity of ribs for the build.

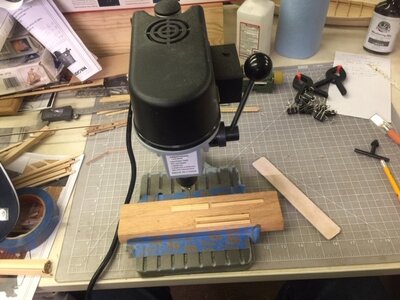
In order to make drilling holes quicker and easier, I built a small drill jig for use with my Model Expo drill press.

First I found a scrap of wood to act as base for jig, and then glued two short pieces of scrap ribs next to each other on the wood..

I lined up the wood to have the jig centered under the drill bit, after I installed the proper size bit.

After I drilled a test hole, I marked the hole location on edges of rib for reference when placing the new rib upside down on top of the jig pieces.

Then it was a matter of sliding the rib up and down in the slot and drilling each hole, after the first one or two it got easy as I figured out the process better.

Making the jig and drilling 12 holes in 16 ribs took about 30 minutes total, much quicker then if I had to drill with hand twist drill.

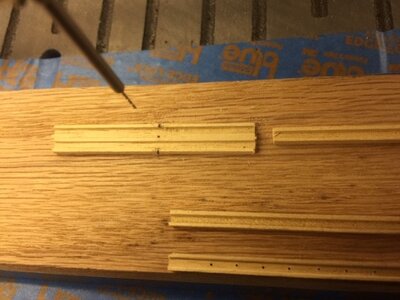
Jig Setup.jpg
Here you can see the two piece glued together as guide, and on bottom is one completed, with holes nicely centered in channel.

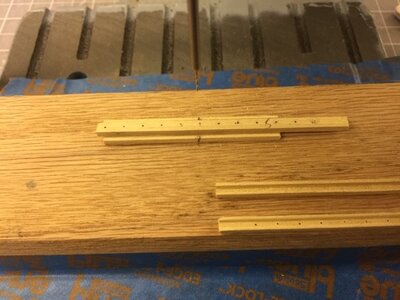
Rib in Jig.jpg
With dots on back from metal template, drilling was easy to determine.


Drill Press Setup.jpg
 
After lots of hole drilling by hand and gluing on metal brackets and then nailing ribs and brackets to the side of the box car I have one side about 90% complete

A few small strips and door latch hardware and one side will be done.

For each of the nail/bolt heads you see I have to measure and clips nails to length before gluing in holes drilled earlier. Lots of manual labor to repeat. Almost worst than tying rat lines.

B0017F2A-4DD0-48A3-8895-2AC6F291B36E.jpeg
 
After lots of hole drilling by hand and gluing on metal brackets and then nailing ribs and brackets to the side of the box car I have one side about 90% complete

A few small strips and door latch hardware and one side will be done.

For each of the nail/bolt heads you see I have to measure and clips nails to length before gluing in holes drilled earlier. Lots of manual labor to repeat. Almost worst than tying rat lines.

View attachment 279471
I am continually amazed at the range of models that come to SoS. Is this box car part of a larger set coming down the tracks? Nice combination of materials and fastenings that are well placed. Rich (PT-2)
 
I am so glad I stumbled on this build. Good going so far, Kurt! Keep the updates coming!
 
Do you have any more pics of this? I can put this in the Gallery.
 
very Nice Project KurtThumbsup:)
I will continue to follow you with interest
 
Back
Top