• Ships of Scale has incorportated an extra level of security when you log In. Please follow on-screen prompts to acknowledge that you are not a robot via a "Check Box" or a "Pictorial Check Box Puzzle". This is needed due to higher level of AI Activity Security.
  • SUBSCRIBE TO SHIPS IN SCALE TODAY!

    The beloved Ships in Scale Magazine is back and charting a new course for 2026!
    Discover new skills, new techniques, and new inspirations in every issue.

    NOTE THAT OUR NEXT ISSUE WILL BE July/August 2026
  • Win a Free Custom Engraved Brass Coin!!!
    As a way to introduce our brass coins to the community, we will raffle off a free coin during the month of August. Follow link ABOVE for instructions for entering.

Montanes - Occre by CharlesEdward

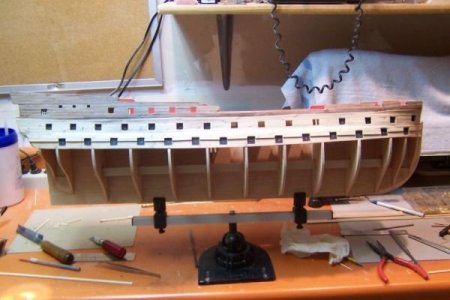
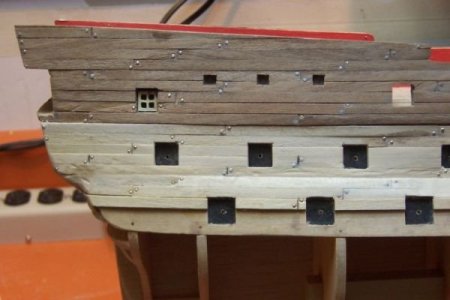
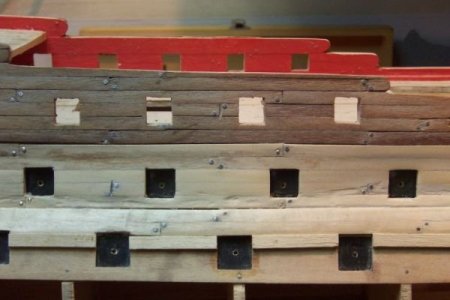
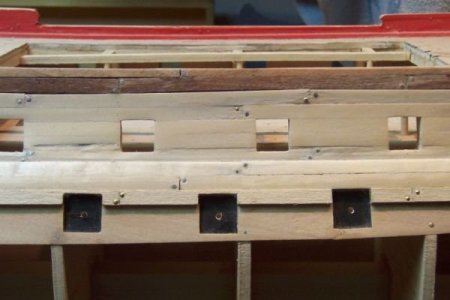
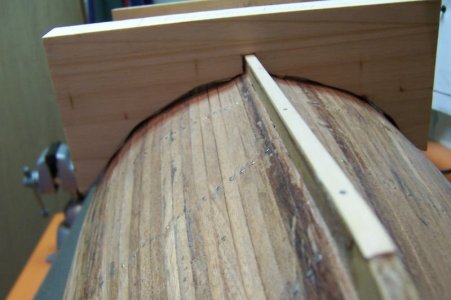
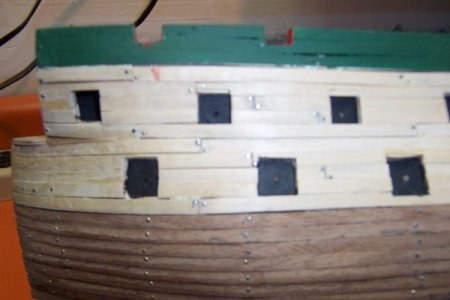
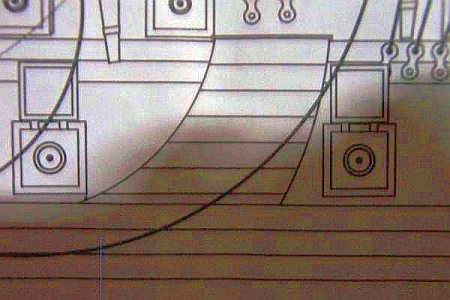
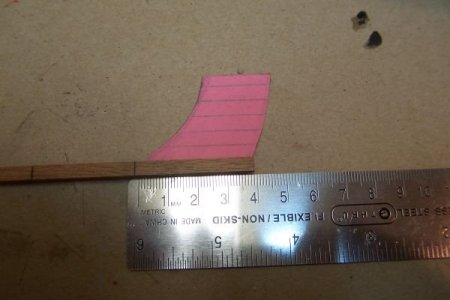
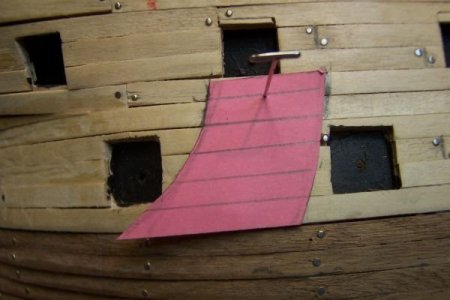
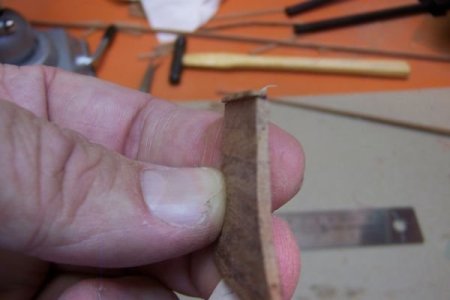
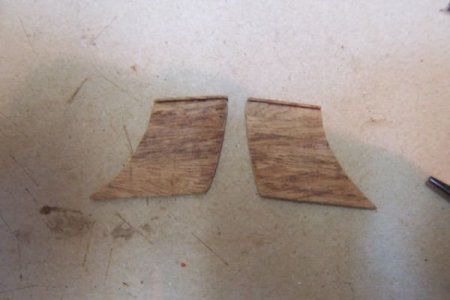
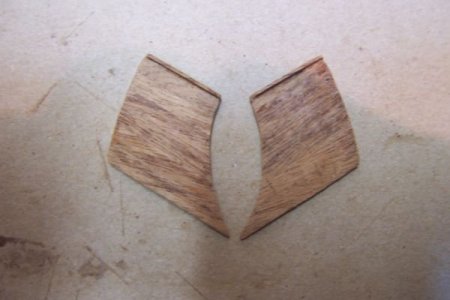
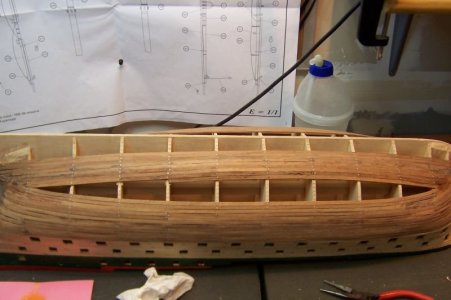
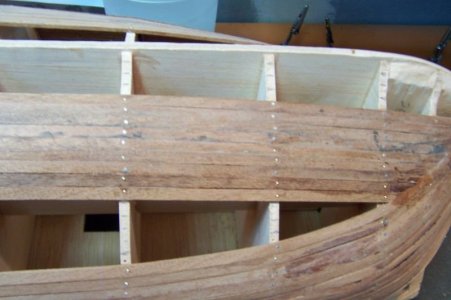
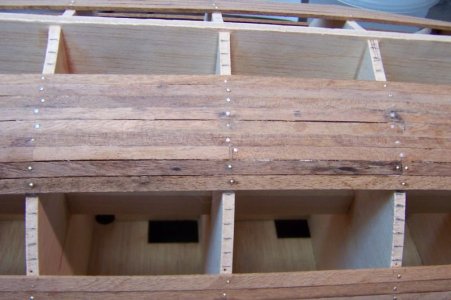
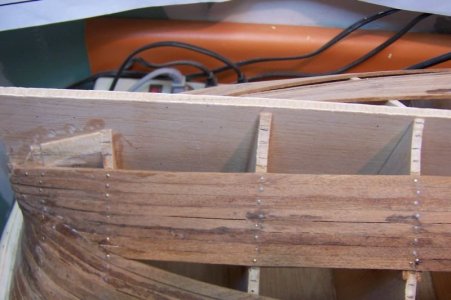
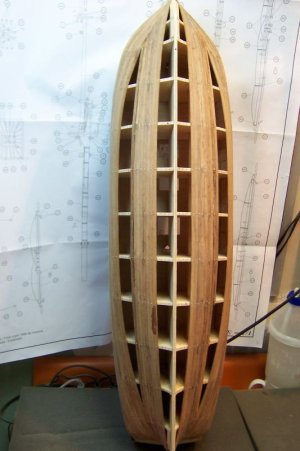
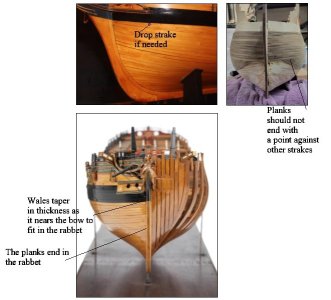
FOR THE FUTURE.... :) :) .. The strakes of planking should all end in the rabbet at the stem and post unless there is a drop plank or two or a stealer of two. In the photos below the top right picture is a make-believe idea used by some kit companies, but this was never done on ships. Thankfully high quality kits address this so the planking is done like on a ship.
Allan
1786709980049.jpeg
 
Last edited:
Looking good. That’s a big and difficult kit to make.
I am beginning to remember just how big this is. It was my FIRST large model, (sixth one since I started this hobby), hence the extensive photo documentation. I have the Nuestra Senora del Pilar from Ocre in its box still. Just inspected that kis to ensure all parts were included. That will be another large one, but first I have the Sao Miguel from Mamoli to complete first, a far simplier model, (it seems).hanks for you comment.
 
The next series of photos were taken before April 2014.

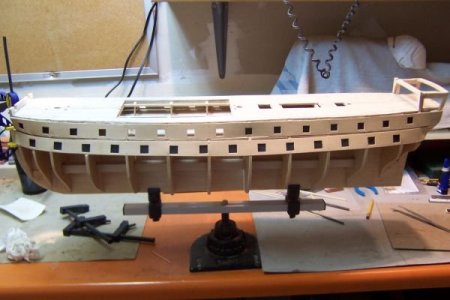
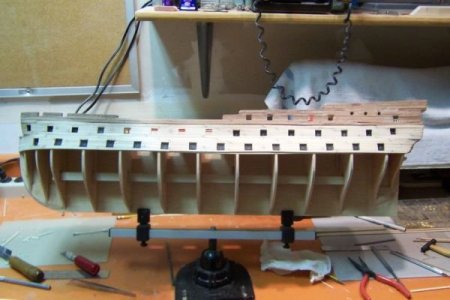
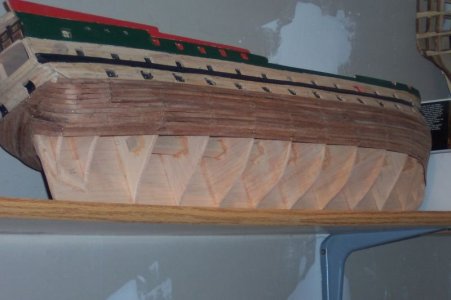
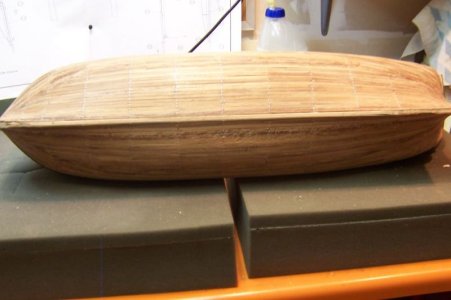
Inspecting the completed hull and planning for the making the final display cradle for this kit. The included cradle looked really too weak to hold the model securly, it was a heavy model. It almost looked like it could actually float, but I didn't try it.

100_0961.jpg

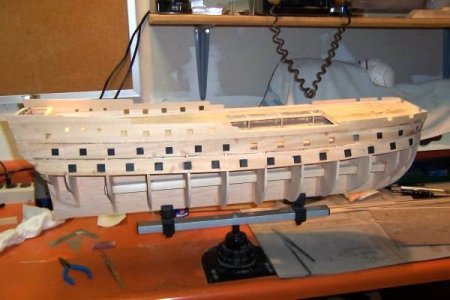
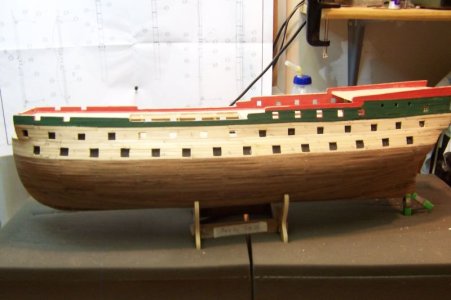
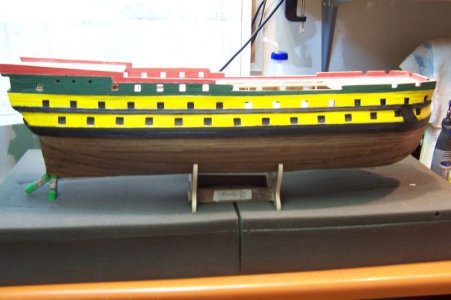
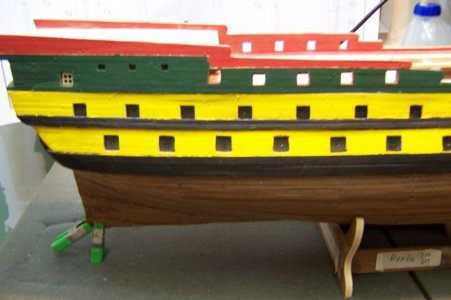
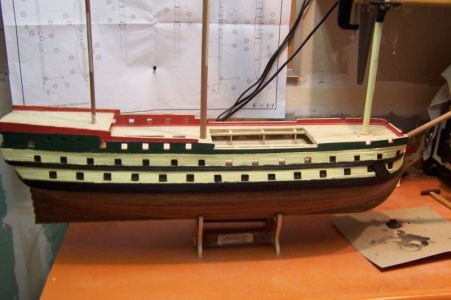
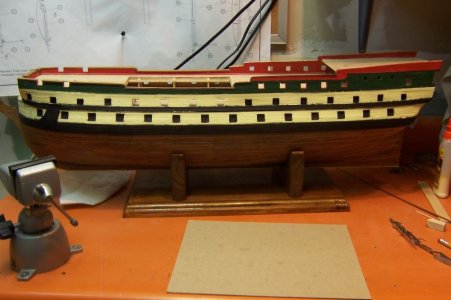
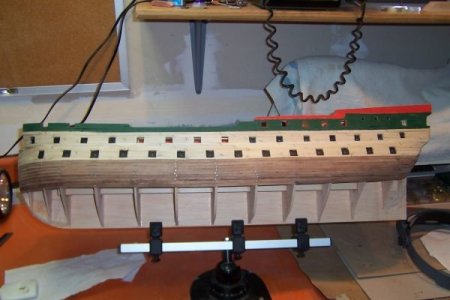
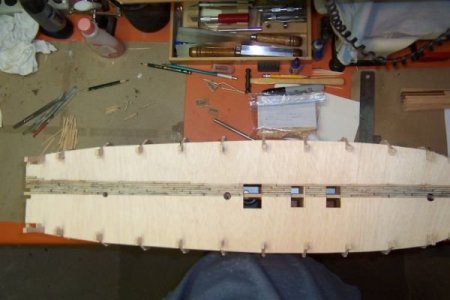
Port side inspection of arrangement of the gunports and paint job test, before I applied the yellow / cream paint. Now to replicate the starboard side.
100_0958.jpg

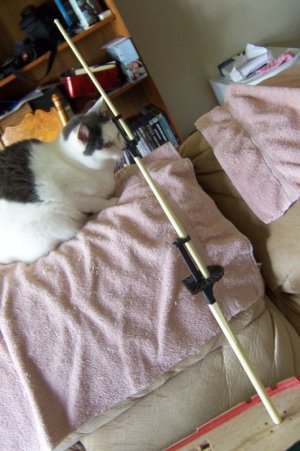
Starboard side with paint applied.
100_0955.jpg

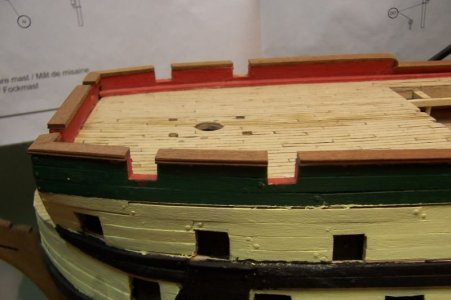
Starboard side quarterdeck closeup, original vivid yellow paint used.

100_0956.jpg

Starboard side aft closeup:

100_0956.jpg

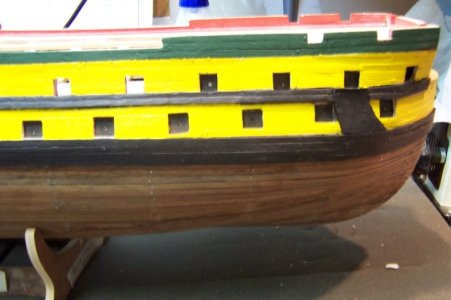
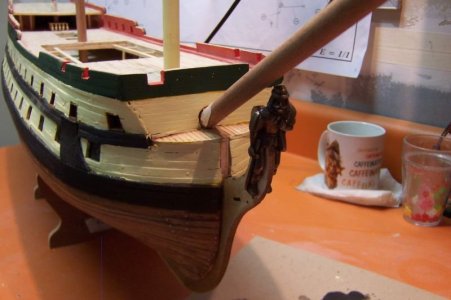
Starboard side forward closeup. I changed the vivid yellow to a more mild cream color later.

100_0957.jpg

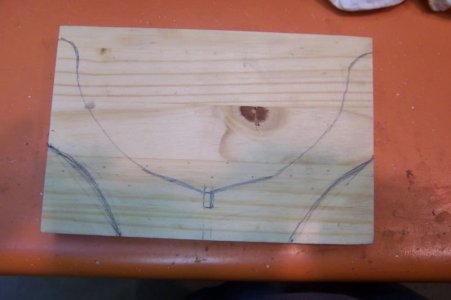
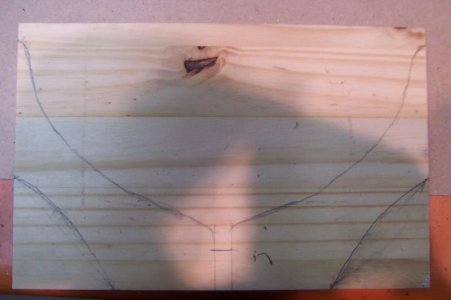
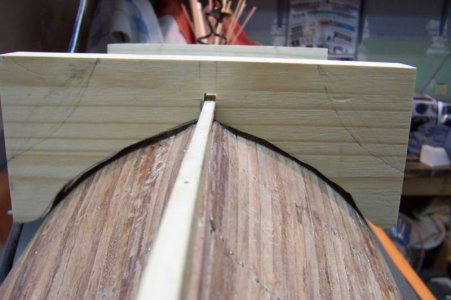
I started making the final display cradle templates for the model using trace and cut pattern to match the hull. I believe that this is for the fore stand support pattern.

100_0970.jpg

I believe that this is for the aft stand support pattern.

100_0972.jpg

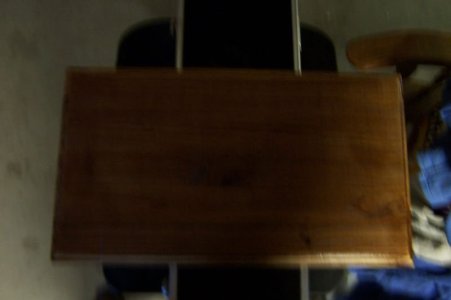
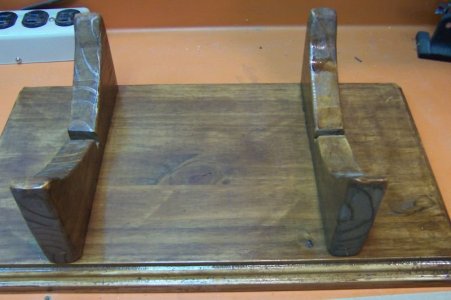
This is the finished base of the cradle before I installed the two supports. Looking directly at the top.

100_0973.jpg

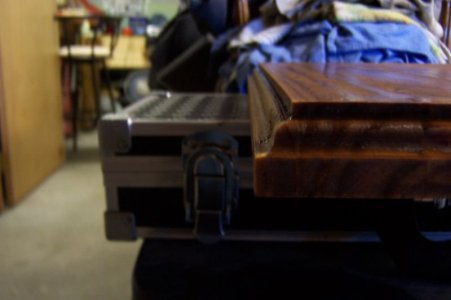
An angle showing the router shape of the base cradle.

100_0977.jpg

An inspection of the mast positioning on the main decks. I had almost completed the assembly of the foremast. Only three more to go.

100_0978.jpg

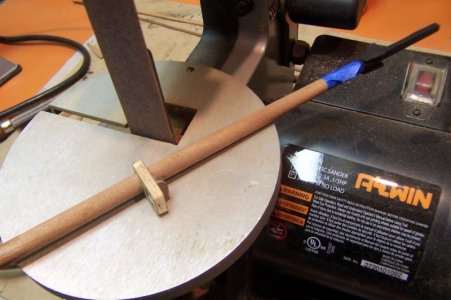
A closeup of the Bowsprit position, before I had even sanded the dowel. I definately liked the cream color better than the vivid yellow.

100_0980.jpg

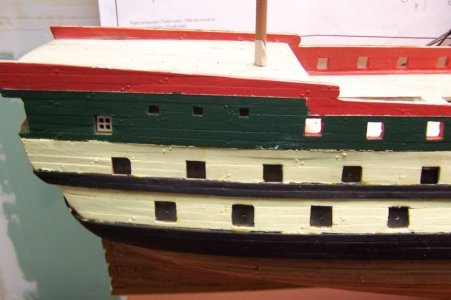
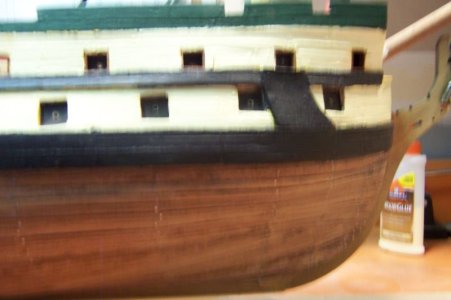
Showing the almost final painted hull at the starboard quarterdeck section.

100_0982.jpg

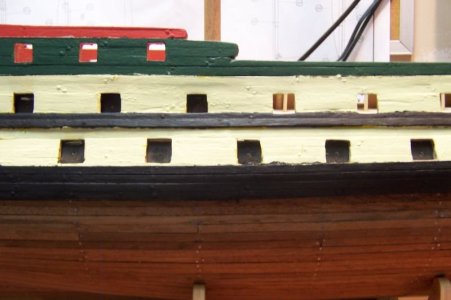
Showing the almost final painted hull at the starboard midship section.

100_0983.jpg

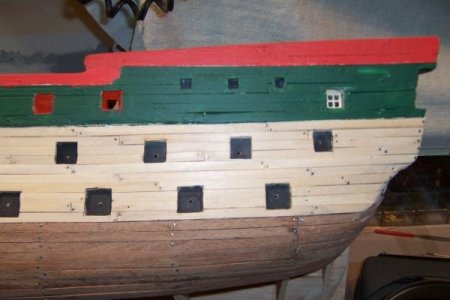
Showing the almost final painted hull at the starboard fore section.

100_0984.jpg

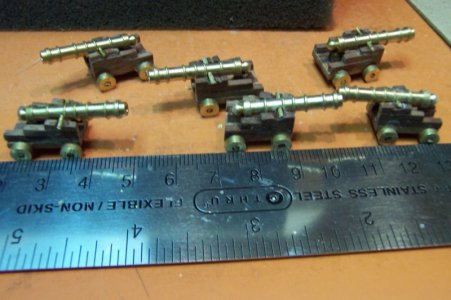
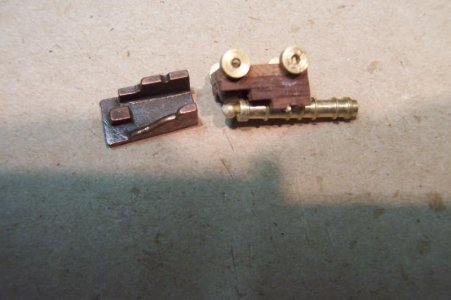
Started to assemble the guns, Ocre suppled well turned barrels and brass wheels. The accurate laser cut walnut carriges in three pieces was a treat to use. I believe that there were two or three sizes of milled brass guns, plus the brass half-barrel pieces used to simulate the lower guns.

100_0986.jpg

A faulty piece I had to recreate from scratch walnut I had laying around the shop. A smaller gun is shown here, for the upper gun deck. The longer guns were for the middle gundeck. Oh come to think of it, I choose to scratch build the smaller gun carriages based on the molded metal small gun carriages Ocre included in the kit, they just looked better and matched the larger gun carriages.

100_0987.jpg

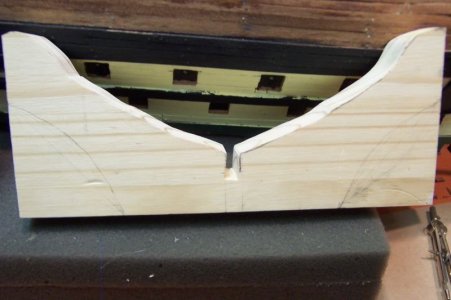
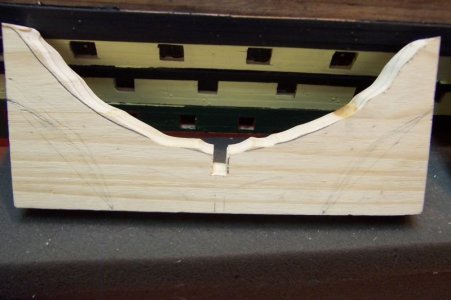
I was finishing up the fore and aft display cradle support templates to use to trace the actual final supports cuts. I cut 1" thick wood stock to match the paper templates shown previously. Took some additional grinding / sanding to get the display supports looking nice and matching the Montaness hull shape. This is the fore hull cradle support.

100_0988.jpg

This is the aft cradle support.

100_0989.jpg

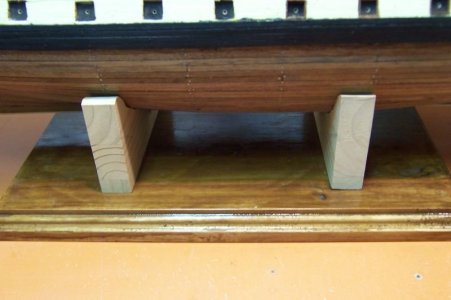
After precise shaping using sanding and grinding rotating tools, I fitted them to the hull and when satisfied stained or panted the two supports.

100_0991.jpg


100_0992.jpg

Test fitting of the display cradle supports onto the display cradle base.

100_1000.jpg

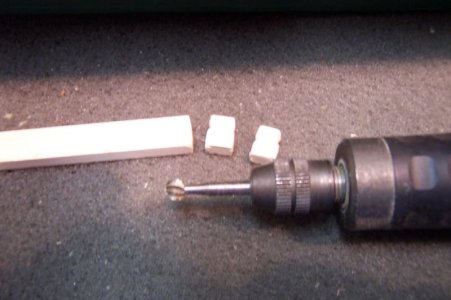
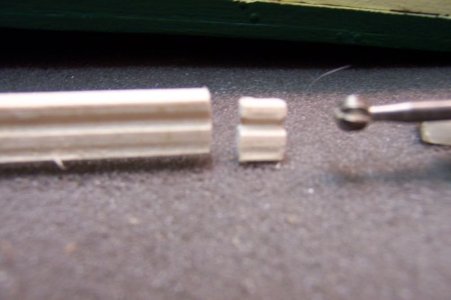
While waiting for varnish to dry I used this supplied beam to shape certain ballistrades needed for later deck detail assembly

100_0996.jpg

Using a rotary grinder I shaped the entire beam.

100_0993.jpg

To cut into the specific sizes needed .

100_0997.jpg

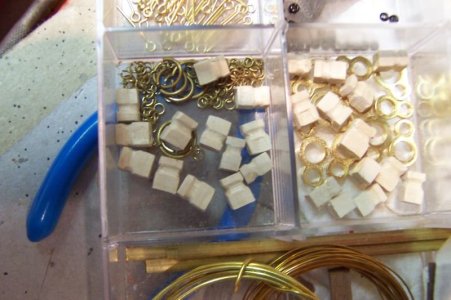
All needed cut pieces for the model.

100_0995.jpg

Thank you for looking in. Until next time.
 
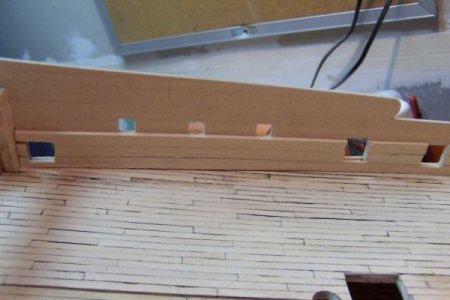
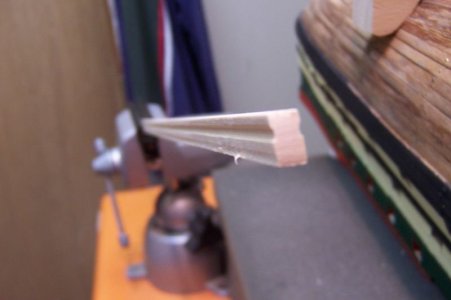
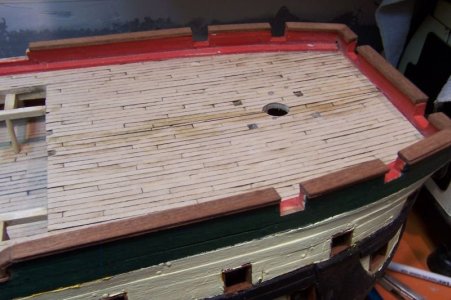
Handrailing installation around the quarterdeck. I used a rotary grinder to carve the groove along the edge of the supplied walnut plank.

100_1001.jpg

Closeup view of the carved groove along this handrail plank.

100_1002.jpg

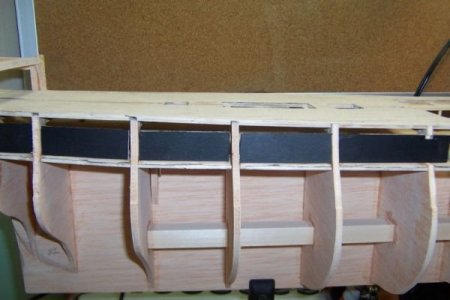
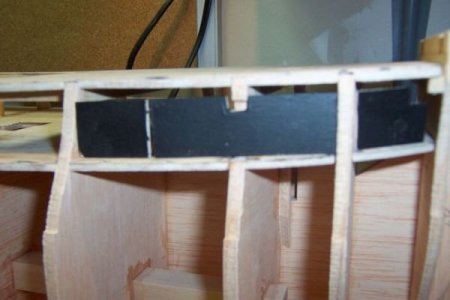
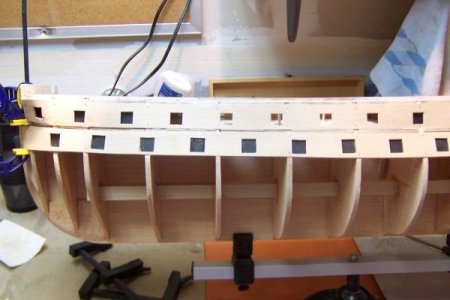
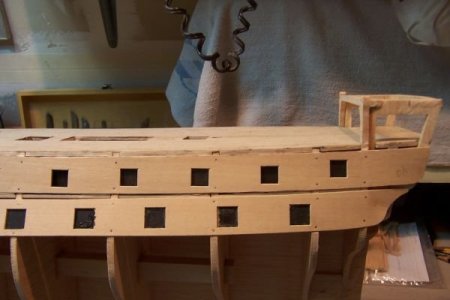
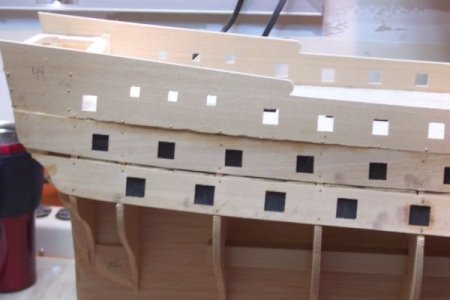
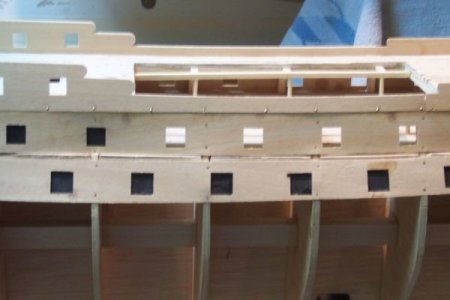
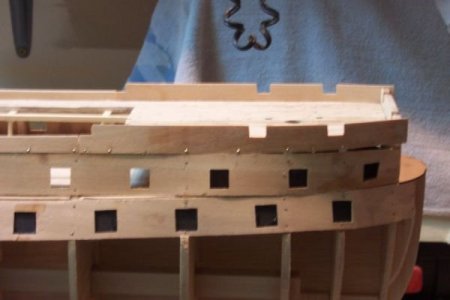
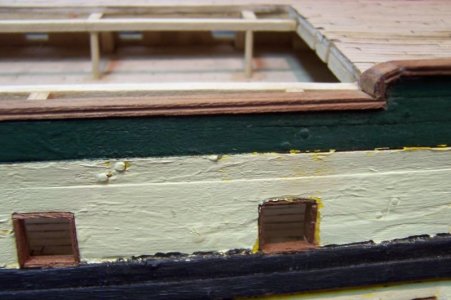
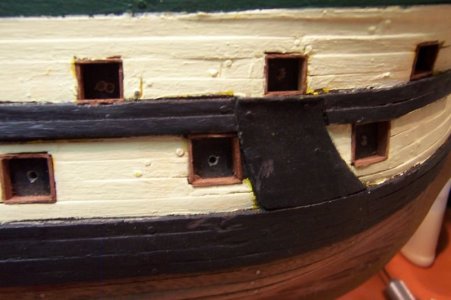
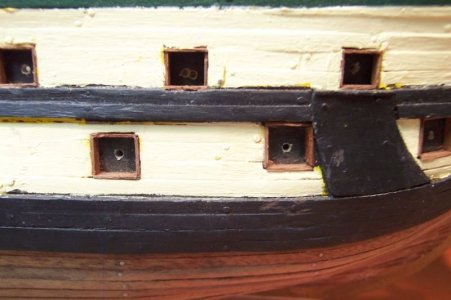
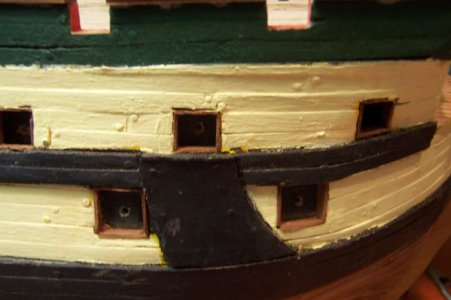
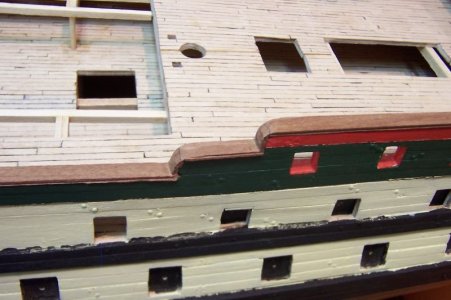
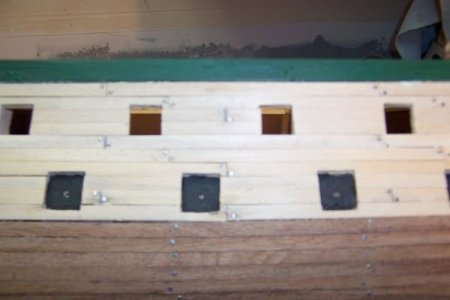
Closeup of the upper and lower gunports on the port side. The metal half-gunbarrels will be inserted into these drilled holes in the lower gunports and black painted walls will simulate a dark interior of the lower gundeck.

100_1003.jpg

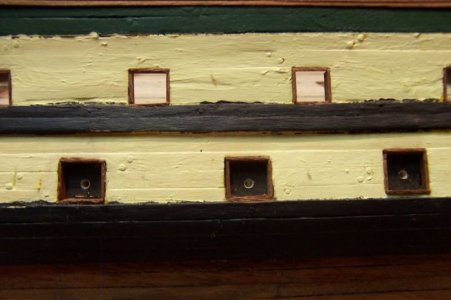
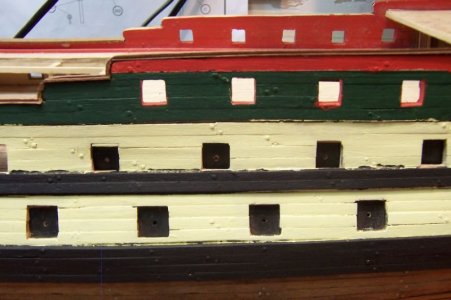
Closeup of the middle and lower gun decks amidships.

100_1004.jpg

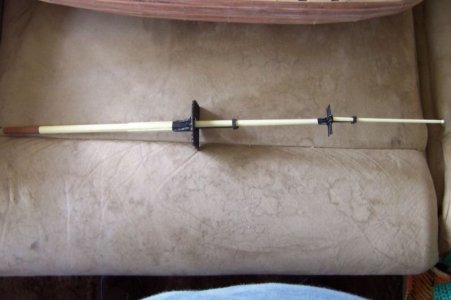
Earlier in the posting I showed some of the foremast assembly, this picture is the dry fitted foremast, just prior to adding glue to the foremast itself completing one of four masts / bowsprit parts. Note the crooked upper foremast piece, the final part was straight and true.

Foremast.jpg

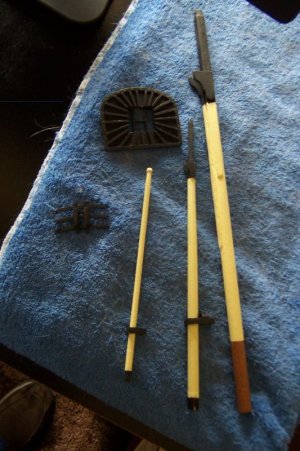
The three main parts of the foremast; upper, middle and lower tapered dowels, painted and ready for final foremast assembly.

Foremast_Pieces.jpg

Foremast top, painted.

Foremast_top_painted.jpg

Top gallant formast royal mast.

Foremast_topgallant_royal_mast.jpg

Foremast trestletree assembly.

Foremast_trestletree_assembly_painted.jpg

Lower formast:

Lower_foremast.jpg

Modified plan

ModifiedPlan.jpg

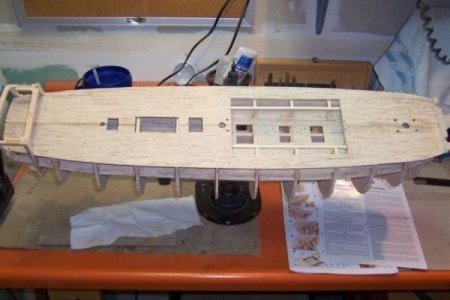
Overhead view of starting main deck planking.

Mont_over_view.jpg

Another view of the deck planking.

Mont_over_view_2.jpg

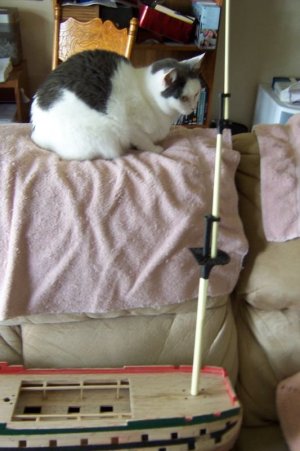
Completed foremast assembly with friend, (since deceased).

Montanes_Foremast.jpg

Assemble foremast with onlooker.

Montanes_foremast_dry_fitted.jpg

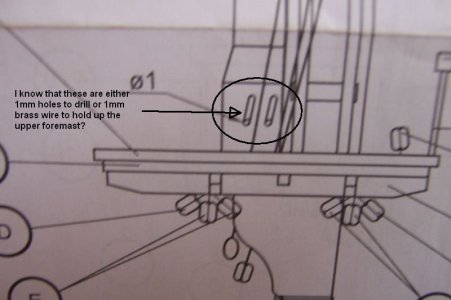
A couple plan shots for thinking.

Montanes_foremast_Trestletree_Detail.jpg

Montanes_foremast_Trestletree_Detail.jpg

Upper foremast part.

Upper_foremast.jpg

Montanes_Foremast_Top_Detail.jpg

Montanes_Formast_closer.jpg

Montanes_planking_in_process.jpg
 
I finished the final cradle for this model. Stained and varnished with model sitting in it comfortably.

Montanes_Build 013.JPG

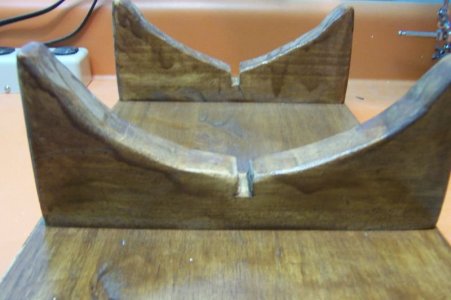
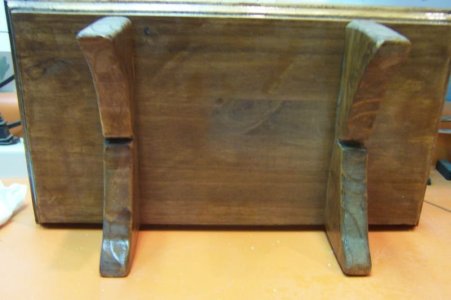
Finished Cradle Closeup. Three views.

Montanes_Finished_Cradle_1.jpg

Montanes_Finished_Cradle_2.jpg


Montanes_Finished_Cradle_3.jpg

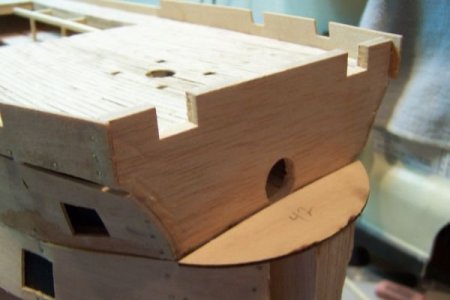
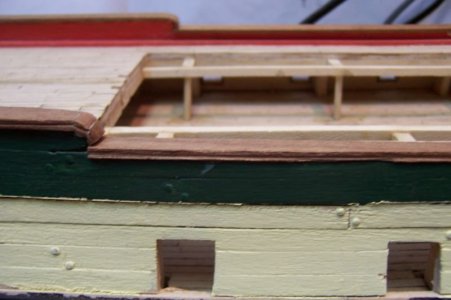
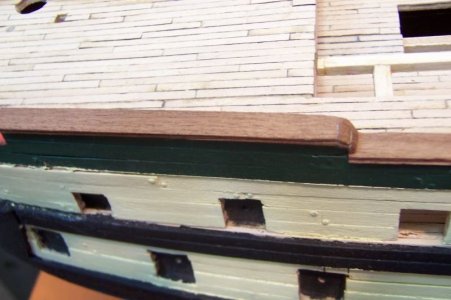
Started framing the gunports both lower and upper gunports. Walnut strips angled cuts to be squared up to the gunports.

Montanes_GunPort_Frames_2.jpg

Portside bow end Handrailing assembly.

Montanes_Port_Handrail_2.jpg

Handrailing installation, I think it looks good. Port handrails amidship.

Montanes_Port_Handrail_3.jpg

Handrailing installation starboard side along the quarterdeck.

Montanes_Port_Handrail_5.jpg

Starboard bow gunport framing assembly.

Montanes_Stbd_bow_Gunport_frames.jpg

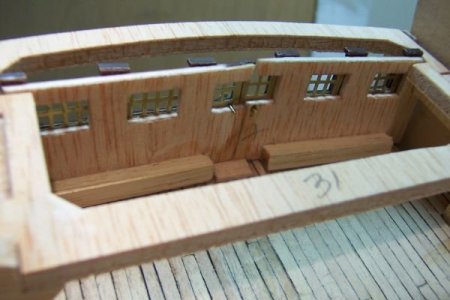
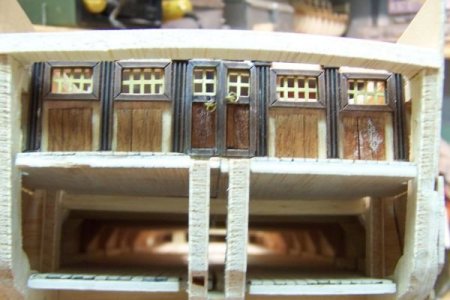
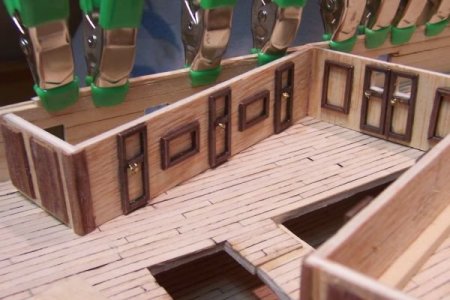
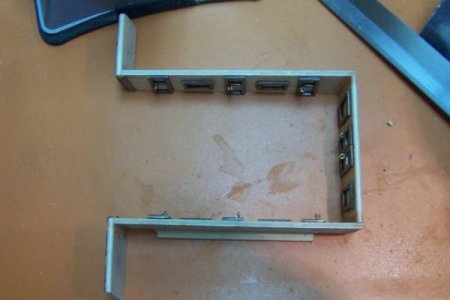
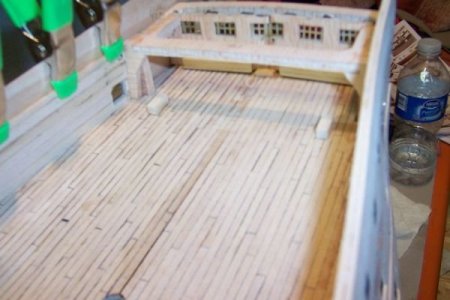
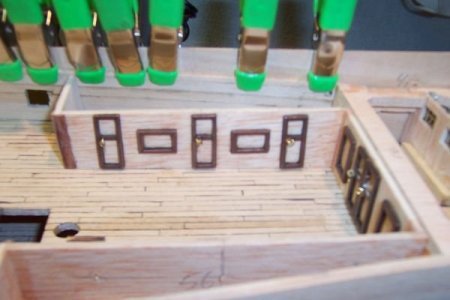
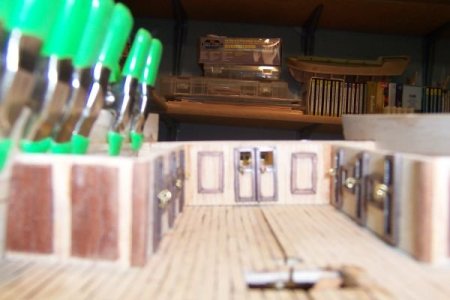
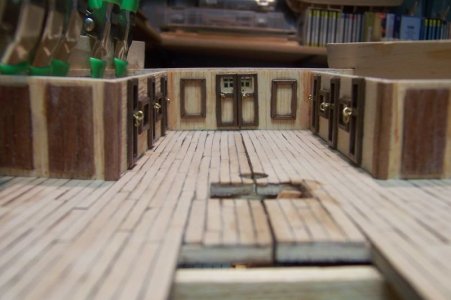
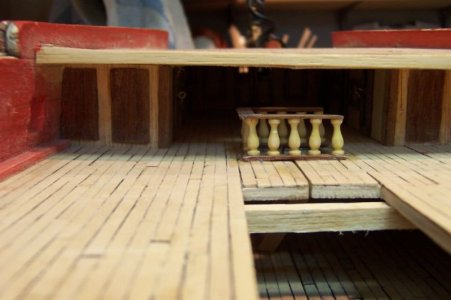
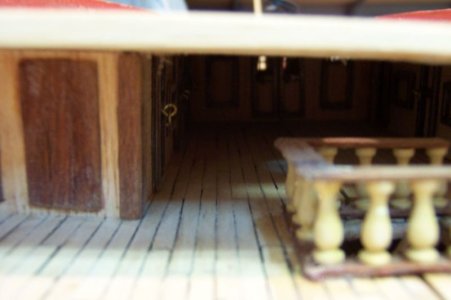
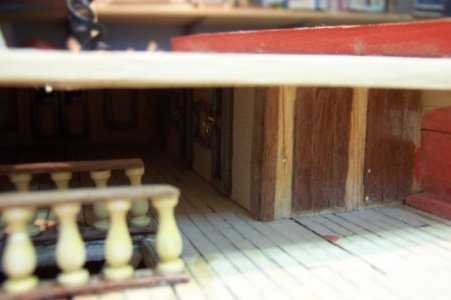
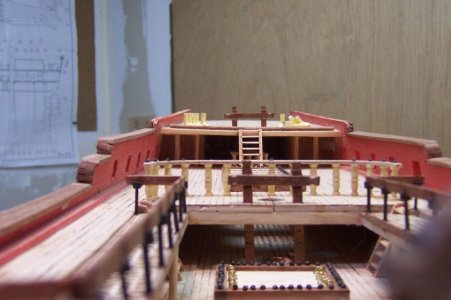
Officer quarters under the quarterdeck, details of brass hinges and brass hoops as doorknobs.

Montanes_Under_quarterdeck_bulkheads_1.jpg

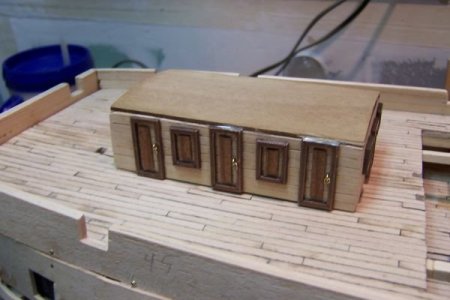
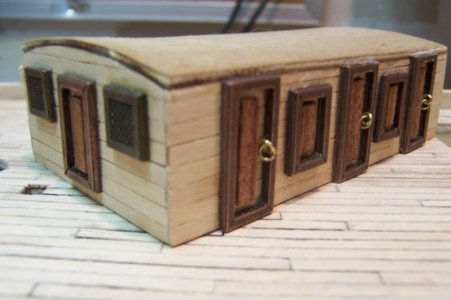
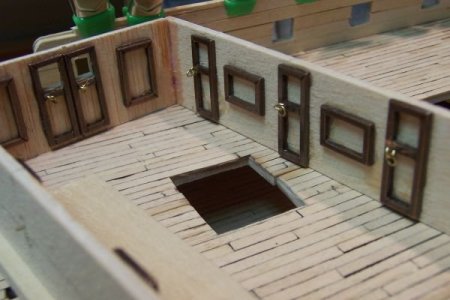
Officer quarters under the quarterdeck, pity the details of brass hinges and brass hoops as doorknobs are not too visible.

Montanes_Under_quarterdeck_bulkheads_2.jpg

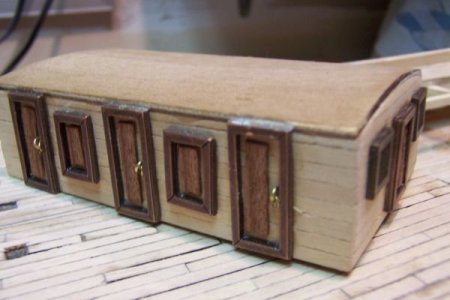
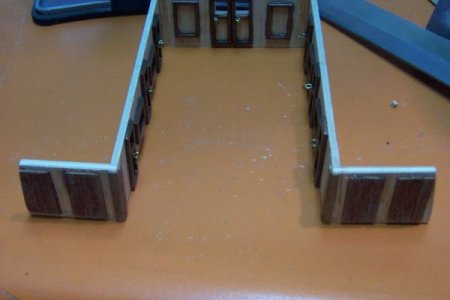
Looking toward port side.

Montanes_Under_quarterdeck_bulkheads_3.jpg

Montanes_Port_Handrail_4.jpg

Montanes_Port_Handraile_1.jpg
 
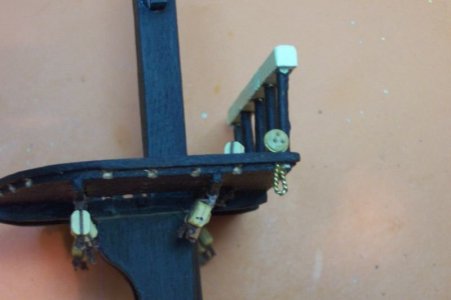
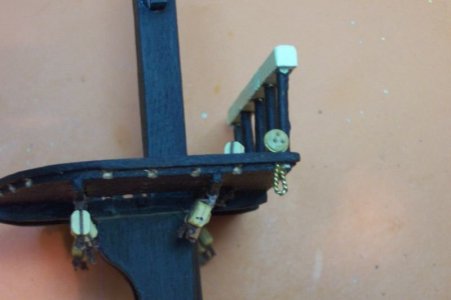
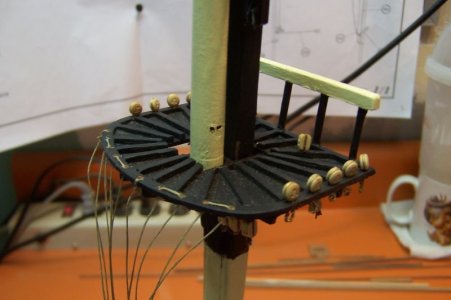
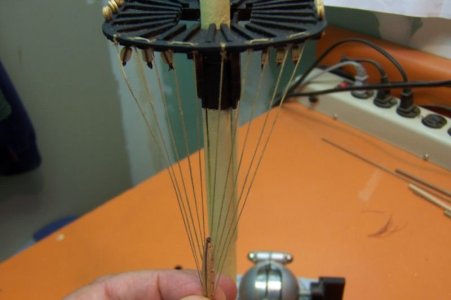
I showed some of the foremast work in a previous post so here are some details of assebling the Foremast. This photo of Lower Foremast top with blocks and deadeyes ready for initial rigging.

100_0947.jpg

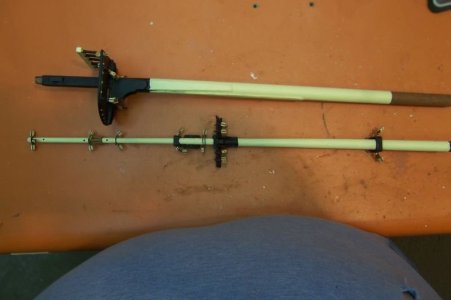
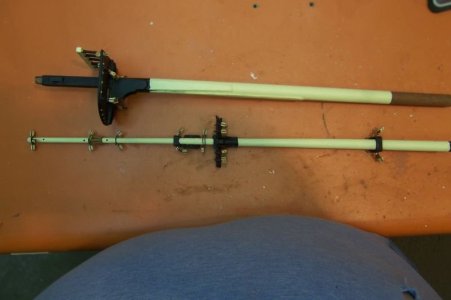
Here is the lower foremast, middle foremast with top and the upper foremast before final assembly.

100_0949.jpg

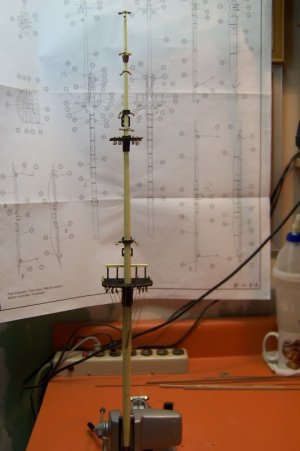
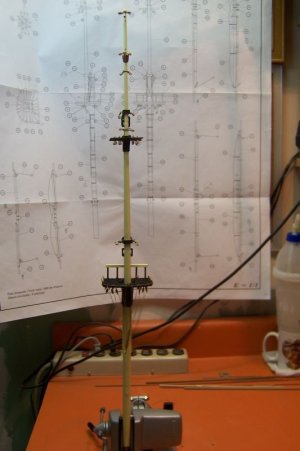
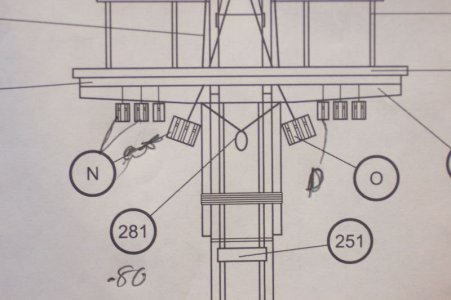
Inspection and comparison of the fully assembled foremast against the actual plan of said mast. The kit included the lower foremast top, foremast tresletrees.

100_0950.jpg

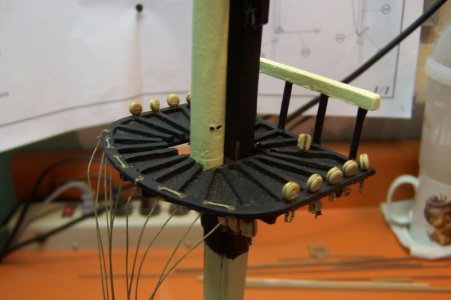
A closup photo of the lower foremast top, with ALL of the deadeyes attached.

100_0951.jpg

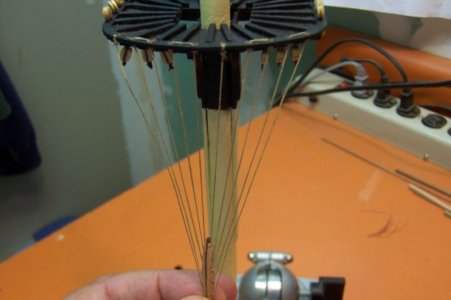
A view of the lower foremast top crowsfeet? (I think it is called but could be wrong there),

100_0952.jpg

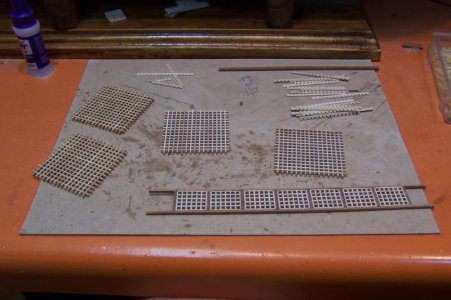
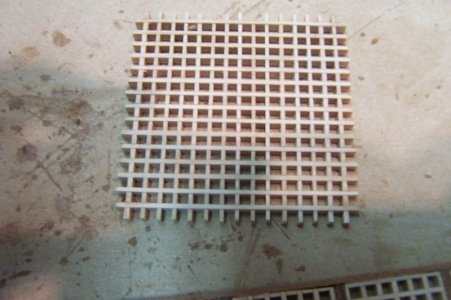
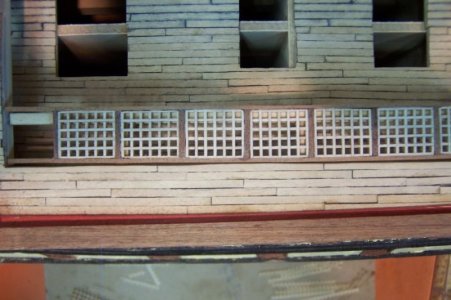
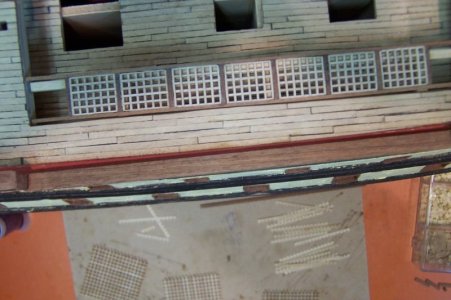
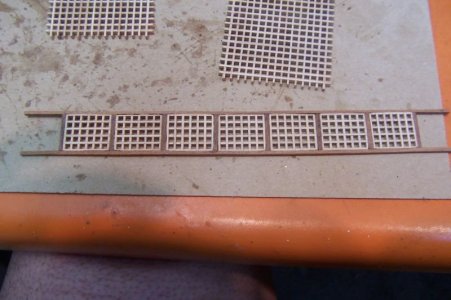
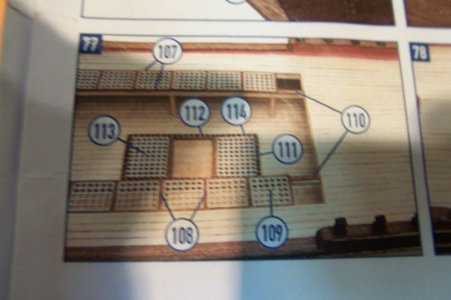
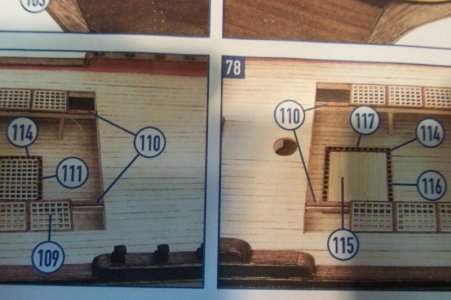
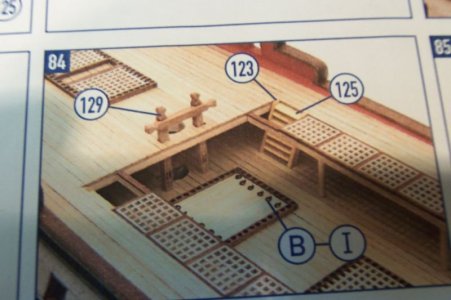
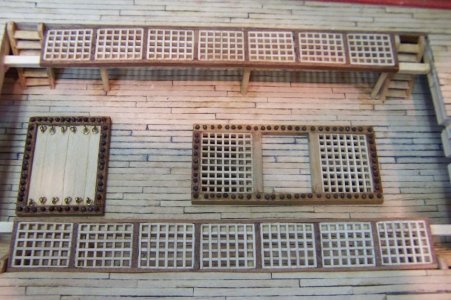
Putting together the laser cut gratings included with the kit, most impressive how it fit all together. These were cut to a size to fit the numerous hatches along the main and lower decks.

May04work 001.JPG

The assembled part shown at the bottom of the photo has a twin for both the port / starboard lower deck pit.

May04work 002.JPG

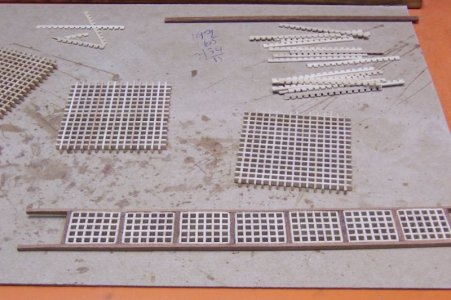
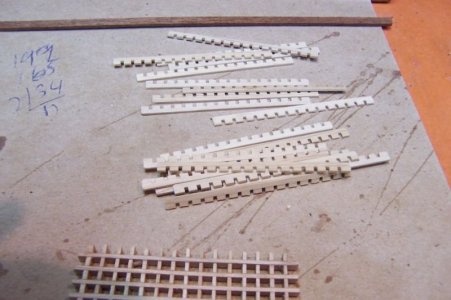
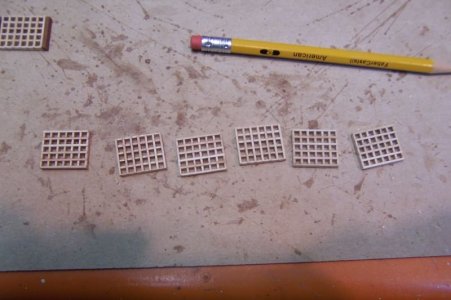
The laser cut grating parts included with the kit. I just assembled all I could for cutting and fitting each hatch opening seperately.

May04work 003.JPG

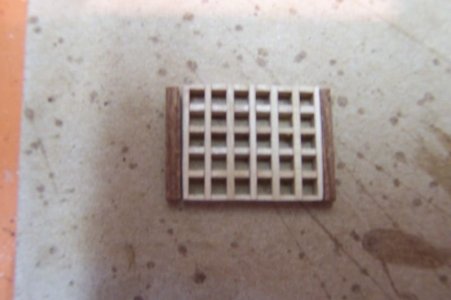
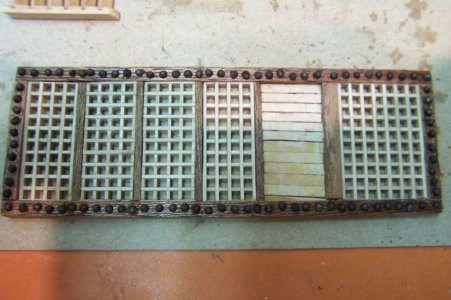
I believe that I had five or six of these parts once the glue had dried. I had to cut them down to fit the hatch openings on the decks. I used the included walnut strips to outline all of them. It added a easily visual contrast between the white and dark wood.

May04work 004.JPG

The assembled part dry-fitted in place to ensure that it did indeed fit onto the model. Note the other deck hatch openings in that exposed lower deck.

May04work 006.JPG

A couple of views of the port grating, still dry fitted I think.

May04work 007.JPG

May04work 008.JPG

Closeup of the part and how it fitted onto the model. I had to measure two or three times to get the piece just right and lots of fine grain sanding.

May04work 009.JPG

I covered the exposed beam here later with a walnut strip. Showing fore and aft ends on the port side.

May04work 010.JPG


May04work 011.JPG

The process of cutting the gratings to match the required size for those long assembled pieces for both Port / Starboard side.

May04work 016.JPG

May04work 017.JPG

May04work 018.JPG

View attachment 626839

May04work 005.JPG

Thanks for checking out this post. The below photos are of the color picture reference sheet that Occre supplied with the kit.

May04work 012.JPG

May04work 013.JPG

May04work 014.JPG

May04work 015.JPG

Except for this one, I realized that I had forgotten to remove these unused photos before I posted.

View attachment 626838
 
Last edited:
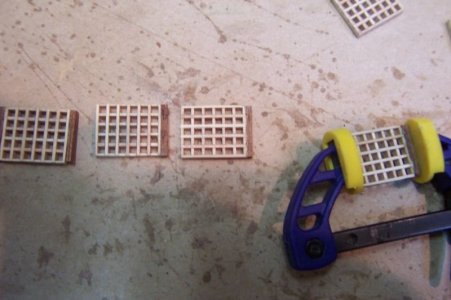
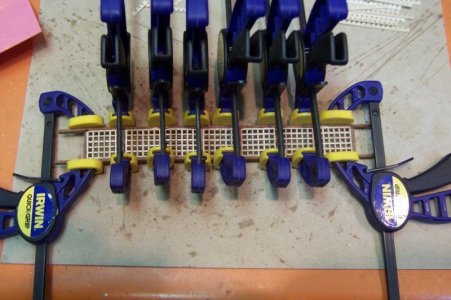
I did not include thiis important photo that shows the clamps I used to assemble the piece detailed in the previous post.

May04work 023.JPG

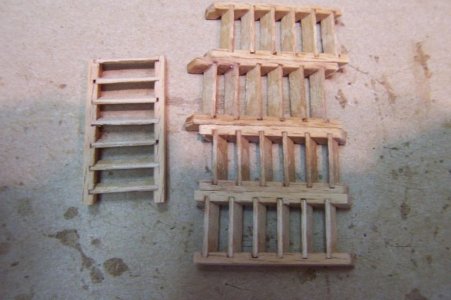
All of the asssembled ladders required for the main and lower deck are shown here. Not sanded or painted just assembled ready for installation.

Montanes_Build All completed ladders.jpg

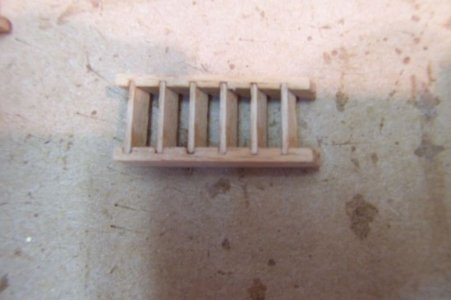
A close up view of one typical ladder, I will have to cut to fit each ladder into thier perspective locations on the model.

Montanes_Build Finished ladder.jpg

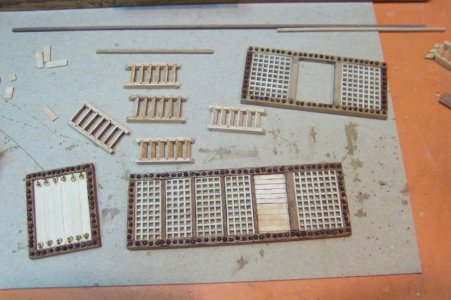
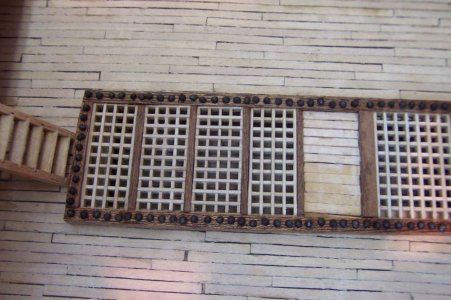
A photo of all the ladders and grated hatch covers for the lower deck. The kit included 100 or so of mini-iron cannonballs, which I had to round out a half-circle with a rotary grinder for each cannonball installed.

Montanes_Build Ladders and hatch covers.jpg

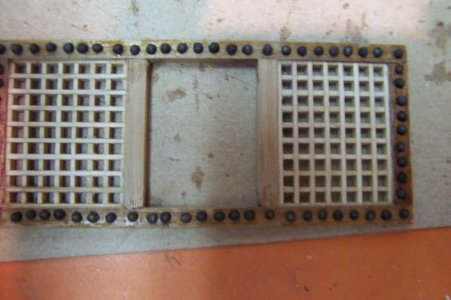
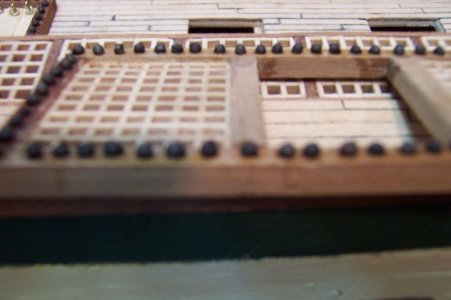
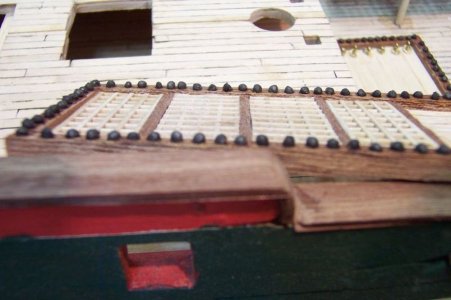
A closeup of the cannonballs installed onto one of the lower deck hatch covers.

Montanes_Build Lower Deck grate hatch.jpg

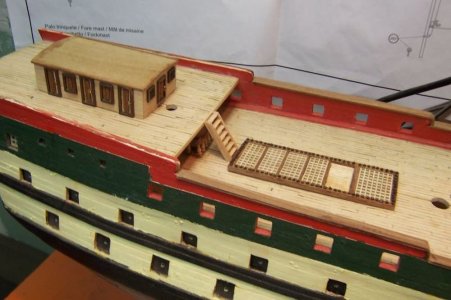
A view of the forward section of the lower deck and foredeck.

Montanes_Build Lower deck hatch grate and ladder placement.jpg

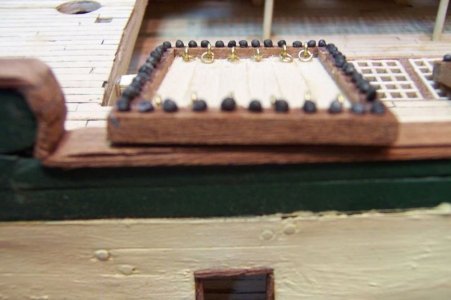
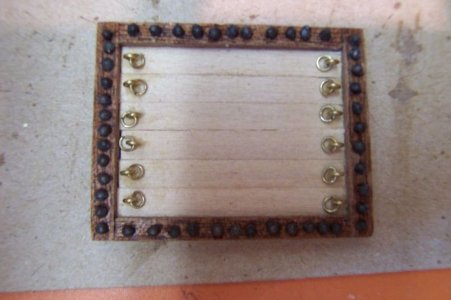
The kit called this the main cargo hatch, before installation onto the actual lower deck.

Montanes_Build Lower deck main hatch cannon ball detail.jpg

Aerial view of the main hatch detail, with cannonball and brass eyelets installed.

Montanes_Build Lower deck Main Hatch.jpg

A view of the quarterdeck officer / senior quarters deckhouse, just aft of the lower deck hatch.

Montanes_Build Quarter deck view of ladder grate placement.jpg

Montanes_Build Lower main deck ladder and hatch grates.jpg

Montanes_Build Slose up detail of cannon balls.jpg

Montanes_Build Upper deck grate cannon ball details.jpg

Montanes_Build upper deck grate hatch position.jpg

Montanes_Build Upper deck Main Grate hatch.jpg
 
Hello Charles. I have this OcCre kit ready to start once I finish my OcCre Amerigo Vespucci. I am going to bookmark your build for future reference. Thanks for posting. Your build really looks great.

Bill
 
Hello Charles. I have this OcCre kit ready to start once I finish my OcCre Amerigo Vespucci. I am going to bookmark your build for future reference. Thanks for posting. Your build really looks great.

Bill
These current posts are actualy from 2014, when real life issues collided with my free time. I have reached 7 decades old, (in Oct) and decided to re-energize myself to allow me to drive annually to Utah, Wyoming and ND. I lost my wife in March of 2010, and my dad passed labor day 2023, and I was fearful of driving to WY for his funeral so, two of my four younger brothers (I am the oldest) decided to pick me up and take me there, and another one took me home.

While there I was re-introduced to four of my nieces and nephews who I haven't seen in about seven years or more. I decided then and there to get my stuff together, lose weight, experience life cheerfully and be able to visit my mother and those nieces and nephews that I adore each year, which I have been doing, just got back from the trip for this year. I have been cleaning up my hobby shop in the garage and planning on moving it into my house to the empty closed in Car Port, it has more space, (12 x 24 feet), and I can stay indoors instead of going accross slippery snow to the garage every day.

The Montanes survived the years of neglect as the small hobby room in the gargage, (6 x 10 foot, is fully insulated) and aside from a few burned out bulbs and cobwebs, I started posting the build log on this site. I also had photos from three of the five kits I have actually comlpeted since 1976, when I started this hobby while serving in the US Navy. You can look at them should you wish; The Mantua Santa Maria, Mamoli Golden Hind, Mamoli Yacht Mary, and Corel Half Moon. I did not have pictures of the Artesania Latina kit of the revolutionay coastal patrol gunboat called Dallas, which I gave to my Pastor in California upoe moving out out of that stat back to Wyo / Montana.

If you read my signature, you will find that besides the I had purchased about 13 kits since 2010, the Montanes is the sixth one I started. Glad you bookmarked it as I am almost caught up with the past photos and will start that build again in a few weeks. Thank you for your visit, I'll be watchin for your posts. Whew that was a long one, sorry for the length but happy to hear from you and thank you.
 
Thanks for your reply Charles. I smiled when I read where you said you reached the 7 decade mark. I just had my 74th birthday yesterday. A few years ago my wife and I decided to do a road trip to ND, WY, and UT. Beautiful part of the country especially western ND.
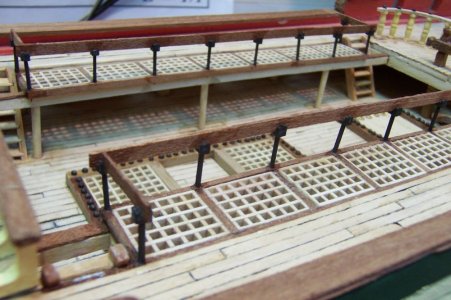
 
Thanks for your reply Charles. I smiled when I read where you said you reached the 7 decade mark. I just had my 74th birthday yesterday. A few years ago my wife and I decided to do a road trip to ND, WY, and UT. Beautiful part of the country especially western ND.
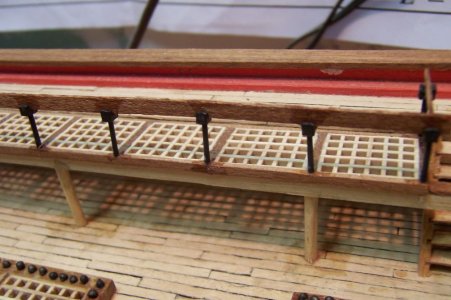
Yeah, I am not the ONLY 'elderly' person here. Happy belated birthday, may you be blessed with many, many more.

 
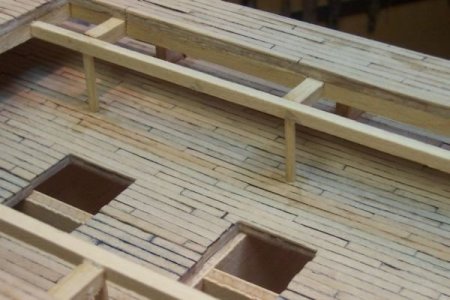
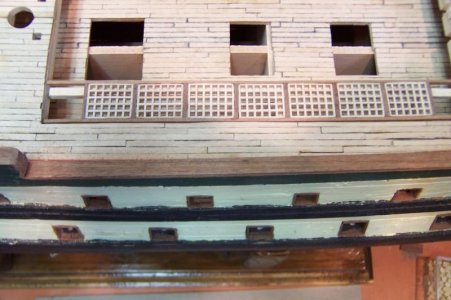
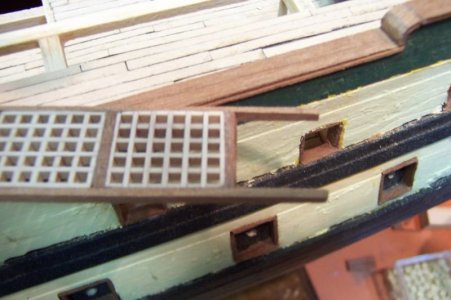
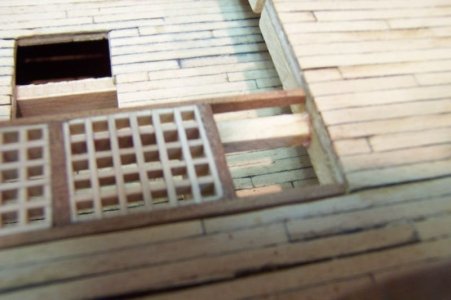
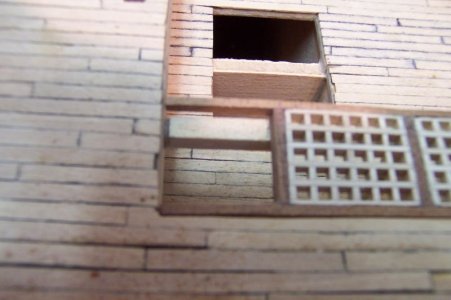
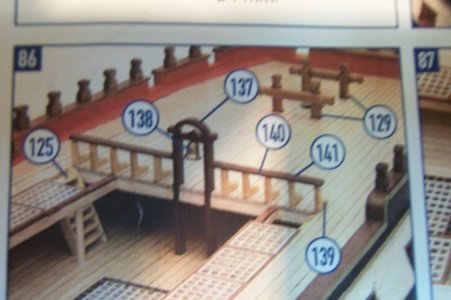
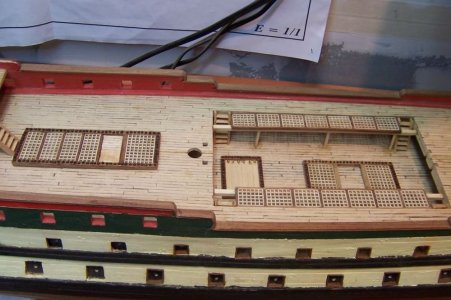
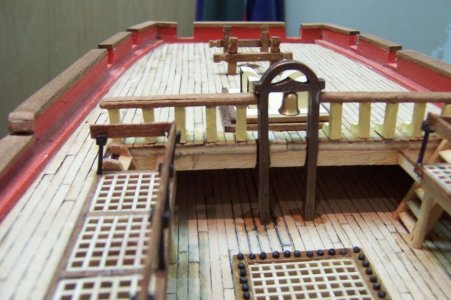
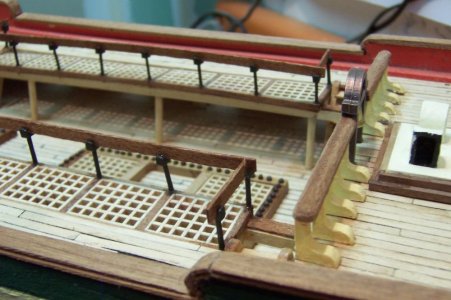
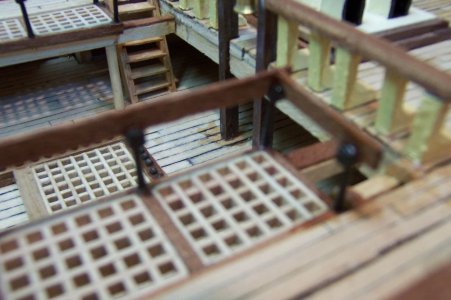
It was time to assemble some of the railings and deck details of the lower, quarter, and fore deck details. Afterall I had completed some of the parts and just needed to add them to the model. The port and starboard railing and deck grating for the lower deck opening. I placed a walnut strip on top of the exposed beam to disguise it somewhat.

Montanes_Jun_17 001.JPG

I believe that there are 2nd Battery guns under that grating and deck.

Montanes_Jun_17 002.JPG.

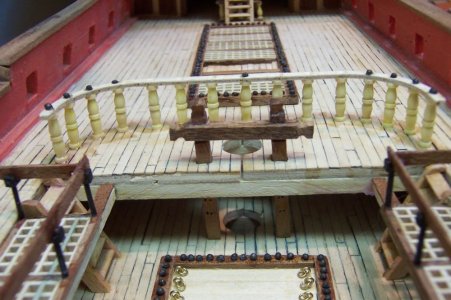
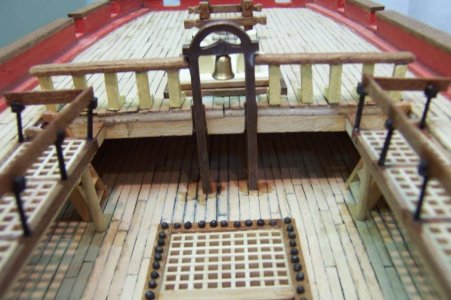
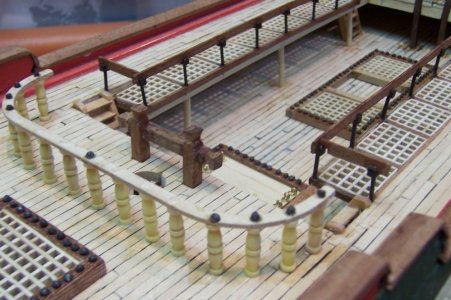
The railing and balustras of the after lower deck facing the quarterdeck.

Montanes_Jun_17 003.JPG

The opposite of the above picure; the lower deck curved railing facing the forward at the foredeck.

Montanes_Jun_17 004.JPG

A more centered photo.

Montanes_Jun_17 005.JPG

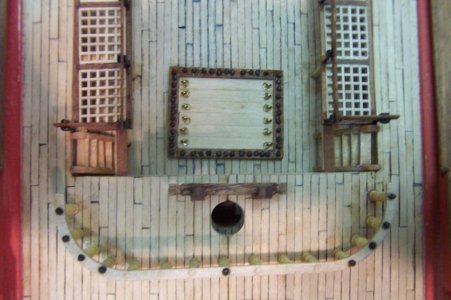
What the kit called the main cargo hatch. I see now that it wasn't quite squared with the deck.

Montanes_Jun_17 006.JPG

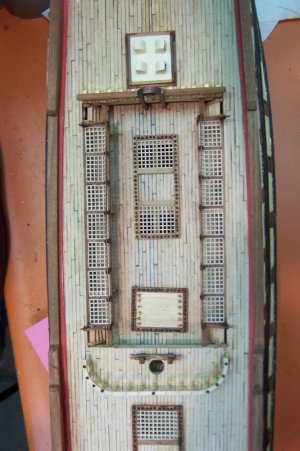
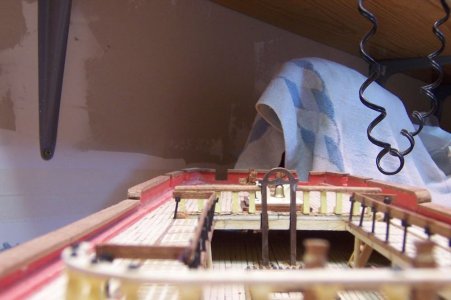
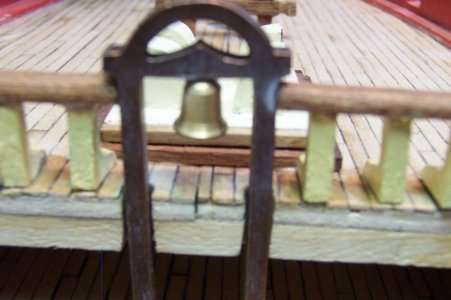
An aerial view of the lower deck assembly for orientation. The bell tower is facing the galley exhaust vents forward, (the white hatch), at the top of the photo, while the main hatch and curved railing are aft of lower deck opening which makes the Quarterdeck at the bottom of Photo.

Montanes_Jun_17 007.JPG

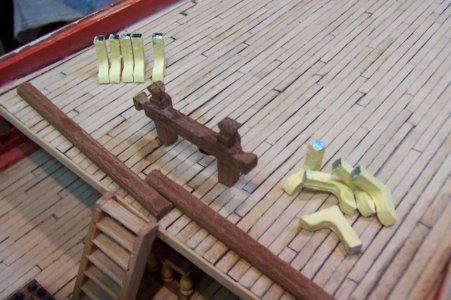
The forward railing and balustre pieces for the foredeck railing assembly.

Montanes_Jun_17 008.JPG

The assembled forward railing installed.

Montanes_Jun_17 015.JPG

Detailed photo of the forward railings.

Montanes_Jun_17 017.JPG

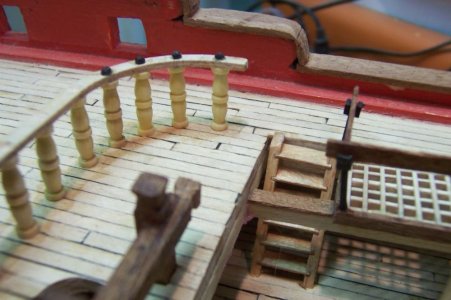
Photo showing the curved railing at the aft end of the lower deck opening.

Montanes_Jun_17 018.JPG

Photo of the installed forward railing assembly.

Montanes_Jun_17 019.JPG

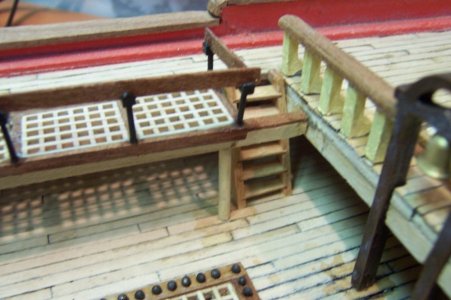
Ladder details.

Montanes_Jun_17 020.JPG

More ladder detail, the other side.

Montanes_Jun_17 021.JPG

Again ladder details with the curved quarterdeck area railing.

Montanes_Jun_17 022.JPG

Thank you for looking in.

Montanes_Jun_17 016.JPG
 
Back
Top