-

Win a Free Custom Engraved Brass Coin!!!
As a way to introduce our brass coins to the community, we will raffle off a free coin during the month of August. Follow link ABOVE for instructions for entering.
You are using an out of date browser. It may not display this or other websites correctly.
You should upgrade or use an alternative browser.
You should upgrade or use an alternative browser.
Workshops My shipyard/your shipyard
- Thread starter zoly99sask
- Start date
- Watchers 95
-
- Tags
- workshop
G'day Zoly
Great place to do work, but so clean. My area is disgusting and in the next couple of weeks wife and I are going to rearrange the whole area. That os when I'll be posting mine shipyard.
Happymodeling
Greg
Great place to do work, but so clean. My area is disgusting and in the next couple of weeks wife and I are going to rearrange the whole area. That os when I'll be posting mine shipyard.
Happymodeling
Greg
- Joined
- Jun 30, 2012
- Messages
- 1,418
- Points
- 433

Bob do not need so mach space....his ships are small
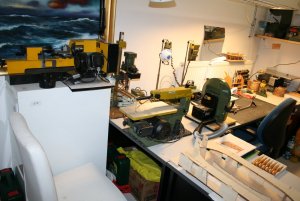
This is my workshop, some months ago we moved to another appartment and I am so happy, that I have a 30qm room in the cellar only for me. The arangement of everything is not perfect, but the time will show on which places which tool or machine should be. But I know, that I will need another additional table.
Total view
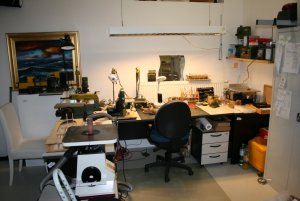
My main working area, table saw, band saw etc.
temporary stored
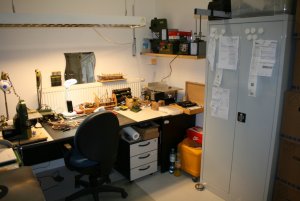
The other side with the sanders and the scroll saw in place for working, direct connected to the vakuum cleaner
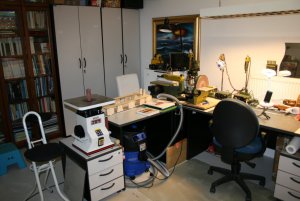
For the lathe and the milling machine I need an other place, in moment only temporary
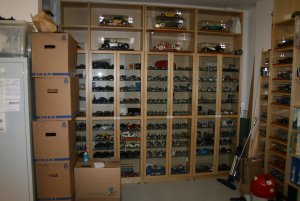
And this is the other hobby I have....collecting historic model cars.....
This is my workshop, some months ago we moved to another appartment and I am so happy, that I have a 30qm room in the cellar only for me. The arangement of everything is not perfect, but the time will show on which places which tool or machine should be. But I know, that I will need another additional table.
Total view

My main working area, table saw, band saw etc.
temporary stored

The other side with the sanders and the scroll saw in place for working, direct connected to the vakuum cleaner

For the lathe and the milling machine I need an other place, in moment only temporary

And this is the other hobby I have....collecting historic model cars.....

Some of us showed already their workshop or desk and it is very interesting to see how and where everybody of our community is working and more important enjoying our hobby.
It would be nice if we could proceed with this topic and you also share your working place.
It is not important if it is clean and organized, or if it is a small chaos, dirty or dusty, especially if it is dust from sanding
Make a photo and share your place......we are looking forward to see yours
It would be nice if we could proceed with this topic and you also share your working place.
It is not important if it is clean and organized, or if it is a small chaos, dirty or dusty, especially if it is dust from sanding
Make a photo and share your place......we are looking forward to see yours
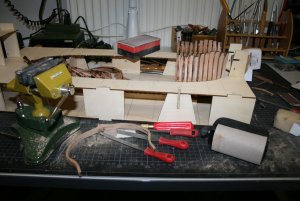
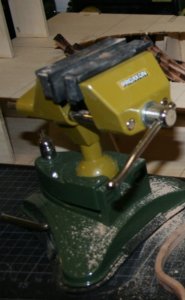
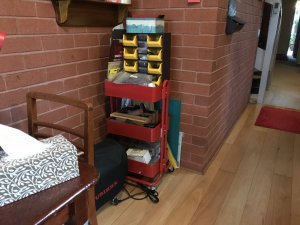
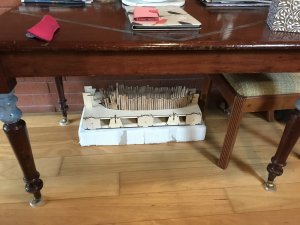
Here is my improvised workshop substitute when not active. Most of my tools are kept in the red trolley and the model sits under the kitchen table. Luckily we are having a dry and warm autumn and makes working outside comfortable. I cannot bear to do the sanding inside. I also have one of the small Proxxon vises which I attach to my kitchen bench when required.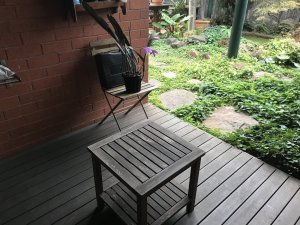



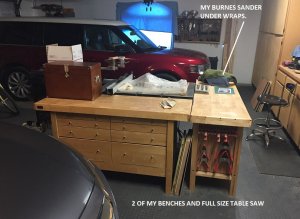
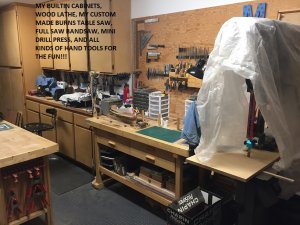
I have a garage shop. one day Ill add pictures. Right just had knee surgery. Just trying to walk again. HAHA!
I hope that your knee operation went to plan. It's hard not to be able to get around, and I'm talking from experience.
I have a garage shop. one day Ill add pictures. Right just had knee surgery. Just trying to walk again. HAHA!
Do what you are told, especially from your wife, and you will be on your legs very soon.
Havagooday
Greg
WOW, you guys sure have impressive workshops.
My work space is both cramped and a hotchpotch. The only time I clear the tabletop is when I have something too big to fit on it without something getting in the way.

After this post there should not be any excuse for others thinking their shipyard is too messy for show
My work space is both cramped and a hotchpotch. The only time I clear the tabletop is when I have something too big to fit on it without something getting in the way.

After this post there should not be any excuse for others thinking their shipyard is too messy for show
a cat will not find her little ones there ......... I'm just kidding SwabbieWOW, you guys sure have impressive workshops.
My work space is both cramped and a hotchpotch. The only time I clear the tabletop is when I have something too big to fit on it without something getting in the way.

After this post there should not be any excuse for others thinking their shipyard is too messy for show
WOW, you guys sure have impressive workshops.
My work space is both cramped and a hotchpotch. The only time I clear the tabletop is when I have something too big to fit on it without something getting in the way.

After this post there should not be any excuse for others thinking their shipyard is too messy for show
G'day Peter
Your work area looks sparkling clean compare to mine, well my old shipyard.
I've been working on a new one for the last 7 (solo, that is) days.
It's just about finished and I'll post an update very soon.
Havagoodone all
Greg
Last edited:
Peter mine looks like yours only more cluttered!l
Dave don't be shy to show us your shipyardPeter mine looks like yours only more cluttered!l
My ship yard is finally completed. It has taken my son and I, over 4 week to complete the transformation and I'm very please with the result.
These 2 photos below show the whole area and the only difference is that I took off the dust sheet that is on the RC building cradle.


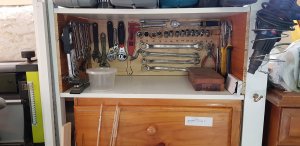
The next photo is the my new spanner and sockets shadow boards.
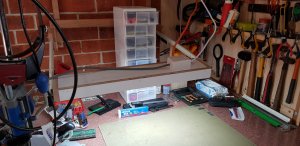
The next series of photo shows the 2 lights can move both vertically and horizontally, so I can have the light source where I need it the most.
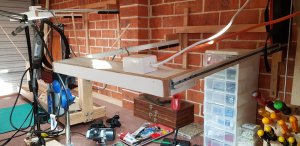
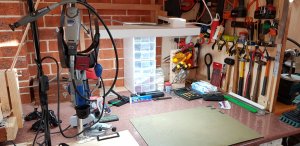
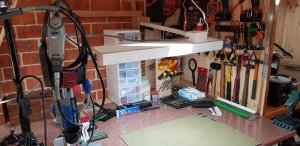

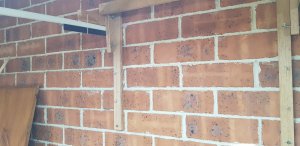
And this shows how the vertical adjustments works.
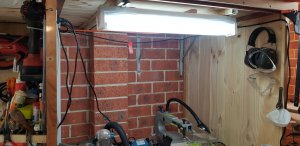
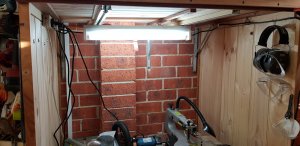
The photos of my dust both florescent light shows it can slide back one forth on two tracks.
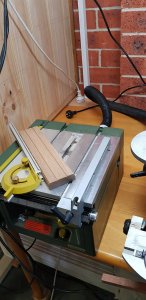
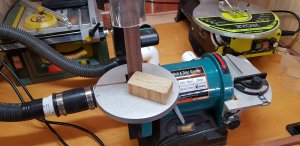
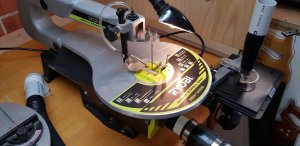
All of my tools which makes dust that have an dust exhaust, (would you believe have different size mouths), so we used a 32mm PVC pipes and permanently attacked it to the exhausts.
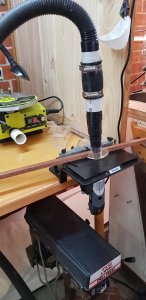
And for my dremel router table, we made an extractor which works brilliantly.
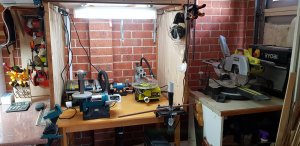
An overall view of my dust boith
I have only one vacuum hose and on the end a rubber joiner was used to go over the 32mm PVC pipes.
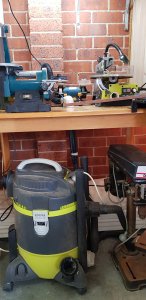
All of the power for my tools are plugged into a power board and the end which goes to the outlet on my extraxtor/vacuum cleaner. When I operate any tool the vacuum turns on and stays on for twenty seconds after the tool is turned off.
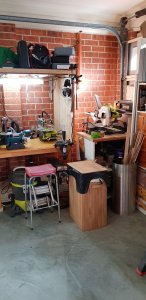
Above shows the corner of my shipyard with the cane rubbish bag and my silver cylinder for my spare timbers.
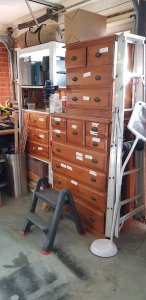
This final photo shows the drawers where I still have to put name tags on so I know what is in, what drawer.

My son, kept on bagging me about the small step ladder, which I use to look in the top drawers. I told him it's not easy to be 'vertically challenged'.
Hope that you all, like my new shipyard.

Happymodeling
Greg
It it wasn't for my son who spent almost his 4 weeks holidays, helping me, I don't know when this would be completed.
I was more of a foreman than a labourer, Jon didn't want it any other way.

The only thing that I have to do is to make new labels for the drawers and to put labels on the toolboxes that are on the top shelf above my socket sets etc..I was more of a foreman than a labourer, Jon didn't want it any other way.
These 2 photos below show the whole area and the only difference is that I took off the dust sheet that is on the RC building cradle.


The next photo is the my new spanner and sockets shadow boards.

The next series of photo shows the 2 lights can move both vertically and horizontally, so I can have the light source where I need it the most.


And this shows how the vertical adjustments works.

The photos of my dust both florescent light shows it can slide back one forth on two tracks.


All of my tools which makes dust that have an dust exhaust, (would you believe have different size mouths), so we used a 32mm PVC pipes and permanently attacked it to the exhausts.


And for my dremel router table, we made an extractor which works brilliantly.

An overall view of my dust boith

I have only one vacuum hose and on the end a rubber joiner was used to go over the 32mm PVC pipes.

All of the power for my tools are plugged into a power board and the end which goes to the outlet on my extraxtor/vacuum cleaner. When I operate any tool the vacuum turns on and stays on for twenty seconds after the tool is turned off.

Above shows the corner of my shipyard with the cane rubbish bag and my silver cylinder for my spare timbers.

This final photo shows the drawers where I still have to put name tags on so I know what is in, what drawer.
My son, kept on bagging me about the small step ladder, which I use to look in the top drawers. I told him it's not easy to be 'vertically challenged'.
Hope that you all, like my new shipyard.
Happymodeling
Greg
Great workshop.......no it is realy time to continue with your Beauty!
Please make some photos in some weeks, we want to see if it is still so accurate....
Please make some photos in some weeks, we want to see if it is still so accurate....


