OCCRE Albatros : 2nd ship

Joined
Jan 5, 2021
Messages
14
Points
58

Location
Portland, Oregon
Got started on my 2nd build, the OCCRE Albatros. I'm hoping to lean from my (many) mistakes on my 1st build of OCCRE's Polaris. :)

IMG_1101.jpg

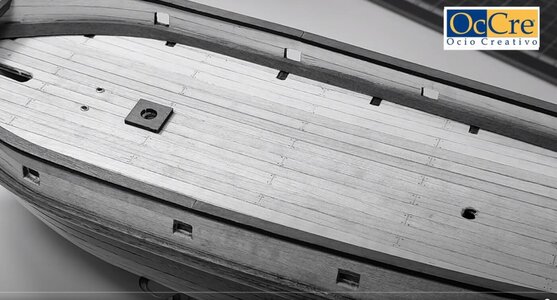
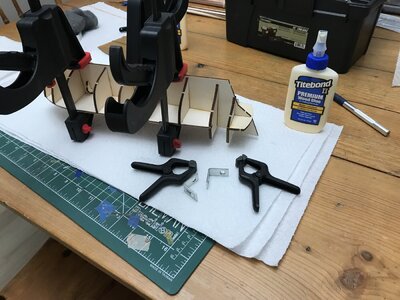
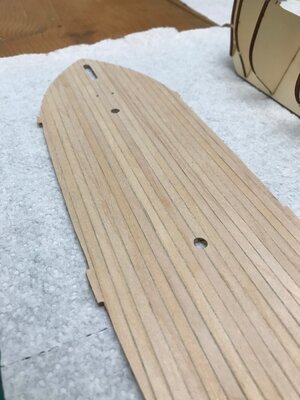
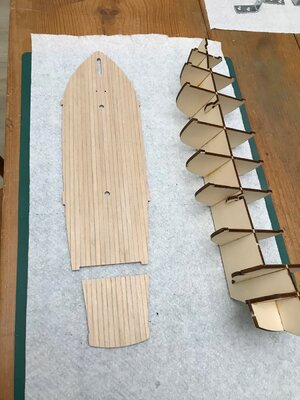
Got the skeleton squared up and put together. Also got the deck planked and sanded.

IMG_1102.jpg

Going to line out the planking (still deciding on a pattern) this week.

Question for the community...

I put a basic clear coat varnish on my last build. It looked ok, but a little shiny from certain angles.

Any tips on putting a good finish on the deck (and hull as well)? I haven't any experience beyond throw on a basic stains or varnish.

Any ideas appreciated!
 
I use spray lacquer satin finish lightly sand between coats with 220 or finer sand paper dries in 20 minutes and has a nice sheen but not very shiny.
 
From cheep but effective varnish there's something called (if translator is right) linseed varnish
 
Got the skeleton squared up and put together. Also got the deck planked and sanded.
Going to line out the planking (still deciding on a pattern) this week.
I refer to your sentence "still deciding the pattern"
-> I guess you mean the location of the butt joints and the treenails, if you want to make , or?

Please do not make the mistake, and choose the wrong pattern, like shown on the OCCRE-video


Here they show, that the planking was finished and a pattern like this is shown

Unbenannt1.JPG

This pattern is too theoretical prepared with all planks in the same length, like once shown by Mondfeld in his books

and it is shown a two plank pattern which was according my knowledge never made in real

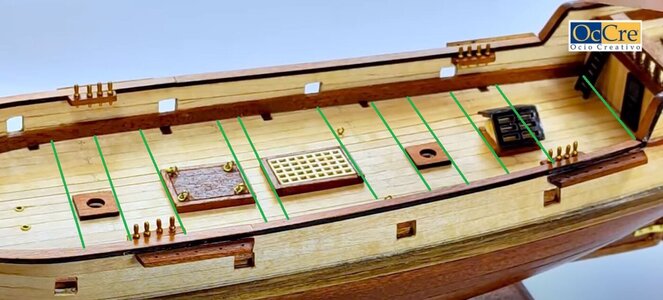
Butt joints and also all treenails were every time only made on top of deck beams, which is logical. And deck beams were every time at the locations of the hatches and covers...... like shown on the next photo where I marked the appr. location of centerlines of the deck beams
=> only on these lines were butt joints and treenails installed - something like this would be technically correct

Unbenannt.JPG

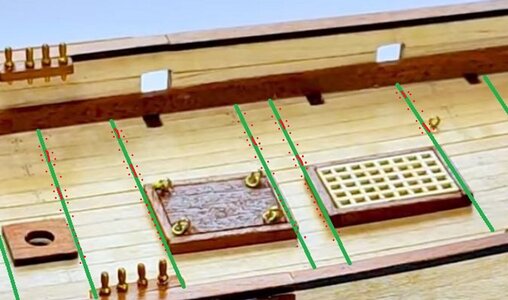
When you decide to make three butt shift the nailing and butt location would look like this (somehow)

Unbenannt2.jpg

definitely the pattern shown by Occre video is wrong

1) no two butt shift
2) every time over beams and not in the air......

I wanted to show you this...... it is the same work, but technically much more correct
 
Thanks for the tips everyone.

I did a test with Tung oil and a clear varnish I had on hand. Decided to go with the clear varnish and then will pick up some very fine (0000) steel wool to rub it down. Plan on doing a couple of coats and see what it looks like.

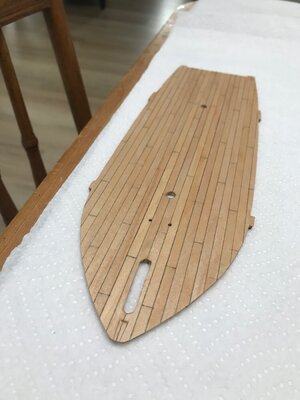
Uwek, thanks for the pattern tips. Here is a picture of what I ended up doing. Also has the first clear coat (before sanding).

IMG_1111.jpg

The planks are 100mm long (per directions). I started at the stern and marked out 4 planks at 100 mm, 75 mm, 50 mm and 25 mm. Then just followed that pattern forward.

I didn't mark out the nail holes. They seemed out of scale and my shaky hands couldn't make it look consistent enough for my eye anyway.

Thanks again for all the feedback.

Going to do a couple of more coats then get the deck attached to the skeleton next!
 
Got the deck attached last night. Going to give it a good day's drying time. But the fit between the deck and the skeleton was very good.

I took the time to square up each of the ribs with the 10 cent brackets and small clamps when I was glueing it all together.

I've been using this Titebond II wood glue and it's been working well. I'm also going to use it for the bulwarks and the first layer of planking.

IMG_1117.jpg
 
Back
Top