Follow along with the video below to see how to install our site as a web app on your home screen.
Note: This feature may not be available in some browsers.
Ships of Scale has incorportated an extra level of security when you log In. Please follow
on-screen prompts to acknowledge that you are not a robot via a "Check Box" or a "Pictorial Check Box Puzzle". This is needed due
to higher level of AI Activity Security.
The beloved Ships in Scale Magazine is back and charting a new course for 2026!
Discover new skills, new techniques, and new inspirations in every issue.
NOTE THAT OUR NEXT ISSUE WILL BE July/August 2026
Win a Free Custom Engraved Brass Coin!!!
As a way to introduce our brass coins to the community, we will raffle off a free coin during the month
of August. Follow link ABOVE for instructions for entering.
Well, I started this thread over on Model Ship World but following the purge that was the great hacking I thought I'd share it here as well as there to cover my bases in the future.
I started this project last March and so much of my work has simply been lost (though I'm sure with some digging I could go back and find it), for now though I'll start off from where I am and talk about some of the changes I've made along the way.
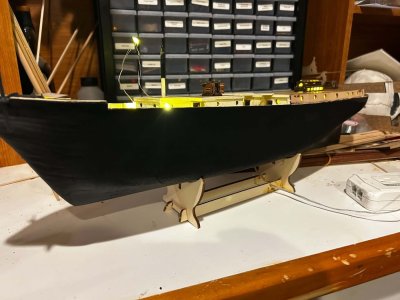
I very much wanted to add lights to this ship and so after a great deal of investigation and some pricing I ended up deciding that the method I preferred the most was using a set of fairy lights.
Seen below the power cable leading into the ship from below and the set of three lights above that will go into the three lanterns on the port, starboard, and center.
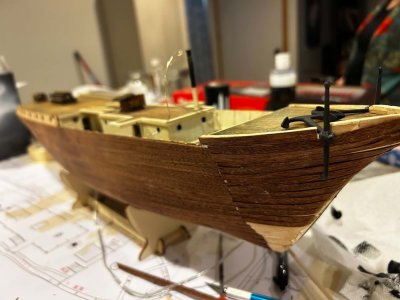
Ignore the mess that is the bow's planking.
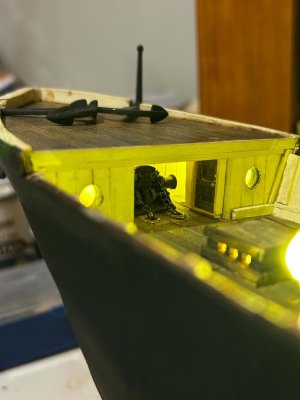
One of the first things I noticed in the kit when compared against the actual ship was the space beneath the forecastle where the windlass would sit.
After cutting in the recess I added a deck and then found a suitable and period accurate steam windlass that I was able to get someone to print out for me in resin.
In addition to this I added a recess for the rear stairway and with the lighting it adds something special to the overall build.
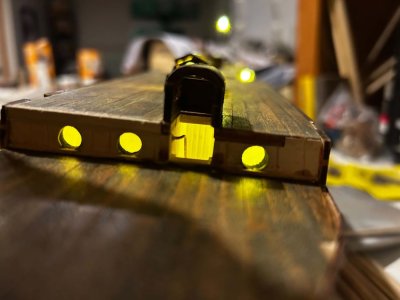
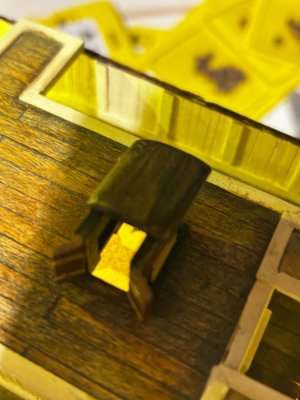
One additional thing I added on mine was the space beneath the cabin area's hatchway.
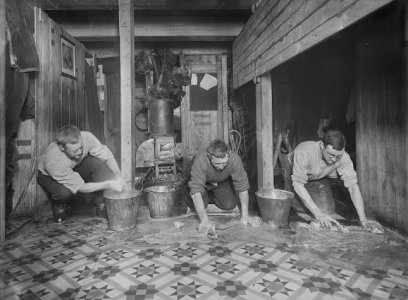
While the hatchway was a later addition based on all the images we've seen from the expedition, I liked the look of it and thought it would make for a good opportunity to add some additional details inside (a table and so on). You'll notice in the interior I've added some textured flooring. I copied this, to the best of my ability, off the images from the expedition of the crew cleaning the floor (seen beneath)