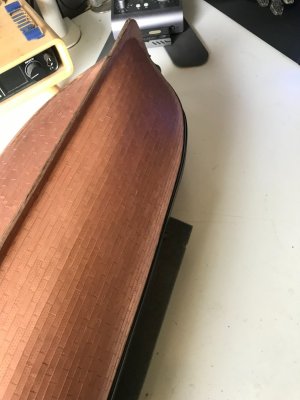
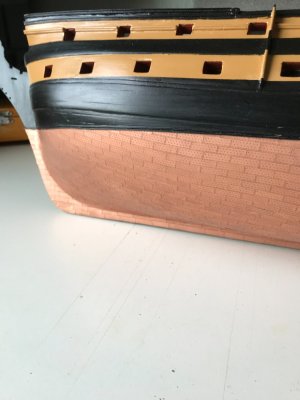
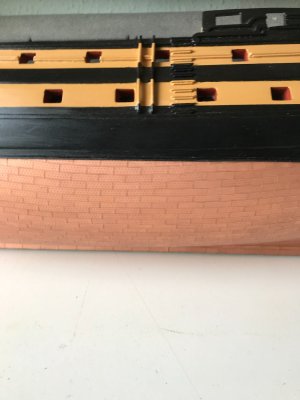
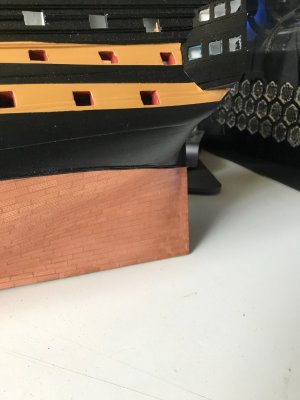
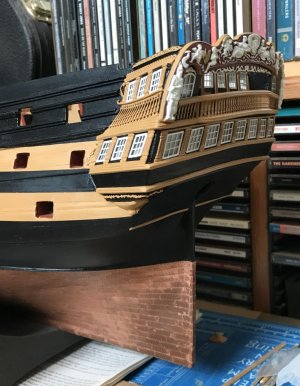
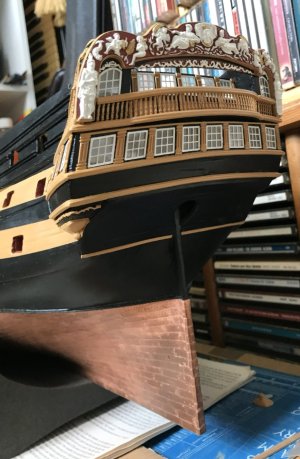
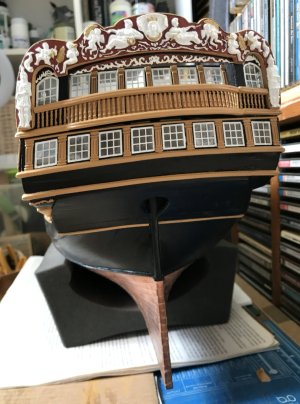
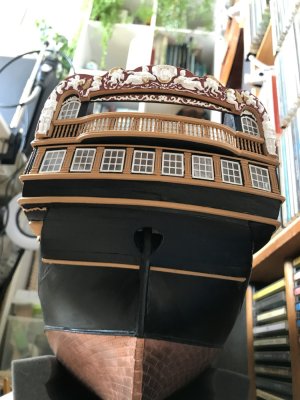
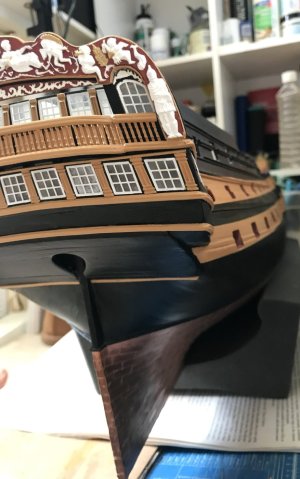
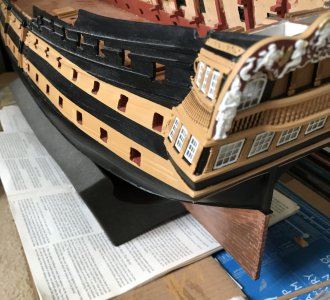
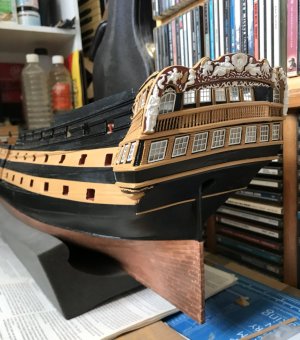
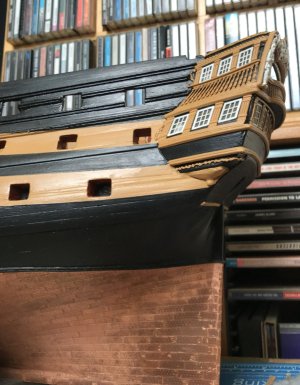
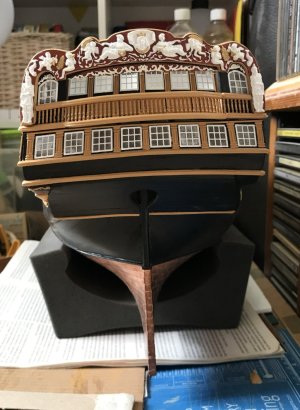
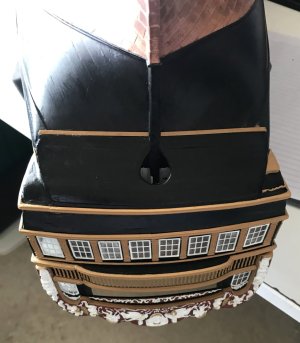
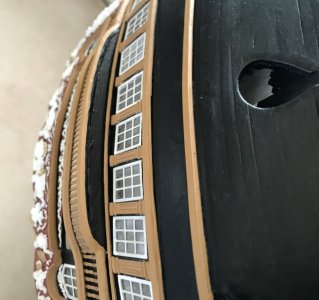
To the great amazement and incredulity of every school teacher who ever had the misfortune to cross my path, I have demonstrated that I can in fact, learn from my mistakes!
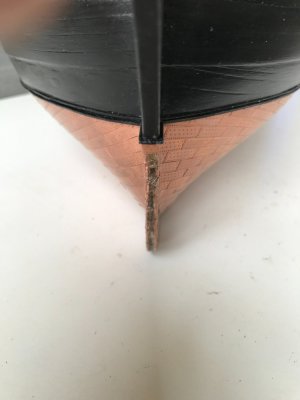
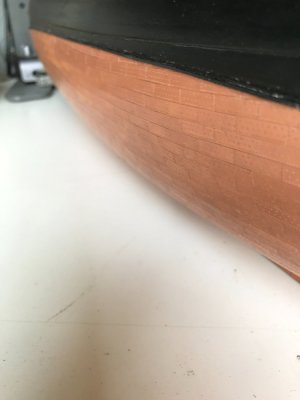
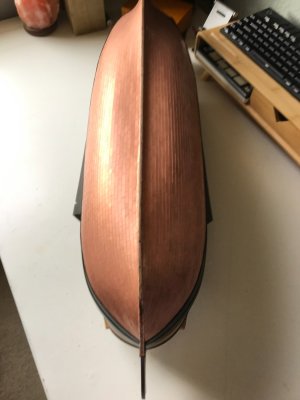
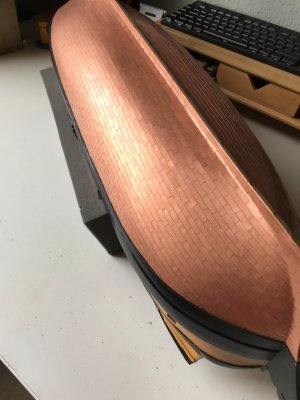
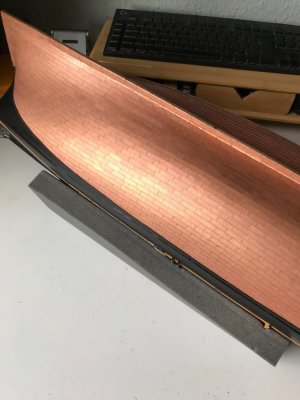
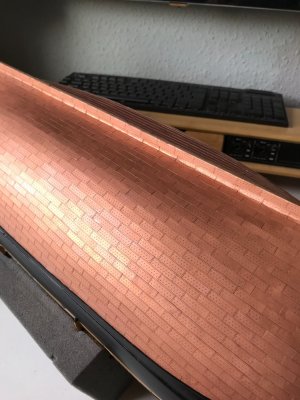
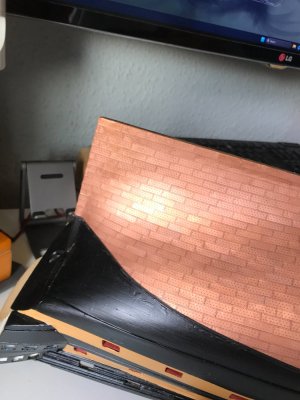
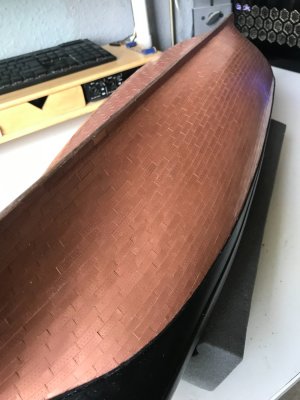
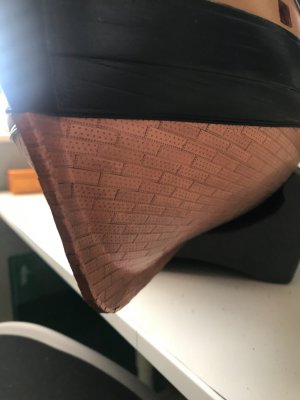
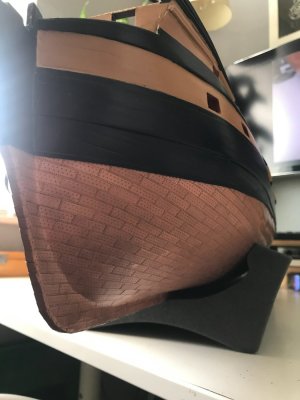
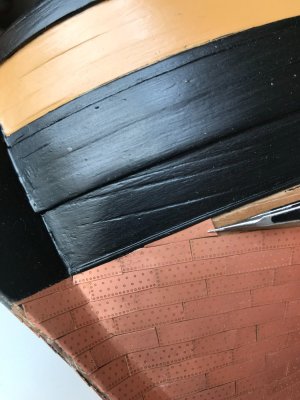
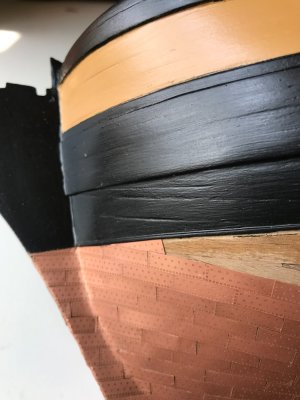
The port side coppering is going much more smoothly and I think, so far, has turned out much better.
A few thoughts on coppering for similar novices like myself.
I tried to do my best to...........
1. Take 50% more time doing everything.
2. Find the Goldilocks spot with the amount of glue used
3. Make sure that the next tile joint is completely clean and glue free
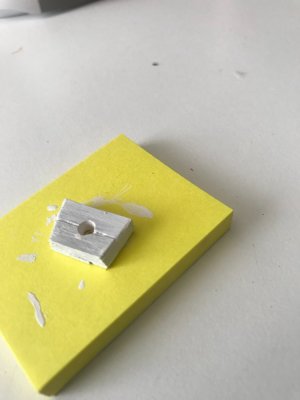
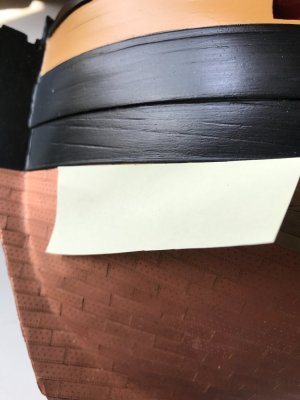
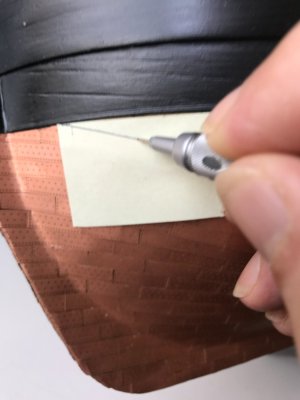
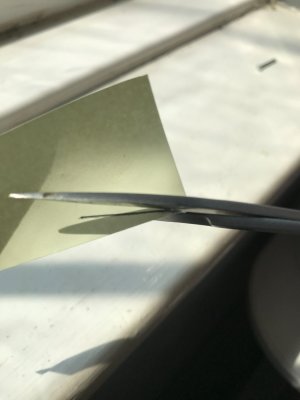
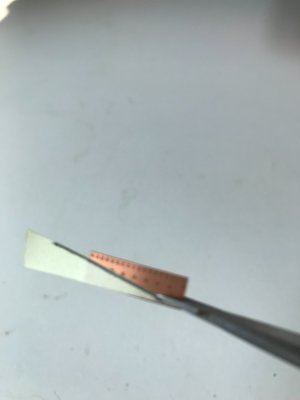
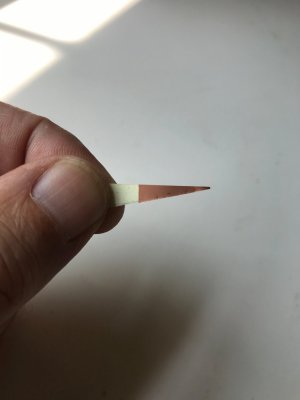
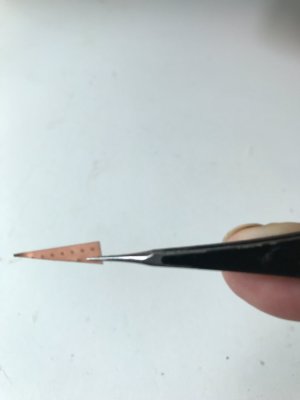
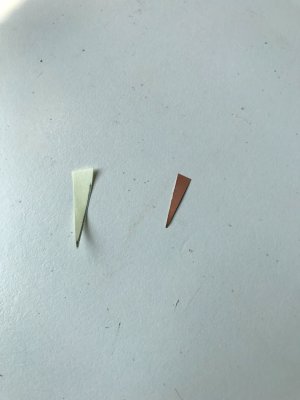
4. Use 'post-it' notes to get the precise shape of tight and awkward spots by pressing it to the hull and using a pencil to trace around the required area (see pictures below). Then cut it out and use the self adhesive on the back of the post-it note to stick the template to the copper tile. Then use small hairdresser scissors or a new sharp blade in a craft knife to carefully cut the tile - using the template as a guide. Also I also always ensure that that 'cut' edge of the tile is at the bottom (facing the keel) when placed on the hull. This may sound a little counterintuitive but in practice it works quite well and ensures that your upper copper line is nice and neat and any little discrepancies on the cut edge are quickly absorbed by the straight edge of the tile row below.
5. Small good quality scissors work well but you can also use a new blade in your craft knife to repeatedly score across the copper tile to get very neat cuts (I also use a small 6 inch steel ruler as a guide).
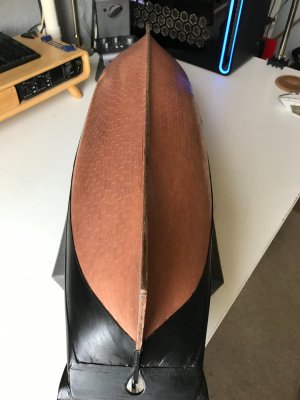
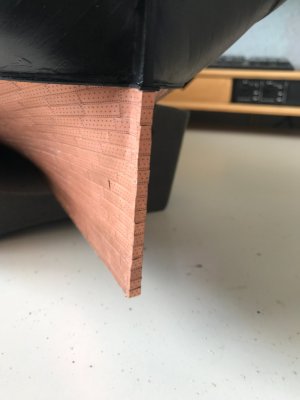
6. Tile straight across the stem onto the hull. On the starboard side of the hull, I coppered the stem and the hull entirely separately from one another, however on the port side, I ran the tile straight across from the stem onto the hull and this looked much tidier. I suspect it will depend on your vessel, but for Vanguard, this worked quite well.
7. Be very fussy - If a tile doesn't look 'just right' after placement, then rip it off and do it again. "It will do", will simply not do if you want to keep things crisp and clean and the coppering on a hull does tend to attract a lot of attention along with stern galleries and rigging.
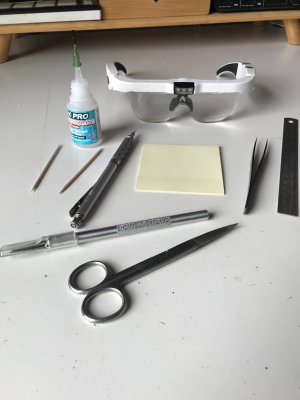
8. I used cheap magnifying glasses for alignment and a toothpick to apply glue to the tiles, a Swan Morton craft knife with a new No.11 blade to cut the tiles and scrape off small amounts of glue, a 6" steel ruler and a set of fine pointed tweezers.
9. The above only applies to copper plates and I suspect that other strategies will be needed for copper tape.
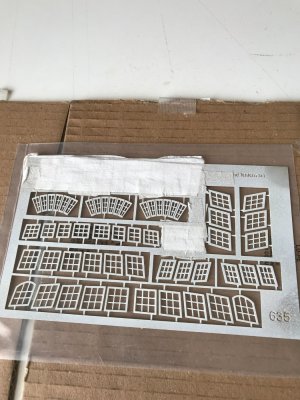
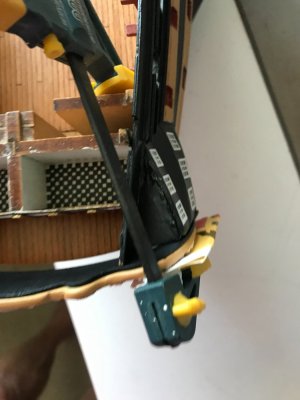
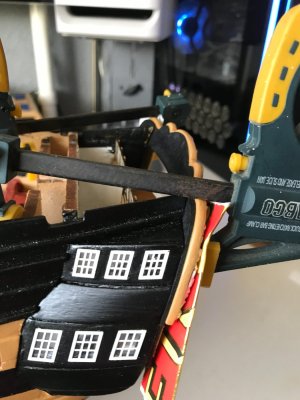
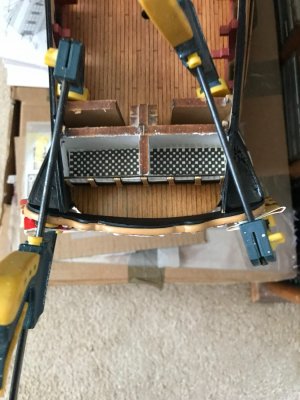
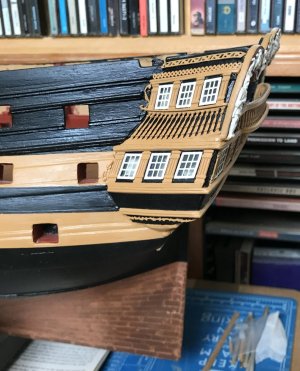
I have tried to illustrate my Copper Bottom Breakthoughs below.
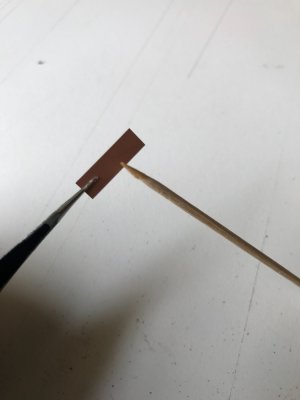
The port side coppering is going much more smoothly and I think, so far, has turned out much better.
A few thoughts on coppering for similar novices like myself.
I tried to do my best to...........
1. Take 50% more time doing everything.
2. Find the Goldilocks spot with the amount of glue used
3. Make sure that the next tile joint is completely clean and glue free
4. Use 'post-it' notes to get the precise shape of tight and awkward spots by pressing it to the hull and using a pencil to trace around the required area (see pictures below). Then cut it out and use the self adhesive on the back of the post-it note to stick the template to the copper tile. Then use small hairdresser scissors or a new sharp blade in a craft knife to carefully cut the tile - using the template as a guide. Also I also always ensure that that 'cut' edge of the tile is at the bottom (facing the keel) when placed on the hull. This may sound a little counterintuitive but in practice it works quite well and ensures that your upper copper line is nice and neat and any little discrepancies on the cut edge are quickly absorbed by the straight edge of the tile row below.
5. Small good quality scissors work well but you can also use a new blade in your craft knife to repeatedly score across the copper tile to get very neat cuts (I also use a small 6 inch steel ruler as a guide).
6. Tile straight across the stem onto the hull. On the starboard side of the hull, I coppered the stem and the hull entirely separately from one another, however on the port side, I ran the tile straight across from the stem onto the hull and this looked much tidier. I suspect it will depend on your vessel, but for Vanguard, this worked quite well.
7. Be very fussy - If a tile doesn't look 'just right' after placement, then rip it off and do it again. "It will do", will simply not do if you want to keep things crisp and clean and the coppering on a hull does tend to attract a lot of attention along with stern galleries and rigging.
8. I used cheap magnifying glasses for alignment and a toothpick to apply glue to the tiles, a Swan Morton craft knife with a new No.11 blade to cut the tiles and scrape off small amounts of glue, a 6" steel ruler and a set of fine pointed tweezers.
9. The above only applies to copper plates and I suspect that other strategies will be needed for copper tape.
I have tried to illustrate my Copper Bottom Breakthoughs below.