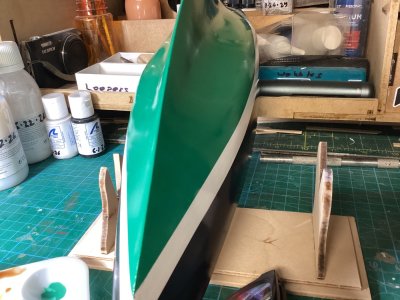
• Ships of Scale has incorportated an extra level of security when you log In. Please follow on-screen prompts to acknowledge that you are not a robot via a "Check Box" or a "Pictorial Check Box Puzzle". This is needed due to higher level of AI Activity Security.
  • SUBSCRIBE TO SHIPS IN SCALE TODAY!

    The beloved Ships in Scale Magazine is back and charting a new course for 2026!
    Discover new skills, new techniques, and new inspirations in every issue.

    NOTE THAT OUR NEXT ISSUE WILL BE July/August 2026
  • Win a Free Custom Engraved Brass Coin!!!
    As a way to introduce our brass coins to the community, we will raffle off a free coin during the month of August. Follow link ABOVE for instructions for entering.

Pen Duick 1:28 by Artesania Latina - a French Racing Yacht

Hi Tim. Looks like a very fun build. My late Dad really loved the Pen Duick III which was the schooner in the Cape to Rio race......a long time ago (I can't remember the year ROTF ). I have pulled up my chair. Cheers Grant
 
Hi Tim. Looks like a very fun build. My late Dad really loved the Pen Duick III which was the schooner in the Cape to Rio race......a long time ago (I can't remember the year ROTF ). I have pulled up my chair. Cheers Grant
Yeah, been fun. Never had to smooth out a hull before. Well, one time, but on a full scale, 60 some years back, feathering out the edges of a previous rudely applied paint job on a neighbor's 36' power boat.

Your dad loved the Pen Duick, eh? Neat.

I had not heard of it before I bought it. Just wanted a schooner model. Gonna do the Nikitin viking ship model next (already got the kit), and after completing that gonna order and build that fantastical looking wooden Spanish sub kit ... it looks too interesting not to build it. And it will sit near the viking ship model, for the whimsy and historical contrast.
 
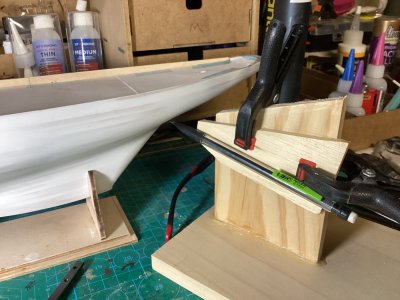
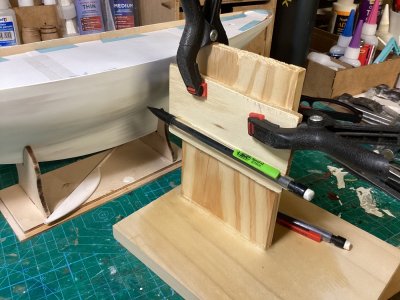
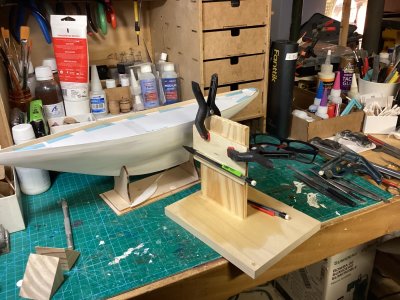
My water line marker ... 3 pcs of wood, 1 mech pencil, 2 spring clamps and some CA glue. I glued the pencil to the loose piece of wood, and use the clamps to adjust the height. I can still push the lead forward in the pencil, should i need to do that.

IMG_7256.jpegIMG_7257.jpeg

Now I need to remove the tiny left/right wobble in the hull's cradle, almost a mm at the gunwales. And then find a large level surface (the dining room table comes to mind) and draw those two water lines.

Cheers.
 
And I trimmed the device a bit, for reaching under the stern without bumping the hull ...

IMG_7259.jpeg

Ready to draw some lines now.
 
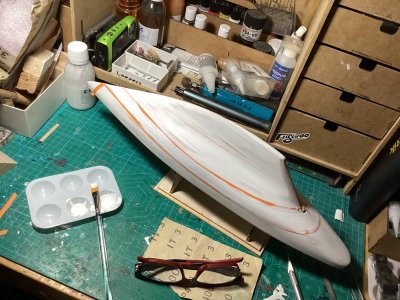
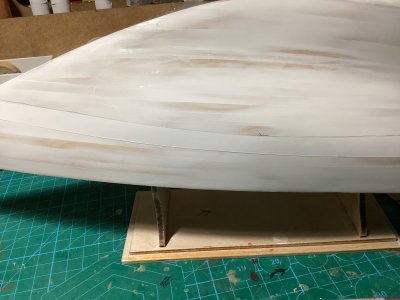
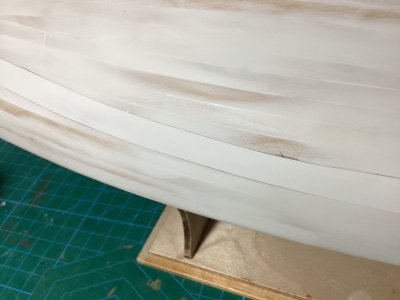
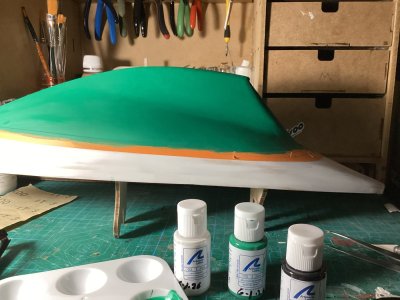
Lines drawn. First taping done and 2 of 3 coats of white applied to the mid stripe.

IMG_7261.jpeg

Paint should be dry enough for the third coat tonight. I lightly sand it with #400 between coats.

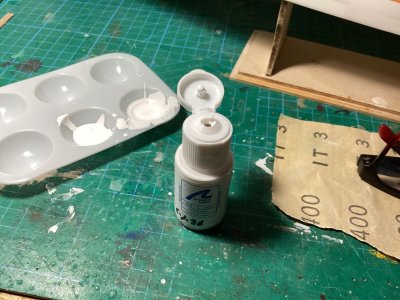
I have to shake the paint out of these bottles ...
IMG_7263.jpeg
Can't squeeze em.

Cheers.
 
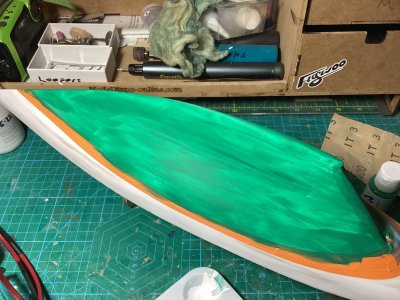
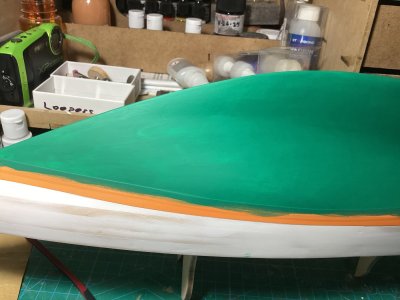
First coat of green last night. Second coat just now. Interesting how it covers, coat to coat. Light sanding with #400 between coats.

First coat of green.
IMG_7277.jpeg

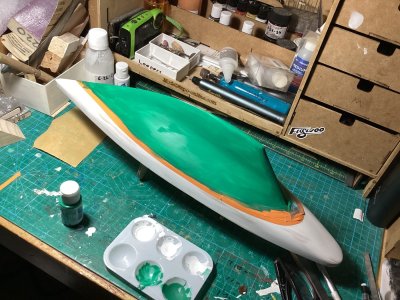
Second coat of green, one more to go.
IMG_7280.jpeg

Working on applying thin coats without leaving thick brush strokes, rather than trying to cover with each coat.
 
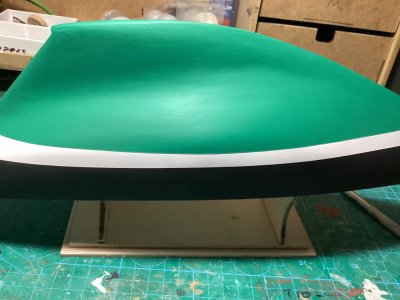
Well, fourth coat did it.
IMG_7283.jpeg

Plus I discovered that if I set some pliers around these stiff plastic paint bottles, I can squeeze the paint out, rather than shaking it out (messy).

Next the upper hull.
 
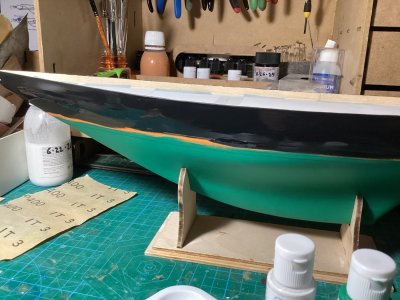
First coat of black applied. Still somewhat wet, and reflective.

IMG_7286.jpeg

Tape comes off after 2nd coat of black. Can hardly wait.
 
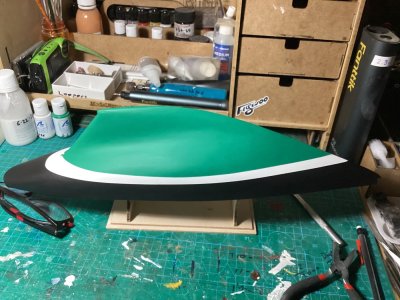
Tape is gone.
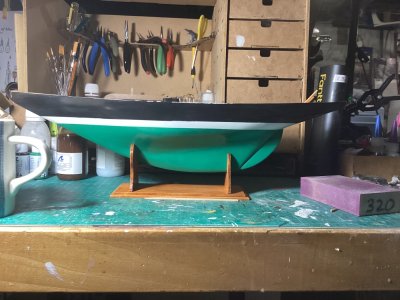
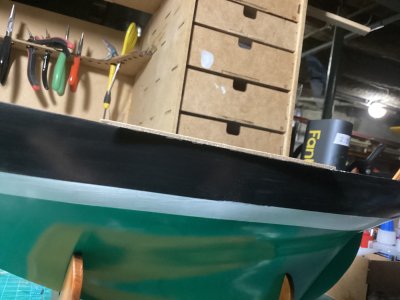
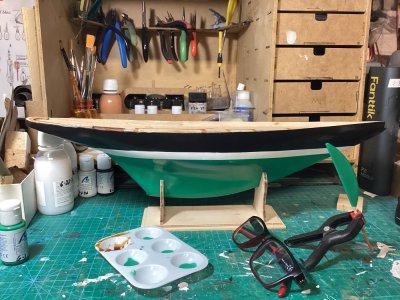
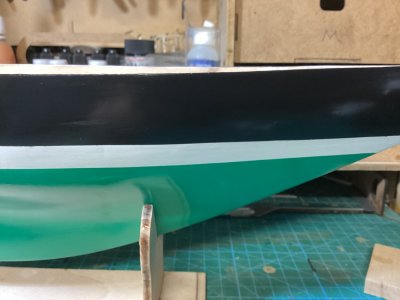
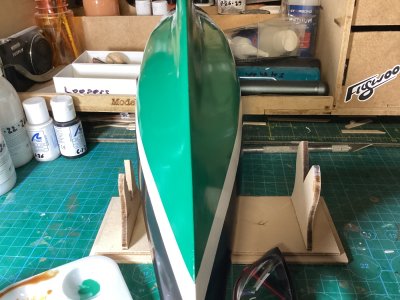
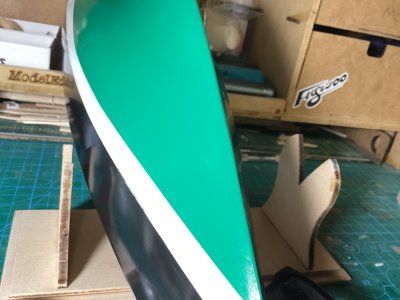
Needs some sanding to remove the tape edges, some touchup on the starboard side at the bow where the tape lifted a smidgeon, then 3 coats of clear varnish.
Coming along.
IMG_7294.jpeg

IMG_7291.jpeg

That's all for today.
 
Good morning Tim. The final outcome came out really well. What someone on this forum taught me is to lightly sand with a 1000 grit between each coat of paint. This smooths out the patches and any brush marks. Obviously the last coat is not sanded. Cheers Grant
 
Good morning Tim. The final outcome came out really well. What someone on this forum taught me is to lightly sand with a 1000 grit between each coat of paint. This smooths out the patches and any brush marks. Obviously the last coat is not sanded. Cheers Grant
Thx. Been using #400. And I have those lighter grits on hand, so I will start using em. I used em once, maybe 14 years ago. Kinda forgot about em.
 
Last edited:
Ok ... back on the job. Applied a couple coats of varnish to the stand ... so easier to clean off what I spill on it while finishing everything else. And earlier I had painted the top edge of the sheer strake, where I had sanded too much, and managed to sand off some of the black there. As the sanding pressure is greatest at the edges, and I did not adust for that. Then while trying to feather those repairs into the hull, I streaked some of black with the final clear coat. And today, while smoothing the bulwarks prior to mounting the railing, I sanded it with #220, but shoulda used a finer grit, as that 220 chipped off some of the black. And there are two spots at the black white border on on port side, where the tape missed a bit.

IMG_7325.jpegIMG_7330.jpeg

SO ... for top of hull I will reapply the black paint chipped off the top. And at the black/white border on the port side where the tape malfunctioned, I will retape the white at those two spots and reapply the black. And finally, sanding with 800 to 1000 grit, I will reapply clear coat until it is all smooth and shiny again. Then I can finish the model.
 
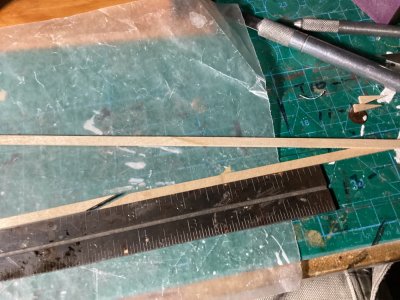
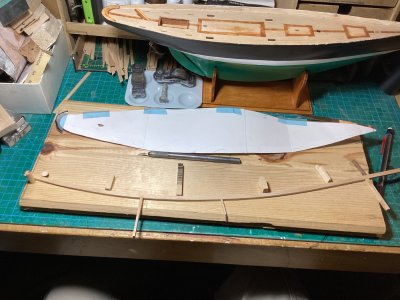
Working on the railings ... instructions called for two pieces on each side mounted separately and butt spliced. So instead I scarf spliced em together, and am moulding em into shape via a simple jig. The railing's curve will look better this way, mounting one single railing on each side ...

Joining two planks into one railing ... above shows two planks already joined. Below is one in process.
IMG_7352.jpeg

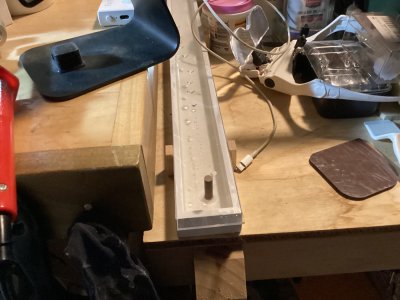
My plank soaking tray ...
IMG_7357.jpeg

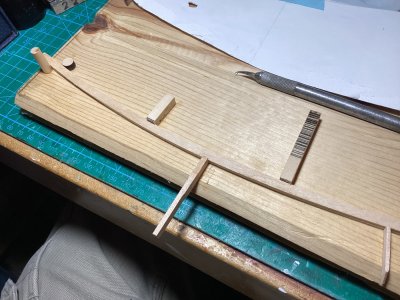
The shaping jig with both railings in it ...
IMG_7354.jpeg

Closeup of the jig ...
IMG_7356.jpeg


I applied heat. But they still need to sit in the jig until they are bone dry, in order to keep their curves.

Still haven't touched up the hull's paint job.

Cheers.
 
Last edited:
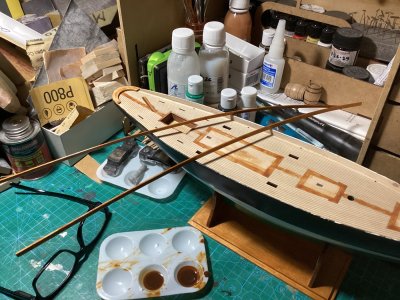
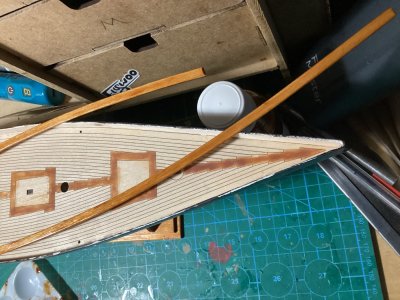
After rounding the railings with 150 and 320 grit, and 2 coats of varnish, using 400 grit between coats ...
IMG_7364.jpeg
IMG_7361.jpeg

This is my first ever glossy coated boat model. I weathered em all up till now. Such a learning curve ... how to brush smoothly, and which grits to use. Plus I had to get more small grit sandpaper. Geeze!

I use to put as much paint as possible on the brush, and lay it on thick. Gotta get that paint on there, right? One thick coat if possible.

But now, I only wet half the brush, and lay each coat on so thin. Then use the lightest touch on the brush to work out the ridges. Plus, I use some pretty fine grits, 600 to 1000, between the finish coats now, thx to GrantTyler's suggestion.

Cheers.
 
Last edited:
Back
Top