• Ships of Scale has incorportated an extra level of security when you log In. Please follow on-screen prompts to acknowledge that you are not a robot via a "Check Box" or a "Pictorial Check Box Puzzle". This is needed due to higher level of AI Activity Security.
  • SUBSCRIBE TO SHIPS IN SCALE TODAY!

    The beloved Ships in Scale Magazine is back and charting a new course for 2026!
    Discover new skills, new techniques, and new inspirations in every issue.

    NOTE THAT OUR NEXT ISSUE WILL BE July/August 2026
  • Win a Free Custom Engraved Brass Coin!!!
    As a way to introduce our brass coins to the community, we will raffle off a free coin during the month of August. Follow link ABOVE for instructions for entering.

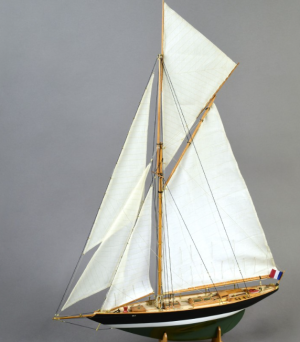
Pen Duick 1:28 by Artesania Latina - a French Racing Yacht

Joined
Jan 2, 2022
Messages
268
Points
168

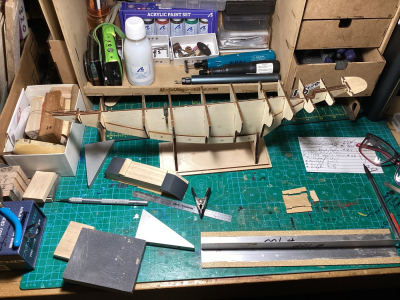
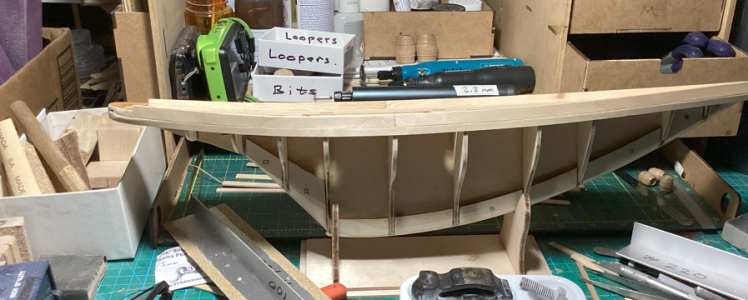
Started this kit in June, 2026. Because I like building in the larger scales, and I didn't have a "sailboat" in my collection yet. And my Oseberg V3 hadn't arrived yet, so ...

What I'm building ...
1789750408728.png

A note about adhesives - been using medium and thin CAs so far.

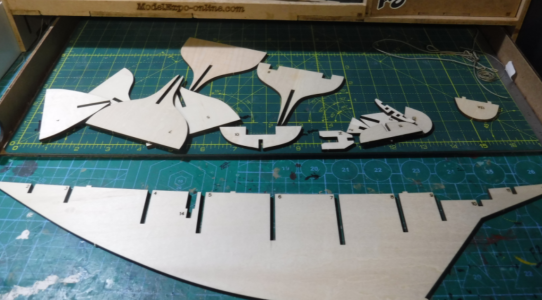
Kit has video instructions and a full size pic of the sailboat.

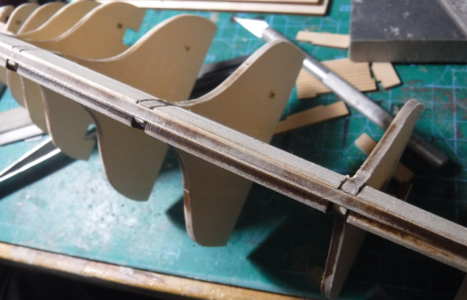
Kind of a dimensionless assembly.
1789748448883.png
1789747144070.png
1789748836879.png
1789748519441.png


1789747251356.png
1789749828396.png

1789748648782.png
1789748702164.png
1789748762782.png
1789748932749.png

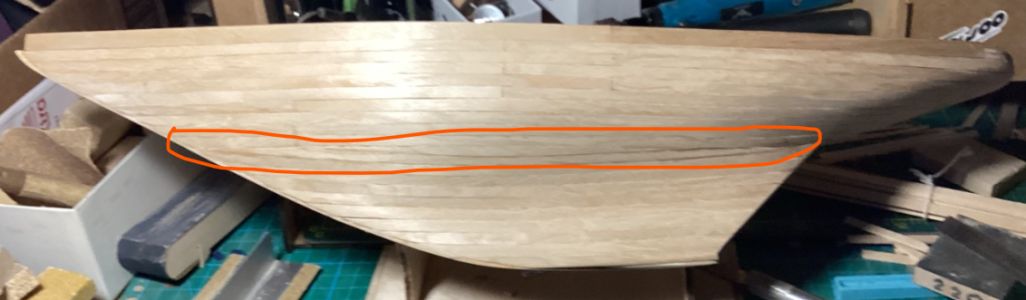
Regarding the video only instructions for the Artesania Latina Pen Duick ... they leave some hull details to the builders imagination. And even show different planking on the port and starboard sides - with no explanation. And at one point, showed attaching a plank several inches longer than any included with the kit.

So - I went at planking the hull freestyle - and did it the way I thought it needed to be done. Started from the top, worked my way about midway down, then started from the bottom - and filled in where they met. Used full width planks pretty much everywhere, but the last 2-3 planks. That's the area shown within the orange outline in this pic below ...
1789759763344.png
 
Last edited:
From 1st week of Sep ... got the first 6 strakes on. Started from the top. Full width planks.

IMG_7127.jpeg

IMG_7129.jpeg

IMG_7125.jpeg

IMG_7132.jpeg

IMG_7128.jpeg


IMG_7126.jpeg


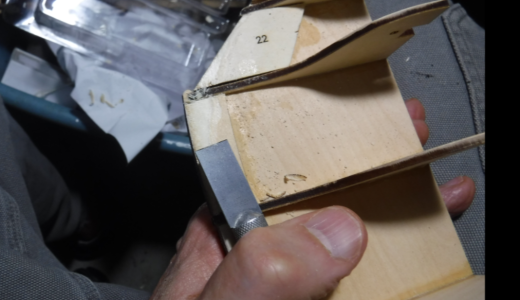
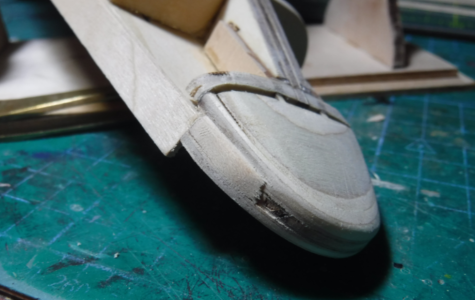
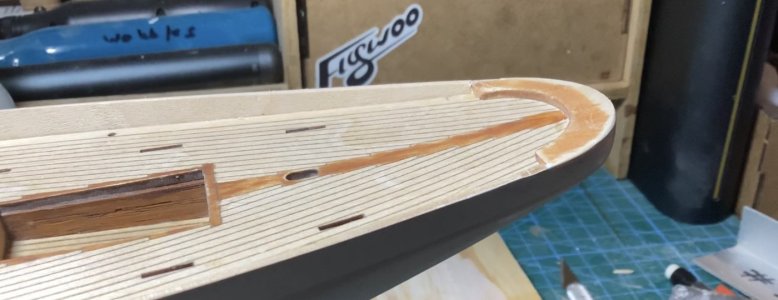
Showing above - how there's no stem to rabbit the planks into - they meet each other, in the air, so to speak.
 
Still early Sep ... and 9 strakes mounted.

IMG_7145.jpeg

IMG_7144.jpeg

IMG_7140.jpeg

IMG_7141.jpeg


I do preliminary sanding while laying planks, to be sure that I am not doing anything that cannot be sanded out later.

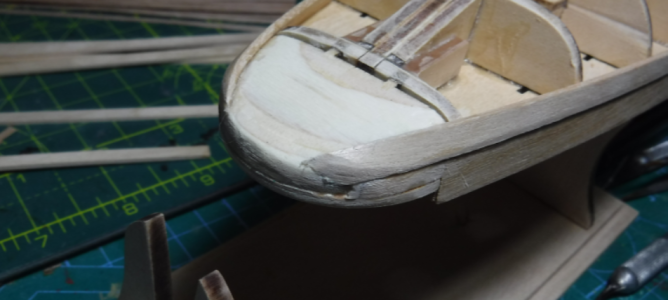
This gets sanded and puttied and sanded again, so I was mainly concerned that the bow apex was in line with the hull frame, and that the stern was correctly shaped. Looking for symmettry.
 
And, 2 days ago ...

Hull is planked, plus I applied the acrylic putty, and sanded it down.

Still a couple of blemishes to putty out. Then it gets 3 coats of primer filler, before any finish coats are applied.

I have never puttied a hull before, so this was all new to me. Before thus, I always chose to show the planks and the grain, even with finish coatings applied. Anyway, I put too much putty down, and had way too much putty removal to do.

Here are some picks, of the final planking, putty unsanded, and the puttied sanded hull.
IMG_7166.jpeg

IMG_7169.jpeg

IMG_7174.jpeg

IMG_7175.jpeg

IMG_7182.jpeg

IMG_7192.jpeg

IMG_7196.jpeg

IMG_7191.jpeg

IMG_7198.jpeg


Cheers.
 
And with this post, this build log is up to date ...

Almost smooth now. 3 coats of primer filler. Last coat shown, but not yet sanded ...
IMG_7211.jpeg


So ...
  • sanded it down pretty good
    • made a point of removing some artifacts
    • to that end, I also used flat (not sponge or finger held) sandpaper blocks to remove some high plank edges - a big YES to this technique
      • sponges or holding sandpaper in my fingers won't do that - tends to remove everything equally, smoothing the high spots almost as much as the low spots - and if the high spots are wood, even moreso as the putty sands off easier than the wood
  • applied 4th coat of primer filler
    • likely gonna sand it down again - more flat sanding block work and some sponging -
    • and apply a 5th (and last?) coat of primer filler -
    • yeah - if 5 coats doesn't get it there - this isn't for me.
    • And I''ll have to go with a worn fiberglass hull look
    • Or more realistically, since some planking lines may still be visible ... it will look like what it is - a carvel planked hull built for sailboat racing - with most planking edges feathered out in the finish.
    • So - maybe the 4 coats of primer filler is enough then. Should still look like a sleek carvel planked sailboat hull built to cleave water.
Hmmm ... maybe I don't want to go to the effort of removing every single artifact from that hull? Maybe.

So, 5 coats of primer filler ...
IMG_7224.jpeg


IMG_7219.jpeg


And maybe one more??!!???

I discovered that the "primer filler" won't "fill" valleys. Rather I found that I have to sand out the high spots and bring the valley floor to the top then apply the next coat - if I want it to be ripple free and perfectly smooth.
  • It's all in the sanding.
  • Lots and lots of sanding.
  • Found that it's best to use #220 to get ripples out, then smooth it with #400. While holding the sandpaper in my fingers mainly - that way I can focus on a certain area, where with sponges I cannot.
    • Found that too much coarse sanding can be problematic - heating up and grabbing the material and then removing it in rolled up balls.
  • Anyway - almost there.
 
Last edited:
Finger sanding is not going to help with the waviness, it might make it worse. You need to hand sand with some sort of block or pad to even out the pressure. I get them from Walmart but hardware stores sell them too. Wood filler is also your friend with those low spots.
 
Finger sanding is not going to help with the waviness, it might make it worse. You need to hand sand with some sort of block or pad to even out the pressure. I get them from Walmart but hardware stores sell them too. Wood filler is also your friend with those low spots.
Thx. The waves I'm removing are ripples in the finish - they're less than a mm apart. So finger sanding (big hands too) works here.

But for the larger raised bits of finish or wood - I did indeed do what you suggested - used a hard surface behind the sandpaper. Sometimes wood, sometimes sponge.

And yeah - wood filler for filling in the larger cavities - in this case I've been using acrylic putty, as that's what the instructions suggested, and I've since found that this putty feathers out nicely.

I'm really just trying to talk myself into another go of it ... putty, sanding, primer filler, sanding - ready for finish paint? Compared to just going with the finish paint on the hull as it is right now - a tempting proposition - what hulls don't have a few blemishes or dings in em?????
 
The sanders are made by Gator or Dura-gold and are yellow foam. They’re 4”x1”. About $10 a pack.
Nice tip - I checked walmart - and dura-gold makes some interesting sanding blocks - I'm gonna get the one that flexes to the inside of a curve - and those 1" bits you mentioned - nice selection to add to my sanding sponges. They got a block for every type of sanding it looks like. A contour sanding set would be nice too.
 
Last edited:
The Eric Tabarly museum at Le Base in Lorient, Britanny is well worth a visit. To see it all, including the WW2 submarine pens, the multitude of Pen Duick exhibits and the extreme ocean racing yachts moored up in the harbour.
 
The Eric Tabarly museum at Le Base in Lorient, Britanny is well worth a visit. To see it all, including the WW2 submarine pens, the multitude of Pen Duick exhibits and the extreme ocean racing yachts moored up in the harbour.
Thx. Sounds like a wonderful visit. But I am getting close to 80 yrs now, and travel has little allure for me anymore. Too uncomfortable. And I am so glad for the travel I managed to do over the years. It broadens your viewpoint. And you learn so much about yourself, seeing how others live. Besides which, these days, here in the USA, would be risky for me to go through a US customs checkpoint due to some of my online criticisms of the Trump regime.
 
Last edited:
Yes...sanding and sanding and sanding the hull by hand gives the best effect. I have found filler to be very difficult in getting the "smooth surface". Sad. Short cuts are always appreciated but sometimes not the right choice.
 
Yes...sanding and sanding and sanding the hull by hand gives the best effect. I have found filler to be very difficult in getting the "smooth surface". Sad. Short cuts are always appreciated but sometimes not the right choice.
Yes to the sanding. Been trying to get that wood to look like a fiberglass hull. So ... been working with the acrylic filler, my first time ever.
 
I think the hull is smooth enough - so what's next?
  1. taper the hull where it meets the rudder
  2. Reapply primer filler to hull where I sanded it off doing the rudder taper.
  3. drill a 3mm rudder hole thru the deck to hull above rudder mount
  4. sand the rudder to shape and make sure it fits
  5. cut off the back half of the top of the bulwarks starting from the center - so it meets the stern flush
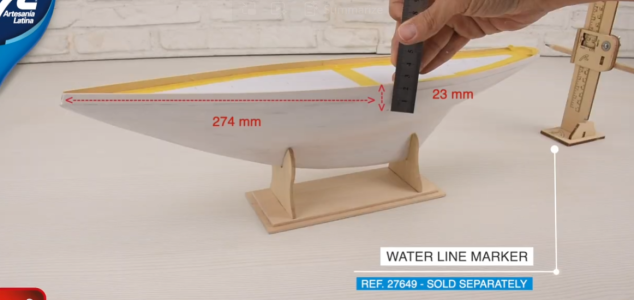
  6. and then scribe the water lines, but vid6, the painting vid, it doesn't tell how to level the boat, before inscribing the water lines, although dimensions are provided for fixing the lines properly from the top of the bulwarks and the stem in the center of the craft.
    • 1790106368250.png
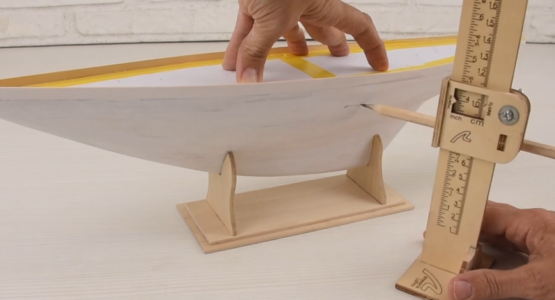
    • But they just start scribing without providing any info on how to level the model - other than sitting it in its cradle - which BTW allows some pitching of the model depending on how its seated. Buggers, eh! 1790106378754.png
    • So - I'll visually set the model to level before scribing the water lines - and - if it looks level - it is level.
    • I don't have one of those nifty water line markers - so I'll glue a pencil to a block of wood - and scribe those lines.
Cheers
 
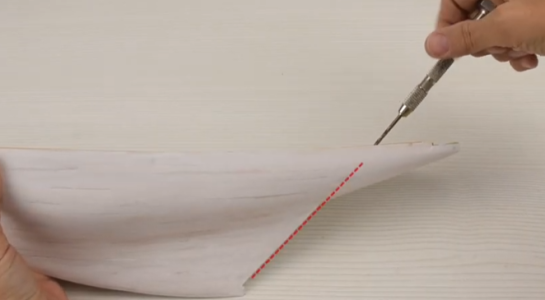
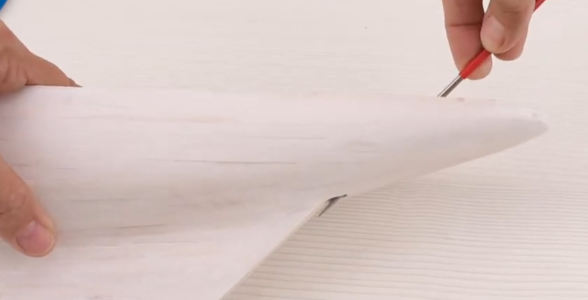
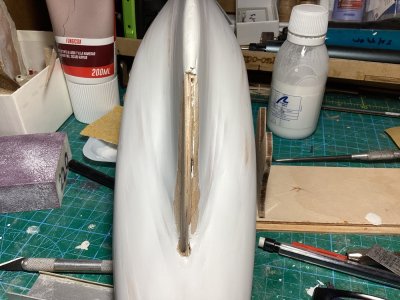
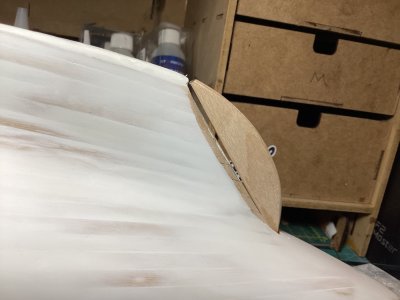
So - I tapered the bulwarks down to the stern. I tapered the hull at the rudder (still have to repaint it). And I drilled out the rudder hole. Woulda been nice, if they'd engineered the rudder shaft into the frame - rather than blindly drilling like this ...
1790185806758.png
Their pic, not mine.

And of course, my hole is somewhat off - just enough that it wanted to bend the shaft - so I've been filing away - trying to get it all to line up - almost done. I find trying to fix holes with small round files somewhat irritating. Yeah - I do. And they show doing just that, later in the videos ...
1790186194094.png

Cheers.
 
Last edited:
What I have done so far ...

IMG_7238.jpeg
Showing the tapered bulwarks above.

IMG_7236.jpeg
The rudder from the stern, with some skew still to file out.

IMG_7235.jpeg
In the above pic, again showing the rudder skew I have been filing out.

IMG_7233.jpeg
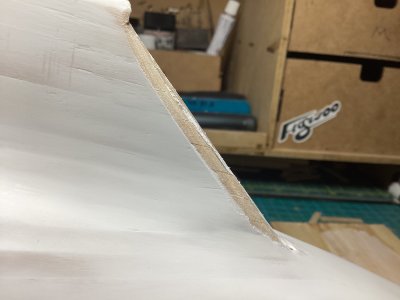
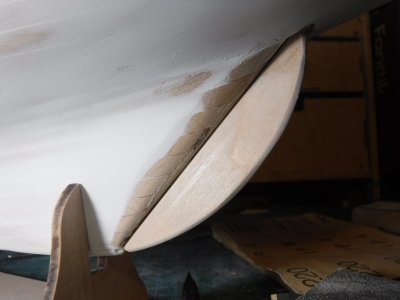
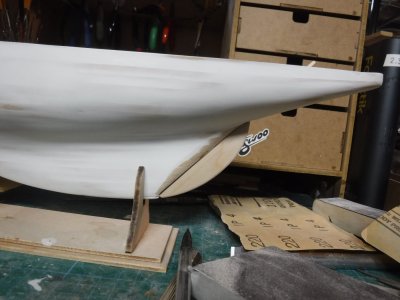
Above showing the hull tapered down to rudder width.


And ... cheers.
 
Last edited:
And the rudder shaft's hole has been deskewed ... after I found a coarser file - helped a whole lot.
DSCF7174.JPG

DSCF7175.JPG

And now to scribe some water lines, put on some tape, and paint it up. The rudder gets mounted after the hull and rudder have been painted.
 
Back
Top