• LUCZORAMA SHIPWRECK SCAVENGER HUNT GIVEAWAY. 4 Weeks of Fun • 1 Legendary Prize ((OcCre’s Fram Ship)) • Global Crew Welcome!
    **VIEW THREAD HERE**

Pilot Cutter "Britannia by Mountfleet Models"

  • Thread starter Thread starter Wolle
  • Start date Start date
  • Watchers Watchers 3
Joined
Jun 17, 2023
Messages
595
Points
308

Hello
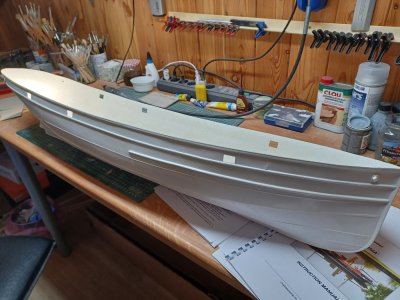
Today I want to start the construction report of my "Britannia" by "Mountfleet Models" in 1:24 scale.

I've got quite a lot to do, the construction plan consists of just one sheet in 1:1 scale and the construction instructions are in English. After the translation you're not much wiser. But oh well... it'll work out somehow.

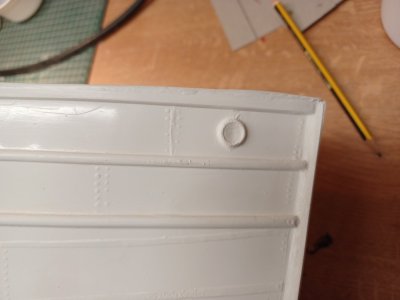
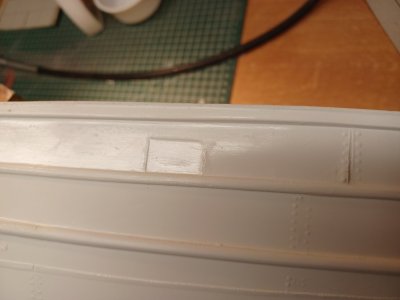
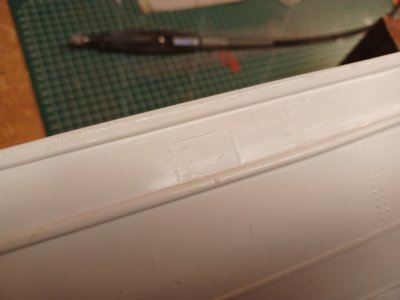
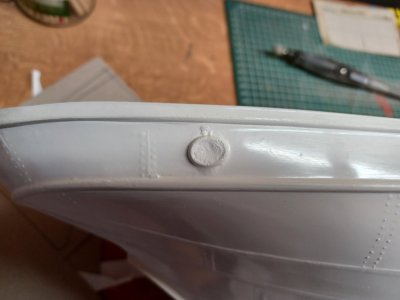
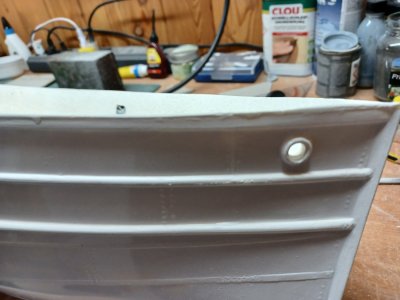
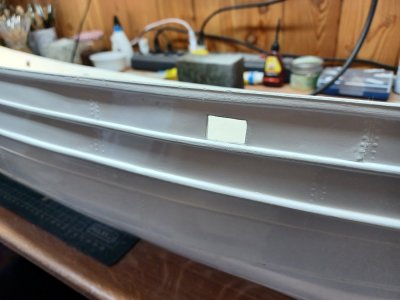
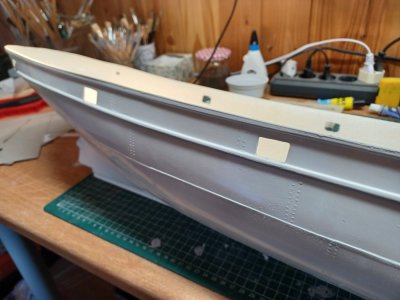
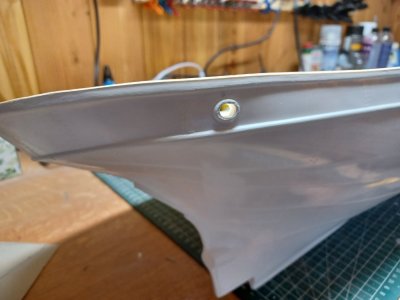
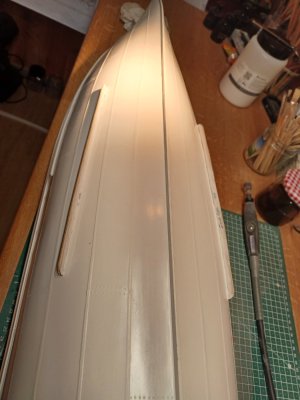
First I removed the bumps on the hull, then drilled out the scuppers and hawser holes and filed them open. Next comes the stand.

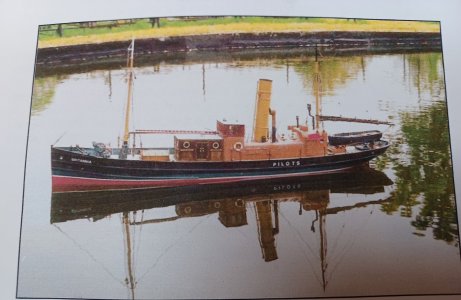
This is what it should look like one day.
20241014_174440.jpg

20241006_173740.jpg

20241006_173750(0).jpg

20241006_173805.jpg

20241006_173808.jpg

20241013_171148.jpg

20241013_171157.jpg

20241013_171201.jpg

20241013_171211.jpg

20241014_174724.jpg
 
All ways exciting starting a new build Wolle. I am looking forward to viewing your progress and wish you every success with "Britannia"

Cheers JJ..
 
Hello
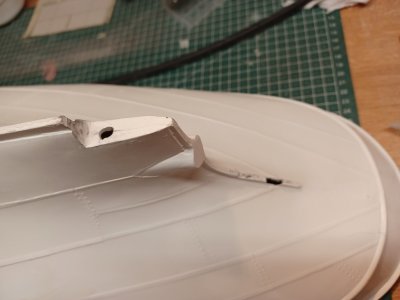
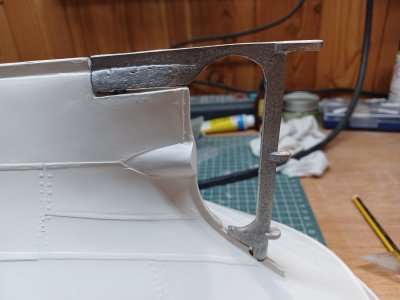
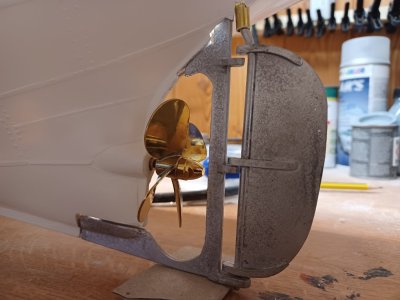
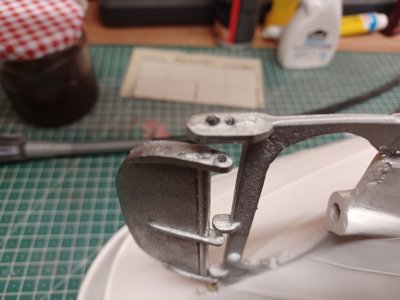
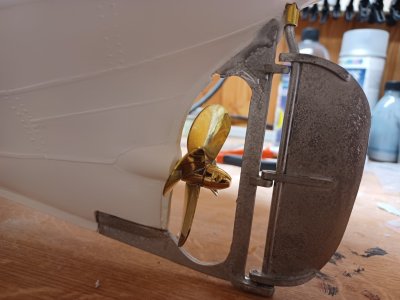
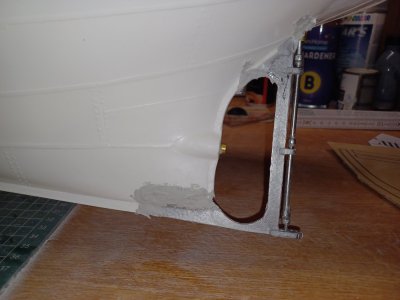
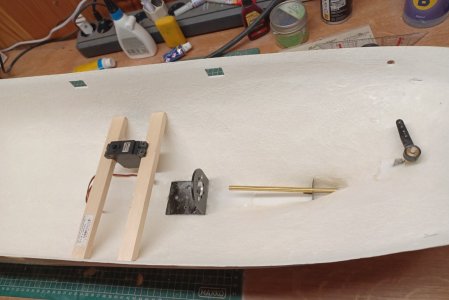
So we continue with the rudder bracket or rudder stand.

For this I had to drill more holes in the hull and I didn't feel comfortable doing it but what must be done must be done. Then I adjusted the rudder bracket.

I will glue it in like this later, the gaps will no longer be visible afterwards.

20241020_180802.jpg

20241020_180849.jpg
 
These models are actually not so bad, taking into account that the drawings, plans and all the stuff you get with it is decades old.

Looking forward seeing you making progress. Lots of fun!
 
Hello

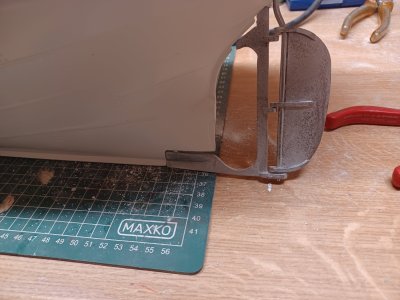
I had a slight problem with the rudder.

When I glued the rudder mount, epoxy resin ran down the rudder, right down to the pin.

Bang. Bombproof.

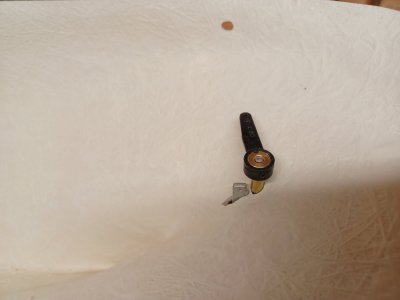
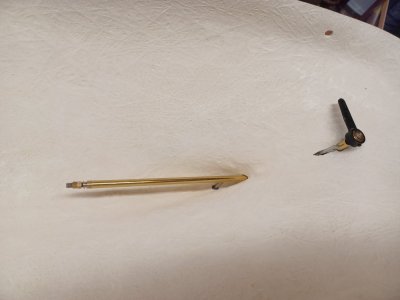
When I removed it, the nipple on the rudder broke off.

After the initial shock and a lot of thinking, I drilled out the piece and also drilled a 2 mm hole in the rudder.

Now I'm going to get a 2 mm winning rod and then we'll see.

20241118_175704.jpg
 
Wolle, sorry to hear that English instructions were not good when translated, but that is issue we have all the time with kits from other countries.
 
Hello, hello

I repaired the rudder by gluing in a piece of metal wire. So far it's working.

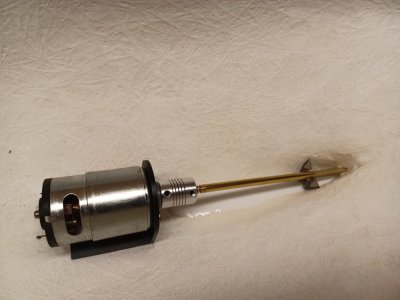
Then I glued in the stern tube with epoxy resin, that's also in place.

Next I'll glue in the motor mount. More on that later.

20241129_170359.jpg

20241129_170408.jpg
 
It's only going sooooooo slowly.

I've finished the stern with the rudder and put filler on the rudder mount on the hull. That has to dry now, then I'll sand it again. I've also glued the motor mount in place with epoxy resin.

Now we're moving along slowly. Because of the poor description, you have to look around a lot, try things out, adjust, think about and compare how this and that could go.

But I see it as a challenge, so I have to really challenge the one brain cell I have.

20241204_181123.jpg
 
Hello
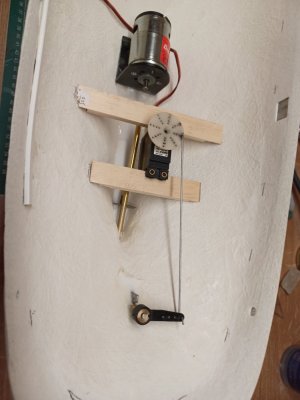
I got my new servo today. I wasn't happy with what I had. The impact angle wasn't big enough, but more on that later.
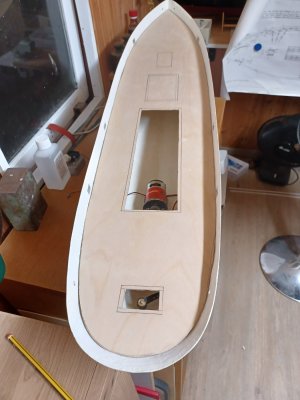
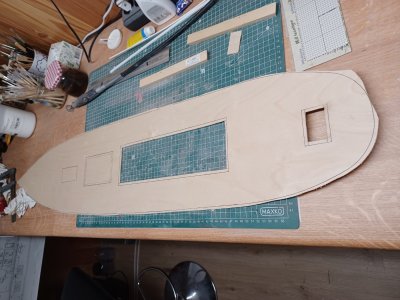
Then I roughly shaped the first deck.

20241228_173449.jpg
 
Hello
Today I fitted the first deck to the hull.
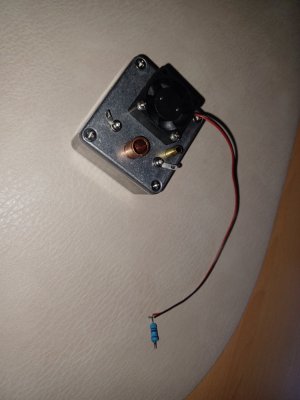
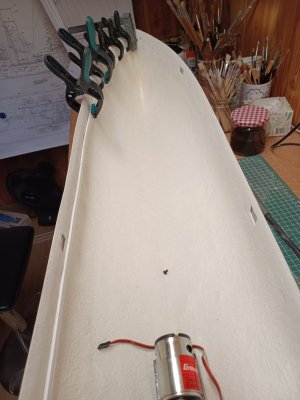
I also soldered cables and plugs to the motor and speed controller.

20250104_172537.jpg
 
Back
Top