-

Win a Free Custom Engraved Brass Coin!!!
As a way to introduce our brass coins to the community, we will raffle off a free coin during the month of August. Follow link ABOVE for instructions for entering. -

SUBSCRIBE TO SHIPS IN SCALE TODAY!
The beloved Ships in Scale Magazine is back and charting a new course for 2026!
Discover new skills, new techniques, and new inspirations in every issue.
NOTE THAT OUR NEXT ISSUE WILL BE MARCH/APRIL 2026
- Home
- Forums
- Welcome to Ships of Scale Forum
- Beginners Corner - How to Get Started
- Basic Tools Needed
You are using an out of date browser. It may not display this or other websites correctly.
You should upgrade or use an alternative browser.
You should upgrade or use an alternative browser.


Plank bender, yes, I have it and use it always, take care of your fingers, its get hot.
Mini belt sander, I have two different, seldom uses it.
Even the Proxxon I think takes off to much. I use a sandpaper file instead.
Have used the mini belt sander on Bohuslän, 95 cm lenght and planking 2 mm thick, so on really large ships with simple lines I like it.
Mini belt sander, I have two different, seldom uses it.
Even the Proxxon I think takes off to much. I use a sandpaper file instead.
Have used the mini belt sander on Bohuslän, 95 cm lenght and planking 2 mm thick, so on really large ships with simple lines I like it.

I would go with the plank bender, and forget the sander. Even with a small electric sander you may touch areas on your project that you don't intend to. If a piece requires sanding do it prior to assembly with a larger sander.

Concur with all the above. You definitely don't want that sander unless you're doing 1:1 shipbuilding.
I made my own plank bender by drilling and tapping a slice of round bar stock that screws on to the end of an old soldering iron I got from my Dad. I turned in on a lathe to smooth the surface, but I don't think it's completely necessary as long as you sand off any surface rust and oil quench it to prevent future rust.
I made my own plank bender by drilling and tapping a slice of round bar stock that screws on to the end of an old soldering iron I got from my Dad. I turned in on a lathe to smooth the surface, but I don't think it's completely necessary as long as you sand off any surface rust and oil quench it to prevent future rust.
I'm a bit of a tightwad so instead of purchasing a plank bender, I bought a used hair curling iron at a Thrift Store for about $3.00. I made the bending form out of 2 pieces of wood (poplar) after studying various images of plank benders on the Internet. It performed very well for me for planking the Polaris. The trick is to take your time bending the plank into the shape you want. Rush it and the plank will break.


Certainly. But don't spend any money. Just make your own using spare strips of wood you have sitting around. I attach sandpaper using double sided tape. I must have ten different sizes. I use 150 grit for bulk removal - 240 to clean stuff up - and 320 for fine finishing.would you use sanding blocks instead of the belt sander
I think you were looking at a smaller ship to get started - maybe begin with popsicle sticks or a 'split in half' paint mixing stick.
This is a great hobby. Enjoy. And don't worry about figuring out everything ahead of time (I have that same innate desire) - just start building and have fun.
Last edited:
Planker bender---maybe a help but not the total answer to bending planks. They typically only bend in the direction of the flat rather than the edges and this is easy to do with or without the bender. Planks were shaped in both directions and can be done by spiling or controlled edge bending which is easy to do, but a plank bender is part of the solution at most. There have been videos posted on how to do this here at SoS. A hot air gun works well (or even her hair dryer if you want to take that chance ") )
)
Allan
)Allan
How long will depend on the thickness and type of wood. It is my understanding that the purpose of the water is to more efficiently transfer the heat through the wood. For thin, soft wood, I just run a wet finger over the wood before applying heat.
Again, depends on the thickness and hardness of the wood, but thin, soft stuff it’s not necessary.
How do you know how much to edge bend without a forming set up? I usually start with a piece of paper and shape it as if I was going to spile the plank, but then use the paper form and cut out a wooden former to suit as in the photo below so I know it will be the right amount. Once it is shaped I can then hold it in place with finger pressure for a minute or less until the PVA sets enough to hold it. No need for clamps. Since the photo below was taken, I have gone to a hot air gun. It is easier to control and works more quickly. Heat aand.or time works. More heat, less time. I have read numerous times that it is heat that is key and whatever the chemistry in softening wood, I don't really care, I just find it much easier to do the initial edge bend set up if the piece has been thoroughly saturated with water. Heat for a few minutes or at room temperature overnight work the same in my experience.I have edged-bent with the plank bender
Allan

Last edited:
Contrary to common perception, there is no length of time you should soak ship modeling wood prior to bending, so, therefore, the temperature of the water is irrelevant.On a different note how long should you soak the wood prior to bending and should it be cold , luke warm or hot ish water ?
What makes wood stiff is called "lignin," a plastic stuff inside the wood. (Keeping it simple here. You can google it if you want the scientific explanations.) This lignin will soften when heated and get hard again when it cools. Bend a piece of sufficiently hot wood and then hold it in place until it cools and the heated lignin will permit the wood to bend easily and then it will hold the bent form's shape when the lignin hardens again in the bent piece. The process of bending wood depends upon heating the lignin in the wood. Steaming, boiling, or soaking wood in hot water are effective ways of heating wood and the lignin within it, but getting the wood wet has nothing to do with bending wood beyond the fact that heat will transfer to and through damp wood (or undried wood) faster than through dry wood. This has nothing to do with the bending properties of the wood which are solely related to the temperature of the wood. While steaming, for example, may be a convenient method of heating larger pieces of timber (the rule of thumb being steaming for one hour for every one inch of thickness of the piece,) it is counterproductive in the dimensions of wood to be bent in modeling because heat is transmitted so readily through the small pieces of wood encountered in modeling and it is much easier to work with dry wood than sloppy wet wood. There's no need to make a wet mess or risk scalding yourself with boiling water and steam or raising the grain of your wood which will require more sanding.
So, the moral of the story is that simply adding sufficient heat to the piece to be bent is entirely sufficient to bend it effectively. Alternatives to a commercial "plank bender" are curling irons, clothing irons (especially the small travel type,) hot air hair dryers, and heat guns. Some find simply screwing a tin can with the ends cut off fastened on its side to a board or held in a vise with a small candle(s) inside provides an excellent heated wood bending form against which one can shape ship model planks. Just placing the piece in a microwave oven for a sufficient length of time is effective. Keep in mind that you can only bend the wood while it is hot. It will start cooling immediately when removed from the heating source and the lignin will start to harden very quickly as soon as the piece is removed from the heat source.
Let's not forget also that plank must be spiled (shaped) accurately before bending. Edge-setting (bending across the wide dimension of the plank) should be avoided except in very small amounts. The actual shape of the plank, laid out flat, must be developed from the hull shape and transferred to the plank stock from which the plank is cut. If that spiling is done accurately, any curve or twist to be made with heat across the face of the plank can easily be done and no edge setting is required. Ideally, when a plank is properly spiled, cut, and bent, it should fit perfectly into the shape of the plank laid against the hull and no force should be required to impose a shape upon it thereafter. You can just glue it and let it set. If you are bending planks against the hull form, you're doing it wrong.
Last edited:
BobLet's not forget also that plank must be spiled (shaped) accurately before bending. Edge-setting (bending across the wide dimension of the plank) should be avoided except in very small amounts.
I used to be of that school, but changed after trying edge bending as shown in the photo above. Saves wood, is easier, and it works. There is a limit to the amount of bend depending on the thickness and width but getting to the same curvature that would be achieved with spiling hull planking has not been a problem. In the end, I have found that both methods work equally for hull planking and similar tasks.
Allan
I know. Particularly on slab-sided period ships, there will be runs of planking with a very slight curve where plank can be edge-set to fit just perfectly and spiling avoided for a large area. This is why I wrote that "edge setting should be avoided except in very small amounts." I figured most would recognize that a little bit of bend will be okay on a lot of hulls, but I didn't want to give the impression that the shape of a plank can be bent in the same way that the curve of a plank can be bent because trying to do both at the same time is where most modelers seem to hit a reef, if forum posts are any indication.Bob
I used to be of that school, but changed after trying edge bending as shown in the photo above. Saves wood, is easier, and it works. There is a limit to the amount of bend depending on the thickness and width but getting to the same curvature that would be achieved with spiling hull planking has not been a problem. In the end, I have found that both methods work equally for hull planking and similar tasks.
Allan
Another feature of edge-setting is that it's my impression that some kit manufacturers aren't particularly interested in representing scale planking, even as they tout their "fine hardwood" coarse-grained walnut planking strips. Consequently, we see planks with 50 scale feet and more between their butts. That's fine if one is going to fair and paint a hull, although under those circumstances it certainly would, in my opinion, be preferable to use a solid hull or a "sandwich" lay-up rather than any sort of planked hull. Edge setting those long strip wood lengths a little bit isn't that much of an issue but trying to edge set much more than very largely radiused curves is not likely to end well.
That said, I expect my aversion to edge setting is in some not so small measure a bias obtained from my full-scale planking experience. It's one thing to edge set a quarter-inch by sixteenth strip and a six inch by three-quarters plank!
Close grained species such as holly, pear, castello and boxwood all work with this method. I am not sure the South African mahogany (sapele) or walnut seen in many kits would work as it is so open grained. '"fine hardwood" coarse-grained walnut planking strips.
And no, I would not want to attempt to edge set 3/4" thick X 6" broad plank more than a couple degrees.
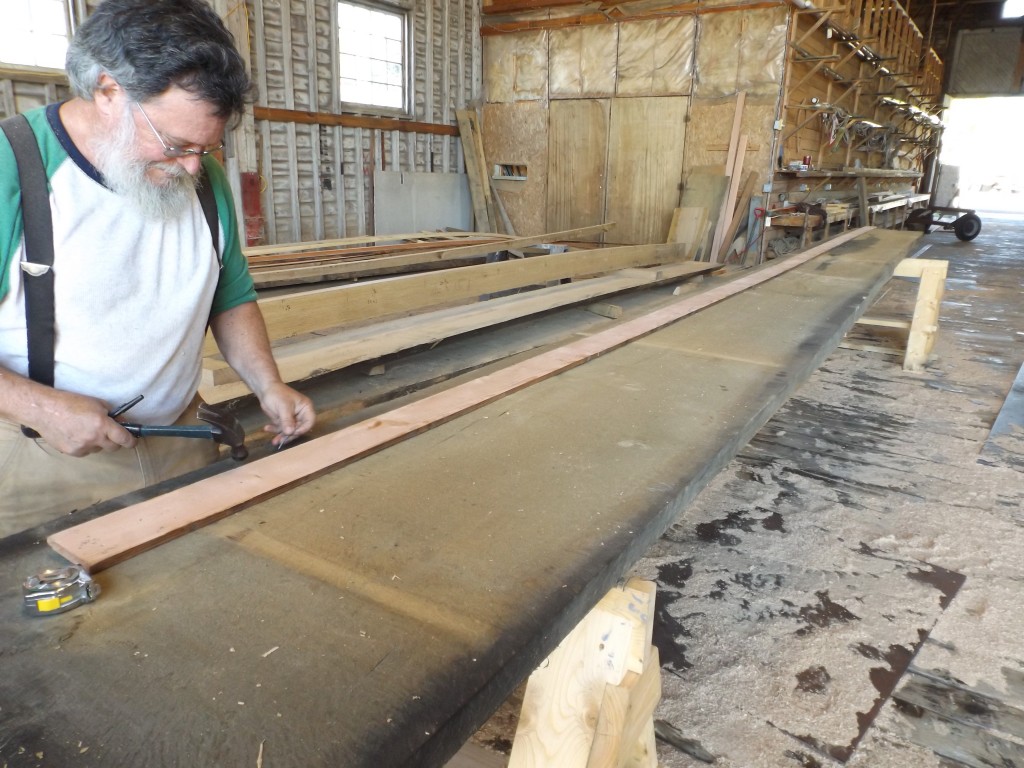
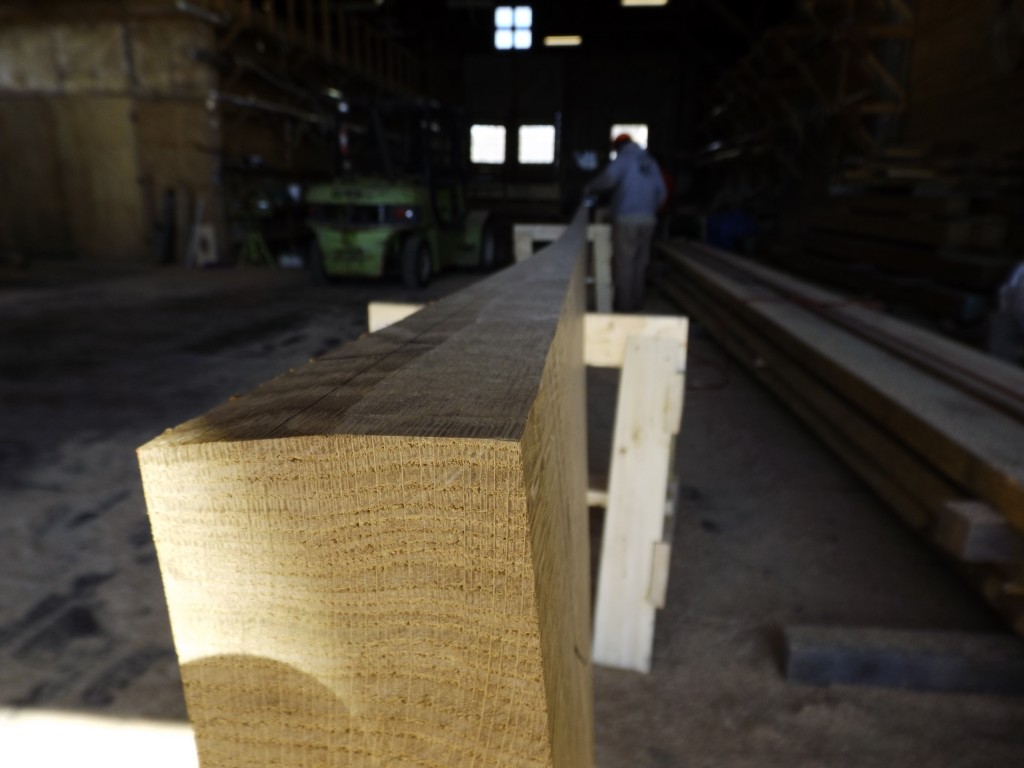
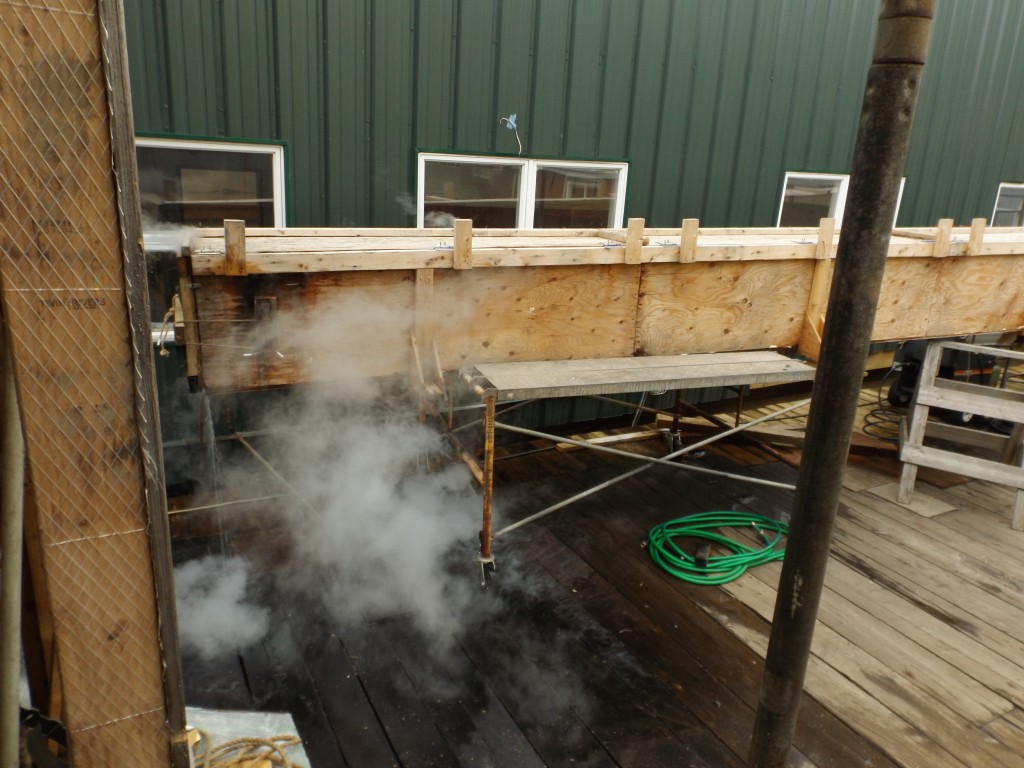
The following is from a few years ago in Maine during the rebuild of Ernestina at Boothbay.