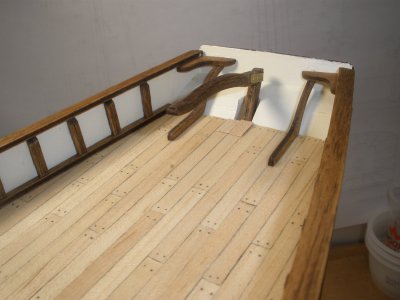
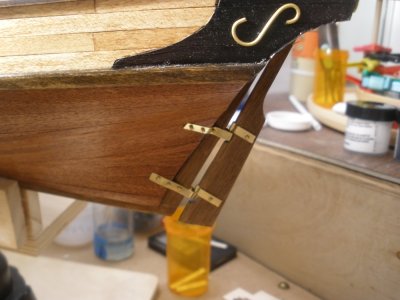
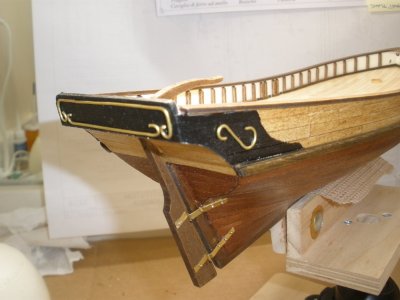
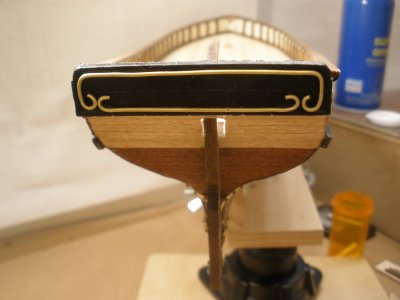
Polaris (Occre) by Zzyzx01

Joined
Apr 8, 2021
Messages
98
Points
78

Location
East Texas
Hello. My name is Henry (aka Zzyzx01) and welcome to my build log of the Polaris by Occre. This is my first build log as well as my first attempt to build a plank-on-bulkhead (POB) model so bear with me on both accounts. Please note that I am not a fast builder as I have other obligations as I am sure many of you do as well. My goal for this build is to learn and improve my skill sets and techniques which I can apply to future builds. At this time, I'm not interested in historical accuracy, per se. Perhaps as I refine my skills, I can put more attention to accuracy. In the mean time, I welcome all suggestions, recommendations, and critiques throughout this build.

1717794414760.jpeg

When I began building the Polaris, I was not planning on creating a log; therefore, I do not have photos of the unboxing of the kit (but such is available in other Polaris build logs found here on the SoS website). The kit was inventoried and found to be complete. Small parts were contained in a plastic compartment box. The lumber materials were grouped into sizes. The laser cut pieces were identified and marked according to their part numbers. The write-up for the plans is somewhat limited, but the pictorial images of the build process are very thorough. There is a companion You Tube video that takes the builder through the assembly process. All in all, I felt very comfortable engaging in the project.
I also do not have photos showing the bulkhead to keel assembly, nor the process of the deck planking and bulwarks installation. The following couple of installments will be a narrative without photos. Subsequent log postings will have photos.

Bulkheads -
After labeling each of the 11 bulkheads, the assembly to the keel was fairly straight forward just making sure that they were perpendicular to the keel. Once the bulkheads were glued in with white PVA, I went back with a syringe filled with glue (PVA) to strengthen all the joints.
 
Last edited:
Decking -
The sub-deck was dry fitted to the bulkheads before it was glued. Some of the bulkheads needed to be tweaked due to small interferences which were expected. A grid was scribed on the deck with a pencil to help with alignment of the planking. Satisfied with the layout and the fit, the deck was glued to the bulkheads. Because the deck is a bit concaved, I employed about 6 of the rubber band and #2 pencil technique which can be found in the SoS forum pages along with some additional clamps. I then went back with the syringe of glue (PVA) and strengthened all the joints between the deck and the bulkheads. (Note that I deviated from the Occre plans as their process was to plank the deck before assembling the deck to the bulkheads.)

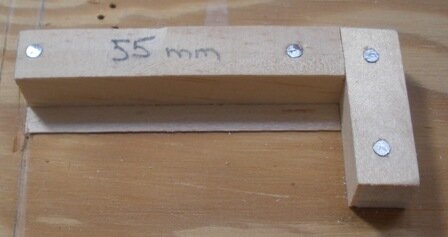
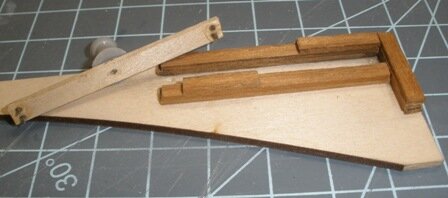
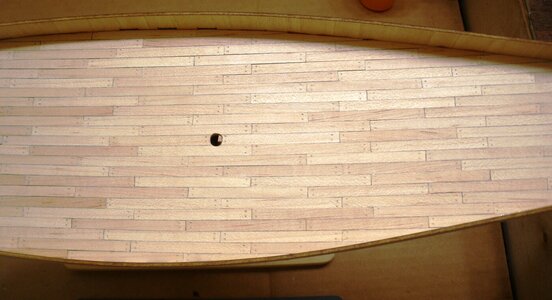
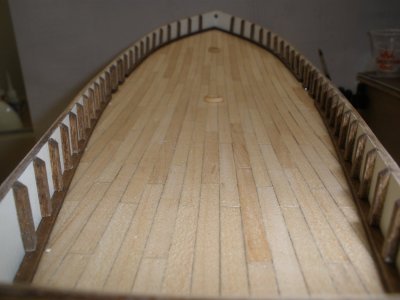
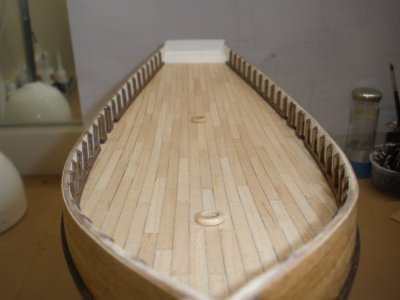
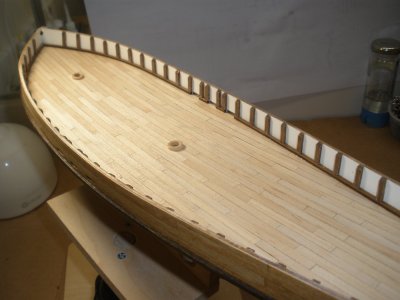
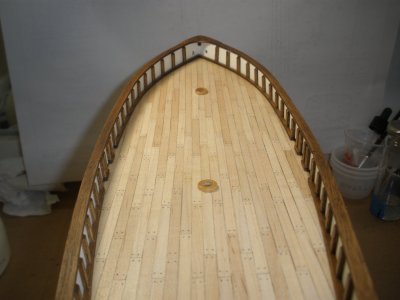
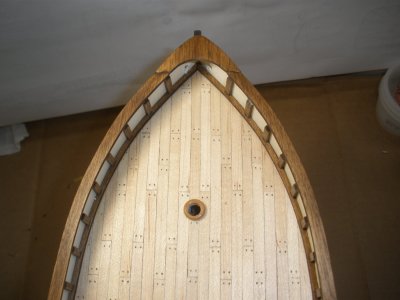
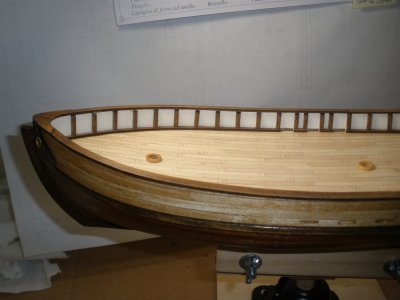
Continuing on, the plans called to simply use the long planking material and apply it to the deck with contact cement. Instead, I opted to make short individual planks (following Frank Mastini's "Ship Modeling Simplified") . Using a small jig (similar to the one by Mastini), each plank was cut to 55mm except for the starting row at the stern. Before laying the planks, 3 edges (fore, aft, and port sides) of the plank were rubbed with pencil graphite to simulate the caulk between the planks. Also, a jig was used to punch the small dimples in the plank's four corners to simulate the pegs holding down the planks to the sub-deck. White PVA glue was used to adhere the planks to the sub deck.

Jig for Plank Cutting
PlankCuttingJig.JPG


Jig for Punching Plank Dimples
1717945657140.jpeg

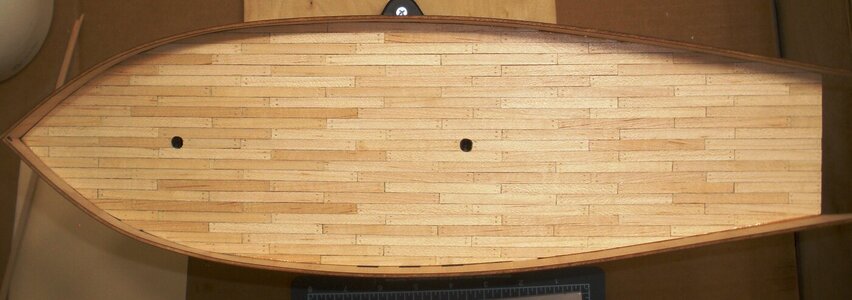
For a 3 stagger pattern, a 55mm plank was laid on the deck's centerline with a 40mm plank on either side and a 15mm plank on either side of the 40mm and then repeated for the width of the stern.

1717945795368.png

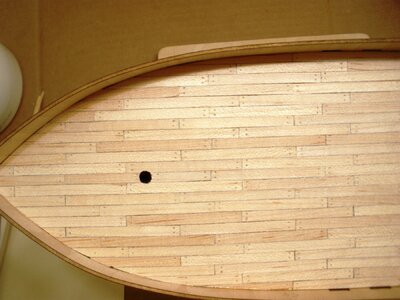
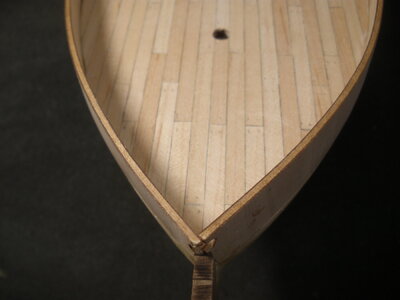
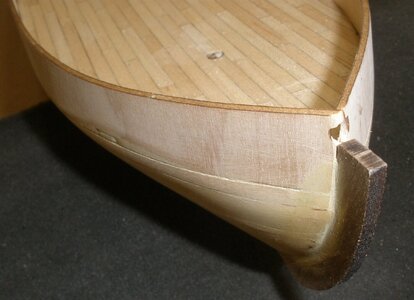
Once the planks were installed, the edges of the deck were trimmed using a rotary tool (Dremel) fitted with a sanding drum. Using a file, the holes for the masts were opened in the deck. The mast dowels were inserted into the holes to make sure there was enough clearance. After this, a light sanding of the planking with 220 grit paper followed with 400 grit prepped it for the several coats of Liquidtex acrylic varnish that were applied to complete the deck planking. I'm considering going back over the deck with a gray wash to give it a weathered appearance.

P1010017.JPG
P1010018.JPGP1010019.JPG
 
Last edited:
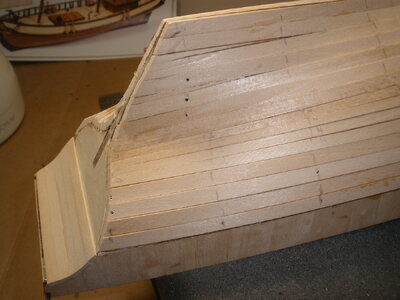
Bulwarks
The 2 pieces supplied in the kit for the port and starboard bulwarks are very fragile so care must be used when attempting to bend them to fit the curve of the bow. I measured the length of the bulwark section that curves around the bow and marked that distance onto each bulwark. After soaking each piece in warm / hot water for about 10 minutes, each one was carefully bent around the circumference of a 4 inch can and secured in place to let dry over night. I emphasize the word "carefully". Take your time to do this step. I could have expedited the drying process with a hair dryer or heat gun but I think to let the fibers of the wood dry naturally put less overall stress on the wood.

After each section was dry, they were dry-fitted to the edge of the decking. I used a combination of CA glue and PVA to secure each section. I ended up with a little mis-alignment as there was a lot of maneuvering going on. Probably needed an extra hand or two.

Bulwark Misalign.JPG

Bulwark.JPG

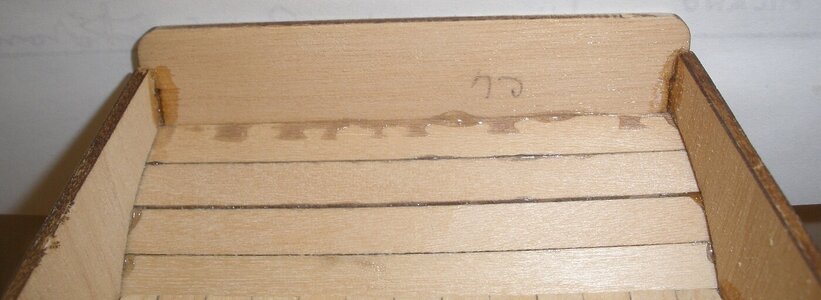
The next step was to attach a small piece (C6) between the stern section of the bulwarks. As noted by other Polaris builders, this piece can be a problem because it wants to break off as one is working on other parts of the hull. I think I re-attached it 3 times (fortunately it did not break.) In retrospect, perhaps this part could be left off until after the 1st planking of the hull is completed. (I got a little "happy" with the glue.)

C6.JPG
 
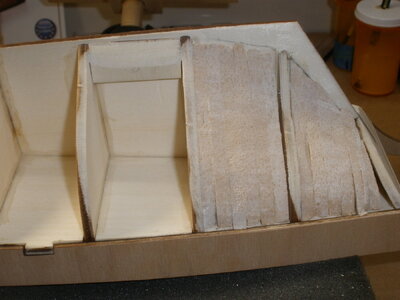
This being my first plank on bulkhead project, I did a lot of reading, searching, and watching YT videos in order to get a better understanding as to how to go about getting the hull ready for the 1st planking. A lot of information recommended the use of filler blocks in the bow and stern sections.

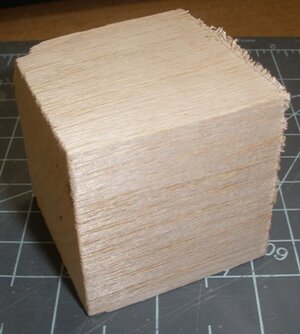
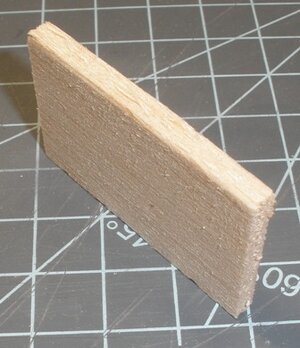
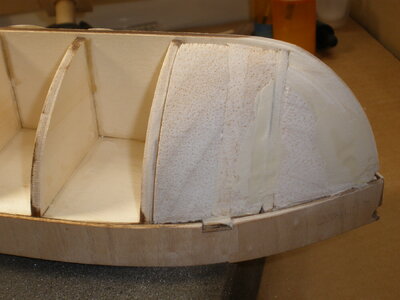
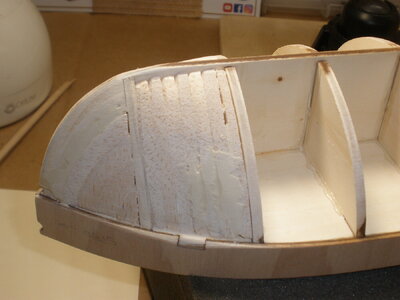
Following that advice, I began making filler blocks out of 2x2 inch balsa wood for the 1st 2 voids at the bow and last 2 voids at the stern. I found that with the lack of proper tools it was difficult cutting the blocks into a rough form and then shaping them to fair with the bulkheads. I switched to 3/16 inch thick balsa and faired each "slab" individually then laminated them together. This was much easier to craft the needed configurations between the bulkheads. I filled in the irregularities with modeling putty and then sanded smooth.

2x2 Inch Balsa Block and 3/16 Inch Balsa Slab
ThickBalsa.JPG ThinBalsa.JPG

Port Bow Filler Blocks using 2x2 inch balsa
P1010006.JPG

Starboard Bow Filler Blocks using 3/16 inch balsa laminated "slabs"
P1010005.JPG

Starboard Stern Filler Blocks using 3/16 inch balsa laminated "slabs"
P1010004.JPG

P1010002.JPG

P1010008.JPG

P1010010.JPG
 
This being my first plank on bulkhead project, I did a lot of reading, searching, and watching YT videos in order to get a better understanding as to how to go about getting the hull ready for the 1st planking. A lot of information recommended the use of filler blocks in the bow and stern sections.

Following that advice, I began making filler blocks out of 2x2 inch balsa wood for the 1st 2 voids at the bow and last 2 voids at the stern. I found that with the lack of proper tools it was difficult cutting the blocks into a rough form and then shaping them to fair with the bulkheads. I switched to 3/16 inch thick balsa and faired each "slab" individually then laminated them together. This was much easier to craft the needed configurations between the bulkheads. I filled in the irregularities with modeling putty and then sanded smooth.

2x2 Inch Balsa Block and 3/16 Inch Balsa Slab
View attachment 454651 View attachment 454652

Port Bow Filler Blocks using 2x2 inch balsa
View attachment 454644

Starboard Bow Filler Blocks using 3/16 inch balsa laminated "slabs"
View attachment 454645

Starboard Stern Filler Blocks using 3/16 inch balsa laminated "slabs"
View attachment 454647

View attachment 454648

View attachment 454650

View attachment 454661
Welcome and it looks like your off to a great start Keep us posted
 
1st Planking
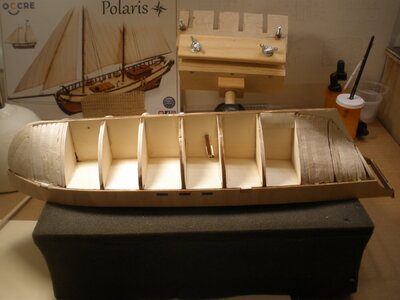
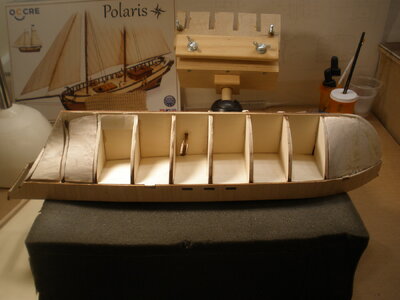
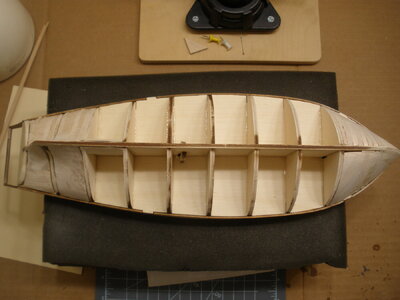
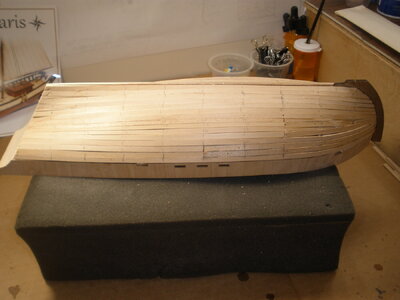
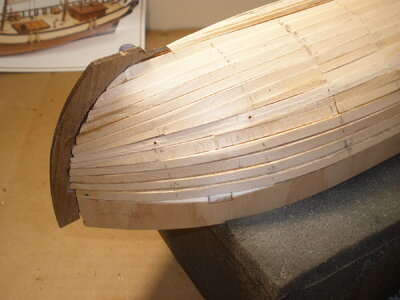
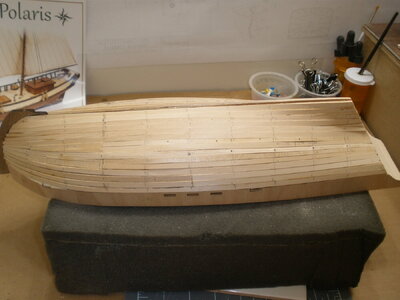
After studying the Polaris plan sheet, reviewing other SoS Polaris build logs and discussions, reading the Planking for Beginners document (several times over), and watching several YT videos (again several times over), I decided to go down the path of plank tapering vs the plan sheet. Although this is my first plank on bulkhead project, I just didn't like the results using the Occre method of planking particularly at the bow. I also deviated from the plan by installing the bow section of the keel.
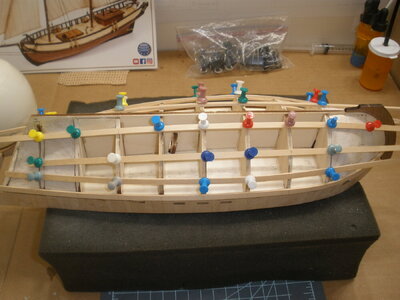
Per the instructions in the Planking for Beginners tutorial, temporary batten planks were installed with an approximate 15 mm width (about a 3 plank space) between the temporary planks to create zones.

P1010023.JPGP1010024.JPG

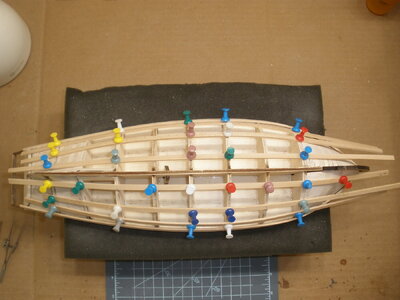
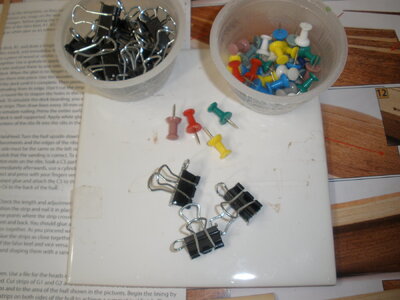
Using a planking fan, the calculations for tapering the planks were made and then transferred as penciled tick marks along each bulkhead. After sanding down a plank to taper, it was soaked in hot tap water for about 10 minutes. Then using a curling iron, the plank was shaped to form and held in place overnight using modified document clips and map pins which worked very well. The next day, the planks were glued to the bulkheads using white PVA. (I chose not to use the brass pins to hold the planks in place.) Overall, the process went relatively smooth although It was a slow process.

Clips & Pins.JPG

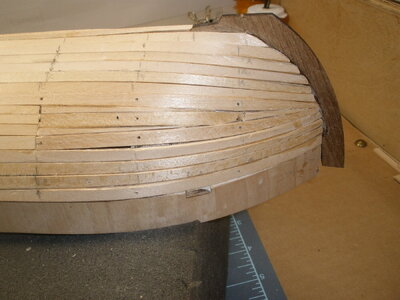
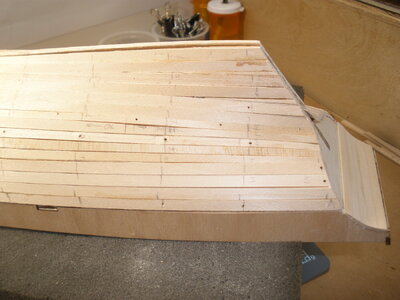
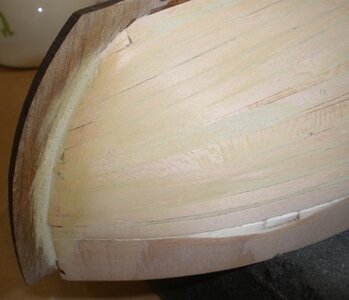
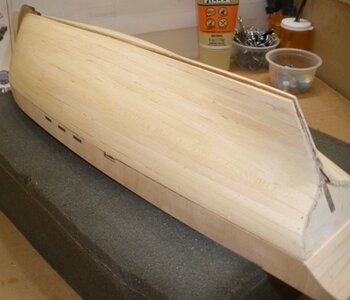
It became clear that creating and maintaining the exact plank taper was quite a challenge, especially at the bow. Perhaps it would have been easier to make error corrections by staying within the zones as a guide rather than starting with the garboard strake and working my way up to the bulwarks and waiting until the last 4 planks to make the corrections as the errors multiplied along the way. Several stealers were needed to fill the gaps and get me out of a bind.

portbow.JPGportstern.JPGportfull.JPGstbdbow.JPGstbdstern.JPGStbdFull.JPGstern.JPG

After a good sanding, I used Gorilla wood filler for the small gaps and unevenness following with a final sanding before beginning the 2nd planking. Aside from doing a better job controlling the plank taper and staying within the zones, I would try to bevel the edge of the planks for a better fit. Furthermore, I understand the reasoning behind installing the bow keel section, but felt it got in the way of terminating the end of the planks. I'll need to work on that better on the next build. I also realized how important it is to have a proper fairing of the bulkheads as I didn't quite get it correct between the 1st two bulkheads and the bow as the first two planks bulged a bit in this area near the bulwarks which required a bit of fussing with. It was definitely a learning experience and will certainly apply what was learned to the next build.

PortBowFilledCloseup.JPGPortsideSternFilled.JPG
PortsideFilled.JPG
StbdBowFilledCloseup.JPG
StbdSternFilled.JPG

Please feel free to offer critique / suggestions so that I can employ on my next build. Thank you all in advance for your help. I've just finished the 2nd planking and will be posting as soon as I can get to it.
...henry
 
2nd Planking

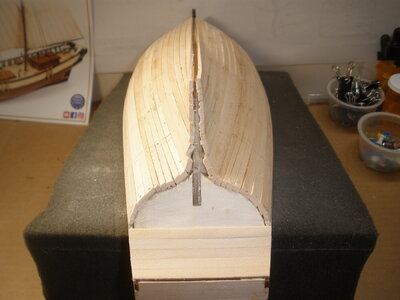
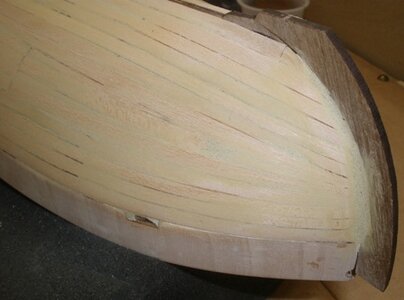
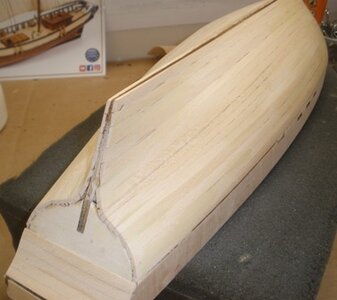
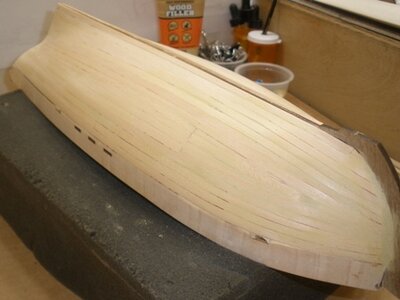
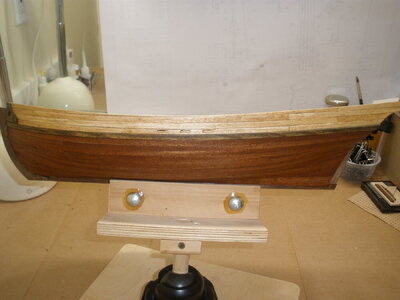
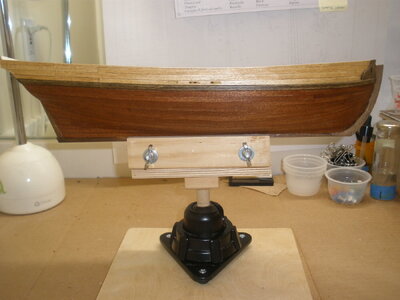
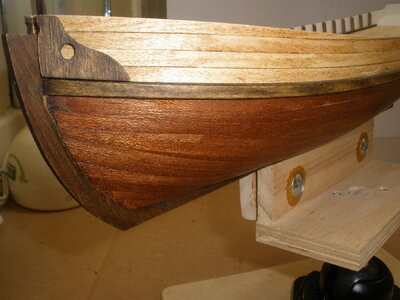
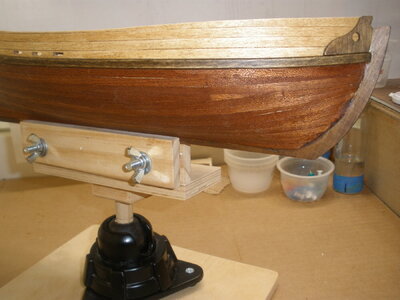
For the 2nd planking of the hull, I decided to follow the Occre plan set; that is, to go the un-tapered plank route with stealers vs. the tapered method I used in the 1st planking. This being my first plank on bulkhead model, I wanted to get some experience doing other methods.
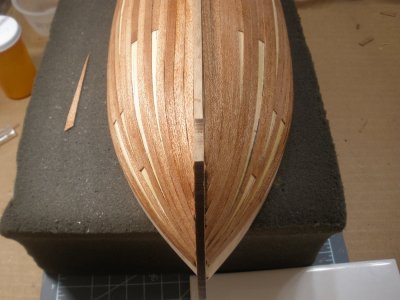
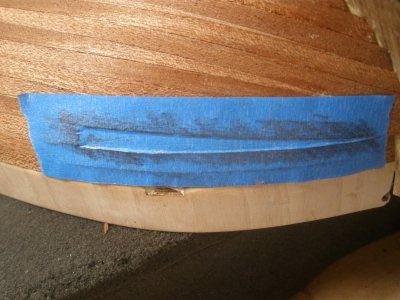
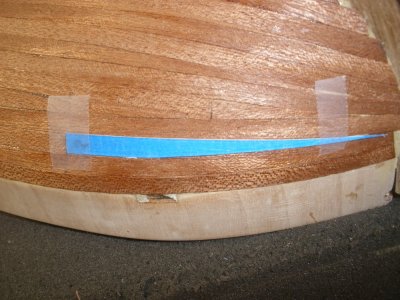
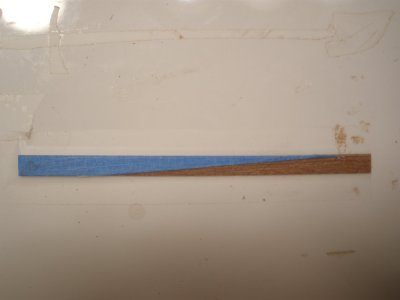
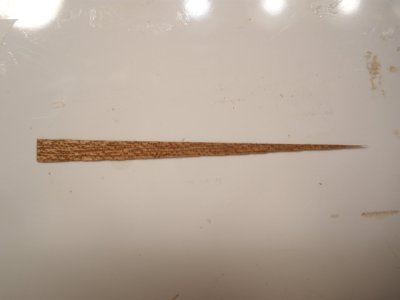
Upon completion, I learned that although the un-tapered method is faster, that whatever time was "saved" was consumed making the stealers. Overall, 18 - 20 stealers were needed to fill the gaps. Whilst making stealers I created a technique to make them which made the process easier and more accurate. I'll share the technique in the next post.
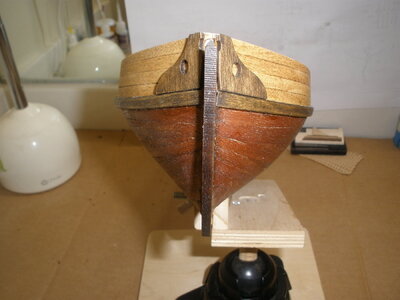
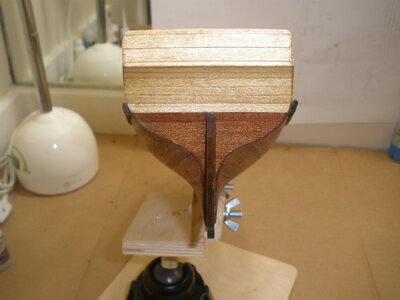
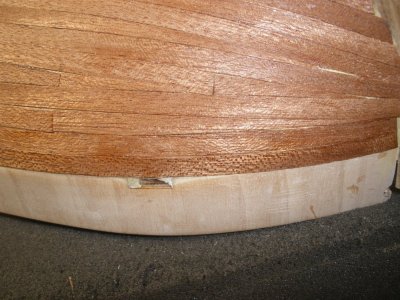
Notably, I did not do that great of a job terminating the planks into the bow keel. As I wrote above, I have a better understanding of creating a rabbet along the keel into which to terminate the end of the plank.
As an aside, the wood for the 2nd planking is very thin (~ 0.6mm) and somewhat brittle so there is danger of breakage, but I found soaking the planks was not required. I chose not to use the contact cement method of attaching the planks as called out in the plans. I started using CA; however, I quickly discovered the wood was very porous and the glue would actually soak through to the top surface of the plank. Instead, I switched to using white PVA and held the planks in place with painters tape. Using PVA gave me a bit of working time to position the plank and the tape secured the plank in place until the glue set.
The wood has a reddish tone which I think would be accentuated if varnish or polyurethane was directly applied. Instead, I applied a coat of Minwax English Chestnut stain (light brown). To the planks above the rubbing strake, I used Minwax Golden Oak stain. To finish, I will use a top coat of Warm Stain polyurethane.

2nd_Port.JPG
2nd_Stbd.JPG
2nd_Fwd Port.JPG
2nd_Fwd Stbd.JPG
2nd_Bow.JPG
2nd_Stern.JPG

Thank you in advance for suggestions / critique.
...henry
 
Of the half dozen ships I have planked, and watched other, it seems a mix of the two methods often works best.

Sometimes using tapered planks at bow and stealers in stern work, but it depends on what pattern you are trying to replicate from the original.
 
Back
Top