Deck Fittings, Hatchcover, and Deckhouse
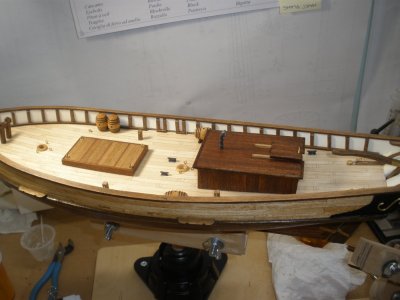
This part of the build is very straightforward. Positioning of the various components is per the instructions. Note that I did not bother to install the water pump as I did not like the look of it. The sailors can simply dip out of the barrels.
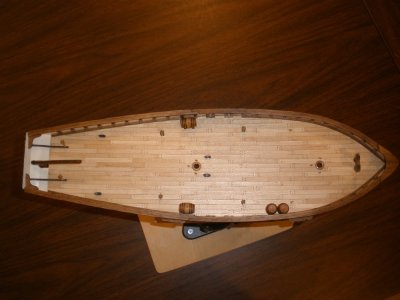
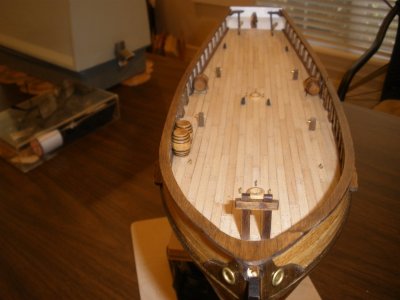
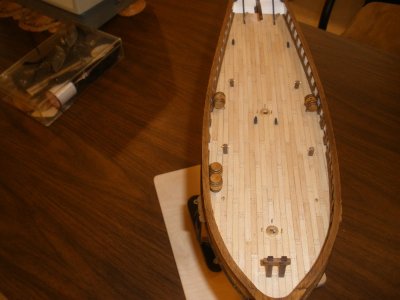
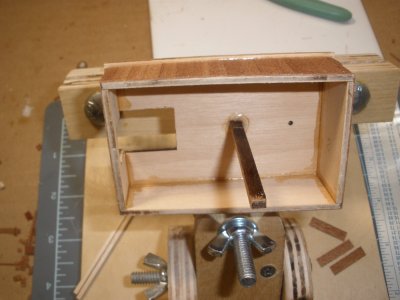
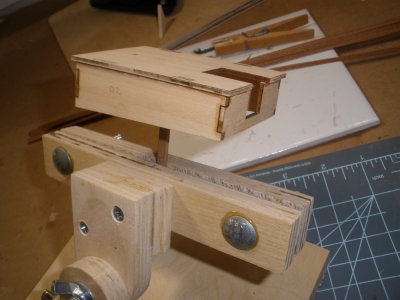
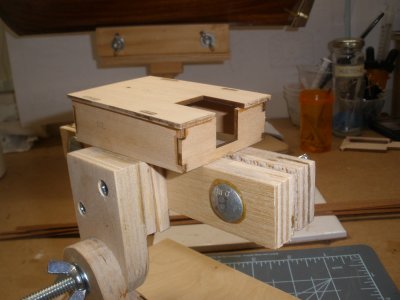
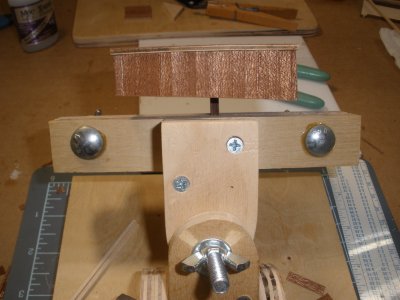
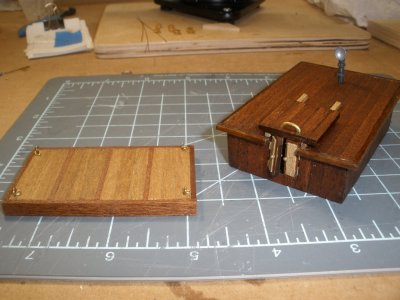
When fabricating the deckhouse, I glued a scrap piece of wood to the inside roof surface in order to hold the deckhouse in a vise. Doing so frees up both hands to do the surface planking. When finished remove the piece of wood. At the point of installing the vertical planking on the deckhouse, plan your work so that when you get to either end of the structure you are not trying to glue a sliver of a plank. Another helpful hint in mounting the doors, I stuck the doors into position using blue painters tape, then applied a bit of CA glue to each door into the frame. Once set, remove the tape.
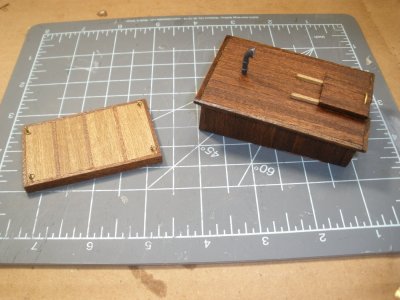
Because the deck is a bit concaved, the bottoms of the hatchcover, and deckhouse needed to be sanded so the structures will sit flat on the decking; otherwise there will be a small gap.
I will note that I was concerned about the height of the deckhouse roof vs the height of the tiller. It seemed quite out of scale. But after mulling it over a bit, I realized that the sailors would be entering and exiting below decks and would either slide open the hatch cover on the roof or duck down. At least, this is how I alleviated my concerns so that I could move forward with the mast(s) work.
The next chapter will be building the bowsprit, masts and subcomponents. Again, thanks in advance for any comments or suggestions. Until next time.....


