- Joined
- Jun 2, 2020
- Messages
- 96
- Points
- 88

It is found on Amazon and it is inexpensive@Mike Dowling this is what I could find in the youtube video comments:
Or you can also google for: Red double sided PET tape.
Hope this helps.
 |
As a way to introduce our brass coins to the community, we will raffle off a free coin during the month of August. Follow link ABOVE for instructions for entering. |
 |

It is found on Amazon and it is inexpensive@Mike Dowling this is what I could find in the youtube video comments:
Or you can also google for: Red double sided PET tape.
Hope this helps.
I have built about 20 ship cases for my models -- each for about $125. And we're not talking small cases -- some of these are three feet long (see pics). And the only tool I use need is a small hand miter saw. Here's how I do it:Does anyone have a suggestion on building vs. purchasing an acrylic case for their ship model? A well built model with rigging does not fair well when pitted against a curious cat, so protection is required. I’ve watched a dozen videos on how it’s done, but I have many doubts on how my unprofessional results will fair. Acrylic sheets can be cut on a table saw (I don’t have one), or scored and snapped on a line (creating rough edges) which might not glue so well or look decent.
I’ll take as many suggestions or comments as people will offer!
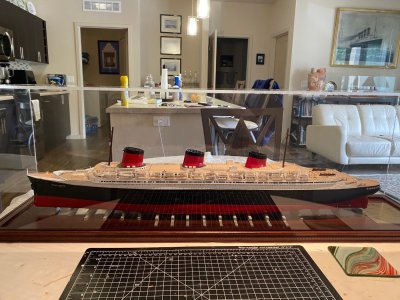
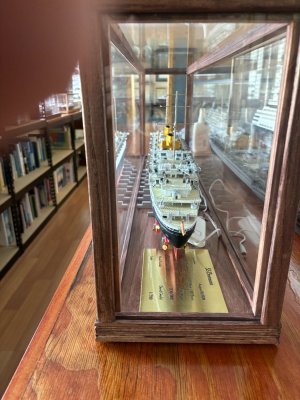
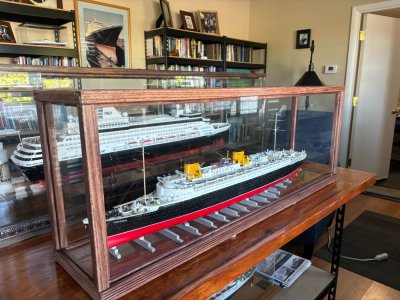
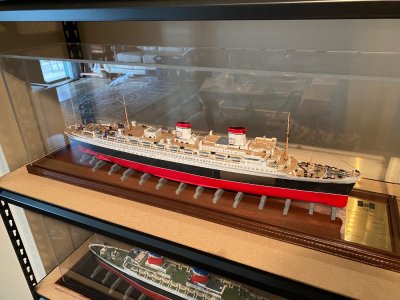
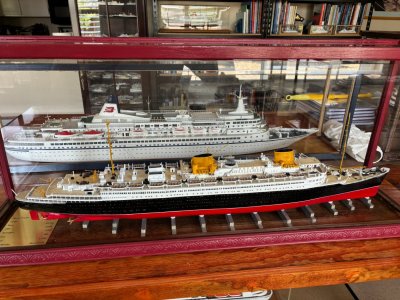
I personally have had bad luck making the glued all plastic cases. The adhesive either gets smeared or fails to produce a sound joint.
Single strength glass cut to size is quite inexpensive, when bought from our local hardware store. The savings relative to purchased cases are enough to pay for a table saw capable of milling the wood for a case. To cut the decorative moulding for the base, I use a set of moulding cutters that fit my table saw. A router would also work. Photo below.
A set of picture frame clamps is essential for maintaining the right angles of the case. Mine are over 50 years old and at least used to be very inexpensive.
Roger
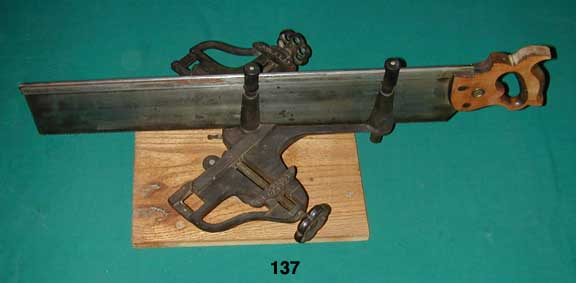
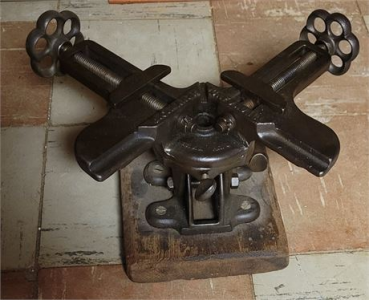

Have you ever tried using this method with glass instead of plastic?I make my own and I order the acrylic panes at a company where you can get custom panes. You just need to provide the measurements and they make them to order.
Here’s a youtube video that may be fo help too:

Picture frame glass costs more than window glass. Window glass is much better today than years ago, and picture frame glass is specially manufactured to exclude any defect in the glass that would interfere with the art it is to cover. For even a bit more, and worth it in my opinion, picture frame glass with anti-glare and UV filtering properties is widely available in picture framing shops, which can cut it to any dimension requested. I've repeatedly priced plastic and glass and the glass is always significantly less expensive than the glass.I buy all of the glass for my cases cut to my specified dimensions. I do not have the edges polished as they are completely covered by the wood frame. In the past, I bought from a local commercial glass company. For my last case I bought it from a local Ace Hardware. Prices were no where near what’s posted above. $50.00 tops.
Roger
I have not @Van . I suspect you may need a different kind of adhesive for glass.Have you ever tried using this method with glass instead of plastic?
