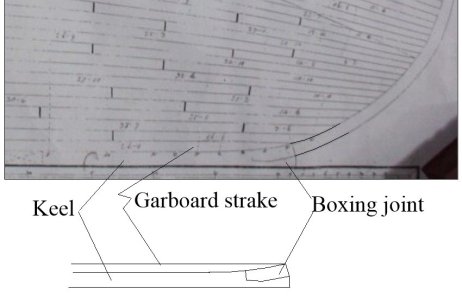
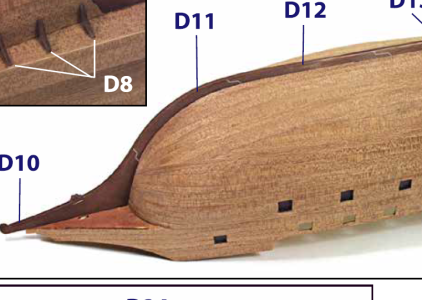
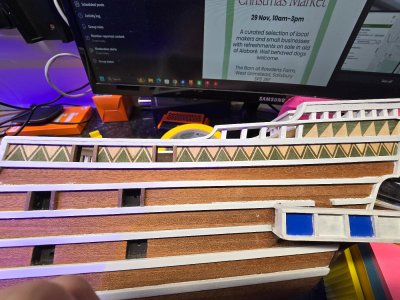
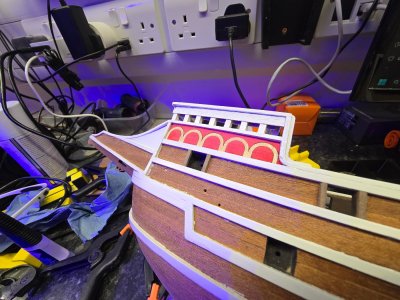
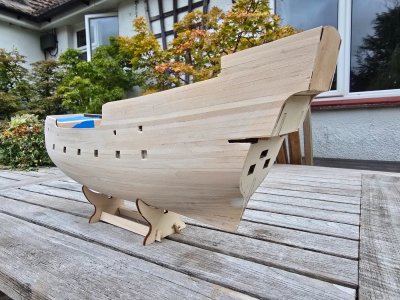
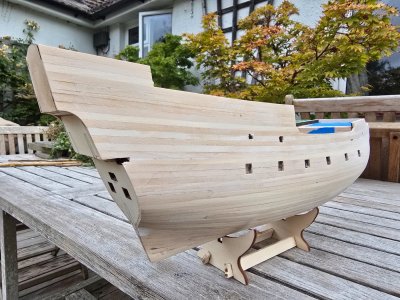
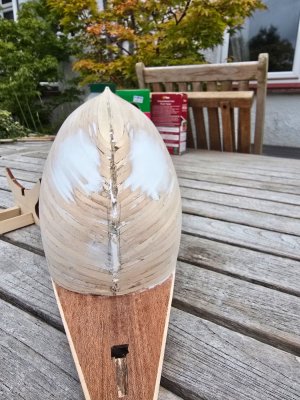
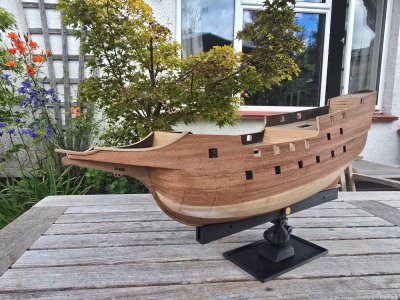
It has been awhile since I introduced myself to the group and posted some progress pictures of my Occre Revenge build but I have slowly been putting the 2nd planking on
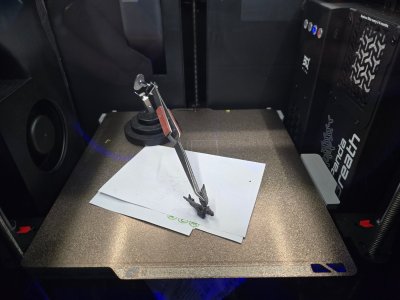
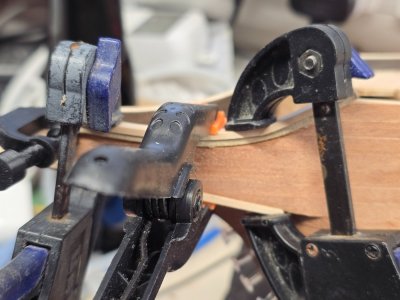
To relive the "boredom" of this - if this is the right word - I started to look at the baulwarks capping? Having had a 3d printer for longer than I can remember I decided to design and create some formers for the bow in Fusion 360 and printed them in ASA for the strength and heat tolerance. They were designed with a 15 - 20% reduction in the curve to allow for spring back. After soaking the Walnut for 24hrs these were pressed and clamped into the formers and left for another 24hrs to dry
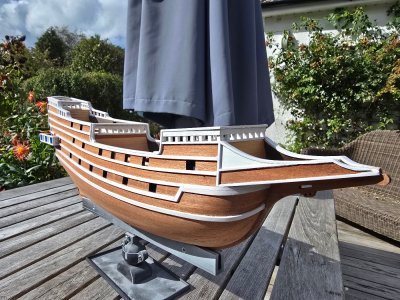
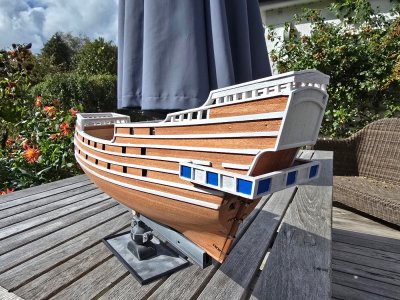
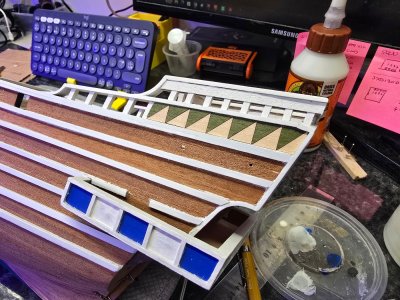
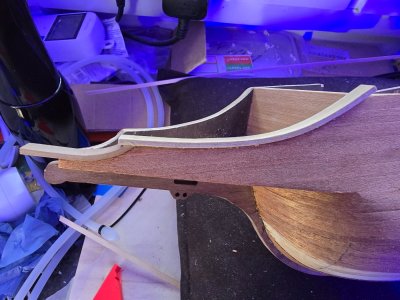
I can honestly say other than a small amount of extra forming using heat they fitted quite nicely with zero splintering. I'm now designing the former for the centre deck part to be able to form and bend the walnut in 2 directions and the smaller radii either end so it is in one piece. I will report on the progress/success of this complicated piece
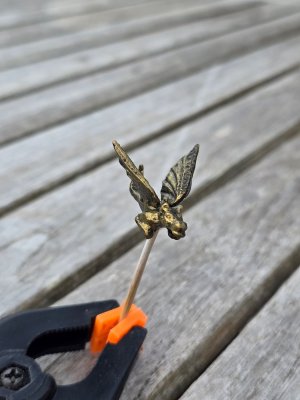
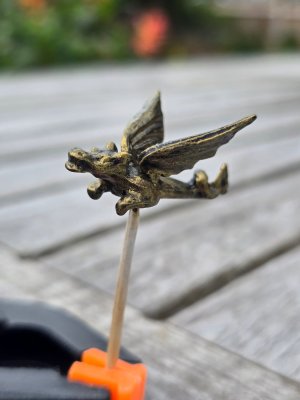
I have attached some images of the above inc 1st planking finished pictures for those that missed my first post
If anyone would like the stl's for free I can send them to you or I can print and post the finished formers for a small fee to cover materials and postage if you do not have access to a 3D printer- apologies but not sure of private messaging etc on this forum or if it is even possible so I can send you the files etc or even if I can post them here for anyone to download?
Thanks for watching
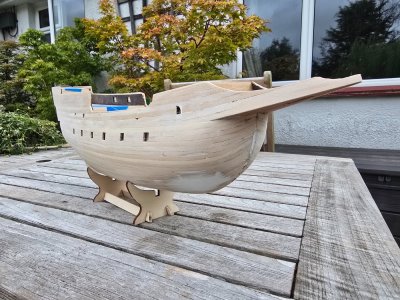
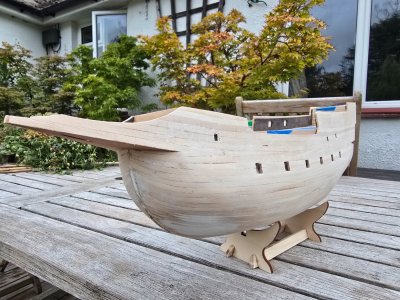
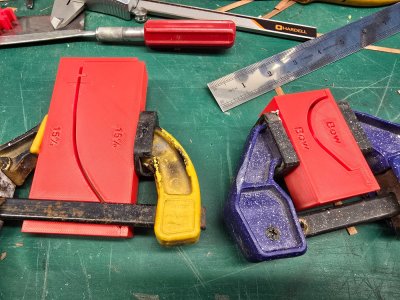
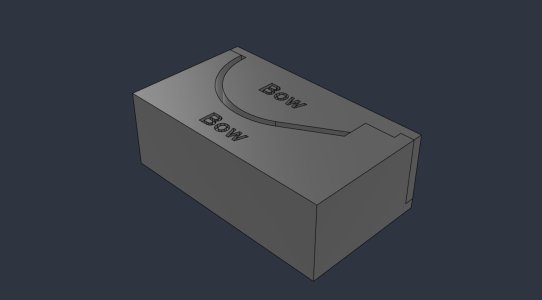
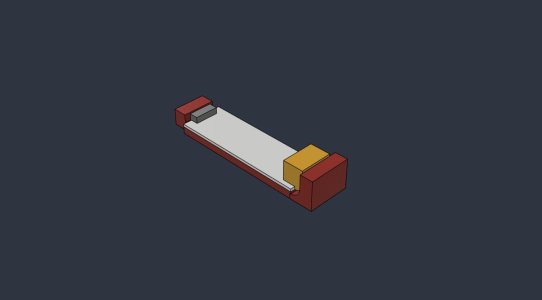
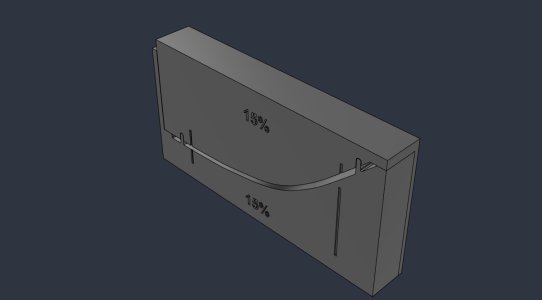
To relive the "boredom" of this - if this is the right word - I started to look at the baulwarks capping? Having had a 3d printer for longer than I can remember I decided to design and create some formers for the bow in Fusion 360 and printed them in ASA for the strength and heat tolerance. They were designed with a 15 - 20% reduction in the curve to allow for spring back. After soaking the Walnut for 24hrs these were pressed and clamped into the formers and left for another 24hrs to dry
I can honestly say other than a small amount of extra forming using heat they fitted quite nicely with zero splintering. I'm now designing the former for the centre deck part to be able to form and bend the walnut in 2 directions and the smaller radii either end so it is in one piece. I will report on the progress/success of this complicated piece
I have attached some images of the above inc 1st planking finished pictures for those that missed my first post
If anyone would like the stl's for free I can send them to you or I can print and post the finished formers for a small fee to cover materials and postage if you do not have access to a 3D printer- apologies but not sure of private messaging etc on this forum or if it is even possible so I can send you the files etc or even if I can post them here for anyone to download?
Thanks for watching