Roter Löwe - Red Lion - Mamoli 1:55 - Restoration by Valmiki [COMPLETED BUILD]

Valmiki, you sure look like you know what you're doing to me! Keep going, I'm looking forward to seeing the rigging!
Rick 1011
 
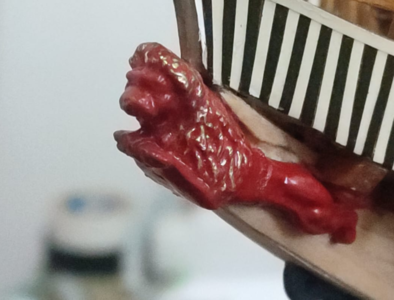
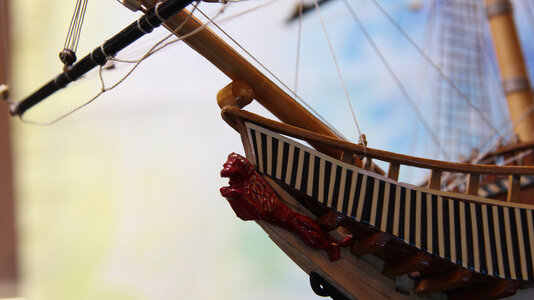
Now ... a big problem for me. I am not good at carving sculptures. So I had to find something as close as possible to the Lion figure.

View attachment 399166

This can work but ... I have a problem. There is no way I can fit it on the ship coz there is no space for the keel ... or can't I?

View attachment 399167

View attachment 399168

Not sure about it but what do you think? Better with golden hair or all red?

View attachment 399169
Das Schiff heißt der rote Löwe. That is the name.
 
Valmiki, you sure look like you know what you're doing to me! Keep going, I'm looking forward to seeing the rigging!
Rick 1011
Thank you Rick. I am happy for your appreciation.

I am sorry but here comes a spoiler alert for everyone: my dad for some strange reason doesn't like sails on sailing ships. So this is basically the end of the project. I am just missing out a few more steps and that's it.

Personally, I love sails and I know that is always best to never say never, but I will never make a sailing ship without sails. You will soon see my other project. Another spoiler alert ... it has sails ... LOL.
 
Das Schiff heißt der rote Löwe. That is the name.
Yes! That is its name indeed (Red Lion). Hence, I had to find a nice figurine that could fit nicely the name. I think the result is pretty neat.

I left out a little bit of the golden color on the mane ... I hope it gives it a nice touch.

1697405980128.png

Thank you for the "nice labor of LOWE" ... I liked the bilingual analogy.
 
Hello Guys.
Not making much progress partially coz I am a bit busy and also because the shop where I buy pexiglass is out of materials and still waiting for them.
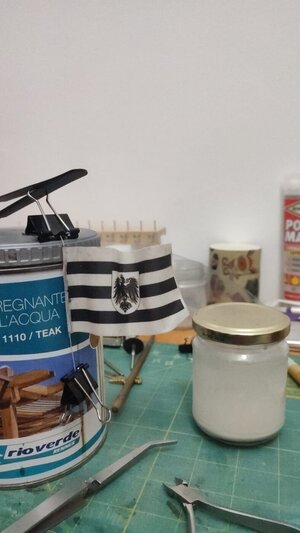
Meanwhile I did some tests with a flag in order to make it look like is flapping under the wind. The result is not so bad:
Immagine WhatsApp 2023-10-27 ore 21.51.59_9c45fead.jpg

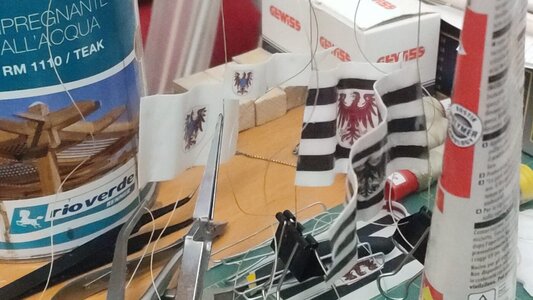
Of course the flag is not touching anywhere, even though is not clear from the picture. Considered satisfied I proceeded with the final prints: this was no good coz was printed only on one side. Didn't like it so I made new ones:

Immagine WhatsApp 2023-11-11 ore 19.02.46_58df7960.jpg

Here they are all hanging. I liked them so much that I made a set for my President as well. You will see in my other log.
 
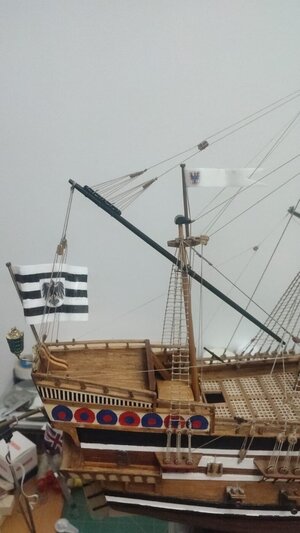
Oh! Since I was at it ... I hanged the only 2 that I feel safe and protected under the cloth. The other 2 I think will be deformed under the weight of the protective cloth I am using in order to avoid the forming of dust on the model.

Immagine WhatsApp 2023-11-14 ore 01.20.11_4e4570aa.jpg

The other 2 flags will be placed when the display box will be done. Maybe next week the pexiglass will arrive at the shop. Fingers crossed guys.
 
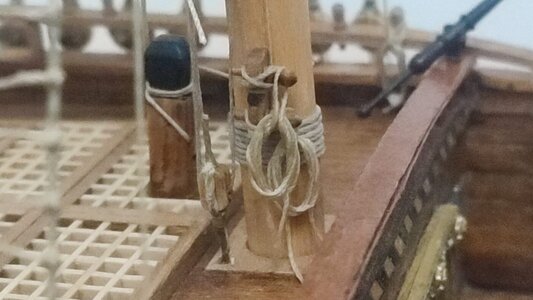
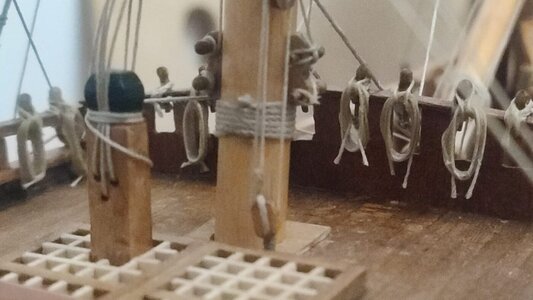
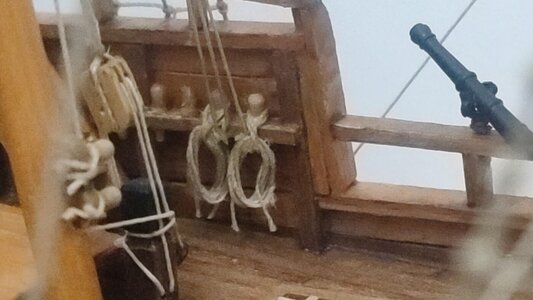
And of course I couldn't avoid to make just a few decorations: rope bundles.
Immagine WhatsApp 2023-11-14 ore 01.18.09_69057ada.jpg

Immagine WhatsApp 2023-11-14 ore 01.18.46_0f8d3cf0.jpg

Immagine WhatsApp 2023-11-14 ore 01.19.03_2467a30c.jpg

I still have a few to make but 80% are already in place.

Looking forward to finish this project. Also because I will go and visit my father for Xmas and wanna bring it to him by then.
 
Can anybody help?
I have a little question.

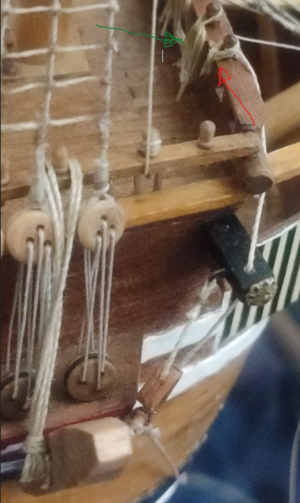
The anchor has a rope that goes straight to the upper deck on the bow part of the ship. I am creating all these rope bundles which I hope are at least decent but I am wondering if in this case I should create something different.
Do you have any suggestions/hints for me?

Below with a green arrow the bundles I am making and in red the rope that comes from the anchor.
What would be more appropriate to put there? I searched a bit online but I haven't find a real answer to my question.
I would like to see if with your help I could find a better and more accurate solution to this problem.

Thank you in advance.

1699970583942.png
 
Last edited:
Hello Everyone and Merry Xmas.
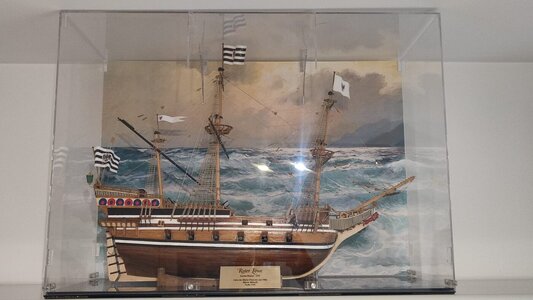
Sorry for the belated greetings but unfortunately my pexiglass supplier drove me crazy and had me waited for almost 1 month and a half for the display case, which in the end he created and broke and kept me waiting further more until Monday when he cut the parts as requested. Finally. This was last week before Xmas and on Sunday morning we were suppose to leave to visit our families. Had to work almost all nights, until 1-3 am even, in order to finish the whole display case and complete the project and take it to my dad's for a nice Xmas present. As you can imagine I didn't have much time for logging all these info here. But in quite a rush Sunday morning at 3am took out my good camera made a mediocre photo set and made some quick shots. Hope you will enjoy them. But before the last steps of the construction.
 
Valmiki- As to that anchor rope, if I'm understanding it correctly, there was a lot of weight & strain on it, & I believe it may have been tied off to the rail or later in time, to a cleat on deck, I'm not sure. But I am sure of one thing....you've done a beautiful job, & your Dad will be proud!
Rick1011
 
For the display case I created a project in Illustrator (since I have always used it in my previous job). It was the first time for me to work with pexiglass since in my previous job I worked with cardboard and similar materials but my knowledge came quite handy and in the end the top was solid enough even with a 3mm thickness which reduced significantly both weight and price.

This is the top before the gluing part.
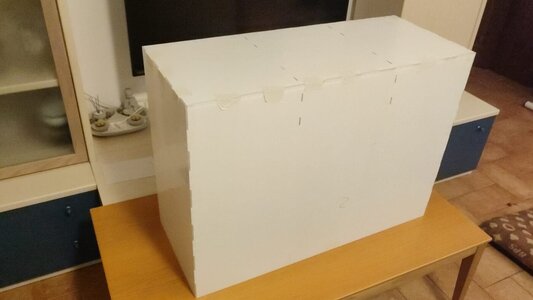
125.jpg

These are the blocks that are going to be glued to the base and then can be screwed to the top so that it doesn't accidentally open. This is a big boy and didn't want to run into any problems later on.
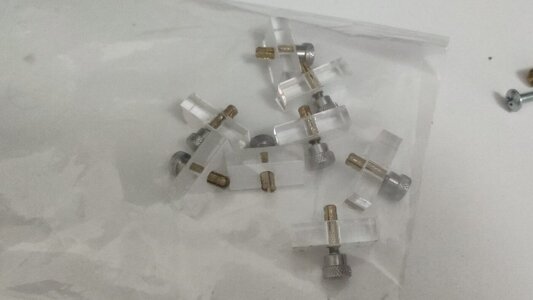
126.jpg

Same blocks ready to be screwed and glued to the base.
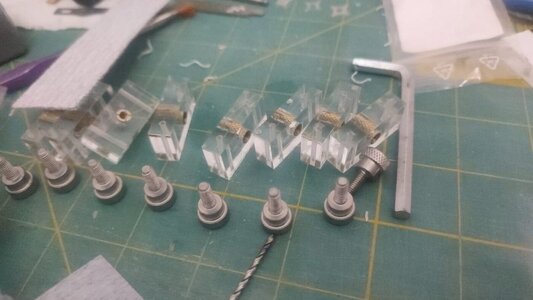
128.jpg

My pexiglass supplier made a big mess even with the base. I asked for a 6+3mm base and he gave me a 2+2+2+2mm ... I had no words. So instead of having 2 pieces to glue together I had 4 ... what a joy:
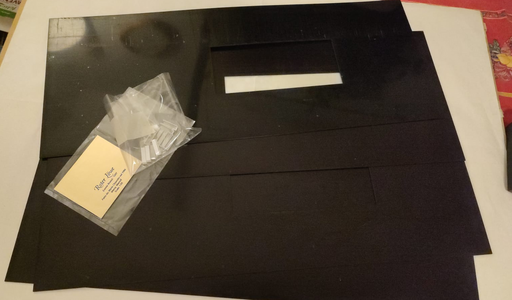
1703774303301.png

For the small label I just had to bend it ... but next time I will have to create something better: it curled like crazy in the wrong points ... oh boy what a nightmare. But in the end it came out quite alright:
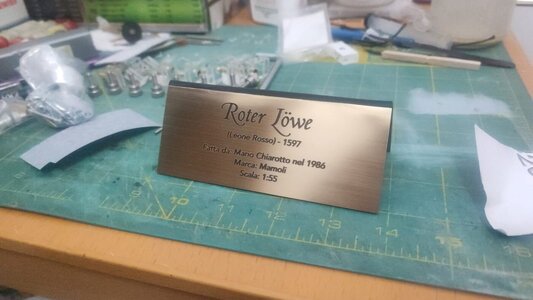
129.jpg

My father wanted to have a background and I had already the same idea for my other ship. No problem. I created a support:
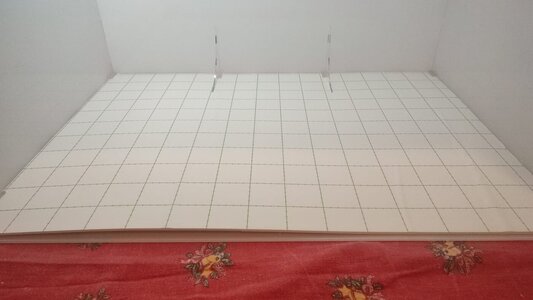
130.jpg

I searched a bit over the net and came out with 20 pics or so and PS made a quick collage and picked the best 3. My dad selected this one:
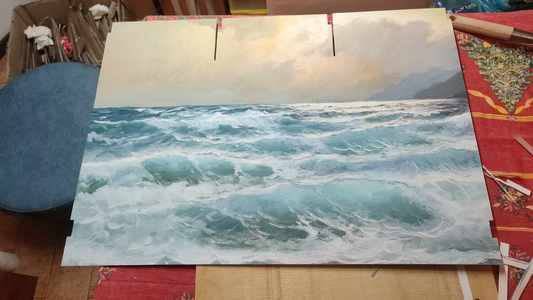
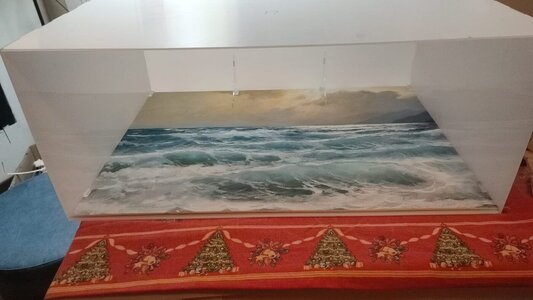
131.png

132.jpg

After gluing the blocks and layers together, the base here should be a bit more understandable:
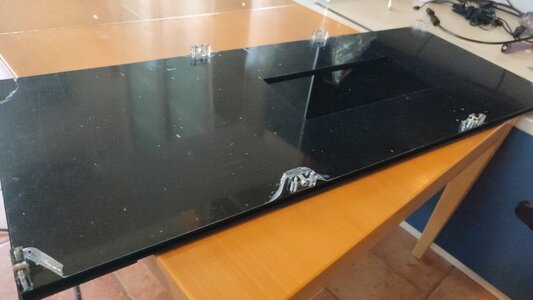
133.jpg

And finally ready to make the holes in the top:
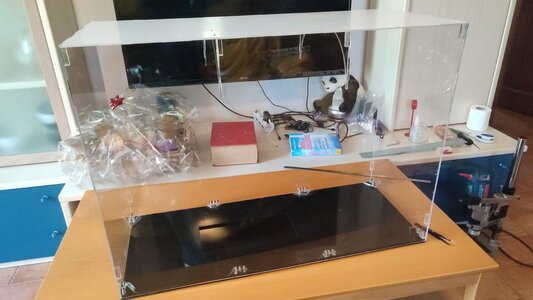
134.jpg

But just in case I used some kitchen wrapping paper to protect the Pexiglass so here is the result I can give you right now:
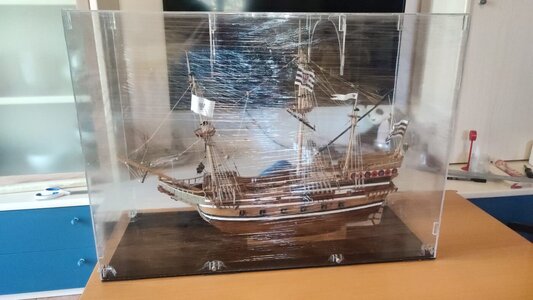
135.jpg
 
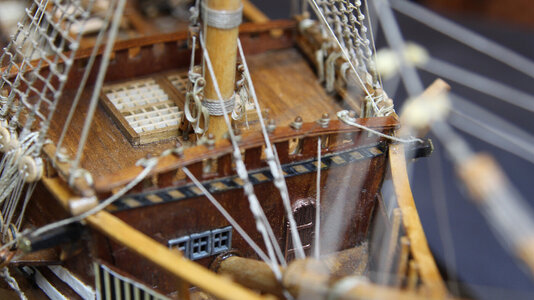
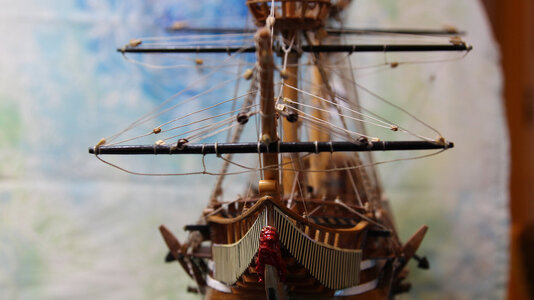
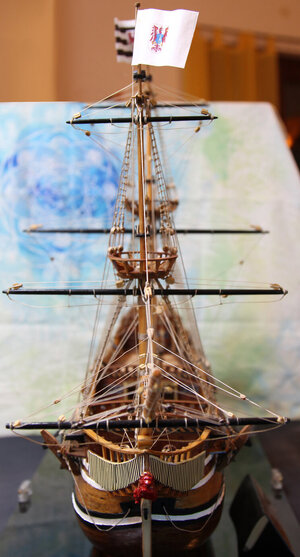
And now that this project is complete. I believe is time to give you a little tour with better quality pictures. I so sorry that angles, light and backgrounds are not super-duper but as mentioned earlier at 3 am after a week working like crazy during the day and trying to complete this project during the night ... I was really happy to have a few hours sleep before my trip.
And without further ado:
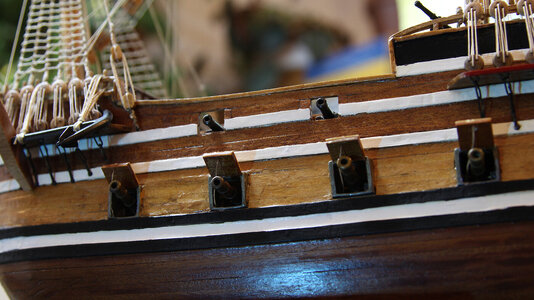


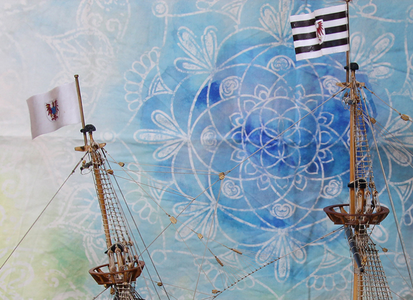
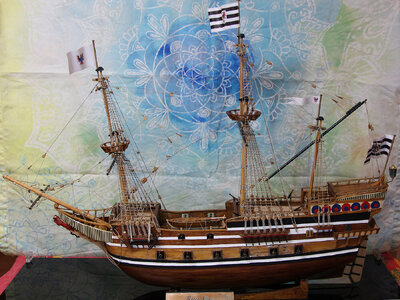
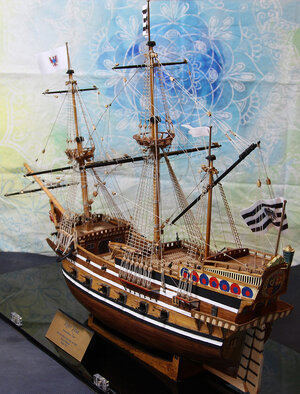
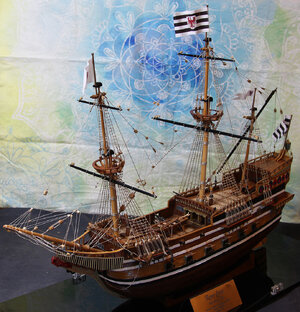
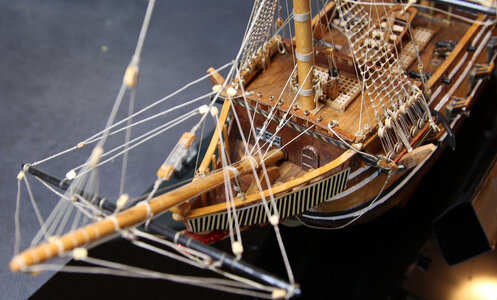
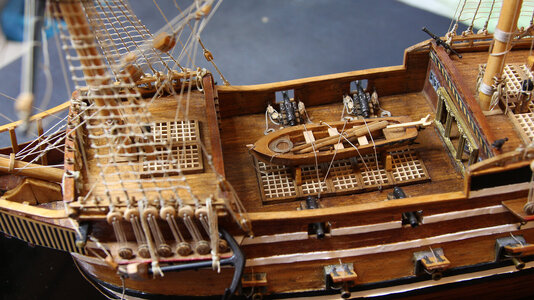
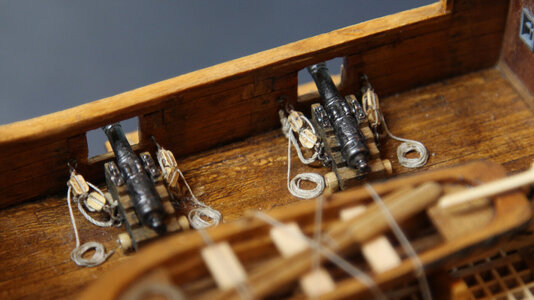
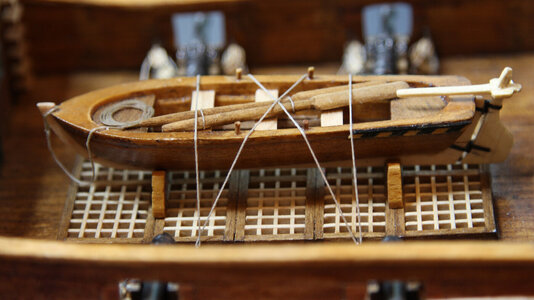
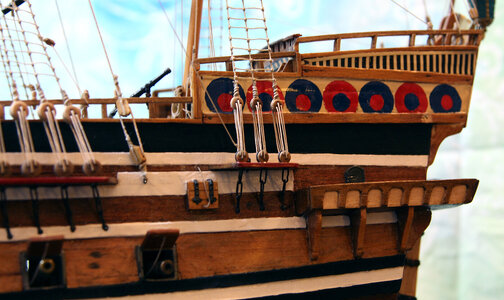
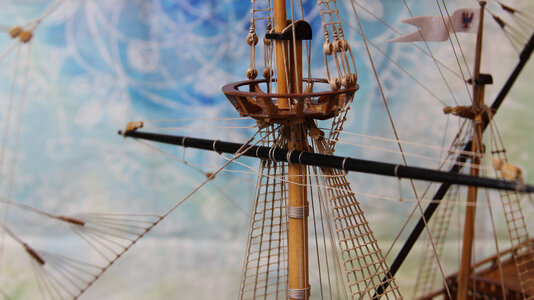
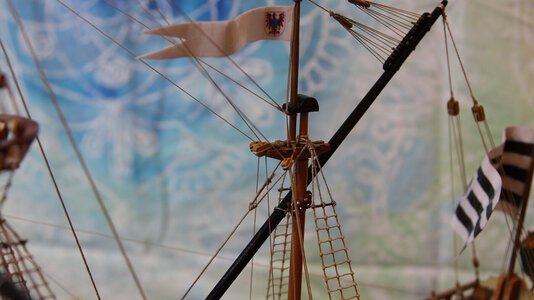
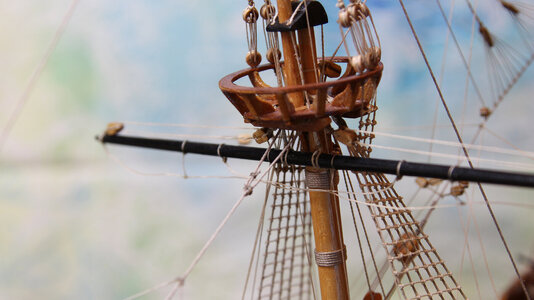
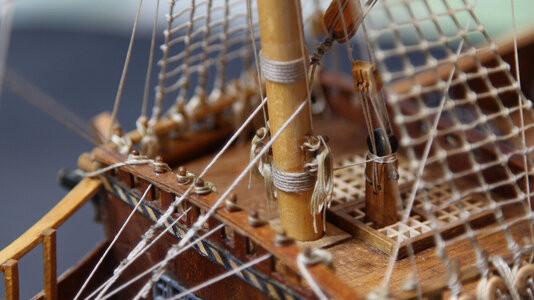
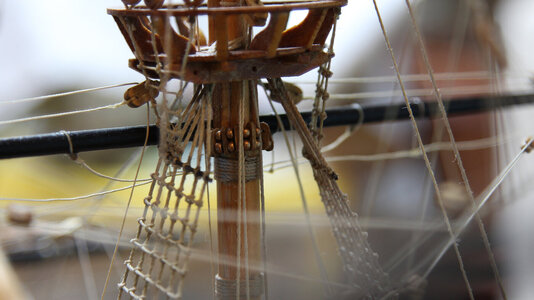
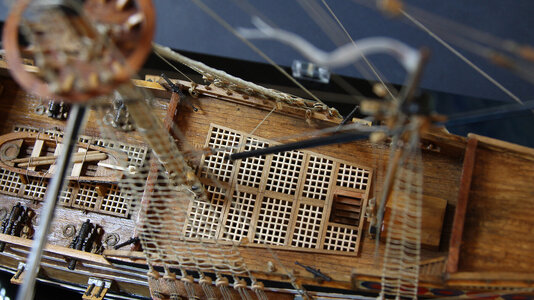
IMG_9681.jpgIMG_9684.jpgIMG_9686.JPGIMG_9687.JPGIMG_9689.JPGIMG_9690.JPGIMG_9691.JPGIMG_9693.JPGIMG_9694.JPGIMG_9695.JPGIMG_9696.JPGIMG_9697.JPGIMG_9698.JPGIMG_9701.JPGIMG_9702.JPGIMG_9703.JPGIMG_9705.JPG
 
Once at my dad's home he finally realized that in order to give the ship more light and importance something needed to be done: the ship was against the ceiling, not the best spot.
So we completely removed the top shelf of the furniture and even though is not at the right height in my opinion, at least it is much more visible:


136.jpg

Sorry, I didn't think to bring with me my good camera. But I am sure it give you a general idea.

Thank you all for your comments and support. I will soon will creating the log for my first ship which is almost complete.
 
Valmiki- As to that anchor rope, if I'm understanding it correctly, there was a lot of weight & strain on it, & I believe it may have been tied off to the rail or later in time, to a cleat on deck, I'm not sure. But I am sure of one thing....you've done a beautiful job, & your Dad will be proud!
Rick1011
Hello Rick.
Thank you so much for your reply. Much appreciated. So, for more accuracy, I was probably supposed to create 2 cleats on deck. I will take this info into consideration in the future. Hopefully will have more time to do the proper research.
Thank you you also for your compliments and I almost forgot and will write the following in the next post.
 
Almost forgot...
My dad was really really happy. For him to take off the top shelf of a perfect forniture in order to give to this ship the proper light and importance it means really a lot. I told him about your help and support and he joins me with my thanks.
 
Back
Top