-

Win a Free Custom Engraved Brass Coin!!!
As a way to introduce our brass coins to the community, we will raffle off a free coin during the month of August. Follow link ABOVE for instructions for entering.
-

PRE-ORDER SHIPS IN SCALE TODAY!
The beloved Ships in Scale Magazine is back and charting a new course for 2026!
Discover new skills, new techniques, and new inspirations in every issue.
NOTE THAT OUR FIRST ISSUE WILL BE JAN/FEB 2026
You are using an out of date browser. It may not display this or other websites correctly.
You should upgrade or use an alternative browser.
You should upgrade or use an alternative browser.
Royal Caroline 1/47 Panart bashed by NMBrook
- Thread starter NMBROOK
- Start date
- Watchers 18
-
- Tags
- panart royal caroline
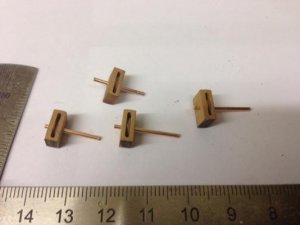
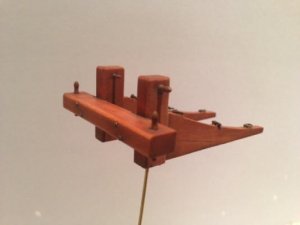
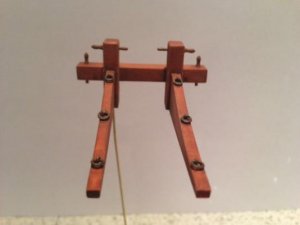
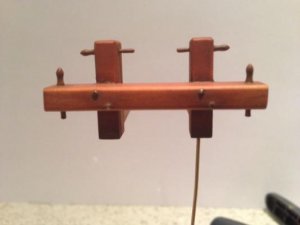
Next little job was the construction of the main Bitts for the anchor cables.No work in progress pics but this scratchbuilt assembly is made up from pearwood parts.The rings are amati items with caldercraft eyelets.These are painted Tamiya old iron and dry brushed with Tamiya aluminium acrylics.The belaying pins are billings brass items.When painted these look ok,I like there slender appearance opposed to commercial wooden ones.


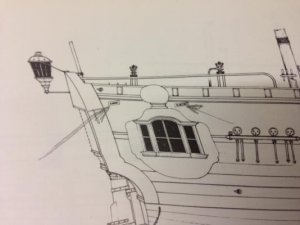
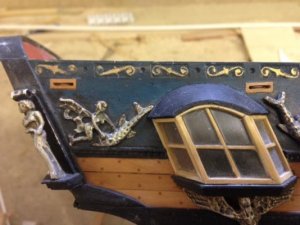
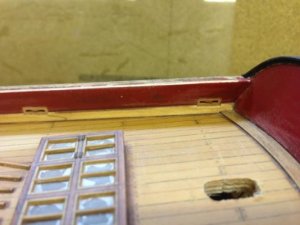
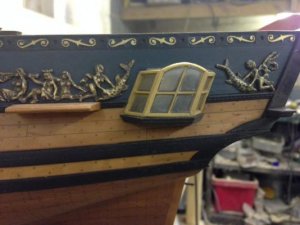
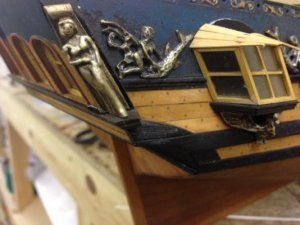
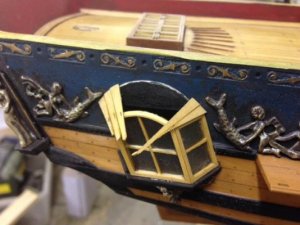
I then returned to the main model and constructed the two large'bay' windows either side of the stern.The frames are boxwood and glazing is mica with the same technique of varnish described earlier in the build.As these assemblies were fragile,I chose to double plank the arched tops in boxwood rather then bending ply around the curve.This eliminated putting any stresses on these frames.In some of the pics you can just make out the Dentil detail on the Ebony trim.This doesn't show up very well in photos but is very visible in real life.These trims were profiled on the miller from Ebony strip.The Dentil detail was added with a rotary tool by hand using a rosebud shaped burr.
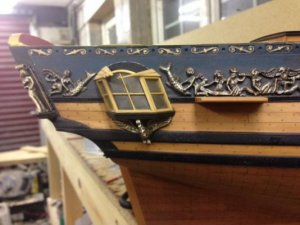
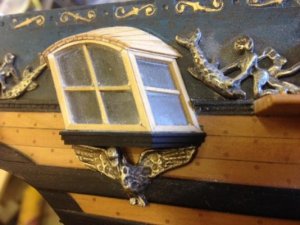
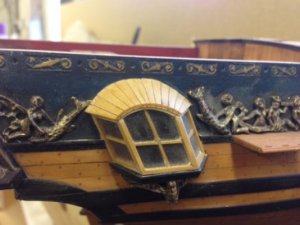


The next two items,I cheated a little
A pearwood pattern was carved for the arched pieces over the cabin windows.This was placed in a simple moulding box and covered with two part silicon mould making material.Six arches were then cast with Polyurethane resin.
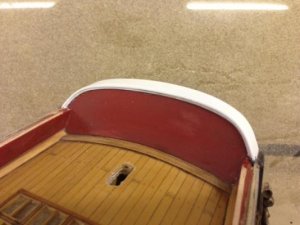
The caprail for the transom was made from laminated plasticard.The curves were far too tight to get a nice radius using Ebony
All were painted matt black acrylic and when varnished are indistinguishable from the Ebony parts.
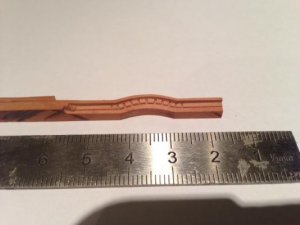
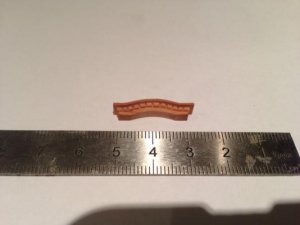
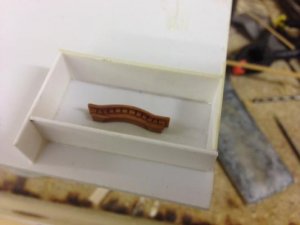
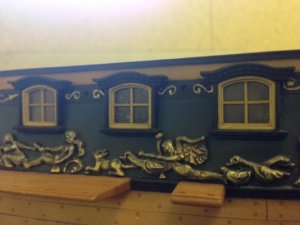
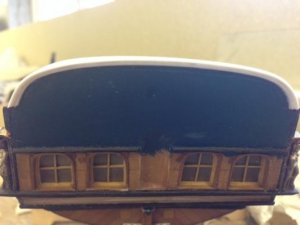


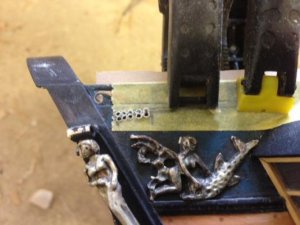
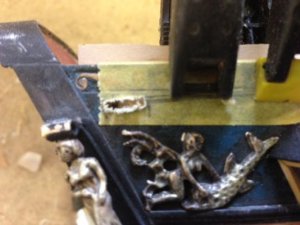
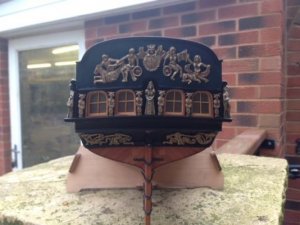
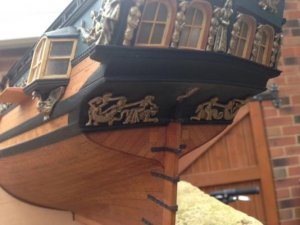
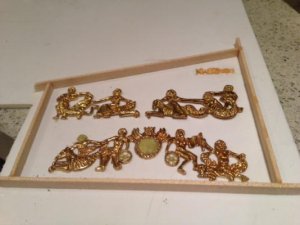
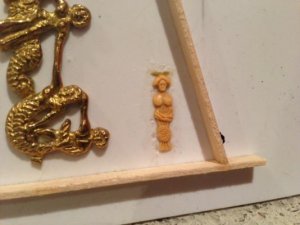
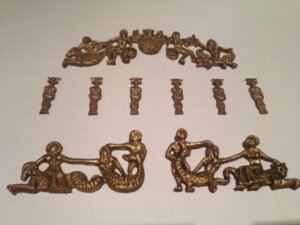
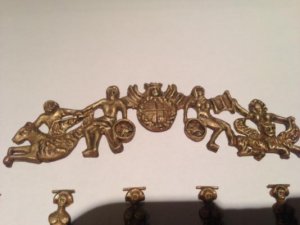
Now onto the stern ornamentation.The kit castings for the lower counter were ok but there was no way they were going to bend and onform to the tight curve.I chose to take a mould off these and cast in polyurethane resin.Resin castings can be put in hot water and shaped to fit the curve.At the same time I made a pattern for the figures between the stern windows.They are just a squiggle on the laser etched panel provided in the kit


Fantastic work Nigel. Guess you keep nearly 95 % of the kit in the box.
Thanks Maarten.Yes posting these pics again has made me think 'what have I actually used from this kit?' I really need to stop buying these kits and just start from scratch.I do wonder if there is a kit on the market I could build without changing stuff?mmm can't think of one European one
 Maybe says something about what is on offer,
Kind Regards
Nigel
Kind Regards
Nigel
Thank you Norway,I didn't take any pics unfortunately.I used a polyurethane casting kit that came with the two part silicon rubber.I lightly glued the item into a homemade tray.The item needs to have a flat bottom for a single piece mould.3d items require more complex multipart moulds.The smaller the tray,the less silicon you use.If I remember rightly,I wiped the pattern over with cooking oil and rubbed all the residue back off.This stops the silicon sticking to the part.
The two part silicon is mixed as per the instructions and poured into the tray.I played about with the liquid using a cocktail stick to ensure there was no air trapped.
When set,the tray was pulled apart and the pattern is removed.This leaves you with a mould in which to pour the resin into.The resin is mixed as per instructions and carefully poured into the mould.The resin is smoothed flush with the top of the mould.This gives you the flat back to the casting.You can make many items from the same mould as it is reusable.Ideal if you want to make a lot of items exactly the same.
Kind Regards
Nigel
Some chineese come close, I think le salemandre from caf is most probably the best on offer.Thanks Maarten.Yes posting these pics again has made me think 'what have I actually used from this kit?'I really need to stop buying these kits and just start from scratch.I do wonder if there is a kit on the market I could build without changing stuff?mmm can't think of one European one
Maybe says something about what is on offer,
Kind Regards
Nigel
G'day Nigel
I just found this log on SOS. As I have said before, brilliant mate.
Keep the photos coming.
I just found this log on SOS. As I have said before, brilliant mate.
Keep the photos coming.
Thank you Greg I shall now continue on with posts for the final leg which will take me up to where the model currently stands.
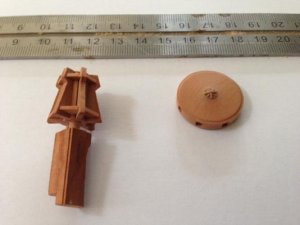
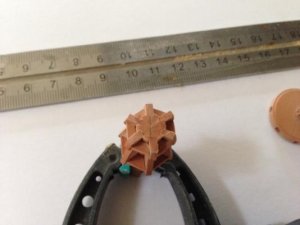
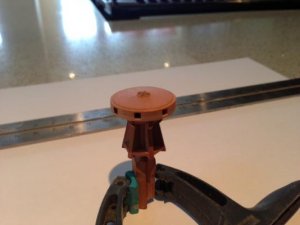
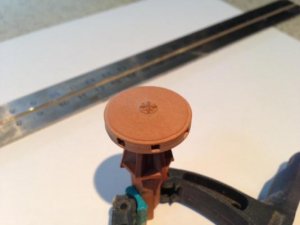
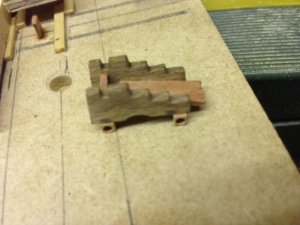
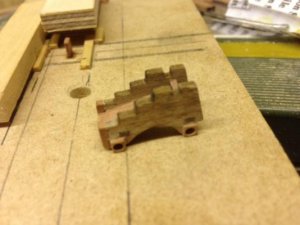
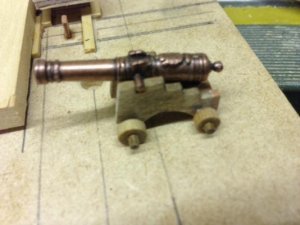
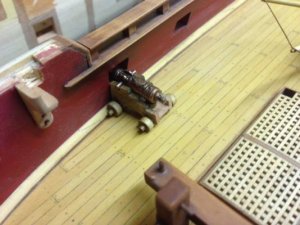
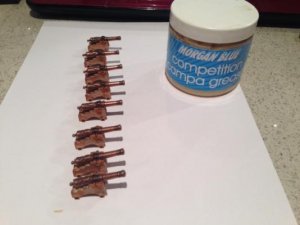
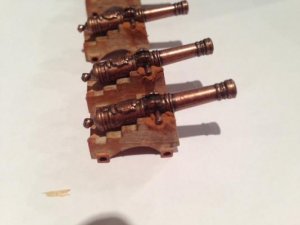
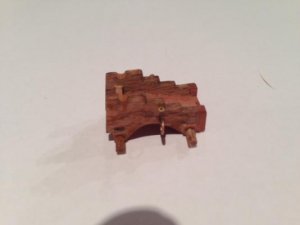
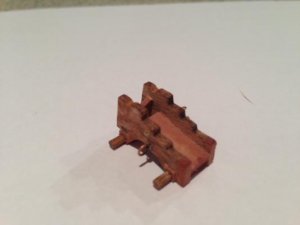
Next up was the cannons and carriages,IMHO the kit offerings are complete garbage.The cannons,whilst nicely turned are way oversize and the carriages are standard Panart precut shapes which are far removed from what the AOS book depicts.I decided to raid my parts bin.I found some ornamental cannons and wooden carriages made by Amati.The carriages are a solid block of timber but I split these to produce two sides.These were then tweeked to be nearer to the reference material.If I remember rightly.the wheels are actually from larger Amati carriages but the proportions come out pretty good to the book.
I was not overly bothered about the'cut and shut' appearance as these items were to be painted.One problem with the Amati carriages is that they have a square slot where the cannons sit.This should be semi-circular to match the cannon trunnion.I lightly greased the cannons and sat them in wet woodfiller applied to these slots.The cannons are easily removed when the filler is dry leaving a trough which matches the cannons perfectly.The filler is then sanded smooth with the sides and top.When all the carriages were made,I put to one side for painting a little later.
Kind Regards
Nigel
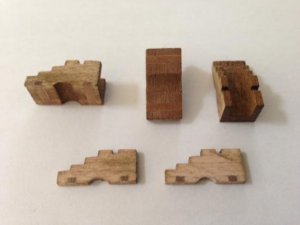
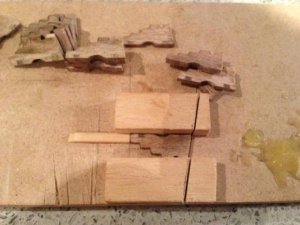
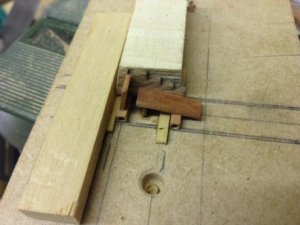
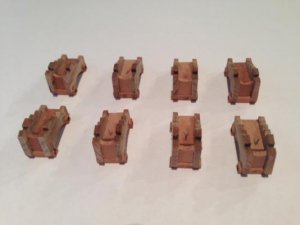
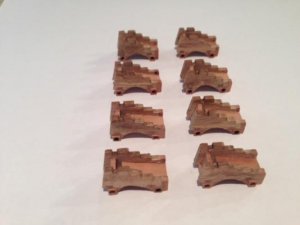
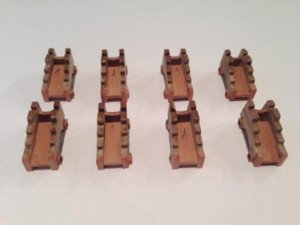


I then turned my attention to the stairs at the front of the main cabin.The outside of the spiral stairs was wade by laminating two layers of pear veneer clamped around a Perspex rod.This gave me the required curved piece which formed the outside.The rest was just a case of cutting out and assembling pieces of more pear veneer,The small step to the cabin roof was also made from veneer,
I also made up the two small panelled doors that go either side of the cabin.These are two layers with the top layer made up of pieces to create the panelled effect,The whole lot and the gun carriages then went through the finishing and ageing process previously described.
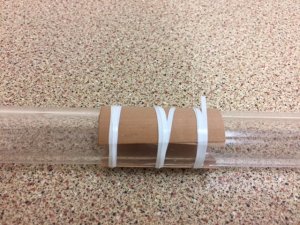
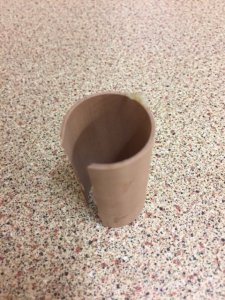
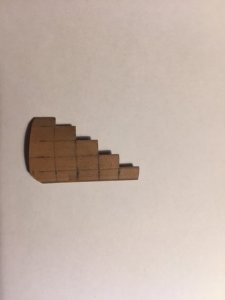
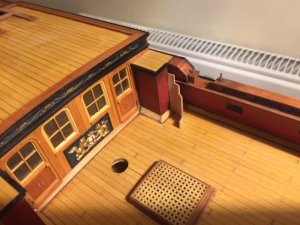
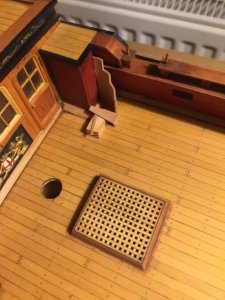
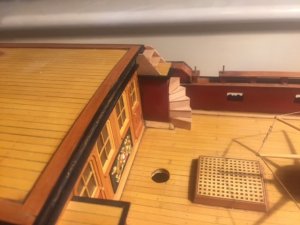
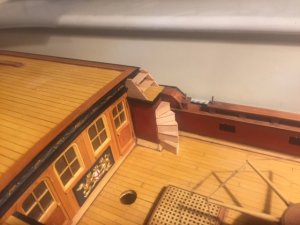
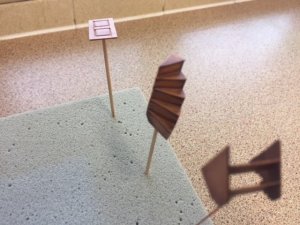
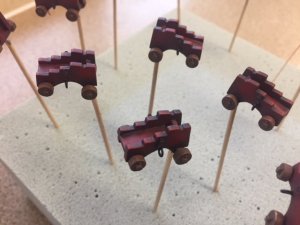
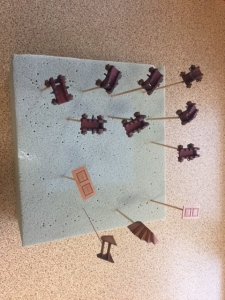
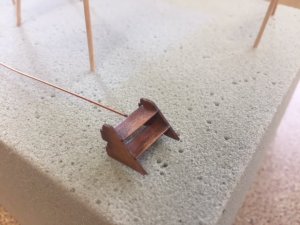
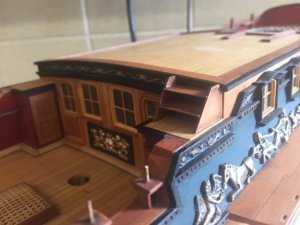
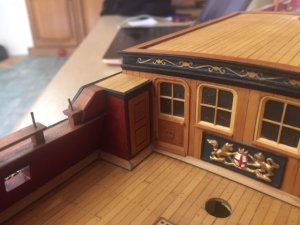
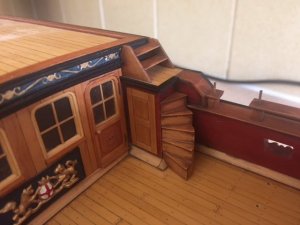
I also made up the two small panelled doors that go either side of the cabin.These are two layers with the top layer made up of pieces to create the panelled effect,The whole lot and the gun carriages then went through the finishing and ageing process previously described.


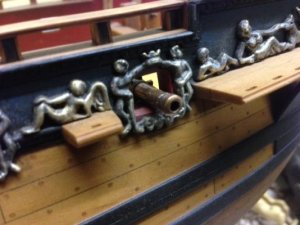
The next stage was to fit and rig the cannons.I am basically aiming to fit all the maindeck out before the foredeck is glued in place.When the foredeck assembly is fitted,it greatly restricts access,
The carriages were fitted first and copper wire was bonded into their underside and then into holes drilled in the deck.Both were bonded with Epoxy.The cannons are painted Tamiya old iron with Tamiya aluminium acrylic dry brushing.Everything was then rigged,The pics illustrate the steps better than my words.
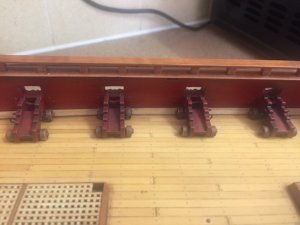
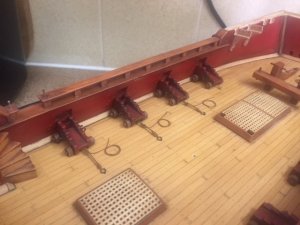
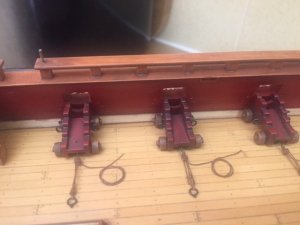
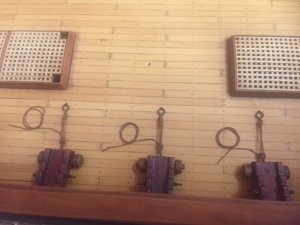
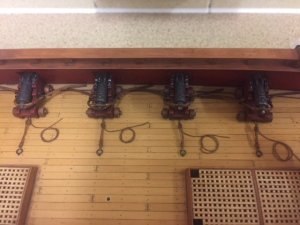
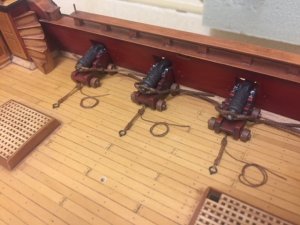
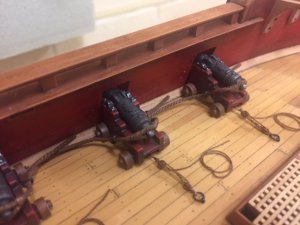
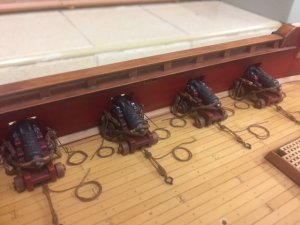
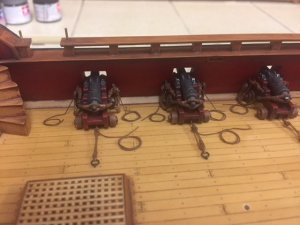
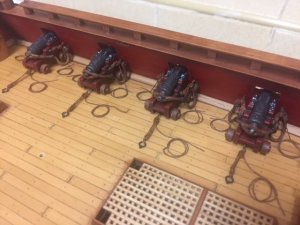
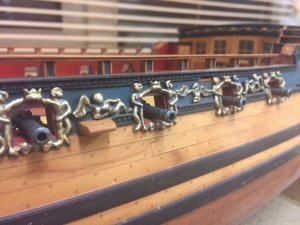
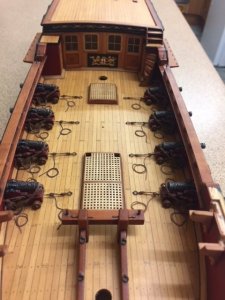
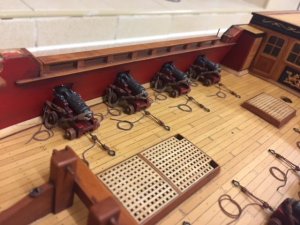
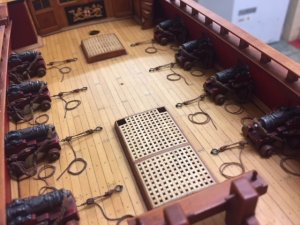
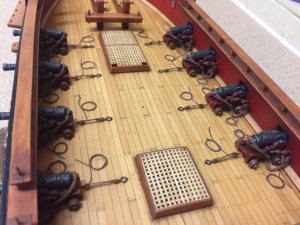
The carriages were fitted first and copper wire was bonded into their underside and then into holes drilled in the deck.Both were bonded with Epoxy.The cannons are painted Tamiya old iron with Tamiya aluminium acrylic dry brushing.Everything was then rigged,The pics illustrate the steps better than my words.


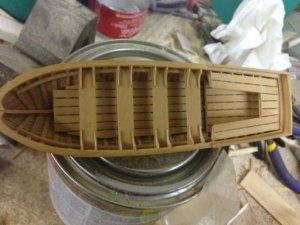
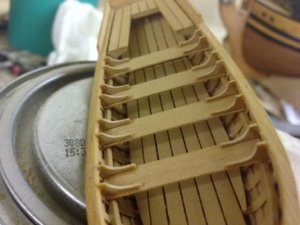
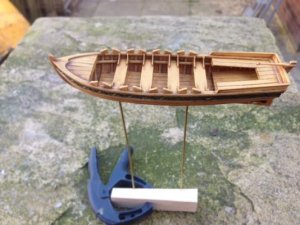
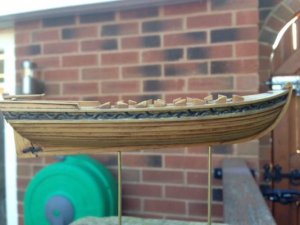
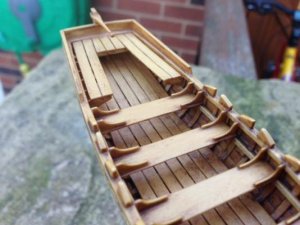
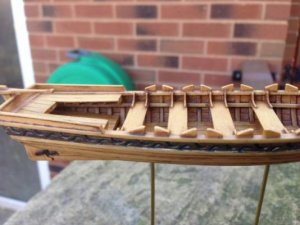
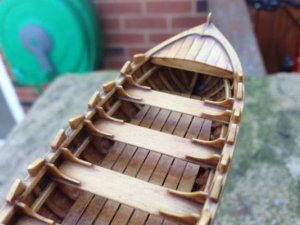
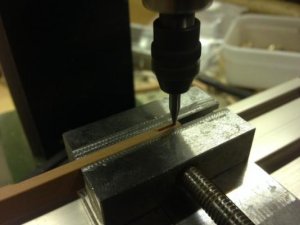
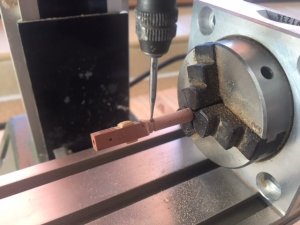
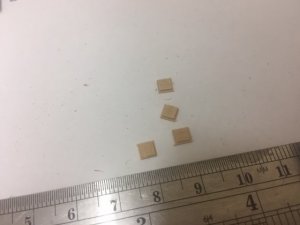
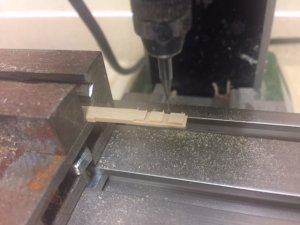
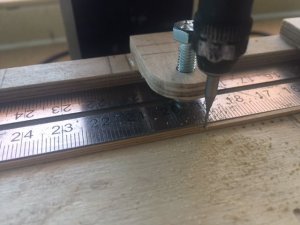
Next up was to construct the rather ornate support for the spare mast parts and ships boat.This incorporates sheaves and also a pinrail.I tried to replicate the details in the book as best as is possible in this scale.Some tiny details were simplified but overall the correct effect is achieved.The Proxxon mill was invaluable in the process.Steel pins were bonded into the legs early on with Epoxy.These were needed so the piece could be rotated in the indexing head.Later they will be Epoxied into the deck.As they say,a picture says a thousand words
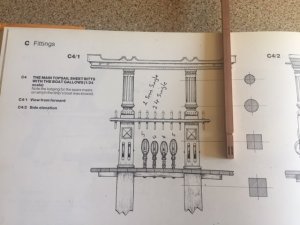
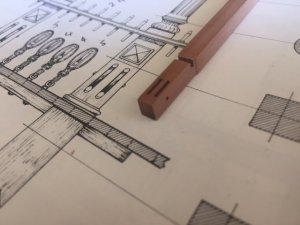
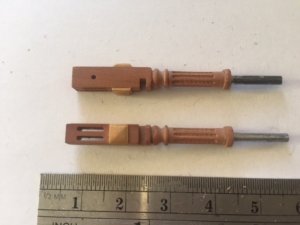
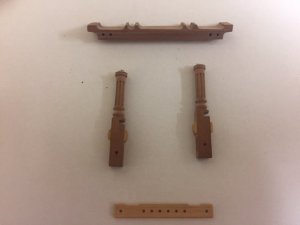
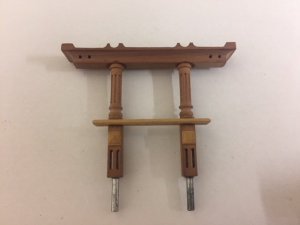
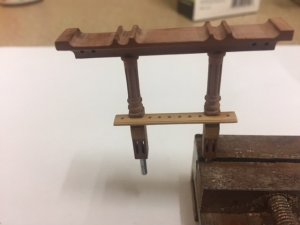
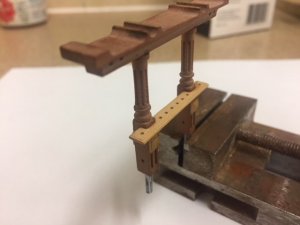


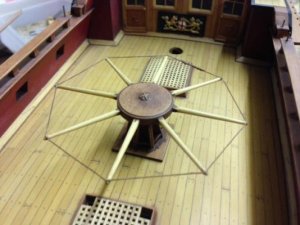
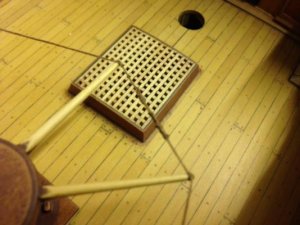
The final update which takes me to where I am today.The foredeck,capstan and this assembly are all trial fitted but not permanently fixed.Space is neaded to be able to work on the details on this deck.The next job will be the pinrails on the bulwarks,boarding steps and finally the anchor cables.In addition there are also bulge pumps to construct and fit and various pulley blocks need fixing to the deck.Only then can everything be finally assembled.
Some pics of trial installation of this assembly and the result when the finish has been applied.
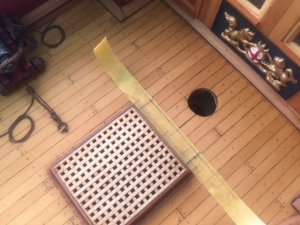
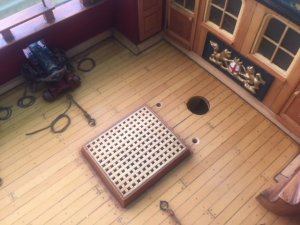
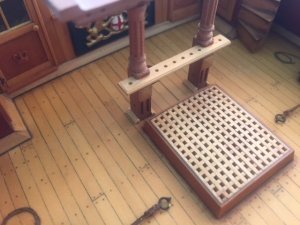
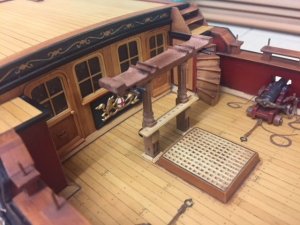
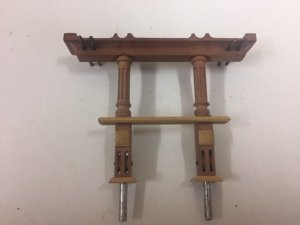
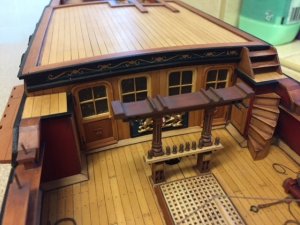
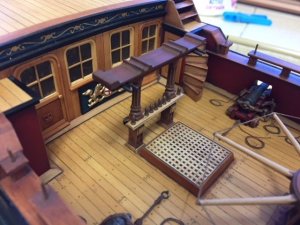

Some pics of trial installation of this assembly and the result when the finish has been applied.


