San Bartolome kit# 104

Joined
Oct 18, 2023
Messages
9
Points
43

Greetings Everyone,

I have started the San Bartolome model from Ships of Pavel Nikitin. The video series on YouTube has been very helpful for planning and for clearing up some questions about the instructions.
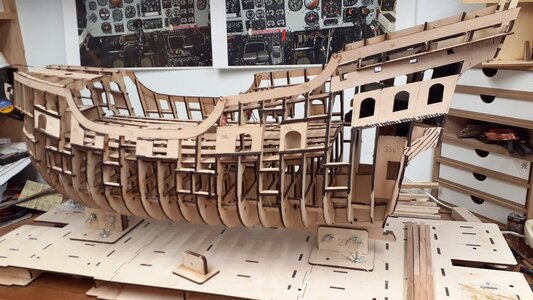
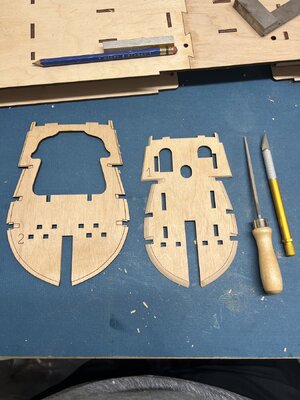
At this point the keel is together and the preshapeing is nearly complete on the frames. I have also assembled some of the sub-assemblies like the mast bases, the frame for the curved wall and the rudder. I have also glued together the large three part thimbles sections (good activity while watching a movie).
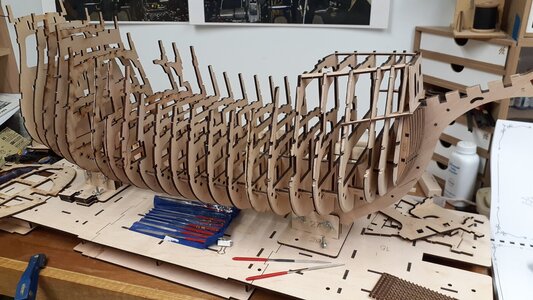
20231019_120929.jpg
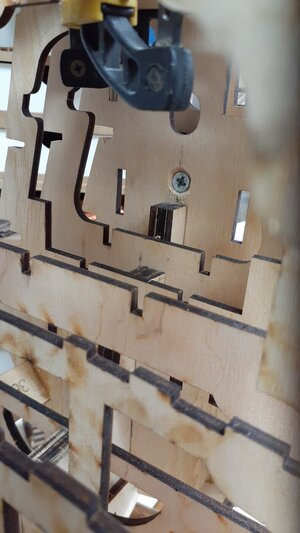
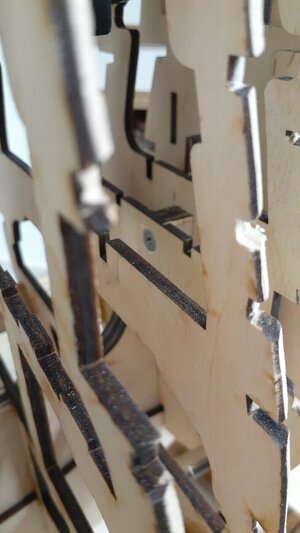
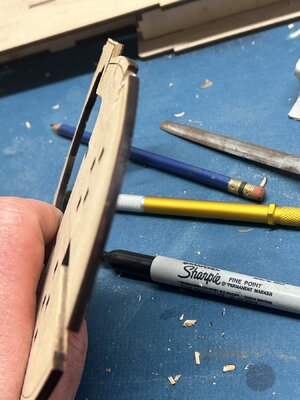
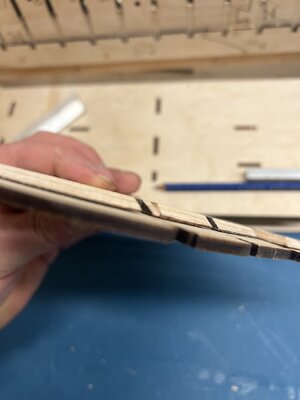
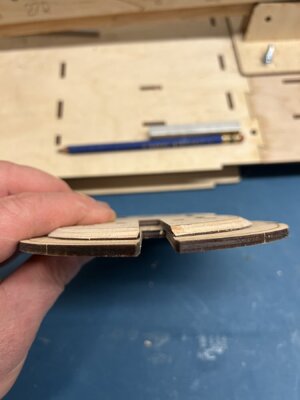
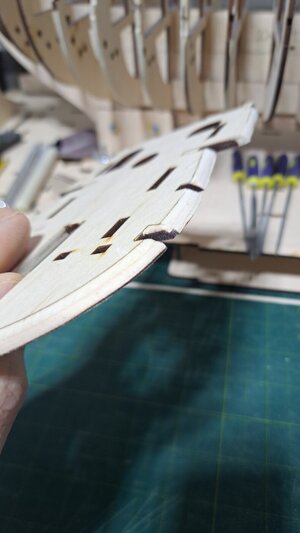
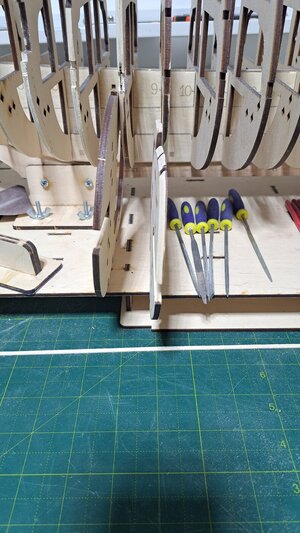
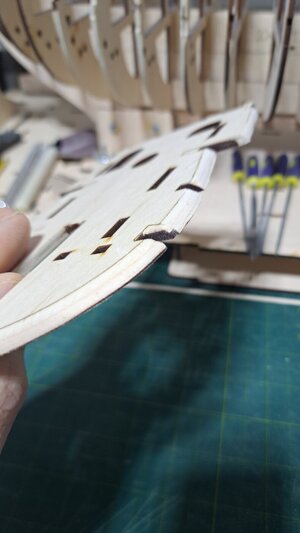
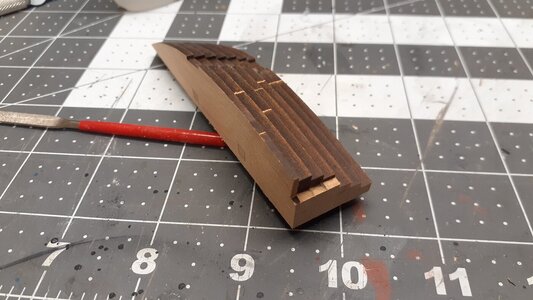
On the bow, you will see I have already glued together the stack to make the front curve. In the video series an adjustment was made to the location of the hole for the peg. Also, the top had to be cut down for the two L shaped parts under the Forecastle. With frame 1 off the keel, the glued up stack dropped right in place. So, I decided to sand the large face that goes against the keel and the top of the part to clear the L parts. It fits great and the laser scribed lines match up very close at the bottom of frame 1.
20231019_153257.jpg
20231019_153318.jpg
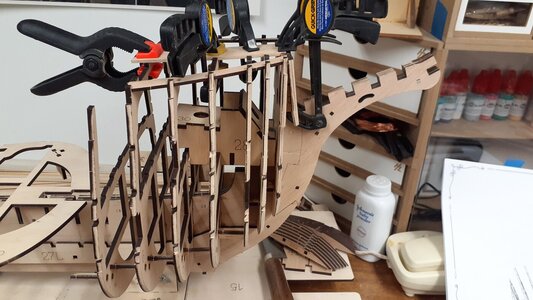
The deck pieces on top of the Forecastle are set in place to help keep the frames ridged while I was working on all this.

Next, finish the Stern frames and prepare to glue them all in place.

I really like this size, scale, and construction techniques. The big name brands could learn some great lessons here.

More to come later.

Thank you,
Christopher
 
WOW - how big ist this model?
Have fun with this project - I will follow your log with big interest
 
Greetings,

Gluing the frames has started! The first seven are in place. I added two screws to the first three frames. There is one going through frame 1 into the keel. On frame three a longer screw was used so it goes through frame 3 and 2 and into the false keel. This locked these in tight and has allowed the other frames to just drop and lock in place.
20231021_151543.jpg
20231021_151600.jpg
The sub floor planks (terminology?) for the top of the Forecastle were also added. These helped stabilize the frames as they were added to the keel and gluing them in now does not get in the way of anything that still needs to be done.
20231021_151030.jpg
The notches for the L shaped pieces still need a little work before they can added. The mast support is not glued in place. Also, the round bow parts will not get glued on until they are sanded to shape.

Unless something unusual comes up, I do not plan to post more pictures of frames being glued in place until I have all of them done.

Christopher
 
To those of you building this model, two questions.

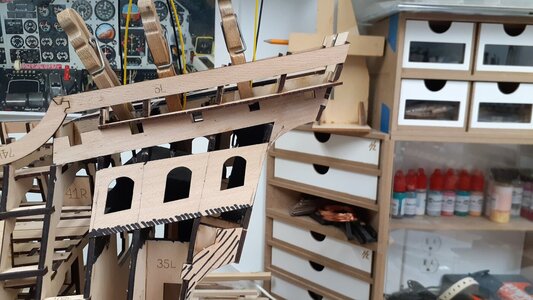
First, I received only 4 square beams for the 5 spots above the gallery windows. Did everyone else get 4 or 5?
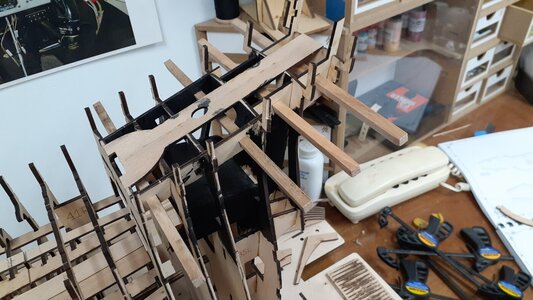
20231027_094733.jpg
Second, there is no length given for these 5 beams in the manual. Are we to just take the length from drawing one?
20231027_095516.jpg
Thanks,
Christopher
 
To those of you building this model, two questions.

First, I received only 4 square beams for the 5 spots above the gallery windows. Did everyone else get 4 or 5?
View attachment 402854
Second, there is no length given for these 5 beams in the manual. Are we to just take the length from drawing one?
View attachment 402855
Thanks,
Christopher
Christopher,
I cut mine in half after I had the upper half of the hull planked and the opening cut. Otherwise the beams would be to short.
Chris
 
Greetings all,

The hull framing is done. I have colored in areas I expect should be sanded down as the frames are faired.
20231103_150400.jpg

Before any deck work or hull planking can be done, the locations for and the wiring of the LEDs will need to be completed. The LEDs that are going in are 3mm flicker types to give the look if candle light. Larger LEDs will be needed for the transom torches. Recommendations are welcome.
20231103_151034.jpg

Time for the sanding blocks and dust mask.

Christopher
 
Greetings all,

The hull framing is done. I have colored in areas I expect should be sanded down as the frames are faired.
View attachment 404425

Before any deck work or hull planking can be done, the locations for and the wiring of the LEDs will need to be completed. The LEDs that are going in are 3mm flicker types to give the look if candle light. Larger LEDs will be needed for the transom torches. Recommendations are welcome.
View attachment 404429

Time for the sanding blocks and dust mask.

Christopher
Looking good.
 
Greetings Everyone,

I have started the San Bartolome model from Ships of Pavel Nikitin. The video series on YouTube has been very helpful for planning and for clearing up some questions about the instructions.
At this point the keel is together and the preshapeing is nearly complete on the frames. I have also assembled some of the sub-assemblies like the mast bases, the frame for the curved wall and the rudder. I have also glued together the large three part thimbles sections (good activity while watching a movie).
View attachment 401281
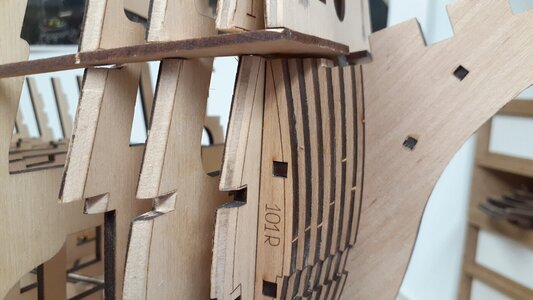
On the bow, you will see I have already glued together the stack to make the front curve. In the video series an adjustment was made to the location of the hole for the peg. Also, the top had to be cut down for the two L shaped parts under the Forecastle. With frame 1 off the keel, the glued up stack dropped right in place. So, I decided to sand the large face that goes against the keel and the top of the part to clear the L parts. It fits great and the laser scribed lines match up very close at the bottom of frame 1.
View attachment 401282
View attachment 401283
The deck pieces on top of the Forecastle are set in place to help keep the frames ridged while I was working on all this.

Next, finish the Stern frames and prepare to glue them all in place.

I really like this size, scale, and construction techniques. The big name brands could learn some great lessons here.

More to come later.

Thank you,
Christopher
Hi there, I am the stage of this ship where I have to start fairing the frames I have watched Pavels video on you tube and he seems to sand down straight to the printed lines on the frames then bevel the edge. My question is did you do that or just bevelled the edge without removing to the guide lines many thanks
 
Hi there, I am the stage of this ship where I have to start fairing the frames I have watched Pavels video on you tube and he seems to sand down straight to the printed lines on the frames then bevel the edge. My question is did you do that or just bevelled the edge without removing to the guide lines many thanks
Basically went right up to the bevel lines
 
Back
Top