• Ships of Scale has incorportated an extra level of security when you log In. Please follow on-screen prompts to acknowledge that you are not a robot via a "Check Box" or a "Pictorial Check Box Puzzle". This is needed due to higher level of AI Activity Security.
  • SUBSCRIBE TO SHIPS IN SCALE TODAY!

    The beloved Ships in Scale Magazine is back and charting a new course for 2026!
    Discover new skills, new techniques, and new inspirations in every issue.

    NOTE THAT OUR NEXT ISSUE WILL BE July/August 2026
  • Win a Free Custom Engraved Brass Coin!!!
    As a way to introduce our brass coins to the community, we will raffle off a free coin during the month of August. Follow link ABOVE for instructions for entering.

San Felipe by Admiral_Ax3 - OcCre - 1/86

Joined
Apr 9, 2026
Messages
3
Points
3
Location
Norway
Hello everyone,

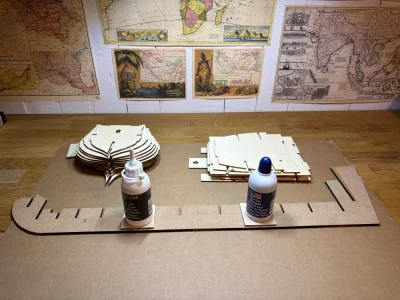
The San Felipe arrived recently, so it seemed like the perfect time to start a build log.

This will be my second wooden ship model after completing Polaris by OcCre. I learned a lot from that build - looking forward to taking on something larger and more detailed.

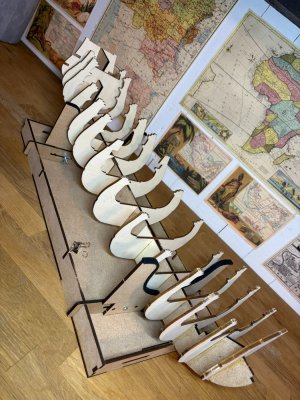
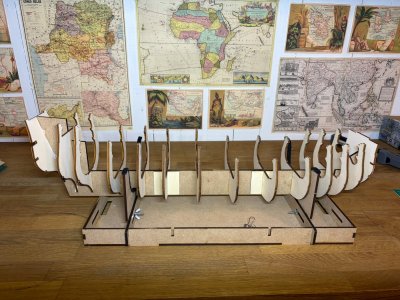
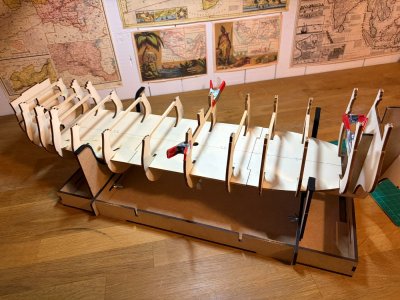
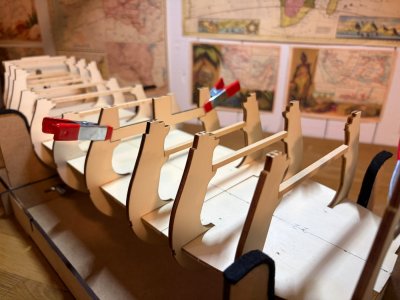
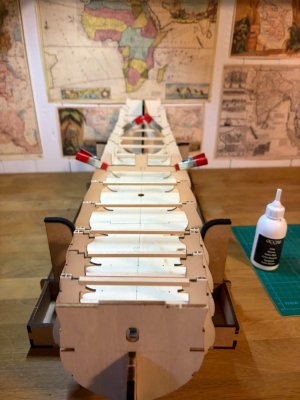
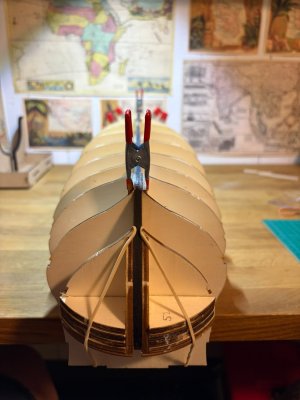
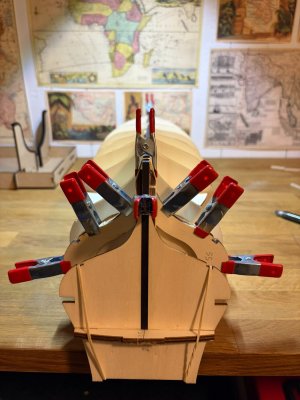
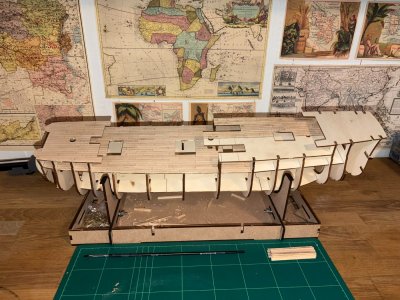
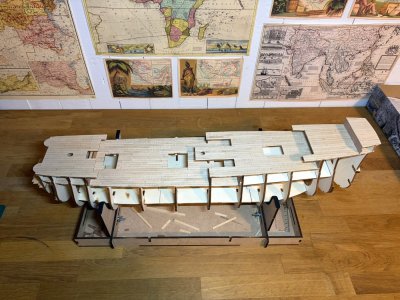
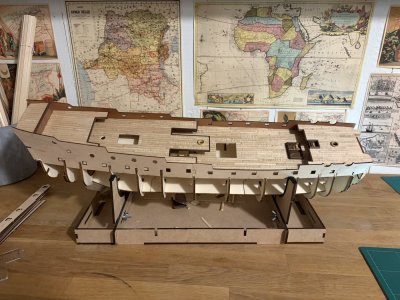
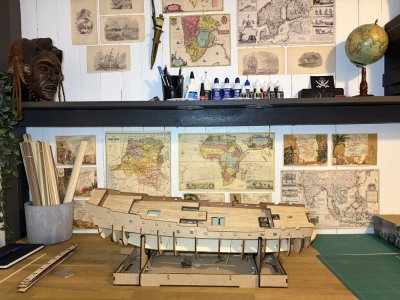
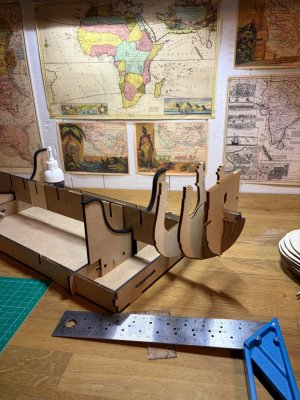
I managed to make a good amount of progress over the weekend. The bulkheads have been glued to the false keel, followed by the lower deck, the deck support beams, and the hull reinforcement pieces. Everything lined up nicely, and I didn't run into any major issues during this stage. So far, the fit has been very good, and I'm happy with how the framework is coming together.

Next up is the deck planking.

One question before I get started: when I built the Polaris, I struggled with the contact cement recommended in the manual for the deck planking. Has anyone used wood glue or another type of adhesive instead? I'd be interested to hear what has worked well for others.

I'll be documenting the build from start to finish, so comments, tips, and observations are always welcome.
Bilde.webp

IMG_0094.JPEG

IMG_0132.JPEG

IMG_0141.JPEG

IMG_0155.JPEG

IMG_0156.JPEG

IMG_0159.JPEG

IMG_0166.JPEG

IMG_0167.JPEG
 
A bit more progress on the deck planking.

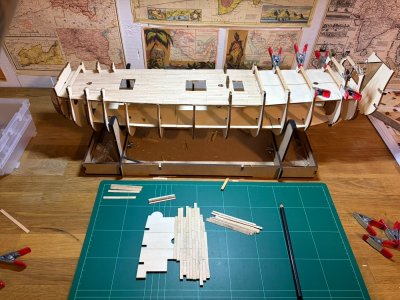
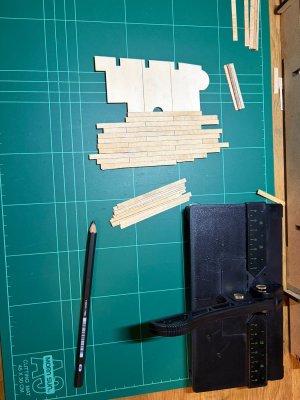
I decided to go with a three-shift pattern, with plank lengths of approximately 8 cm.

Initially, I tried applying PVA glue directly to the planks, but this became extremely messy when pressing them onto the plywood deck. I therefore switched to contact cement, as I had done on my previous build. However, unlike the Polaris, I am cutting the planks into shorter sections for this build, and I quickly found that the contact cement left glue residue all over the planks.

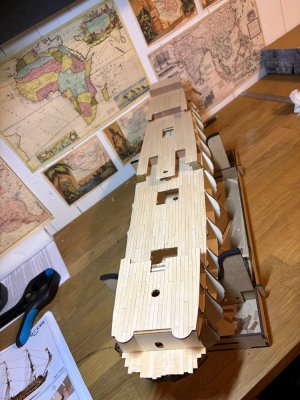
After completing the port side of the lowest deck, I decided to try a different approach: applying a thin layer of PVA glue directly to the plywood using a brush. This worked surprisingly well, and I've continued using this technique for the rest of the deck planking.

The whole process has been quite time-consuming, but I'm very satisfied with the result so far.

I'm now facing two decisions: whether to add nail marks or leave them out, as I suspect they may be slightly out of scale, and whether to add any weathering to the deck.

I'd be interested to hear what others think.

IMG_0173.JPEG

IMG_0175.JPEG

IMG_0178.JPEG

IMG_0187.JPEG

IMG_0188.JPEG

IMG_0191.JPEG
 
A small progress update.

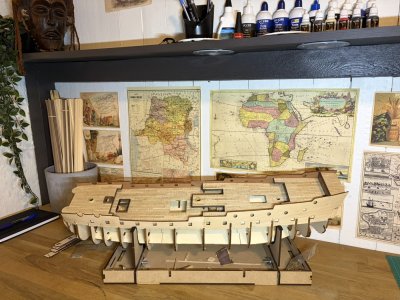
The deck planking is now complete. In the end, I decided to add the nail marks but skip any weathering, and finished the decks with a coat of varnish. I'm happy with how they turned out.

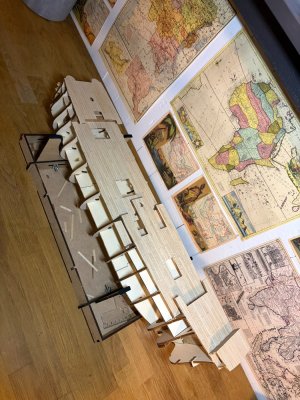
Before gluing all the decks in place (they were not glued in place in my last post), I added some of the details to the lower deck underneath the second level. The instructions have you assemble the decks first and add these details afterwards, but I felt this would unnecessarily restrict access. Installing them beforehand made the job considerably easier.

IMG_0211.JPEG
IMG_0207.JPEG

The walnut trim around the decks is also complete, along with some of the details around the hatches. All the decks have now been glued in place.

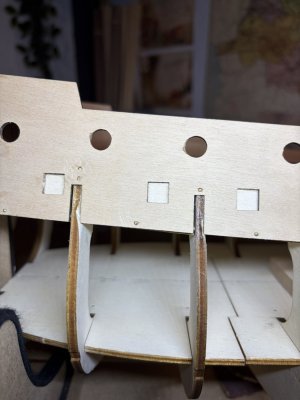
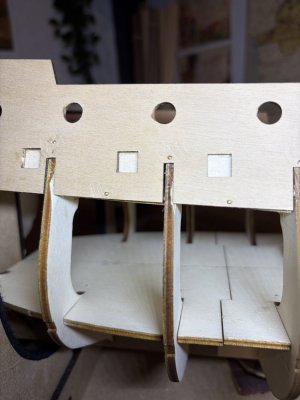
Finally, I added the bulwarks. I encountered a few fit issues on the starboard side and had to sand down some of the ribs slightly to get everything to sit nicely.

IMG_0209.JPEGIMG_0210.JPEG

I decided to stain the bulwarks in sapele rather than walnut. The idea is to create some contrast with the walnut details that will be added later.

Slowly starting to look like a ship!

IMG_0213.JPEG
 
Back
Top