Ok, let's start with this first project
Well I have decided to start my first registration with my first project. As some of you already know, a friend has given me several kits and among them are the three valued to start in this hobby. The other is "The Terror", but this would be for the future
The premises for me are these
- I am not in a hurry
- To have fun...
- Learn as much as possible
- To share all my mistakes and learn from those who want and have time to help me in my progress.
- Not to lose heart and to reach the end...
After studying and reviewing three options, three above all, La Providence de (AL) , San Francisco Cross Section (AL) and the San Juan (OcCre).
I have had a lot of fun searching for records on the forum, and have discovered other great records to follow and learn things from.
It has also been a lot of fun looking for information about the three models on the internet, both technical and historical, my intention is not to make a model only, is to learn its history and have fun, it has been exciting.
That said, I have decided to try the San Francisco Cross Section of AL, for these reasons:
- I like this model
- I consider it accessible to my skills and I think I can take it to the end, it does not seem excessively complicated for me, at least not to complete the entire section of the hull, the rigging or ropes, is a subject that I will address with more study.
- It will help me to evaluate my skills working with scale objects and develop them and learn.
The Galleon was built near my homeland, in Cantabria in the year 1586, this has pleased me very much to know.
Its history, although short, only sailed 23 years, in 1609 it was shipwrecked off the Japanese coast, has fascinated me. It seems that this event was the origin of the diplomatic relationship between Spain and Japan. In 2017 a cannonball was found at a depth of about 40 meters at the site of its sinking and seems to have been attributed to it. Investigations continue.
I have found several compilation logs, most of them unfinished (don't put your hand in the fire for mine), but I think I'll take ideas mainly from this one from @Osmosis in other forum, Model Ship world and @Jeff T in this forum
also from several others that it would be impossible to list
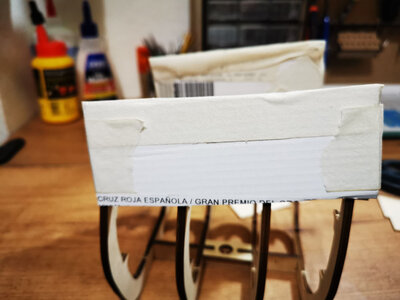
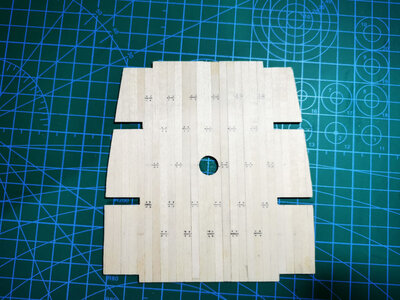
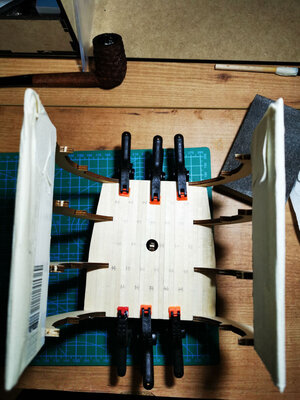
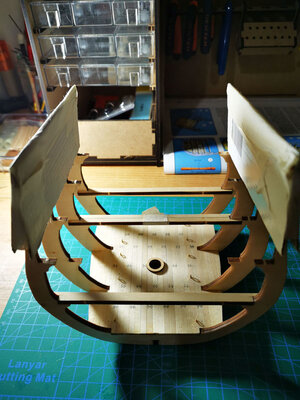
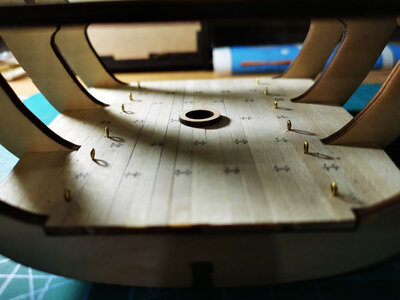
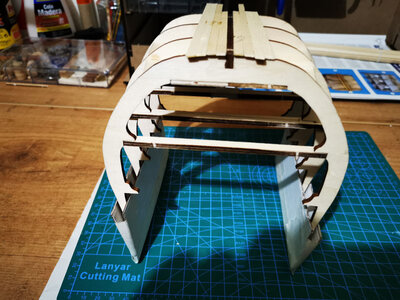
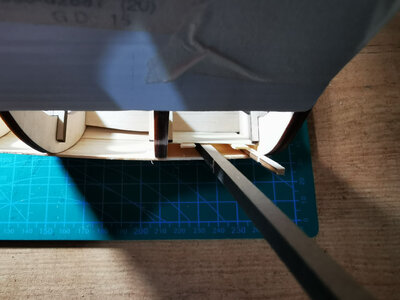
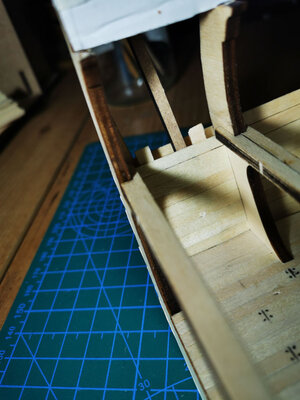
That said, I have opened the kit, everything seems to be fine, I have checked the pieces and it seems that they are all correctly cut and that nothing is missing, I say this from my inexperience, of course, but I have checked everything well.
I will try to document at least once a week what I am doing and ask for advice when I need it.
Sorry for writing so much, but I wanted to start with a good explanation of why I'm here to start and to set some goals, also will help me, when the discouragement comes, to read this first post and get renewed encouragement.
I hope not to disappoint if someone decides to follow my progress and help me in my first adventure.
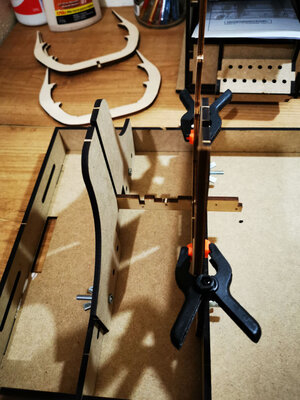
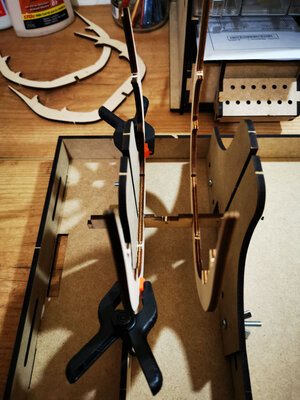
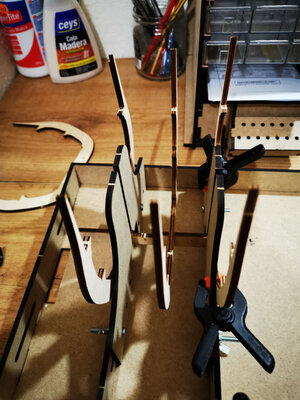
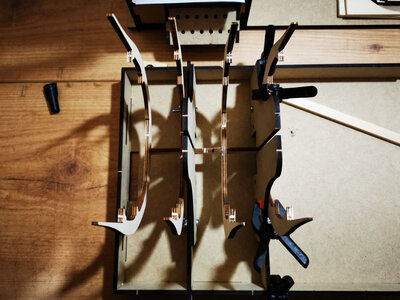
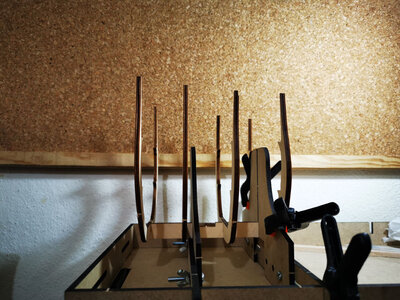
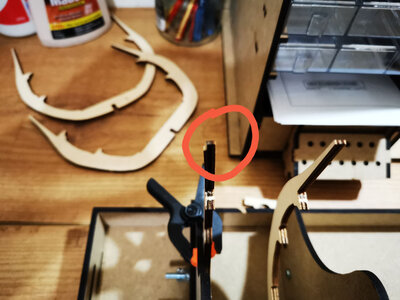
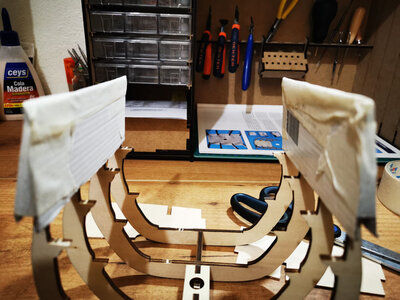
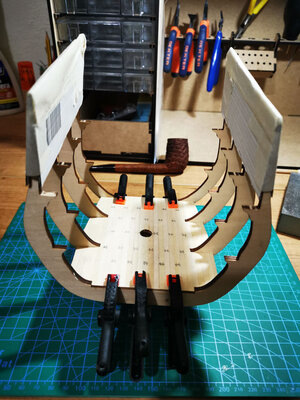
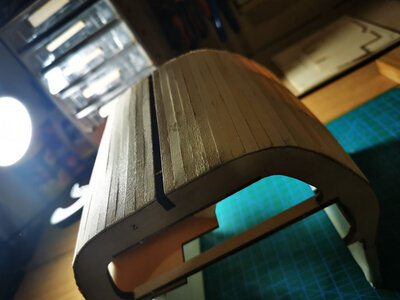
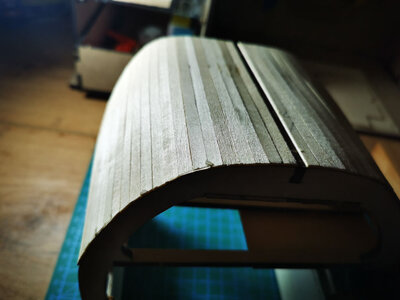
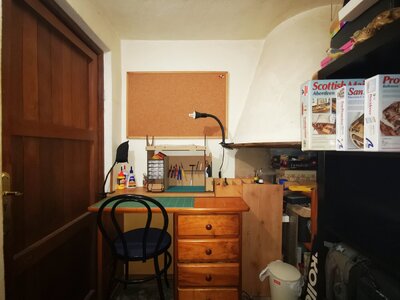
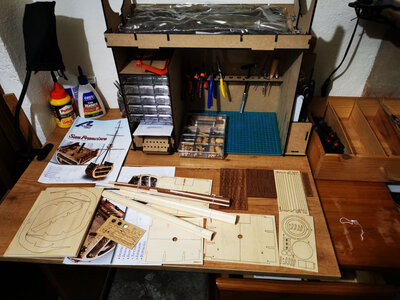
The first thing I have done these days has been to prepare a comfortable corner that I consider suitable for working. Beside me the radio for relaxing music.
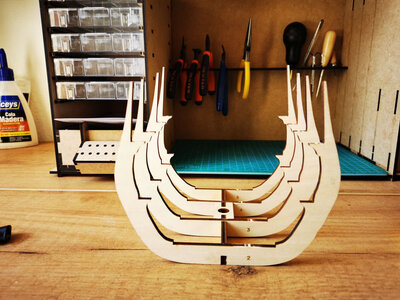
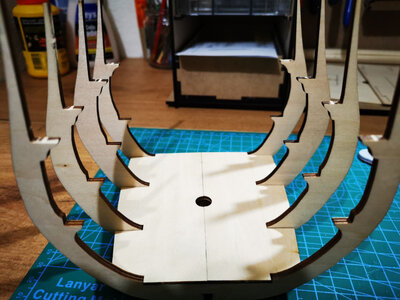
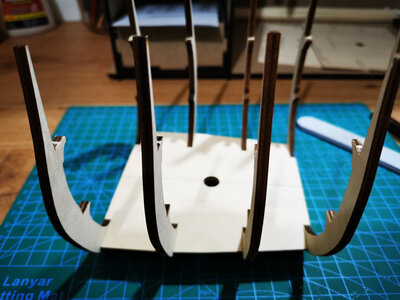
Review of the San Francisco Cross Section Kit that I am going to try to make
in the next post I hope to put already my first advances
PS sorry for my English, I use a translator sometimes, it is not too fluent.
Well I have decided to start my first registration with my first project. As some of you already know, a friend has given me several kits and among them are the three valued to start in this hobby. The other is "The Terror", but this would be for the future
The premises for me are these
- I am not in a hurry
- To have fun...
- Learn as much as possible
- To share all my mistakes and learn from those who want and have time to help me in my progress.
- Not to lose heart and to reach the end...
After studying and reviewing three options, three above all, La Providence de (AL) , San Francisco Cross Section (AL) and the San Juan (OcCre).
I have had a lot of fun searching for records on the forum, and have discovered other great records to follow and learn things from.
It has also been a lot of fun looking for information about the three models on the internet, both technical and historical, my intention is not to make a model only, is to learn its history and have fun, it has been exciting.
That said, I have decided to try the San Francisco Cross Section of AL, for these reasons:
- I like this model
- I consider it accessible to my skills and I think I can take it to the end, it does not seem excessively complicated for me, at least not to complete the entire section of the hull, the rigging or ropes, is a subject that I will address with more study.
- It will help me to evaluate my skills working with scale objects and develop them and learn.
The Galleon was built near my homeland, in Cantabria in the year 1586, this has pleased me very much to know.
Its history, although short, only sailed 23 years, in 1609 it was shipwrecked off the Japanese coast, has fascinated me. It seems that this event was the origin of the diplomatic relationship between Spain and Japan. In 2017 a cannonball was found at a depth of about 40 meters at the site of its sinking and seems to have been attributed to it. Investigations continue.
I have found several compilation logs, most of them unfinished (don't put your hand in the fire for mine), but I think I'll take ideas mainly from this one from @Osmosis in other forum, Model Ship world and @Jeff T in this forum
also from several others that it would be impossible to list
That said, I have opened the kit, everything seems to be fine, I have checked the pieces and it seems that they are all correctly cut and that nothing is missing, I say this from my inexperience, of course, but I have checked everything well.
I will try to document at least once a week what I am doing and ask for advice when I need it.
Sorry for writing so much, but I wanted to start with a good explanation of why I'm here to start and to set some goals, also will help me, when the discouragement comes, to read this first post and get renewed encouragement.
I hope not to disappoint if someone decides to follow my progress and help me in my first adventure.
The first thing I have done these days has been to prepare a comfortable corner that I consider suitable for working. Beside me the radio for relaxing music.

Review of the San Francisco Cross Section Kit that I am going to try to make

in the next post I hope to put already my first advances
PS sorry for my English, I use a translator sometimes, it is not too fluent.


