• LUCZORAMA SHIPWRECK SCAVENGER HUNT GIVEAWAY. 4 Weeks of Fun • 1 Legendary Prize ((OcCre’s Fram Ship)) • Global Crew Welcome!
    **VIEW THREAD HERE**

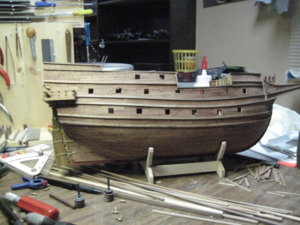
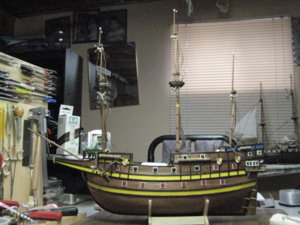
San Martin from OcCre 1:90 scale build in 2003

Joined
Aug 16, 2019
Messages
870
Points
343

San Martin from OcCre 1:90 scale build in 2003
Short story of the purpose of that build
Every year my company (former retired now) was doing charity donation
And collect money by selling handy craft done by the employer
I was ask to contribute a ship the ship was not expensive $180.00cdn
So I decide to do the San Martin got a good discount from my friend at the hobby shop
They sold ticket ($5.00ea) and got $580.00 and got a receip for incom tax

First the History of the ship
San Martin (1580)
San Martin, built as a Portuguese galleon, became the flagship of Duke of Medina Sedonia, commander-in-chief of the Spanish Armada.
When Portugal was annexed in 1580 by King Philip of Spain, the Portuguese had just finished building a large galleon named Sao Martin. She was immediately renamed San Martin and taken into the Spanish navy. At the time of forming the Spanish Armada, the San Martin was found to be the best of the fleet and was chosen as the flagship of the Armada commander-in-chief, Duke of Medina Sidonia.
San Martin had an overall length of about 180 feet with a beam of about 40 feet. She carried 44 heavy guns on two enclosed gun decks, plus multiple smaller weapons. According to a painting by Hendrik Cornelisz Vroom, National Maritime Museum, Greenwich, San Martin had three masts, two square-rigged masts and one lateen mizzen-mast. She was shown with a stern gallery and with the long beak head characteristic of a galleon. The foremast was set forward of the forecastle.
San Martin suffered heavy damage in the battle of Gravelines in July 1588 when a group of English ships led by Sir Francis Drake in the Revenge bore down upon her. With the assistance of another galleon she escaped the attack and led the Armada back to Spain through a ferocious storm, where she had to be towed into port.

Now the Kit Ocre kit #1555
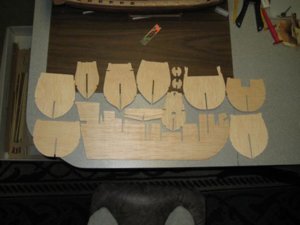
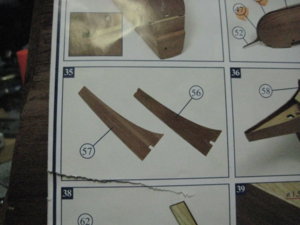
Instruction come with a color booklet that give you picture of each step and a written book that follow each step accordingly in 4 languages.
2 Scale sheets accompanied the booklet. One for the mast and sail, and one for the ship by itself at scale 1:1
The wood and accessory are well pack and look to be of good quality every ting is laser cut and easy to separate from the sheet.
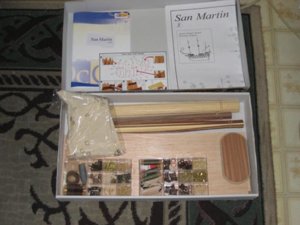
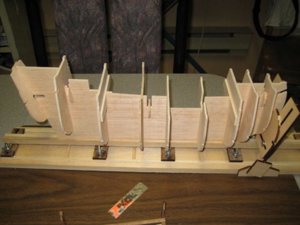
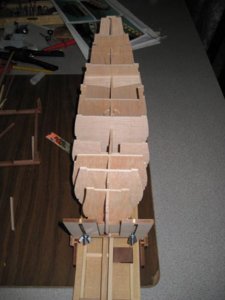
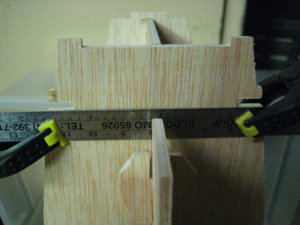
1 (1).jpg1 (2).jpg1 (3).jpg1 (4).jpg
 
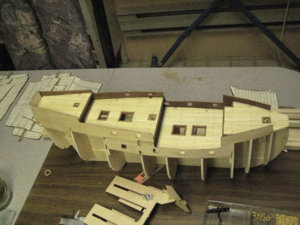
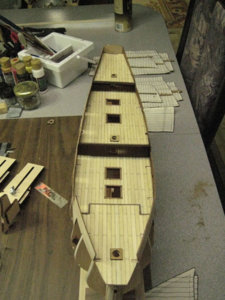
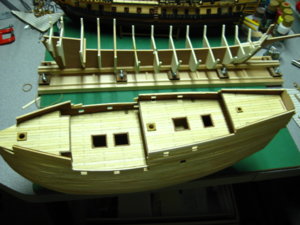
Next is the deck and bulkhead planking step 2 to 8 again no problem the wood is of good quality and easy to work with.
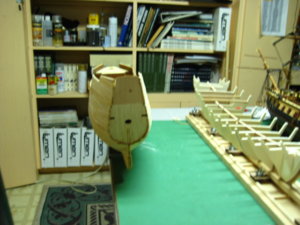
No adjustment to the frame all part fit together easily
Some wall planking have to be done at an early stage
So I mark the edge of the deck support
This is follow by the lining of the those wall
Next I did the planking of the deck using a 60mm at 50/50 setup
All deck done and place temporary
2-1.jpg2-2.jpg2-3.jpg2-4.jpg2-5.jpg
 
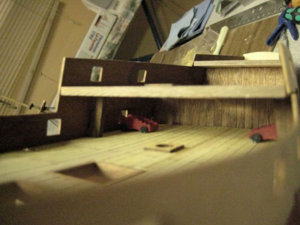
Step 9 to 17 also easy and smooth is the pose of the 3 different decks also the installation of the trim of the hatch the Stair finial. The kit comes with section of plywood that forms the bulwark waist, quarter and poop deck waist. They are supply with the gun emplacement already done and I find that great.
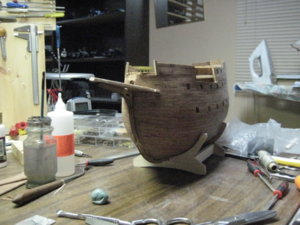
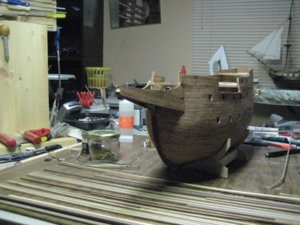
Just 1 suggestion if I can. Before placing the quarter deck #19 place the part 34 it is the Fore coat and the 2 guns carriage that go on the main deck they are easier to place now then later, Mosley it is for the gun carriage it will be easy to place now and the gun himself later he will pas true the gun port easily.
4 (1).jpg

4 (2).jpg

4 (3).jpg
 
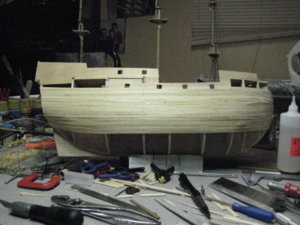
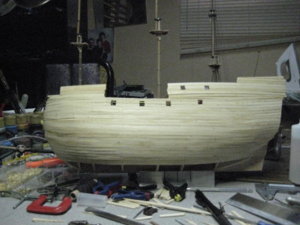
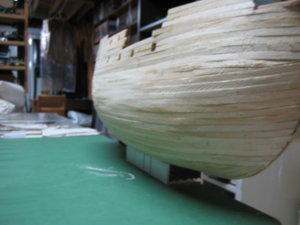
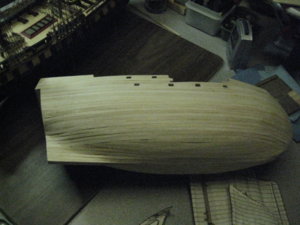
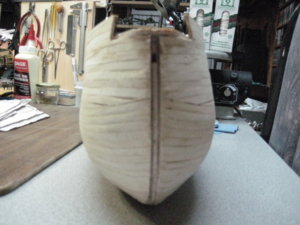
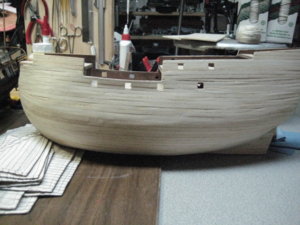
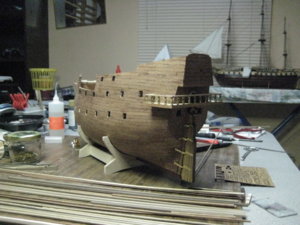
Now step 18 to 33 is the planking of the ship starting with the sanding of the reinforcing of the chocks and the edge of the frame follow by the actual lining with 2x5 Ramin strip
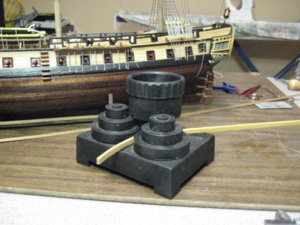
Soaked properly in water and using my rotary plank bender everything are going very well and do not give me head-ache the curve are smooth end easy to work with when the actual first planking is done it will be just a mater of sanding the hull
The planking went easily.
I have use the Mantua plank bender and it went like a charm

Note July 20011 I have learn since using that bender that it work really well only with soft wood and not so well with hard wood
5-1.jpg5-2.jpg5-3.jpg5-4.jpg
 
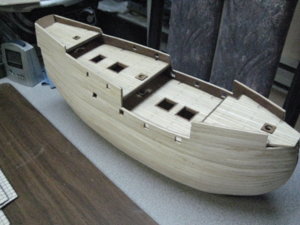
I just finish the first planking and try to applied the lessons learn by reading the simple hull planking techniques for beginners it is a must up to now well I went just….. Let just said that my first 3 ships, I build them without reading noting, just the instruction book that come with each kit. I was just lucky I guest to do fair work on them.
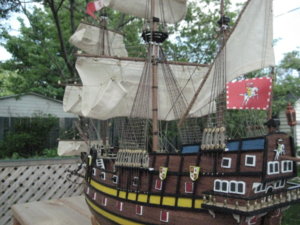
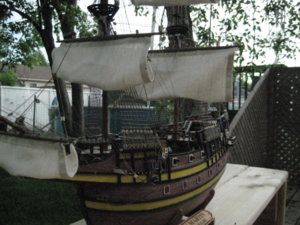
Now my san Martin is ready for the next step the trimming and sanding I will just wait a nice day where I can go outside to do the sanding. I don’t want my lady starting to complain about the dust again. So it is back to my Hermione for a wile.
6 (1).jpg6 (2).jpg6 (3).jpg
 
Last edited:
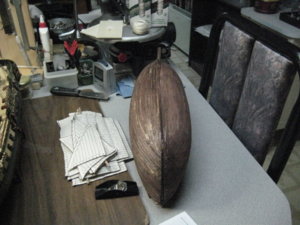
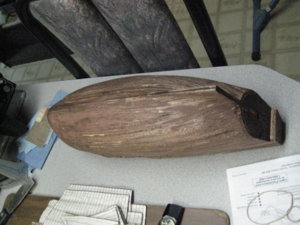
At that step I stains completely the hull because the wood is very clear and the wood that will be use for the second planking is sapelli and is a kind of mahogany and I just want to make sure that the clear wood will not show at all.
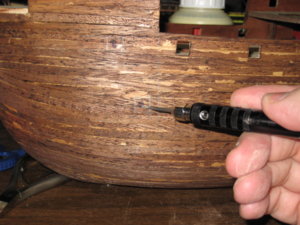
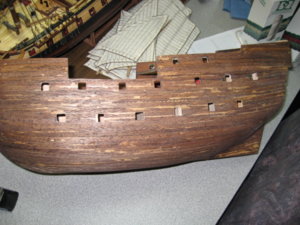
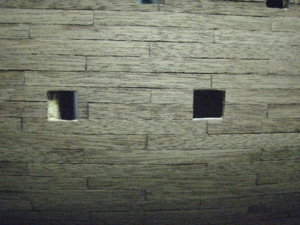
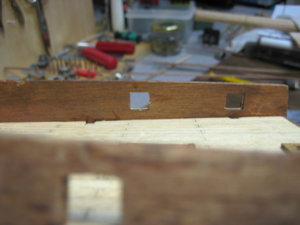
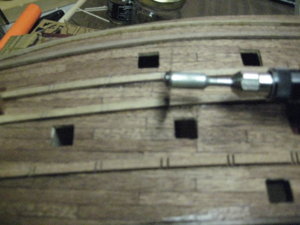
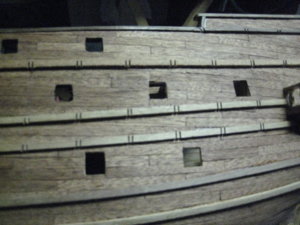
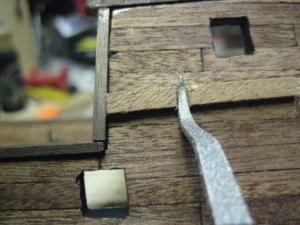
Here I mix a bit the step of construction we are suppose to make the opening for the lower gun port at step 49 but I chose to do it now because their noting on the hull at the moment to do obstacle to measurement ant it is easier to work the hull. I use my dremel and a my flex attachment and did the job in no time at all.
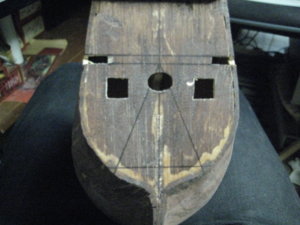
Little comment in the instruction theirs no scale drawing of the Stern so you do not have any measurements to place the 2 guns ports frames you just have the photo of the step 54 and 55 to guide you. Also you have at step 27 to plank the stern at some angle but they do not give you any indication, so it is a judgment call I guest.
You are also suppose to install the keel after the second planking is done at step 33 but I decide to install them before the final planking to be able to make certain that the planking is well adjusts.
7-1.jpg7-3.jpg7-4.jpg7-5.jpg7-6.jpg7-7.jpg7-8.jpg7-9.jpg7-10.jpg
 
Just finish to do the second Planking
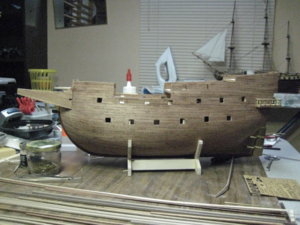
And did my first improvement on the kit by using the stagger pattern for the hull using 6cm length plank beginning by the stern as suggesting by Michael Bryant
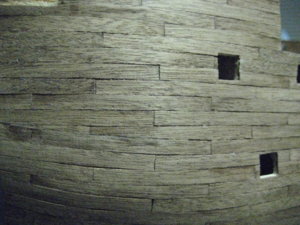
The look after sanding is good but take time, I still have to sand here and there but it is complete I am wondering if it is necessary to show the nails but that something I can do later.
I was waiting to see if I have sufficient wood to improve a bit on something else the inside panel of the gun deck. In the instruction they ask that we paint or taint the inside wall of the gun deck. I did it but well it is almost the first thing that people will see when they look at the deck so I decide to do the planking of the wall and well now it look better.+

8-1.jpg8-2.jpg8-3.jpg8-4.jpg8-5.jpg
 
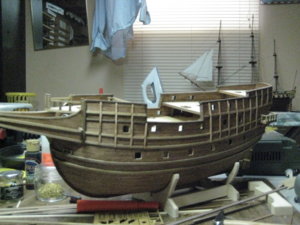
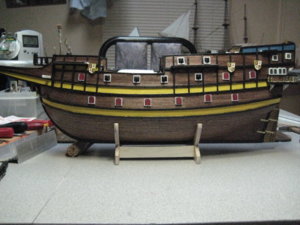
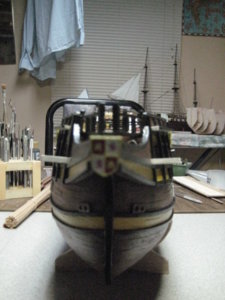
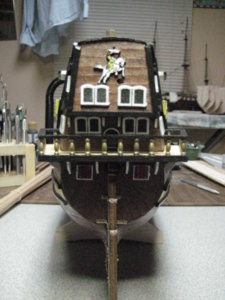
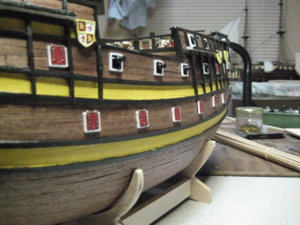
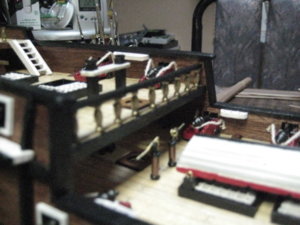
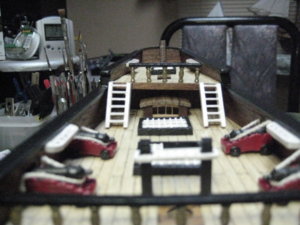
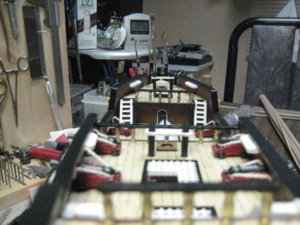
9-1.jpg9-2.jpg9-3.jpg9-4.jpg9-5.jpg9-6.jpg9-7.jpg9-8.jpg9-9.jpg9-10.jpg9-11.jpg9-12.jpg9-13.jpg9-14.jpg9-15.jpg9-16.jpg9-17.jpg9-18.jpg9-19.jpg9-20.jpgI advance a little more since the last posting. I have build the rake deck and the gallery and install them I also paint and install the door and also the rudder.
9-1 to 9-5
The next step was the installation of the inwales got a little trouble here as I have to bent some piece of African walnut in 2mm x 6mm luckily at the same time I read a post where Michael Bryant was suggesting a way to bent wood by putting the small plank in a wet towel and in the microwave stove so I try it and was able to bent my plank properly.
9-6 to 9-8
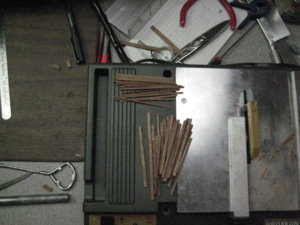
Then it is the time to install the rubbing strake the horizontal one went good but when I was ready to do the vertical one I realise that I was short of at least 6 planks of 2x3 of African walnut. That kit must have be package on a Friday because I got a lot of extra 3x5 in ramin and a lots of 0.6x5 lining, + 2 nice length of African walnut 2x7 extra.
9-9 to 9-11
So I did not jump to the roof, I have said it before I am a squirrel, and I keep everything so I went in my junk box and found 4 lengths of 2x3 of different length and a nice piece of 2x5. That done I took the instruction. I carefully measure what I need of 2x3 to complete the ship. Got enough of the 2x3 piece to do all the small part but if I used them to do the vertical strake I will be in trouble.
Ok Plan B
First I cut my 2x5 the proper length 26pieces, then carefully I cut each pieces vertically and got all the pieces that I was needing, nice 2x3 and as a bonus 26 little pieces of 2x1
that went in my spare box, all part cut and ready to be install
9-12 to9-15
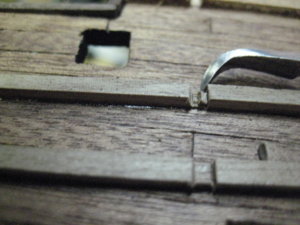
At that point the instruction request that we cut the horizontal strake to place the vertical one and that not easy now that is done I am asking myself if it will not be easier to have first install the vertical one and then cut the horizontal one, but done is done.
9-16 to 9-20
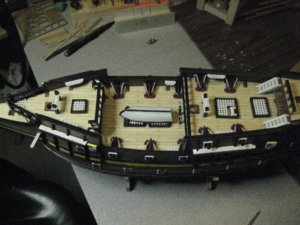
That done, I did all the rest the racks for the channels, the handrails, all the grating, the stair, and all the other small part. Next step is to paint and install those small parts. That will complete the hull and I will start the mast and the rigging.
9-21 to 9-24
9-1.jpg9-2.jpg9-3.jpg9-4.jpg9-5.jpg9-6.jpg9-7.jpg9-8.jpg9-9.jpg9-10.jpg9-11.jpg9-12.jpg9-13.jpg9-14.jpg9-15.jpg9-16.jpg9-17.jpg9-18.jpg9-19.jpg9-20.jpg
 
THE BIG QUESTION
Paint or no paint?
You can find all the different opinions, and in the end all those opinions are all right.
I was reading a post not long ago and somebody wrote that a wood ship not painted is like a wood furniture.
Well I agreed and disagreed my point of view is this if you build a ship that is an historical reproduction and you want to build it to be as the original then you have to paint it according to the original. But if you are building a sip that is not historically exact in that case you have liberty to do as you want.
Also what the point to have a nice ship in quality wood like walnut, beech or mahogany to be cover by paint? If you are not to show the wood then build one in plastic it is less expansive and you will have a nice paint ship. But that is my opinion and my taste every one got his opinion and I respect that.
With the San Martin I made a decision base on the following thought.
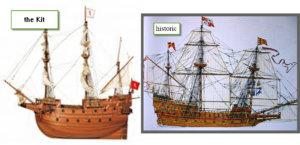
First the result of my research about that ship was that contrary to what OcCre was implied that kit as noting to do with the Flag ship of the great armada The San Martin so here go the historical aspect of that ship. But I found that the ship was also a lot more close in aspect to some Galleon of the end of the 15end century beginning of the 16end but not a real ship.
The real San Martin was a 44gun ship the model his 32 gun maximum
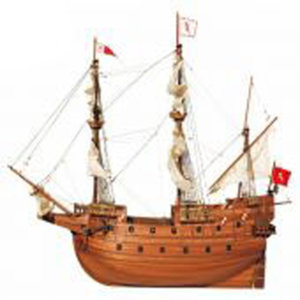
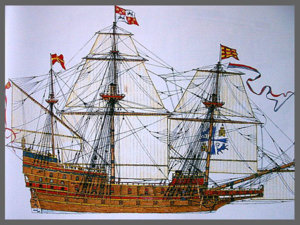
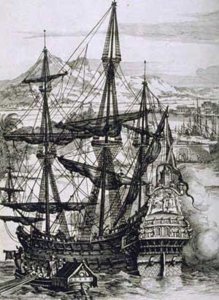
10-1 the model 10-2 the real ship according to a glass window representation in a church 10-3 a galleon of the same period
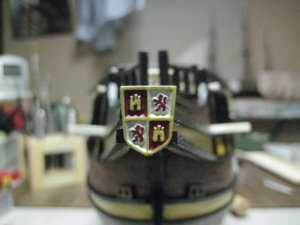
So I decided this, I will do some painting because those ship where some time very colourful but also I want to show that nice wood so I have to do a compromise first I took a picture of my ship and export it to PhotoShop increase the pixel and start to put color here and there to have and idea of what it might look and find something that I like the result well let me know what you think!
10-4 to 10-7
This is follow by the rest of the deck furniture
10-8 to 10-12
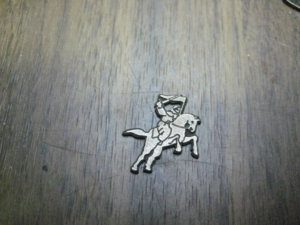
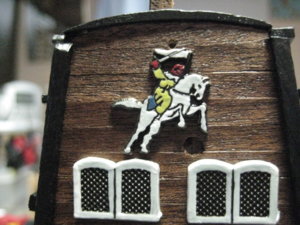
Last touch was the nice caballero at the stern
10-13, 10-14
Now the mast and yard
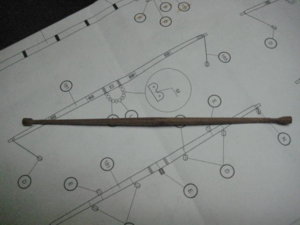
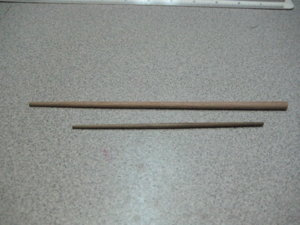
Fist I took out from the drawing all the different length for each diameter I then ad 20mm to each for security. Then I calculated the more efficient way to cut each length of wood that done I cut and identified each piece ready to start.

If any body follow that build it look like OcCre made a small mistake of about 2mm at each time a mast go in a cap or the finial
A and B

10-1.jpg10-2.jpg10-3.jpg10-4.jpg10-5.jpg10-6.jpg10-7.jpg10-8.jpg10-9.jpg10-10.jpg10-11.jpg10-12.jpg10-13.jpg10-14.jpg
 
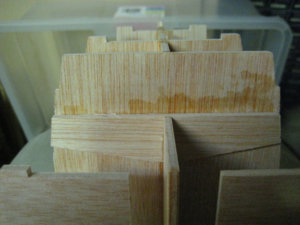
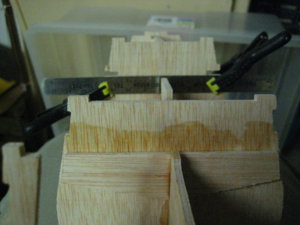
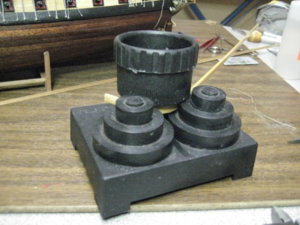
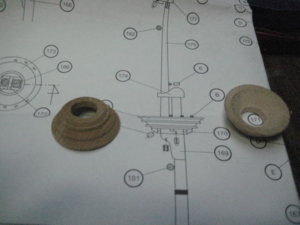
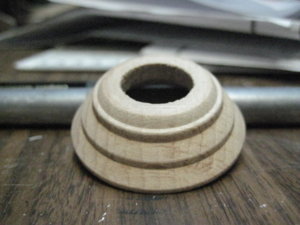
From days one on that project I got in my mind to change the tops they came in the kits as single massive piece of wood. Like a round bathtub
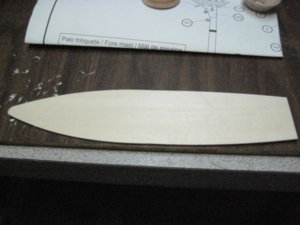
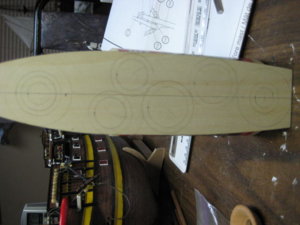
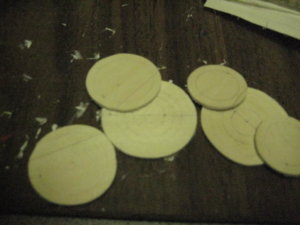
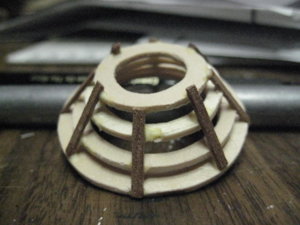
My problem was that I was looking for some plywood of 1.5mm of thickness and was not able to find any. As a future project I have the (Lancha del Capitan) kit from A/L that I am suppose to build to go with the Santisima Trinidad ship and the cross section. That kit use for the deck a nice piece of plywood of 1.5mm exactly what I was looking for. Using the center of the piece I was able to trace the pieces that I need and cut them. Photo 11-2 to 11-4
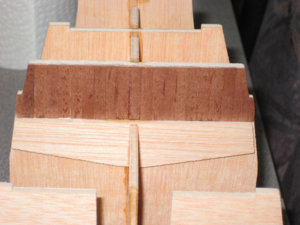
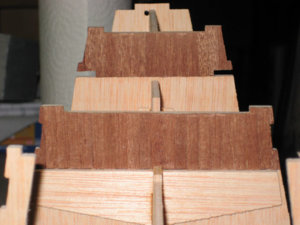
So photo 11-5 is the tops supply by OcCre and photo 11-6 is the end result if you have read my previous post you might remember that at one point I have to cut 2x5 to have 2x3 at that time I told you that I got piece of 1x3 left well those are the piece used to build the frame
Always keep small pieces you never know when you might be using them.
You may think that it was easy wellllll! not exactly you see I made a tiny little mistake I cut one of the top pieces to thin and hand up needing to cut a new one, but of course I have used all the plywood that I got. So what to do (I am a squirrel you remember) ok I was very disappointed and really mad at myself so I went in my junk box ant took what at first I did reject. You know when you by those box of Clementine they came usually in box with plywood as side and over the year I have put aside a few of those box and used the plywood for different hobby application it is a soft plywood of 2.5mm and it is easy to work so I cut the piece that I need and sand id to have the 1,5mm thickness needed.
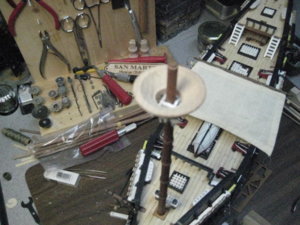
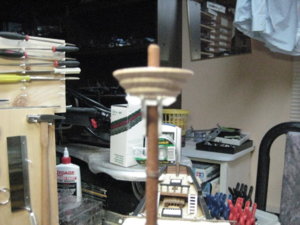
So photo 11-7 and 11-8 are what it is suppose to look. I decided to paint them black and 11-9 – 11-10 are what is the result and I think that my new one improve the model what you think?
11-1.jpg11-2.jpg11-3.jpg11-4.jpg11-5.jpg11-6.jpg11-7.jpg11-8.jpg11-9.jpg11-10.jpg
 
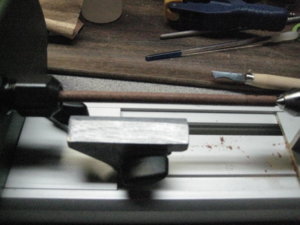
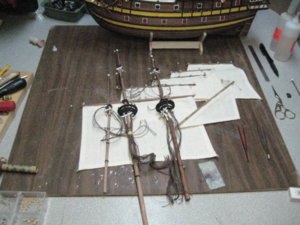
All the mast are done, I use my new late to shape the mast and the yard it went like a charm with minimal dust.
12-1 to 12-5
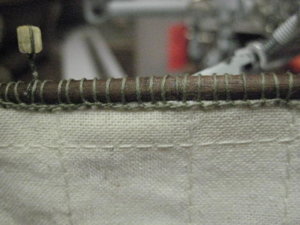
All the yard are prepare even the sail are sew on them, all the block are install ready to do the rigging. A small remark here in the instruction you are suppose to use a piece of 6mm to make the mizzen lateen yard and it is way to big the scale drawing show clearly that part to be 4mm and of course no 4mm x 230mm piece spare so I took the 6mm and reduce it to 4mm as need be
16-6 to 12-9
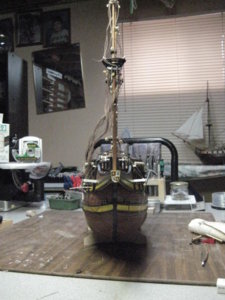
I then install the 3 mast in there position and they came with a perfect alignment no correction needed. That was worried me a bit because on my 2 previous (3 mast ship) there where small adjustment to do due to the fact that alignment between the deck and the frame was a bit off center. But not on that kit every thing are as they suppose to be straight and center.
12-10 and 12-11
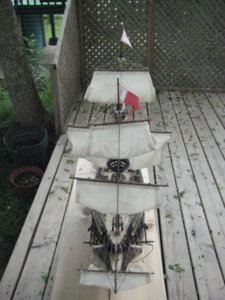
About the sail the canvas is really not nice but I decide to use them anyway as time do not allow me to make new one so I will have to try to make them look a least a bit better.
12-1.jpg12-2.jpg12-3.jpg12-4.jpg12-5.jpg12-6.jpg12-7.jpg12-8.jpg12-9.jpg

12-10.jpg

12-11.jpg
 
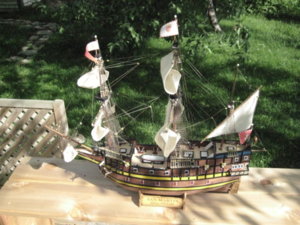
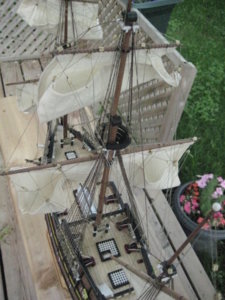
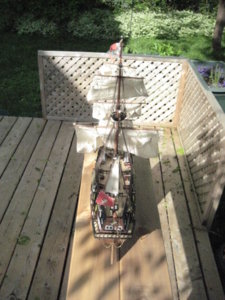
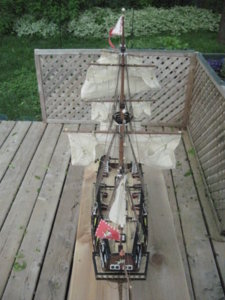
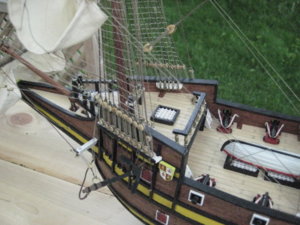
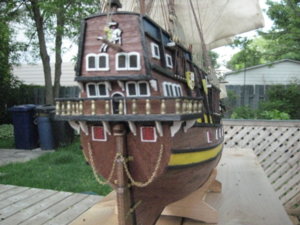
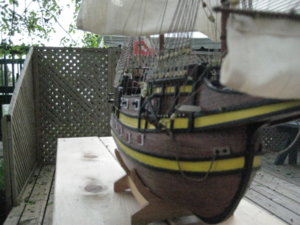
Final post for my San Martin Project Chip complete
Total time + - 366h (I don’t work fast)
The cost of the kit was +- $180.00 can
In December 2003 I give the ship to raise money in my company for a local Charity at Christmas we sold ticket at $5 a piece and collect? $670 and I got a tax receipt in exchange (what to do with our build here a good suggestion)

OcCre made a nice and easy ship to build, not complicated, and with clear instruction easy to follow. From planking to rigging everything went smooth, just follow the step one by one and take your time.
At no point during the build I can said that I was stuck, the rigging instruction are particularly clear and easy to follow. That ship allows easily some modification as I did for the crow nest, other improvement like the gun rigging or changing the sail can easily be done.
On the negative side.
Hard to really find something to said.
The crow nest that look like bath tub. (Easy to build new one)
The supply sail that are really not nice (Easy to change if you want)
And maybe a word of caution OcCre supply some wood in limited length for some size so take the time to make yourself a cut chart before starting your cut.
What I like the most about that kit.
The rigging instruction that I found really easy to follow.

Conclusion
It is a real nice kit easy to build. One kit that I can easily suggest as a first build or as a father/son project. And forgets about any historical value to that ship their none so feel free to change, improve and have fun with it.
1e.jpg14-1.JPG14-2.JPG14-3.JPG14-4.JPG14-5.JPG14-6.JPG14-7.JPG14-8.JPG14-9.JPG14-10.JPG
 
Back
Top