Saturday June 4th, 2011
Having completed the hull with the installation of the gunport lids and later the chainplates, I started to prepare some components of the main mast. For this kind of activity I have to underline that my last, complete experience was made a lot of years ago, maybe 40/45 years ago when I was much younger.
To be well prepared to this new venture I spent some hours to study the masting & rigging plans supplied by De Agostini. These plans are the only real plans supplied by the kit manufacturer. Other plans (hull, decks, etc) are never supplied with this kind of collections and this fact is, for me, the main point of weakness of these products. The first impression is that these plans are quite simplified, if compared with some "holy" books describing masting and rigging, but you have to admit that a section has by definition an incomplete rigging . .
For this main reason and to avoid risks, I decided to follow the plans supplied, without changes or updates for new details.
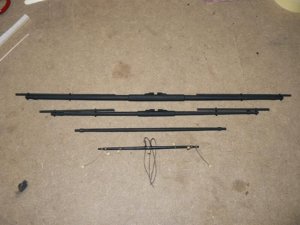
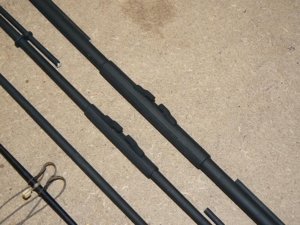
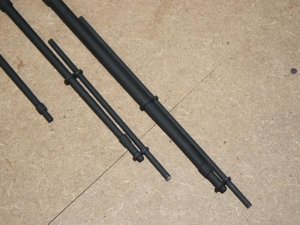
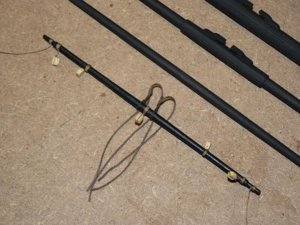
First I started by building the yards, task that I considered free of risks to make errors. The yards are four in total of different diameter and length. The result, visible here below, was obtained without power tools: only files, sandpaper, sanding block, broken pieces of glass . .
Here below an image of the first three yards; the main yard is still missing and I will do it next . . in the meantime I will continue my studies of the rigging plan . .
01 Cross%20Section%20Santisima%20Trinidad/P1070621.jpg

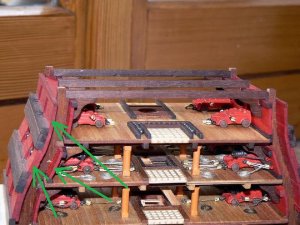
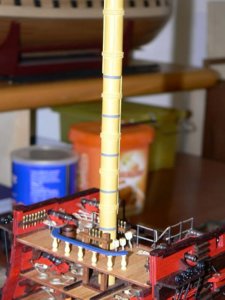
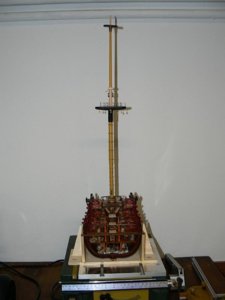
Here below other details of the hull. With the exclusion of the handrails for the stepladders, it can be considered 100% finished. The mast can be inserted in its final place without any kind of effort and . . miracle . . it is 100% vertical and straight, properties not always easy to find in a wood rod of 12mm diameter and with an overall length of +/- 50 cm.
02 Cross%20Section%20Santisima%20Trinidad/P1070617.jpg

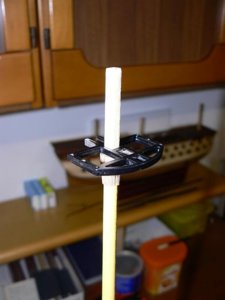
Here are finally visible the chainplates. I did not want to use the brass chains suggested in the instruction but I was not able to built then as they should be really done. This because my poor ability to weld. At the end I adopted the solution you can see here. Surely quite original . . but plausible ? I am not sure, I leave to you to judge . . surely very strong.
03 Cross%20Section%20Santisima%20Trinidad/P1070613.jpg

04 Cross%20Section%20Santisima%20Trinidad/P1070616.jpg

And finally I've found something that could be used to build the handrails. Again I found what I believe can be used in my "old pieces stock" and, if I well remember they should age +/- 40 years. As soon as possible I will install them and I will show to you.
See you next time, Jack.Aubrey.
Having completed the hull with the installation of the gunport lids and later the chainplates, I started to prepare some components of the main mast. For this kind of activity I have to underline that my last, complete experience was made a lot of years ago, maybe 40/45 years ago when I was much younger.
To be well prepared to this new venture I spent some hours to study the masting & rigging plans supplied by De Agostini. These plans are the only real plans supplied by the kit manufacturer. Other plans (hull, decks, etc) are never supplied with this kind of collections and this fact is, for me, the main point of weakness of these products. The first impression is that these plans are quite simplified, if compared with some "holy" books describing masting and rigging, but you have to admit that a section has by definition an incomplete rigging . .
For this main reason and to avoid risks, I decided to follow the plans supplied, without changes or updates for new details.
First I started by building the yards, task that I considered free of risks to make errors. The yards are four in total of different diameter and length. The result, visible here below, was obtained without power tools: only files, sandpaper, sanding block, broken pieces of glass . .
Here below an image of the first three yards; the main yard is still missing and I will do it next . . in the meantime I will continue my studies of the rigging plan . .
01 Cross%20Section%20Santisima%20Trinidad/P1070621.jpg
Here below other details of the hull. With the exclusion of the handrails for the stepladders, it can be considered 100% finished. The mast can be inserted in its final place without any kind of effort and . . miracle . . it is 100% vertical and straight, properties not always easy to find in a wood rod of 12mm diameter and with an overall length of +/- 50 cm.
02 Cross%20Section%20Santisima%20Trinidad/P1070617.jpg
Here are finally visible the chainplates. I did not want to use the brass chains suggested in the instruction but I was not able to built then as they should be really done. This because my poor ability to weld. At the end I adopted the solution you can see here. Surely quite original . . but plausible ? I am not sure, I leave to you to judge . . surely very strong.
03 Cross%20Section%20Santisima%20Trinidad/P1070613.jpg
04 Cross%20Section%20Santisima%20Trinidad/P1070616.jpg
And finally I've found something that could be used to build the handrails. Again I found what I believe can be used in my "old pieces stock" and, if I well remember they should age +/- 40 years. As soon as possible I will install them and I will show to you.
See you next time, Jack.Aubrey.


