• Ships of Scale has incorportated an extra level of security when you log In. Please follow on-screen prompts to acknowledge that you are not a robot via a "Check Box" or a "Pictorial Check Box Puzzle". This is needed due to higher level of AI Activity Security.
  • SUBSCRIBE TO SHIPS IN SCALE TODAY!

    The beloved Ships in Scale Magazine is back and charting a new course for 2026!
    Discover new skills, new techniques, and new inspirations in every issue.

    NOTE THAT OUR NEXT ISSUE WILL BE July/August 2026
  • Win a Free Custom Engraved Brass Coin!!!
    As a way to introduce our brass coins to the community, we will raffle off a free coin during the month of August. Follow link ABOVE for instructions for entering.

Santa ana 1/84 Trafalgar 1805 AL kit by sevish

Joined
Nov 15, 2022
Messages
488
Points
278

Hello everyone,
Welcome back to another great build by me
This will be my third commission build on the Trtafalgar ships.
This bulild will feature :
leds addition
replacement of the threads to ropes,
the traditional yellow ochre and black stripes and not the evidential all in black ship by the British officers reports and under water line hull will be painted in white and not covered in copper like in the other builds.

Also in this build :
The cry for help
The sobbings
And the hundreds of hours of cursing.

And last but not least:
The big question mark how, 1250mm long old ship became 1180 mm long ship in the same scale?

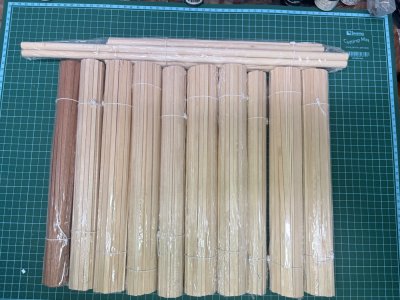
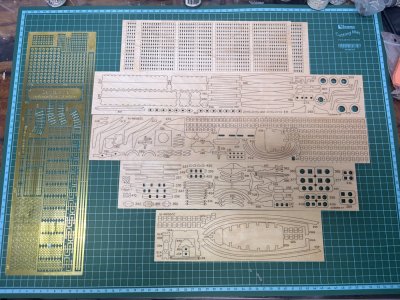
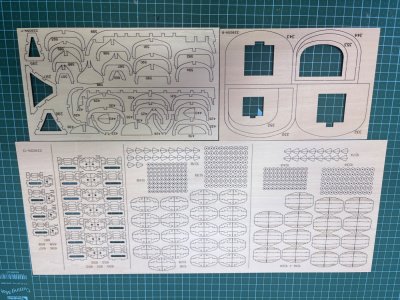
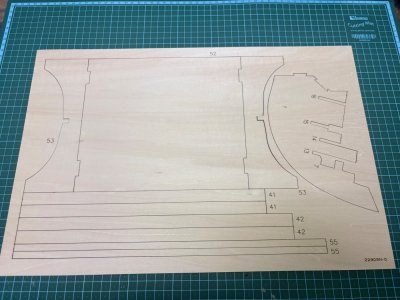
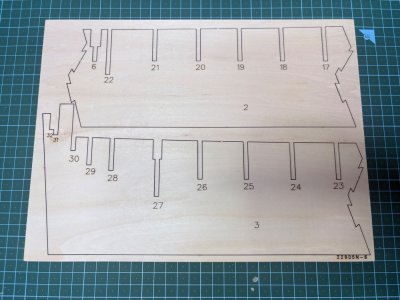
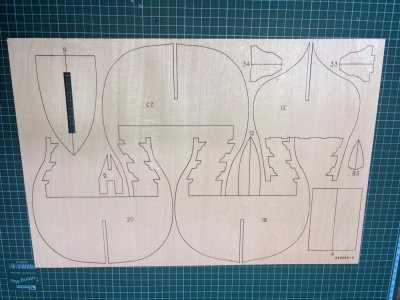
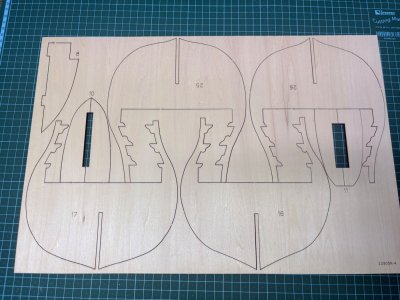
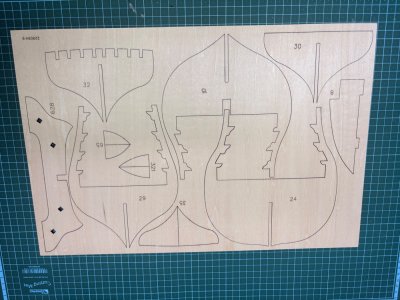
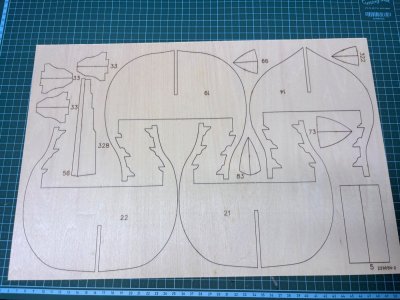
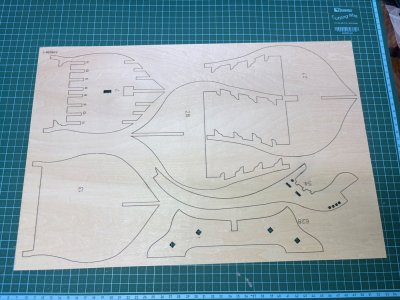
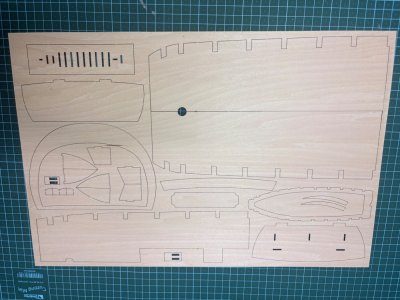
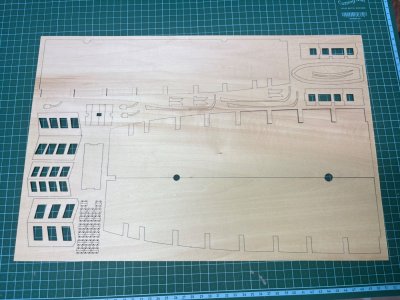
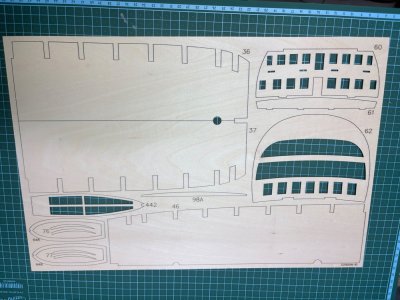
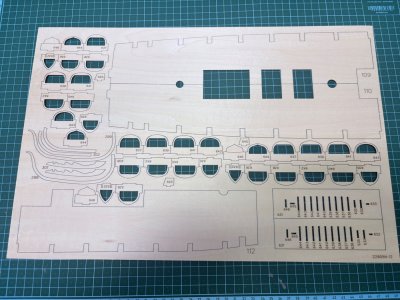
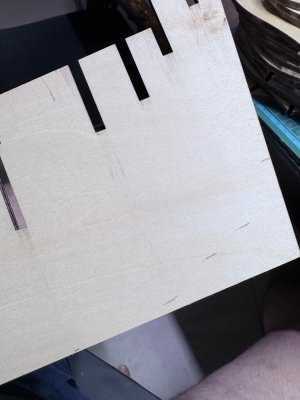
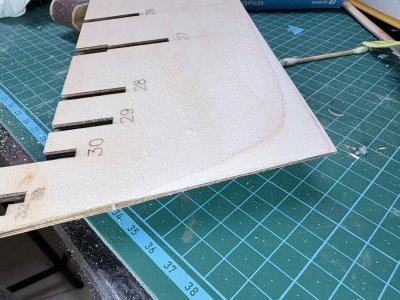
Any way here's the box content:IMG_5351.jpegIMG_5352.jpegIMG_5353.jpegIMG_5354.jpegIMG_5355.jpegIMG_5356.jpegIMG_5357.jpegIMG_5358.jpegIMG_5359.jpegIMG_5360.jpegIMG_5361.jpegIMG_5362.jpegIMG_5363.jpegIMG_5364.jpegIMG_5365.jpeg
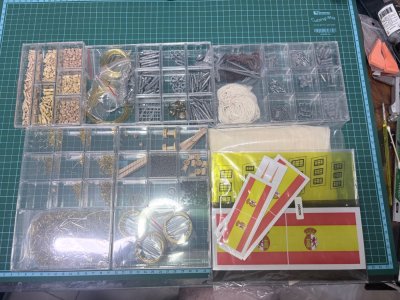
In the follow up post the start of the keel build.

Cheers
Guy
 
The continuation
So after long week of thinking how to address this build i decided just to start with the traditional keel building as suggested in the instructions.

IMG_5419.jpeg

The first dry test fitting IMG_5420.jpeg

The stern post beveling IMG_5421.jpeg
IMG_5422.jpegIMG_5423.jpeg


IMG_5423.jpegIMG_5424.jpeg

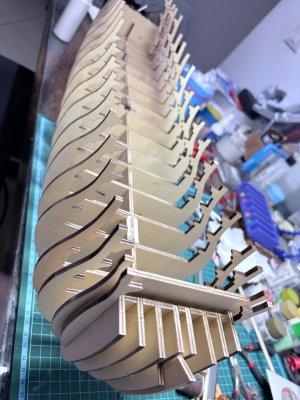
And thestart of the bulkheads placement and gluing IMG_5425.jpeg

Deck dry fit testing ,
Actually i did it with every bulkhead that i glued.

IMG_5427.jpeg


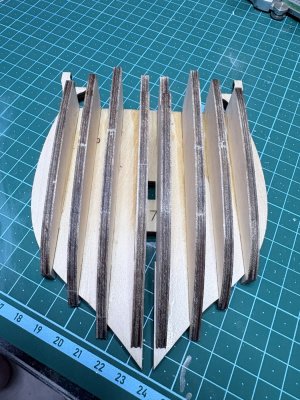
The first 6 bulkheads glued IMG_5429.jpeg

An that's it for this time

Cheers
Guy

P.s.
WHY, WHY they didn't fixed also the false decks bulkheads openings ,alignment would heave been much easier like that...
 
The continuation
So after long week of thinking how to address this build i decided just to start with the traditional keel building as suggested in the instructions.

View attachment 642749

The first dry test fitting View attachment 642750

The stern post beveling View attachment 642751
View attachment 642757View attachment 642752


View attachment 642752View attachment 642753

And thestart of the bulkheads placement and gluing View attachment 642754

Deck dry fit testing ,
Actually i did it with every bulkhead that i glued.

View attachment 642755


The first 6 bulkheads glued View attachment 642756

An that's it for this time

Cheers
Guy

P.s.
WHY, WHY they didn't fixed also the false decks bulkheads openings ,alignment would heave been much easier like that...
I was kind of wondering how you were going to get the decks in.
 
I was kind of wondering how you were going to get the decks in.
the decks made from 4 pieces so you can slide them into place with no problem.

Nice work. I was wondering what you mean by "commission work". Are people paying you to build Ship Models for them?
Yes it's specifically one person that asked me to build him some ships from the battle of Trafalgar.
You can also find in the forum my Santisima Trinidad and Montanes builds.
 
Last edited:
Hello everyone,
Welcome back to another great build by me
This will be my third commission build on the Trtafalgar ships.
This bulild will feature :
leds addition
replacement of the threads to ropes,
the traditional yellow ochre and black stripes and not the evidential all in black ship by the British officers reports and under water line hull will be painted in white and not covered in copper like in the other builds.

Also in this build :
The cry for help
The sobbings
And the hundreds of hours of cursing.

And last but not least:
The big question mark how, 1250mm long old ship became 1180 mm long ship in the same scale?

Any way here's the box content:View attachment 642732View attachment 642733View attachment 642734View attachment 642735View attachment 642736View attachment 642737View attachment 642738View attachment 642739View attachment 642740View attachment 642741View attachment 642742View attachment 642743View attachment 642744View attachment 642745View attachment 642746

In the follow up post the start of the keel build.

Cheers
Guy
If you want to build the model with the configuration it had when it was launched, I think that the colors you are contemplating are correct (they are in line with the arsenal model of the Naval Museum of Madrid), however, if what you want is to give the appearance that it had in the battle of Trafalgar, you must take into account that since 1791 the Santa Ana was already faired and lined with copper (that I am aware of, it was lined at least 3 times in 1791, 1799 and 1806)


Information taken from the web: https://todoavante.es/index.php?title=Ana,_Santa_(1785)
(very interesting if you want to know the life of this ship)

1792318572104.png
On June 15, 1791, a new refit for the ship was approved, including repairs to the decks and the application of copper sheathing, ...... and the vessel underwent this refit that same year.

1792319319022.png
It took part in the Battle of Trafalgar on October 21, 1805. ....... It carried the following armament: 30 36-pounder cannons, 32 24-pounder cannons, 32 12-pounder cannons, 10 8-pounder cannons, 10 48-pounder howitzers, 2 32-pounder howitzers, 6 24-pounder howitzers, and 4 4-pounder howitzers. .....


saludos y buena travesĂ­a
 
If you want to build the model with the configuration it had when it was launched, I think that the colors you are contemplating are correct (they are in line with the arsenal model of the Naval Museum of Madrid), however, if what you want is to give the appearance that it had in the battle of Trafalgar, you must take into account that since 1791 the Santa Ana was already faired and lined with copper (that I am aware of, it was lined at least 3 times in 1791, 1799 and 1806)


Information taken from the web: https://todoavante.es/index.php?title=Ana,_Santa_(1785)
(very interesting if you want to know the life of this ship)

View attachment 644271
On June 15, 1791, a new refit for the ship was approved, including repairs to the decks and the application of copper sheathing, ...... and the vessel underwent this refit that same year.

View attachment 644272
It took part in the Battle of Trafalgar on October 21, 1805. ....... It carried the following armament: 30 36-pounder cannons, 32 24-pounder cannons, 32 12-pounder cannons, 10 8-pounder cannons, 10 48-pounder howitzers, 2 32-pounder howitzers, 6 24-pounder howitzers, and 4 4-pounder howitzers. .....


saludos y buena travesĂ­a
Hey saitam,
I done full background check for this build.

The Santa Ana Trafalgar kit contains the armament of the Battle.

Please note that it's a commission build,
I know about all the info and presented all of it to my client.
He declined my recommendations and decided to go with the box concept art,
I respect his decision because after all it's his ship and his final word.

If it was my private built i was going to do it as it should have been in the battle.

Cheers
Guy
 
Hello everyone,
Welcome back to another great build by me
This will be my third commission build on the Trtafalgar ships.
This bulild will feature :
leds addition
replacement of the threads to ropes,
the traditional yellow ochre and black stripes and not the evidential all in black ship by the British officers reports and under water line hull will be painted in white and not covered in copper like in the other builds.

Also in this build :
The cry for help
The sobbings
And the hundreds of hours of cursing.

And last but not least:
The big question mark how, 1250mm long old ship became 1180 mm long ship in the same scale?

Any way here's the box content:View attachment 642732View attachment 642733View attachment 642734View attachment 642735View attachment 642736View attachment 642737View attachment 642738View attachment 642739View attachment 642740View attachment 642741View attachment 642742View attachment 642743View attachment 642744View attachment 642745View attachment 642746

In the follow up post the start of the keel build.

Cheers
Guy
Look forward to your new build Guy. Magic Mike
 
Hey Everyone,

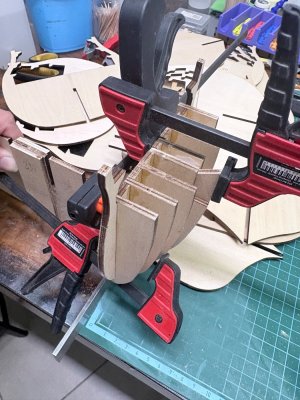
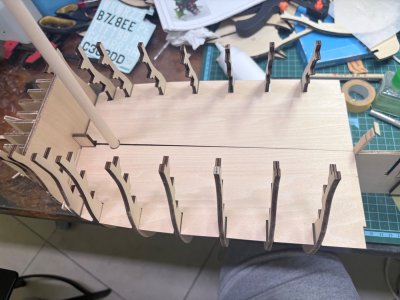
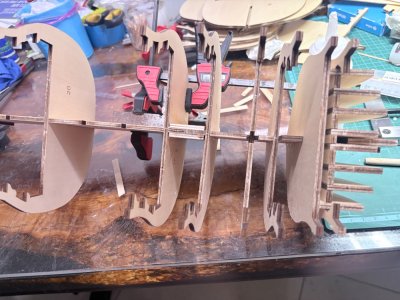
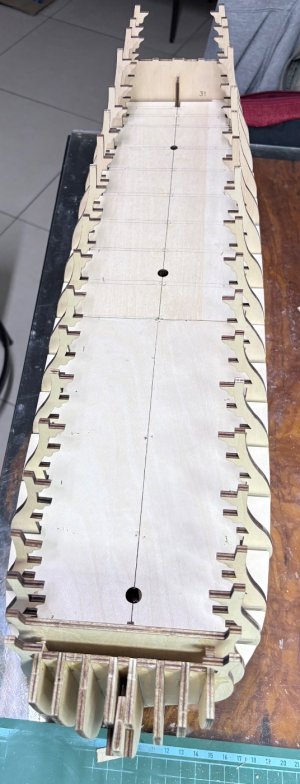
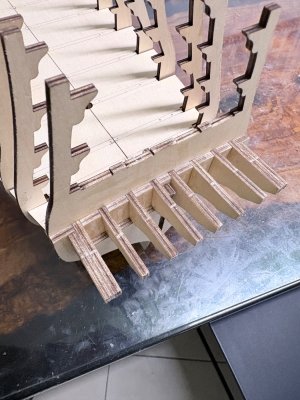
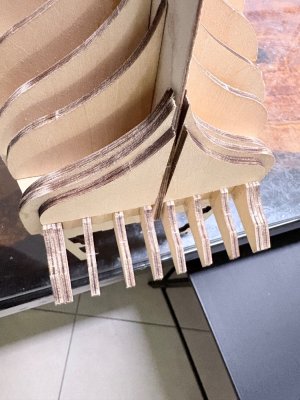
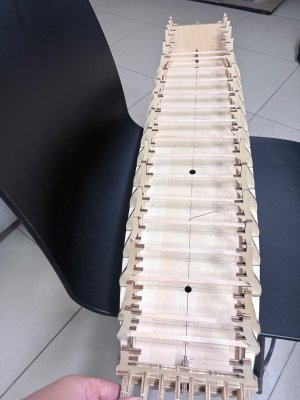
So I finished to glue all the bulkheads and the first deck
And the stern gallery base
IMG_5478.jpegIMG_5490.jpegIMG_5491.jpeg

Nice.

Next i set the locations for the wires with the base.IMG_5502.jpeg

For the prep work for the second deck i
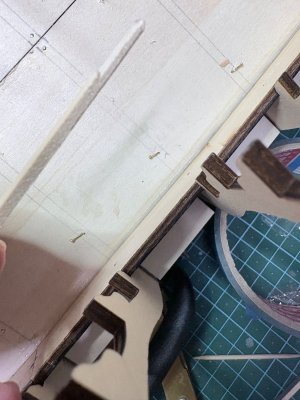
encountered small problem, working with both instractions the old ones and the new ones ,because they didn't really made new instractions from scratch,the supports for the deck need to be made out from 1.5x6 mm planks this didn't changed in the instractions.
In the actual model the bulkheads reduced to 4mm thickness
And no 1.5 planks after 2 hrs. of measurements.
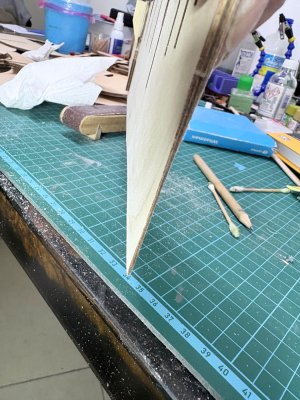
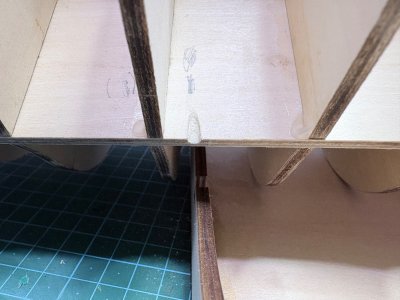
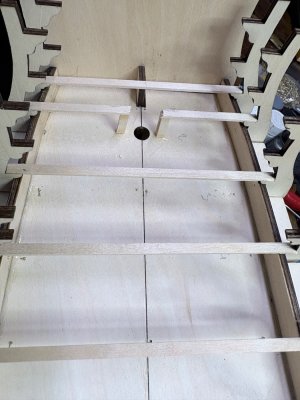
So the simplest solution for making sure the deck is in the correct hight was making grooves in the planks of 0.5mm.

IMG_5504.jpeg
IMG_5521.jpeg

I'm not really sure if this is the correct way as they changed the ship dimensions and didn't supply 1.5 mm planks ,I don't really know where those changes take place, i'll have to do some homework on the planking and the gunports locations when the time will come.

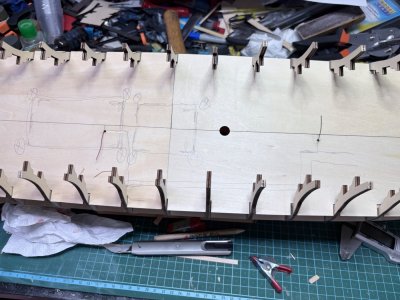
For better alignment of the 2nd deck i cut in advance the ports fot the masts that sets on the bulkheads Fore and Mizzen.

IMG_5536.jpegIMG_5537.jpeg

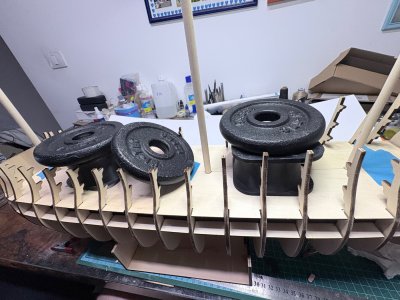
The deck is under pressure while the glue sets
IMG_5538.jpeg

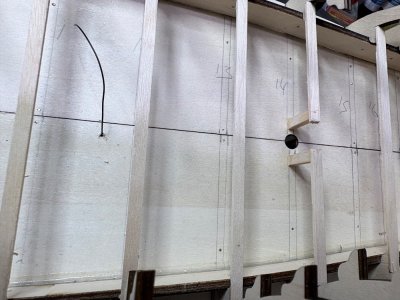
Plans of the LED locations for the 3rd deck gratings ,only for wire length calculations IMG_5539.jpeg

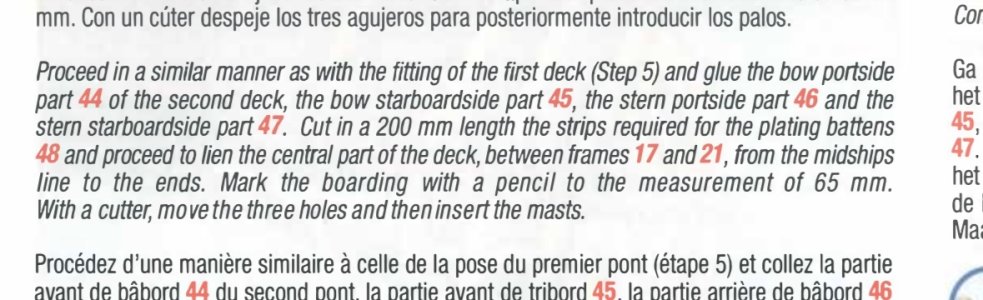
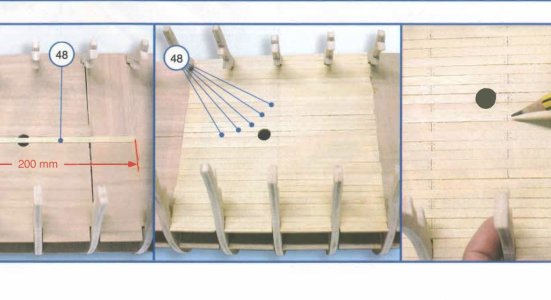
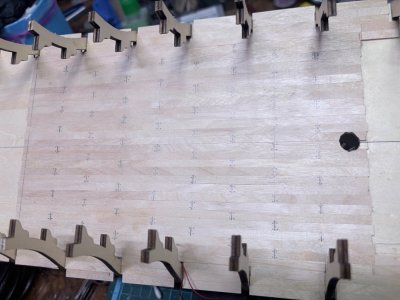
And some planking of the deck, that part was also confusing, in the (both) instructions
The written guide says planking from bulkhead 17 to 21.IMG_5547.jpeg

While the photo guide shows something completely different,bulkhead 20 to 24.

IMG_5548.jpeg

From my understanding the planking need to be under the gratings so the written guide wins with little extra just to be sure.IMG_5544.jpeg

that's it for now, as I'm waiting for some blasa wood shipment to do filling between the bulkheads.

Enjoy.
Guy
 
Great work.
Bulkheads are also narrower. When you go to cut openings for cannon ports, keep this in mind. According to the old instructions, they are positioned right against bulkhead wall, now need places them about 0.5 or 1mm away from wall. On a 90cm hull, on all cannon port line that will result in a significant difference.
There are diffrences in thickness throughout, and you must take this to correct at every step.

Thank you my friend.
Yes indeed, all the calculations will be take into account including the bulkheads thickness for the gunports.
 
Back
Top