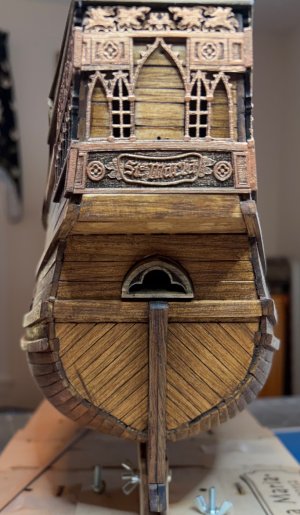
Glad to see you're feeling well enough to work on your model!

 |
The beloved Ships in Scale Magazine is back and charting a new course for 2026! Discover new skills, new techniques, and new inspirations in every issue. NOTE THAT OUR NEXT ISSUE WILL BE July/August 2026 |
|
 |
As a way to introduce our brass coins to the community, we will raffle off a free coin during the month of August. Follow link ABOVE for instructions for entering. |
|

Yup, it's better therapy than my medical prescriptions.Glad to see you're feeling well enough to work on your model!

I had to catch up some weeks of your work, Jan. You made some nice parts to the model.The Poop deck continued:
I've gotten more done today than I have in the last two weeks.
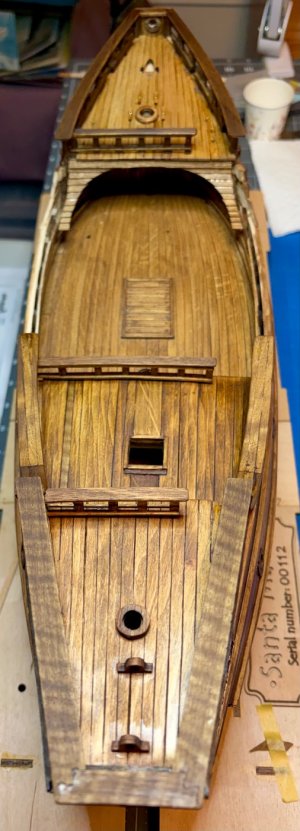
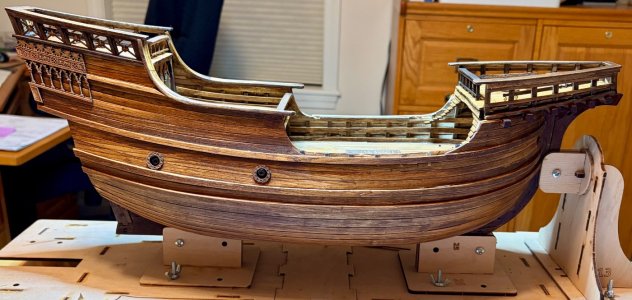
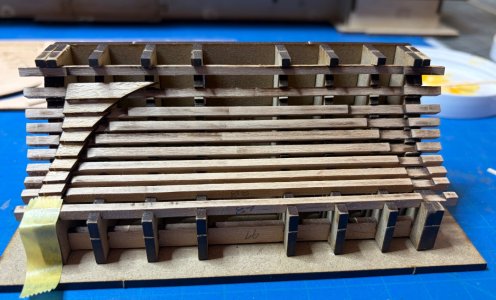
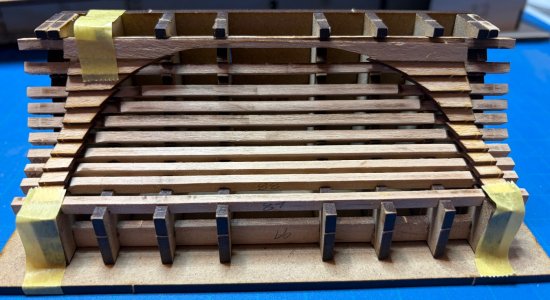
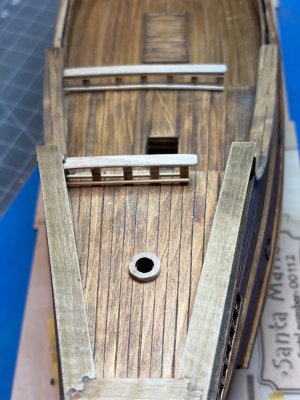
The components of the Poop deck fit and glued in place.
View attachment 640074
View attachment 640075
Thank you for checking out my build log.This is indeed a nice progression Jan.
Hi Peter.I had to catch up some weeks of your work, Jan. You made some nice parts to the model.
Regards, Peter

Looks mighty fine JanThe Poop deck continued:
I've gotten more done today than I have in the last two weeks.
The components of the Poop deck fit and glued in place.
View attachment 640074
View attachment 640075
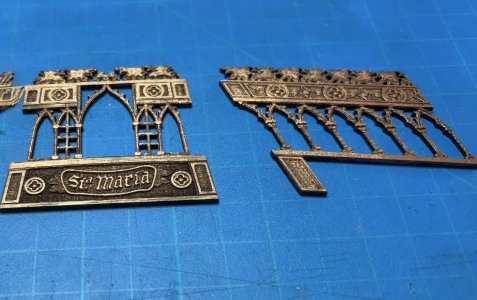
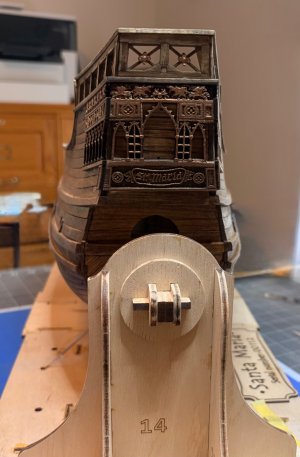
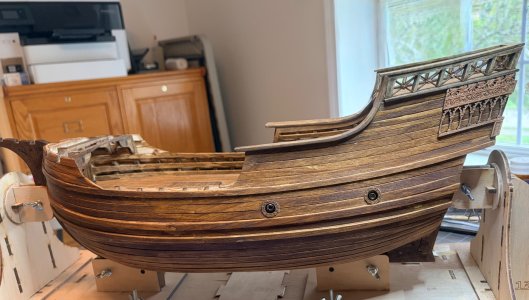
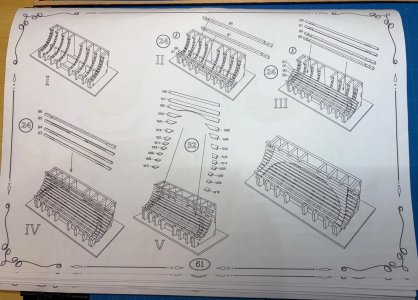
 , removed the jig parts from the flats and assembeld it.
Lovely work Jan. I like the staining and effect you are achieving with her. Cheers GrantThe Railings:
Another part of the build to challenge my patience.
View attachment 643701
The next step will be to stain the rails.
Hi Grant,Lovely work Jan. I like the staining and effect you are achieving with her. Cheers Grant
 Ugh, my ISP did a system wide upgrade last week and after a week of repair calls, replacing our cable modem and WiFi Router I can use my PC instead of my cell phone to log on to Forum.