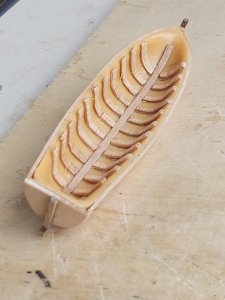
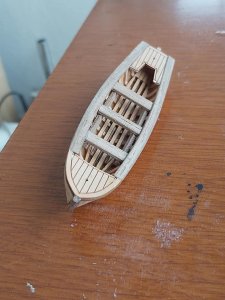
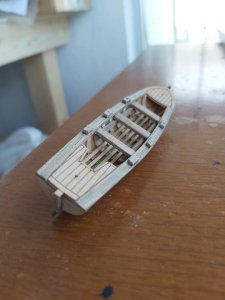
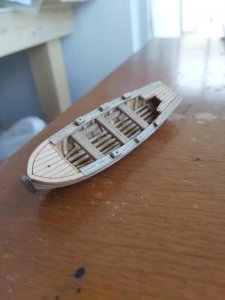
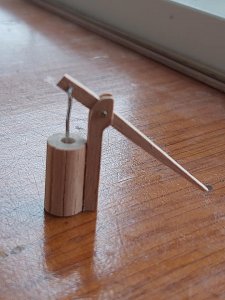
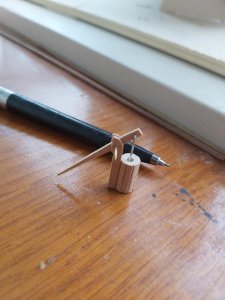
-

Win a Free Custom Engraved Brass Coin!!!
As a way to introduce our brass coins to the community, we will raffle off a free coin during the month of August. Follow link ABOVE for instructions for entering.
-

PRE-ORDER SHIPS IN SCALE TODAY!
The beloved Ships in Scale Magazine is back and charting a new course for 2026!
Discover new skills, new techniques, and new inspirations in every issue.
NOTE THAT OUR FIRST ISSUE WILL BE JAN/FEB 2026
You are using an out of date browser. It may not display this or other websites correctly.
You should upgrade or use an alternative browser.
You should upgrade or use an alternative browser.
Santa Maria, Mantua 1:50
- Thread starter mtbediz1
- Start date
- Watchers 16
-
- Tags
- mantua santa maria
- Joined
- Jan 26, 2017
- Messages
- 1,339
- Points
- 493

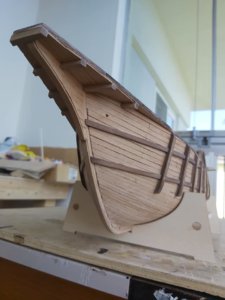
Thank you Mike. I like the oil on the wood more too. But only disadvantage of the oil is that you can't glue anything after you apply the oil on the surface anymore. For this reason, I haven't decided what to do yet.Very nice job on planking Mustafa, should look great with oil.
Canoe21
Lawrence
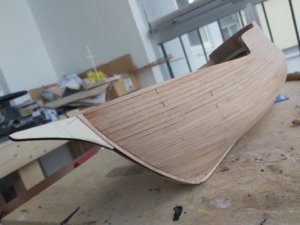
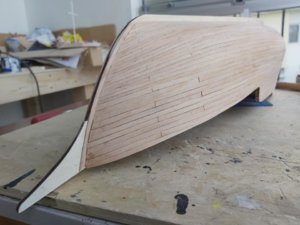
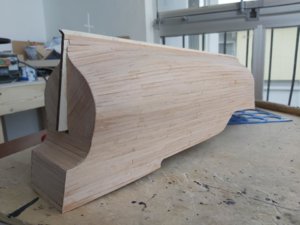
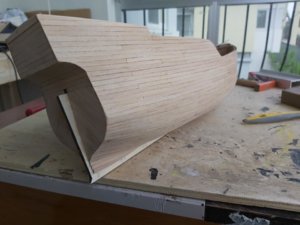
Hello Mustafa, Great job you have did on your second planking, it sure looks good, Well Done. Do you plan to use Varnish or an Oil?
Regards Lawrence
Regards Lawrence
- Joined
- Jan 26, 2017
- Messages
- 1,339
- Points
- 493

Thank you Lawrence. Yes, I am planing to use varnish. The oil looks better but I don't want to use it because I used the oil on my one of the previous builds and after applying it, nothing could be glued on the surface anymore. I didn't like itHello Mustafa, Great job you have did on your second planking, it sure looks good, Well Done. Do you plan to use Varnish or an Oil?
Regards Lawrence
Yes, I agree with the comments. 2nd planking looking good. Did you use white glue (wood glue) for this planking? I am now mounting the 2nd planking on the Endeavour and using strips of wood 0,6 mm thick. The first strip I glued using white glue and as the glue is water-based it caused the edges of the plank to curl up slightly. I am now using contact glue.
I go with you on the oil or varnish comment. Varnish is the better option, as I also have to glue parts onto the finisehd hull.
I go with you on the oil or varnish comment. Varnish is the better option, as I also have to glue parts onto the finisehd hull.
Good morning to all and hope you are keeping safe,
I'm in the throes of completing the 2nd planking having applied the top half of the hull using basswood. Now the lower half is planked using mahogony strips and the kit manufacturer recommends applying these strips starting from the keel and from where the bass wood 2nd layer finishes, alternating between the two and then meeting in the middle of the lower hull. Does this make sense or should one work down towards the keel or from the keel upwards? I appreciate any help or comments you can provide. Luigi.
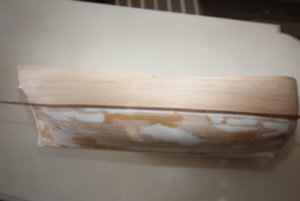
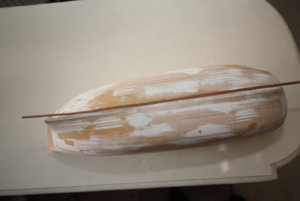
I'm in the throes of completing the 2nd planking having applied the top half of the hull using basswood. Now the lower half is planked using mahogony strips and the kit manufacturer recommends applying these strips starting from the keel and from where the bass wood 2nd layer finishes, alternating between the two and then meeting in the middle of the lower hull. Does this make sense or should one work down towards the keel or from the keel upwards? I appreciate any help or comments you can provide. Luigi.


- Joined
- Jan 26, 2017
- Messages
- 1,339
- Points
- 493

Sorry for delay Luigi. I have not been on the forum for a while. As you can see on my previous posts I did the second planking from the middle of the hull towards the keel and upwards to the bulwarks. As far as I know there is no rule about it. Some modelers do the opposite. It depends on how you feel confortable.Good morning to all and hope you are keeping safe,
I'm in the throes of completing the 2nd planking having applied the top half of the hull using basswood. Now the lower half is planked using mahogony strips and the kit manufacturer recommends applying these strips starting from the keel and from where the bass wood 2nd layer finishes, alternating between the two and then meeting in the middle of the lower hull. Does this make sense or should one work down towards the keel or from the keel upwards? I appreciate any help or comments you can provide. Luigi.
View attachment 140912View attachment 140913
Last edited:
- Joined
- Jan 26, 2017
- Messages
- 1,339
- Points
- 493

Yes, I used special white glue which dries much quicker than ordinary white wood glue. As you can see in m5 previous posts it dries in 10-15 mins which makes the pins to be removed in a short time. Additionajjy, it becomes transparent when it dries so the glue stains can not be seen on the planking.Yes, I agree with the comments. 2nd planking looking good. Did you use white glue (wood glue) for this planking? I am now mounting the 2nd planking on the Endeavour and using strips of wood 0,6 mm thick. The first strip I glued using white glue and as the glue is water-based it caused the edges of the plank to curl up slightly. I am now using contact glue.
I go with you on the oil or varnish comment. Varnish is the better option, as I also have to glue parts onto the finisehd hull.
Last edited:
- Joined
- Jan 26, 2017
- Messages
- 1,339
- Points
- 493

Thank you Knut.Nice plank work Mustafa, exciting, greeting-
- Joined
- Jan 26, 2017
- Messages
- 1,339
- Points
- 493

Thank you Christos.Well done my friend! I wasnt aware of your build.Your planking is awesome.
Christos
- Joined
- Jul 9, 2019
- Messages
- 497
- Points
- 323

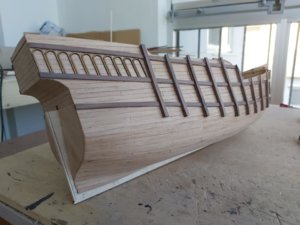
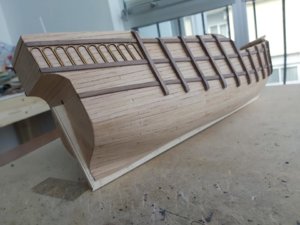
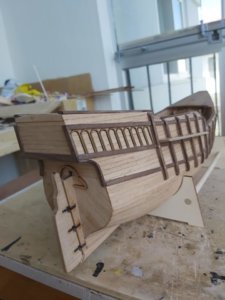
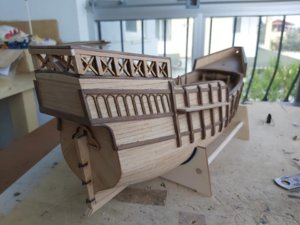
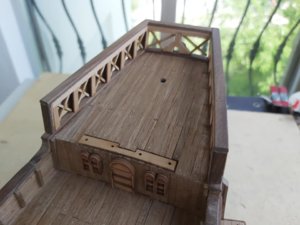
Looking great Mustafa. Were those arches at the poopdeck laser/die cut in the kit, or did you form them yourself?
- Joined
- Jan 26, 2017
- Messages
- 1,339
- Points
- 493

Thank you. The arches are laser cut in the kit.Looking great Mustafa. Were those arches at the poopdeck laser/die cut in the kit, or did you form them yourself?
- Joined
- Jan 26, 2017
- Messages
- 1,339
- Points
- 493

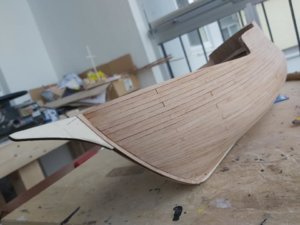
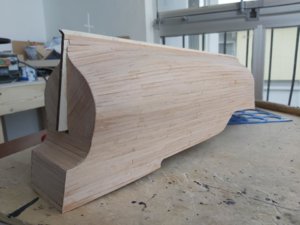
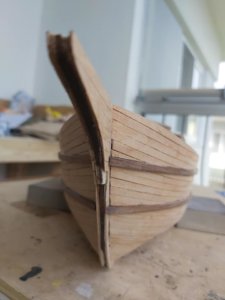
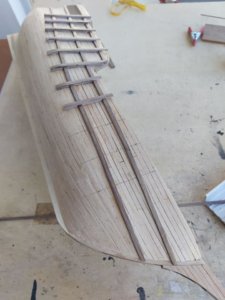
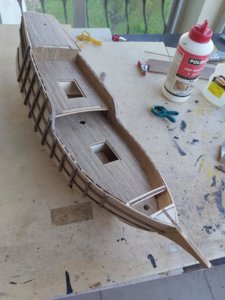
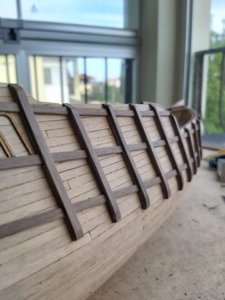
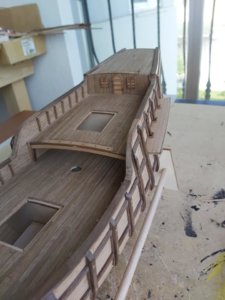
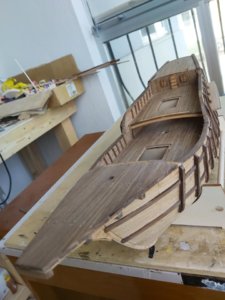
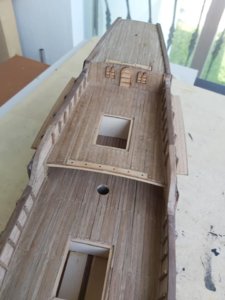
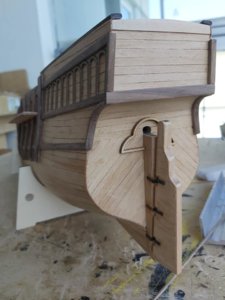
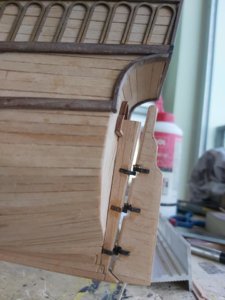
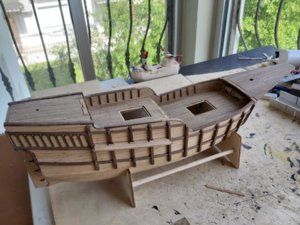
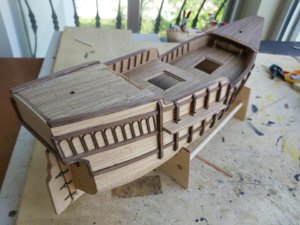
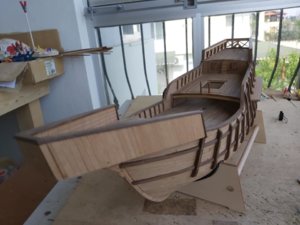
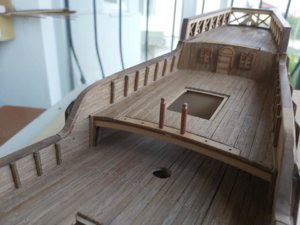
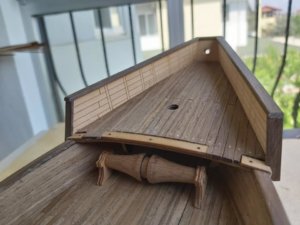
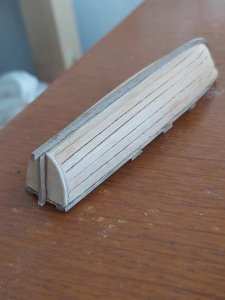
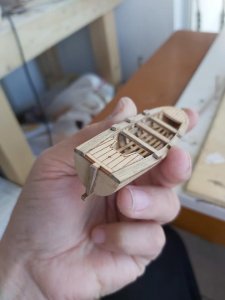
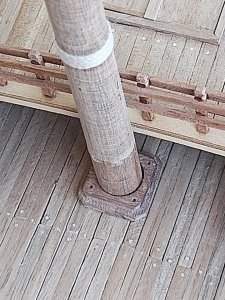
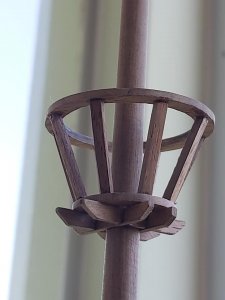
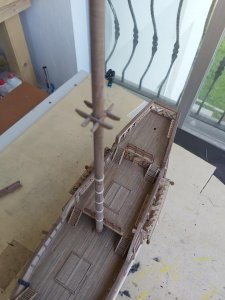
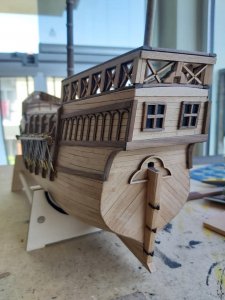
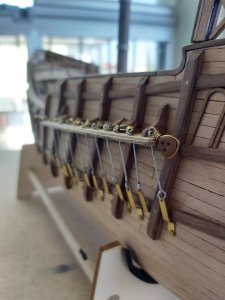
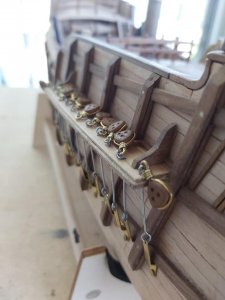
Hello friends. I haven't posted the photos for a while but that doesn't mean I am not working on my Santa
 I was just lazy to post the updates. Apologies my followers (if I have followers
 )
)
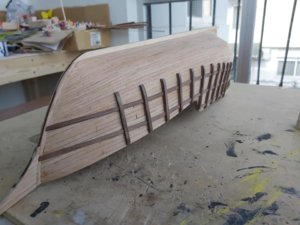
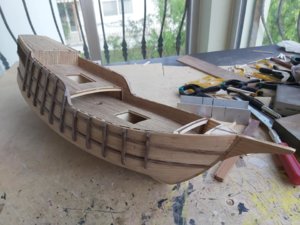
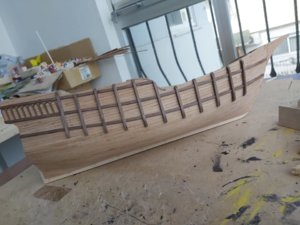
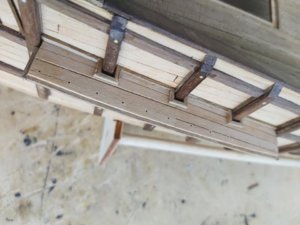
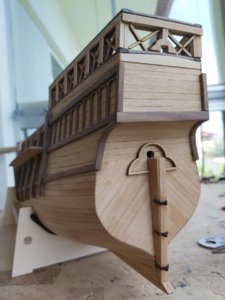
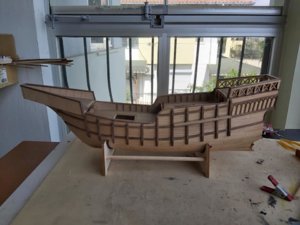
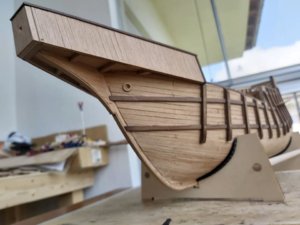
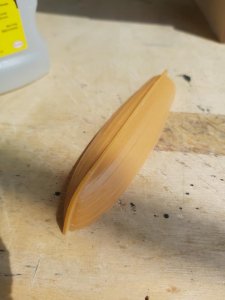
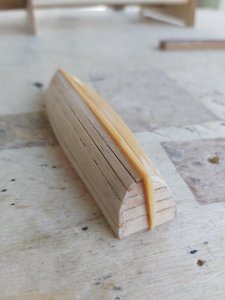
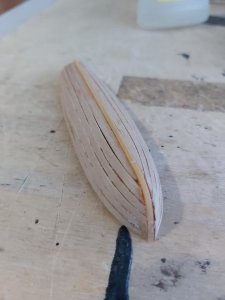
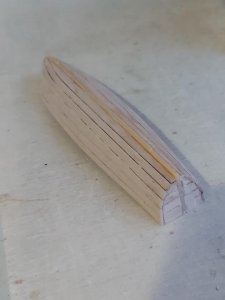
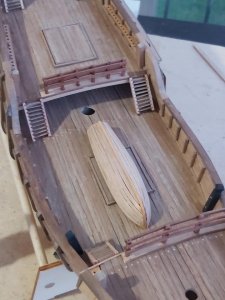
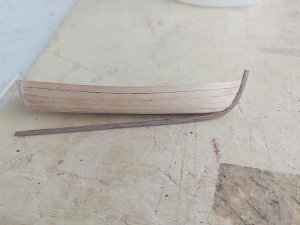
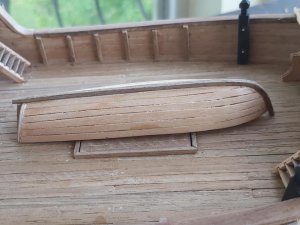
I am sharing what I have done so far without text. By the way I am modifying the kit trying not to use some metal cast object and making them from wood as much as possible.
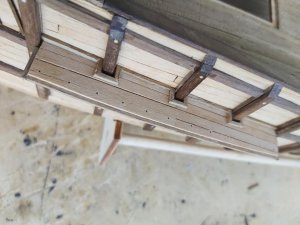
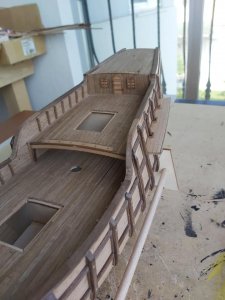
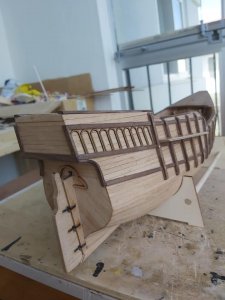
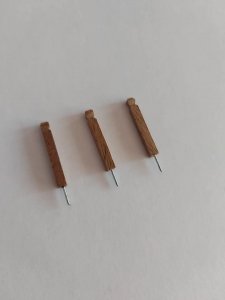
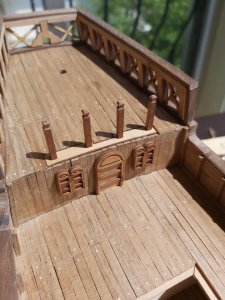
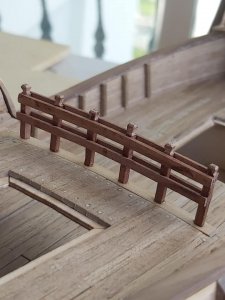
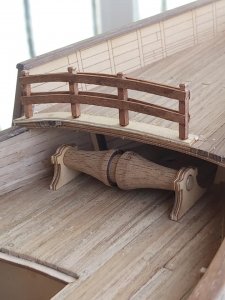
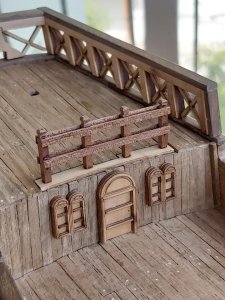
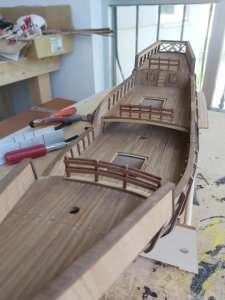
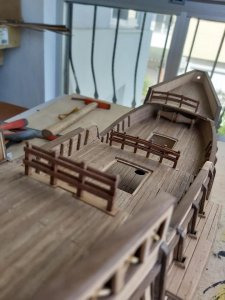

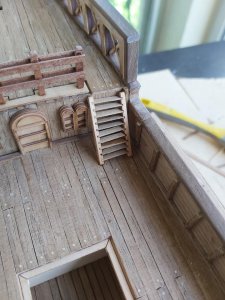
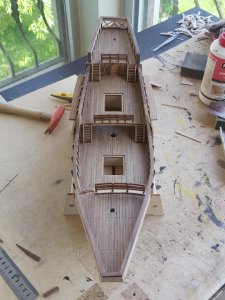
I am sharing what I have done so far without text. By the way I am modifying the kit trying not to use some metal cast object and making them from wood as much as possible.


