• Win a Free Custom Engraved Brass Coin!!!
    As a way to introduce our brass coins to the community, we will raffle off a free coin during the month of August. Follow link ABOVE for instructions for entering.

Santa Maria

Joined
Feb 27, 2016
Messages
1,101
Points
383

I have been doing some reading on The Age of Discovery, particularly the voyages of Spain (who went West for gold and silver) and Portugal (who went East for spices). Incredible voyages of sailing into the unknown with quite primitive equipment, no maps, no idea where you might end up and a very good chance that you would not be coming back.
This moved me to build a ship of that period and I have settled on the Santa Maria, not specifically because of Columbus, but that it is very similar to illustrations in manuscripts and on numerous maps of the time.
I settled on the Mamoli version -

20250812_143945.jpg

Let's have a look in the box -20250812_105115.jpg

20250812_105210.jpg

20250812_105210.jpg

20250812_105305.jpg

Metal parts, including a couple of tender boats; that should be interesting. The cordage looks quite good quality and sail cloth is included, together with a template plan.

20250812_105332.jpg

Strip and dowels also look to be good quality -

20250812_105355.jpg

I have spent a couple of days with the instructions and plans. Instructions are not too bad (English could be better, but so could my Italian), but with errors when referencing the drawings. The drawings could be better and show parts not referenced in the instructions and with no dimensions.
I think we are on our own voyage of discovery with this one, but I am sure things will become clearer as we progress and I get into the mind of the designer - famous last words, no doubt.

Let's get cracking. All hull parts cut out, laser cutting is good with minimal retaining tabs to cut through -

20250812_131051.jpg

First job is the keel. I placed the plywood former on some paper, marked the outline with a pencil and then rubbed candle wax on that line. This stops the glue (I use CA) leeching through and sticking to the paper -

20250812_135711.jpg

Front former (marked 20) fixed in place. This needs chamfering to take the lay of the planks so I did this before gluing it on as that's much easier than trying to carve it in place -

20250812_143415.jpg
 
Time to add the frames. I like to bolt a couple of L brackets to the frame to keep it upright until I need the keel clamp -

20250813_112927.jpg

First problem of the day. Frame 16 (transom) should have been fitted before the sternpost was glued on, but that's not what the instructions and plans say -

20250813_115822.jpg

I think the construction method has been simplified, but the plans and instructions not updated because they talk about a separate 5 x 15mm strip being glued on the back of frame 16. Simple solution is to cut the sternpost and glue it back.

20250813_132506.jpg

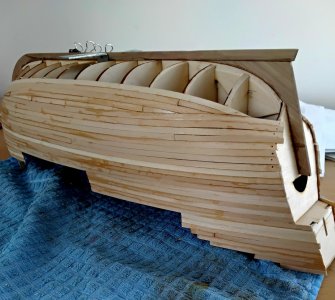
Dry fit of the frames and two longitudinal braces -

20250813_114435.jpg

Off we go. Duplo bricks are handy -

20250813_122740.jpg

Halfway along and I trialled a fit of the longitudinal braces. This was a no-go because the holes in the frames are tight up against the keel former and the two formers to accommodate frames 1 to 4 did not allow me to get it in.

20250813_143119.jpg

Solution - cut the longitudinal braces in half at the mast hole, slide on the remaining frames and drop into position. From here I had to eyeball for square, but it turned out okay.

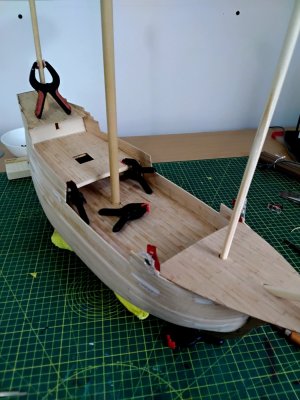
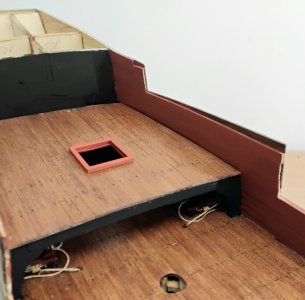
Next is the false deck and I know from experience that this will need some fettling. Plus, there is a beak on frame 10 to accommodate a deck beam and this inhibits dropping it in easily. I cut it in half and worked both halves separately -

20250813_163358.jpg

Something of a problem solving day!
 
Back
Top