• Win a Free Custom Engraved Brass Coin!!!
    As a way to introduce our brass coins to the community, we will raffle off a free coin during the month of August. Follow link ABOVE for instructions for entering.

Santa Maria

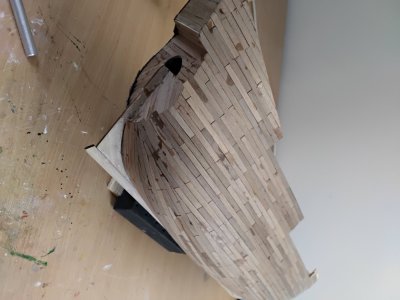
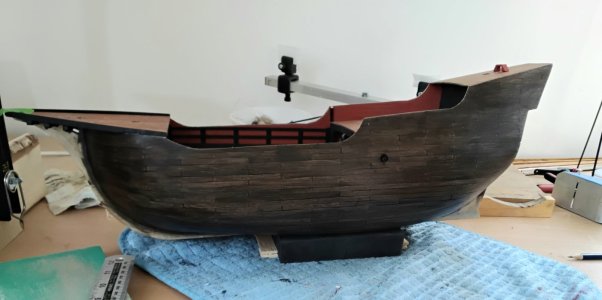
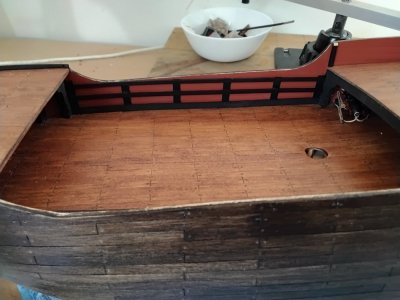
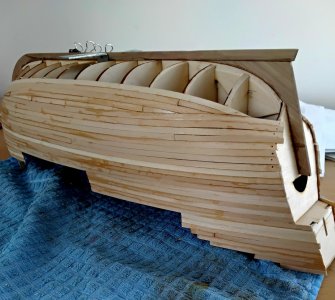
Cracking on with the first planking. This is as far as I will go for now as the base bracket I fitted is pretty solid, so I will now turn it over and work on the decks to get them shaped and sanded -
20250908_124422.jpg

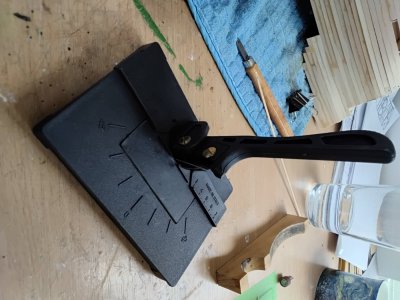
Still a while until Santa comes, so I got myself a plank cutter. I usually use a small chisel, but a hand injury makes this sometimes difficult.
20250902_145223.jpg

It's an Amati bit of kit but there were a couple of problems with it -
1. The inset base was set too far back with no adjustment available, so cutting short lengths was impossible to get square. I sanded the front edge to pull it forward, scrapped the securing screws underneath and the glued it in place.
2. The handle is somewhat wobbly with too much lateral movement. This was addressed by adding large washers to the pivot bolt.
It cuts square now, but is several degrees off compared to the guide marks moulded on the base.
I am happy with it now and it cuts well, but it could have been a lot better out of the box. Maybe I just got a bad one.
 
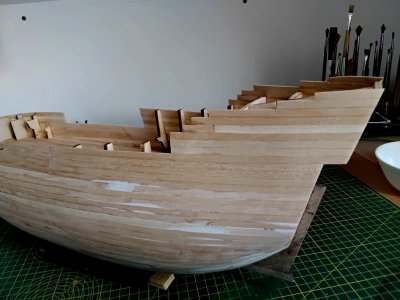
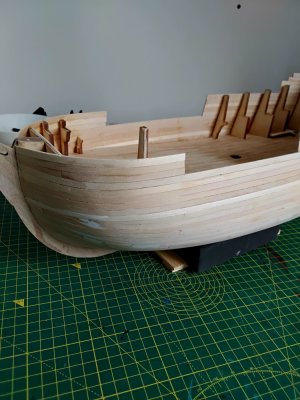
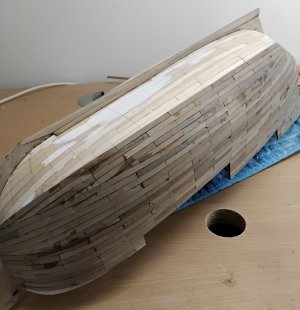
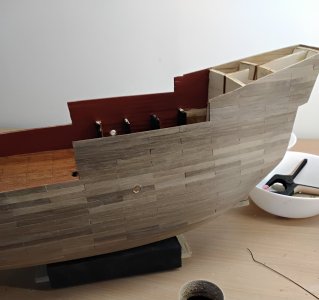
First planking finished, a bit of filler required in odd places -

20250917_103043.jpg


20250917_103016.jpg

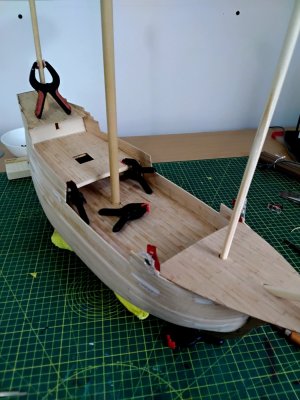
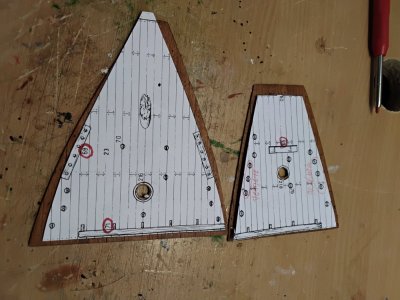
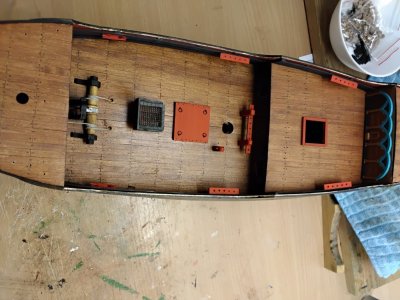
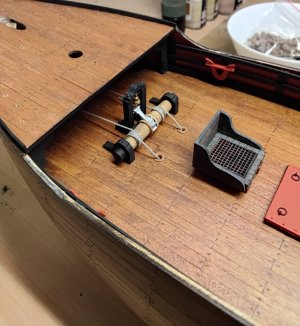
After a bit of fettling a dry fit of the decks and masts. All frame tops now snapped off -

20250920_141210.jpg

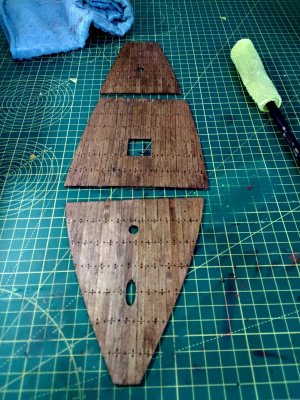
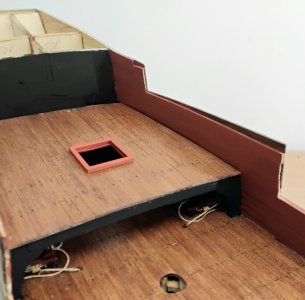
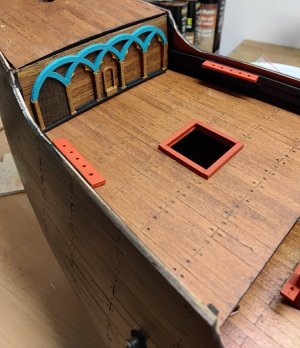
Decks stained -

20250920_150248.jpg

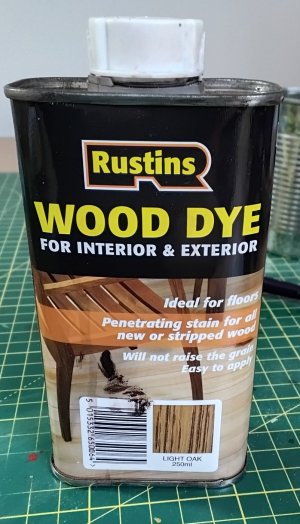
I used an oil based stain -

20250920_150306.jpg
 
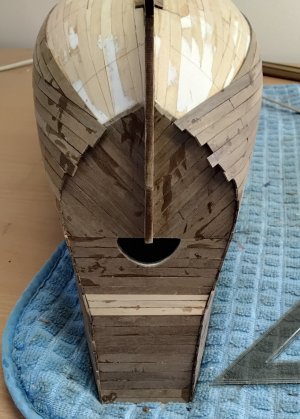
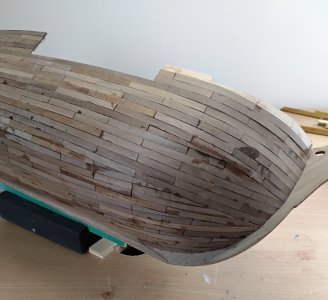
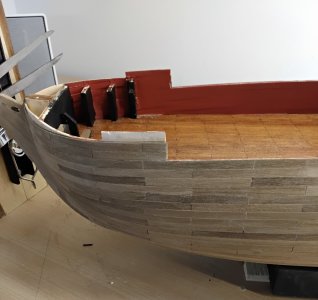
Second planking finished. Given the size of the model and the depth of the hull this has been a bit of a long haul.

20251025_134541.jpg

20251025_134554.jpg
 
Hi Graham,
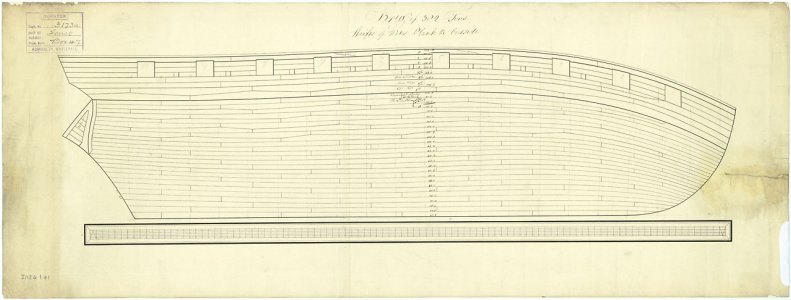
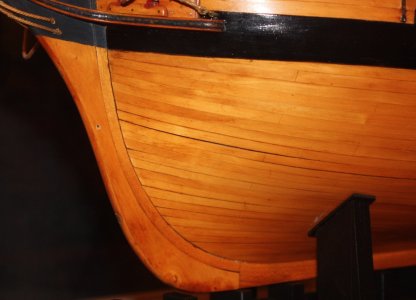
For the future, planking never ended in a point short of the rabbet. Even if a drop strake was needed, it has a stubbed end joggled into the adjacent strake. The planks are tapered in breadth in order to achieve this. Many kit makers use the style you show for some reason even though it is completely wrong and was never done like this on a real ship. Look at any contemporary planking expansion drawing and you will see none of them show planking like your kit instructs. Also check out some photos of contemporary models on the RMG Collections site for helpful information on how the strakes ended at the rabbet.
Allan

Examples of planking expansion drawings

1761403184399.jpeg
1761403003812.jpeg
Contemporary model showing planking at the bow with a drop strake.
1761403326035.jpeg
 
Hi Graham,
For the future, planking never ended in a point short of the rabbet. Even if a drop strake was needed, it has a stubbed end joggled into the adjacent strake. The planks are tapered in breadth in order to achieve this. Many kit makers use the style you show for some reason even though it is completely wrong and was never done like this on a real ship. Look at any contemporary planking expansion drawing and you will see none of them show planking like your kit instructs. Also check out some photos of contemporary models on the RMG Collections site for helpful information on how the strakes ended at the rabbet.
Allan

Examples of planking expansion drawings

View attachment 552690
View attachment 552689
Contemporary model showing planking at the bow with a drop strake.
View attachment 552692

Thank you, I know that perfectly well from other excellent build logs on this site but chose to go my own way. 'For the future' if there is anything else I might do in this log which piques your ire I humbly apologise in advance. Regards.
 
'For the future' if there is anything else I might do in this log which piques your ire I humbly apologise in advance. Regards.
Hi
No ire on my end and absolutely no apologies needed, it is your build. :) Just thought you might be interested and it might be helpful if you were unaware.
Allan
 
Back
Top