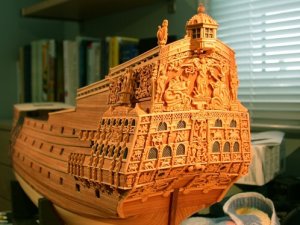
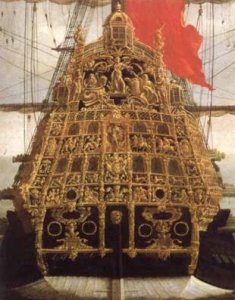
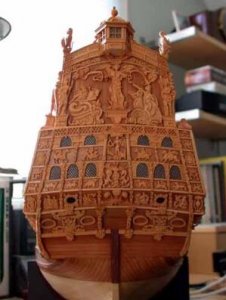
Sovereign of The Seas 1637 - Heavily modified Mantua kit

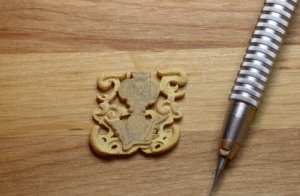
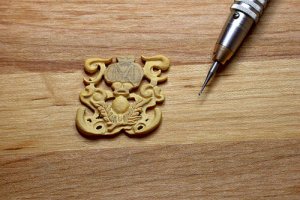
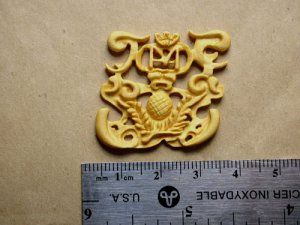
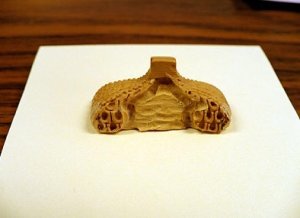
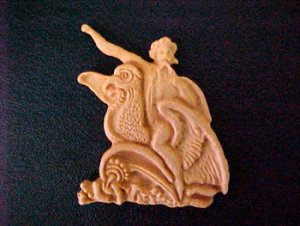
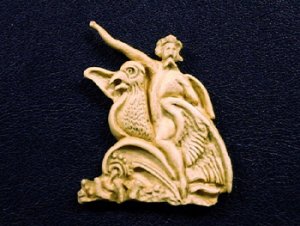
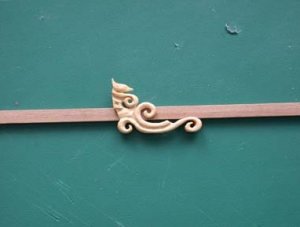
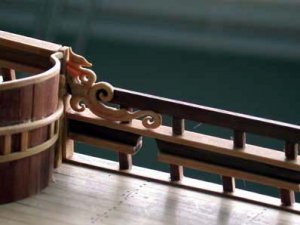
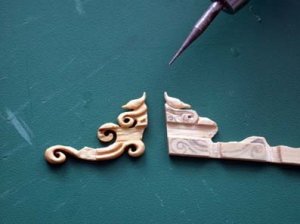
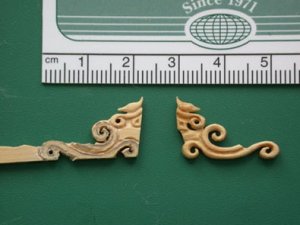
The middle carving on the port side was just as ornate and contained the initials HM for Henrietta Maria, the Queen of Spain who was Charles I wife. The HM are on top of each other .

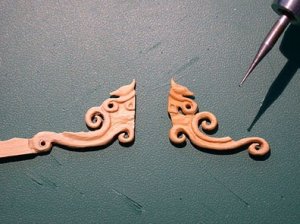
Carving in progress in the next three photos.

FC95C263-7CD3-4662-A89D-9B2A2DDF6A52.jpeg

EAD0FA8E-9251-40CD-9949-67260ED23863.jpeg

E69AF316-E8F7-4FE9-A6C4-416D2757E3C2.jpeg

Mounted on the hull..........

6E298BCF-1B50-4958-8130-437C4E15CEFF.jpeg

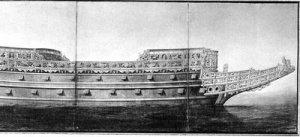
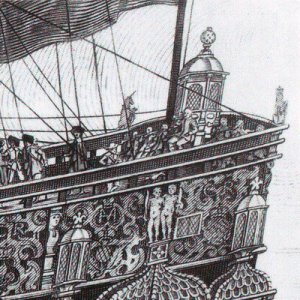
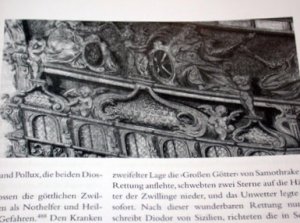
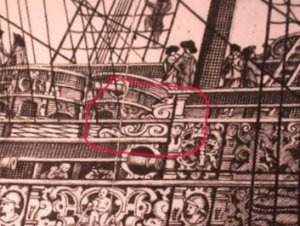
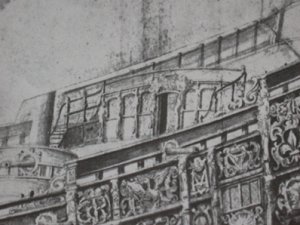
The ornamentation on the port gallery as seen on the Payne engraving.

4640CB8D-A691-4E77-A3C7-4FB0392D3089.jpeg


More to follow.........
Bill
 
Last edited:
I will now return to the final stages of the stern lantern showing the progress of carving the cupola.

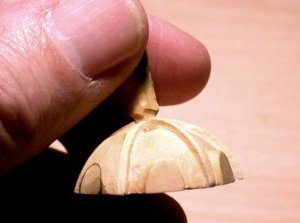
The cupola in progress...

906D0167-0F05-4C21-8103-86E125AA39CB.jpeg

Tiny balls carved from the solid in rows with the beginnings of the arched window frames..

0D003723-DEE2-4B26-995A-F89D455B6671.jpeg

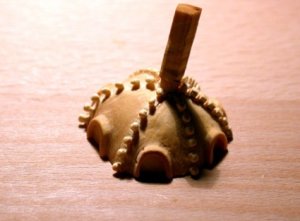
The 'in progress' carving mounted on top of the lantern.

4A91ED18-07C6-4E80-8BB1-B243860AD921.jpeg

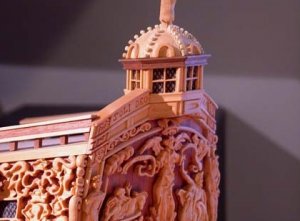
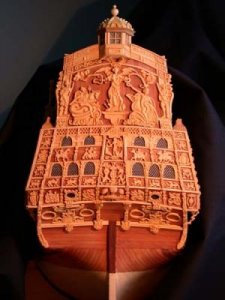
The finished state of the stern at this point in the build with the lantern finally in place.

BC54F8DC-8849-49D8-A70D-FCD18AB268D3.jpeg

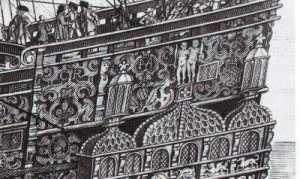
The lantern as seen on the Payne engraving.

2D78F685-9ECA-4FCE-8206-7A98973BB15C.jpeg

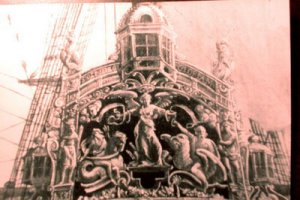
The Lantern on the Lely portrait.

F9C45157-2302-4C6B-8985-EB8539A2961E.jpeg

More to follow.......
Bill
 
Last edited:
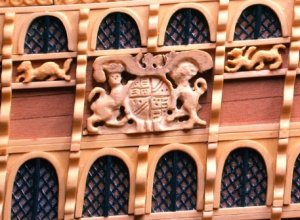
The next carving was a Coat of Arms that is situated on the gallery amongst mythical creatures. A delicate little carving indeed.

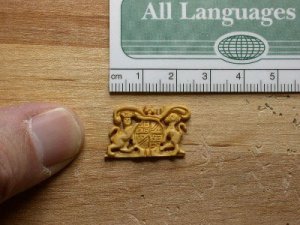
The Coat of arms in progress and temporarily mounted on the gallery.

5958E4CC-00A6-4343-9686-4DD2A846BC51.jpeg

The finished Coat of Arms.

F0290D10-C0AF-4C75-AE58-28AB33978100.jpeg

More to follow.......
Bill
 
Last edited:
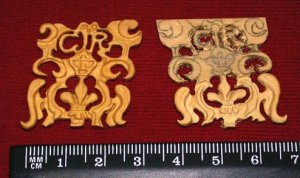
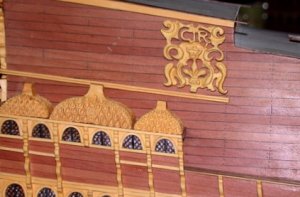
Not to neglect the starboard side, I was also carving reverse image carvings of the CR and HM carvings for that area.

The two reverse image carvings side by side.
97E089D6-641A-47C3-BC7E-89CF600D1D9A.jpeg

The first CR carving in place on the starboard gallery.
46F692A9-00FA-4A38-8E3D-F08E501714FA.jpeg

The starboard side HM carving in progress.
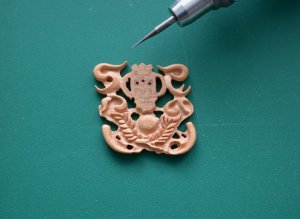
55750879-FE1B-4629-AB8F-F73B2400BC9C.jpeg

It was right about then that friend and modeller Greg Herbert contacted me and made me aware of a booklet that he had come across called Ship Models which was essentially a guide to the ship model exhibition in the Museum of Fine Arts Boston. In that booklet was a photo of a painting of the Soveraigne, England 1737, painting on vellum by Peter Pett; ca, 1637 signed by Sir Phineas Pett, and built by his son, Peter, at Woolich in 1637.

The sculptures shown on this depiction of The Sovereign were entirely different than the Payne engraving and the Van de Velde sketch. A dilemma indeed. After consulting with Lars Bruzelius at the University of Upsala, he noted that there was a reference in States Papers where indeed, Peter Pett had presented a painting to King Charles I for approval and Charles had asked for changes to the ornamentation on the gallery area, those changes which are reflected in the Payne and Van de Velde drawings.

*************************************************************

States Papers Domestic Vol. 350, No 70 [PRO]

"Alsoe the three figures in the upper strakes to be altered into a badge of Carved worke answerable to the other strake that runneth faire with it, and to be guilt answerable to the rest."

*************************************************************

It can then perhaps be said that this representation of the Starboard side was "as presented" to Charles I for approval by Peter Pett, and the Payne engraving and the Van de Velde sketch were "as built".

Now I had a big decision to make as I was tempted to change the starboard side and follow the painting on vellum attributed to Peter Pett.

The Peter Pett painting at the Museum of Fine Arts Boston.
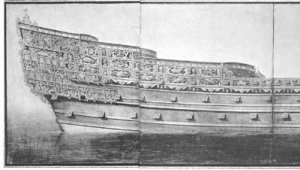
685EF863-573F-40B6-9369-8801B3E27A51.jpeg2204C7D0-BB80-4CCF-8410-B9BEE2BF7CDD.jpeg

The gallery section up close showing remarkably different Cupolas.
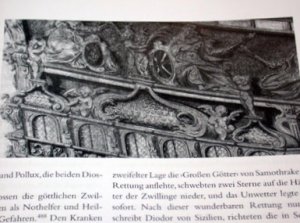
A077B3F1-C13B-4D4B-8629-B34F3EF1CA7B.jpeg

More to follow.........
Bill
 
Last edited:
The discovery of the starboard view of the Sovereign stopped me in my tracks. It was an opportunity to either continue to duplicate the port side sculptures on the starboard side or to scrap the starboard carvings and start afresh with a view to representing the starboard side "as presented to Charles I by Peter Pett". On the old MSW site, I started a poll of the members to see what they thought and after a couple of weeks the verdict was 60% to build it "as presented" and 40% for "as built". This rather confirmed what I was strongly leaning towards and I decided to scrap the carvings and start over on the port side.

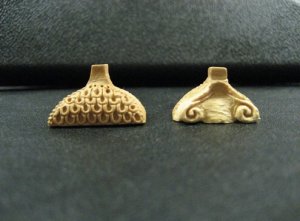
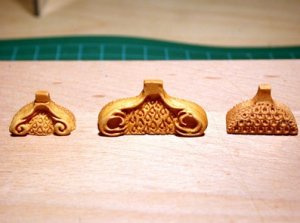
The first area I tackled were the cupolas. I thought there might be a chance of modifying them to suit and so I started the process.

A reminder of what the cupolas were hopefully going to look like.

3ECBC2D8-22FA-4EC5-AA98-3B9E431F5F84.jpeg

The first small cupola under revision....

B1D1B4CF-E552-46C6-B5BE-FC5600E00490.jpeg

The same cupola further along in the process..

A00D991B-813D-4639-BF3B-B91EA7D8E5B6.jpeg

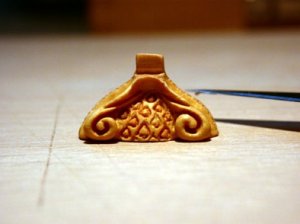
The middle cupola under way.......

18768AD8-3E39-4614-A366-9D9298DA1D24.jpeg

Two of the three modified.....

66911F1F-4CB8-4762-85A5-34FE5F61A909.jpeg


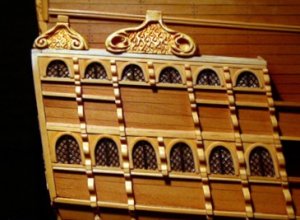
Two of them in place on the gallery.......

FF730C07-36FE-4D97-B481-D6FA15ED3E9D.jpeg

More to follow..............

Bill
 
Last edited:
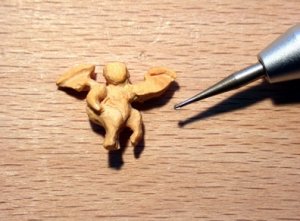
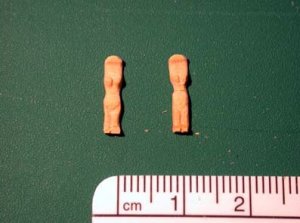
The next carving was a small cherub that was to stand in between the cupolas. A carving in the round that involved a pair of wings as well.

The Cherub in progress..........

BCD7A98C-6E76-43B0-B78F-33A5A4257E39.jpeg

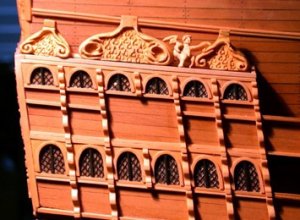
The cherub in place between the cupolas.....

F1591038-4AA0-4708-9F92-9A83E26F40A3.jpeg

Comments are welcome and appreciated.

More to follow..........
Bill
 
Last edited:
GaryM said:
Do you have any idea of the hours you spent doing this model?

To date about 1500 hours is my guess although you have not seen all the work yet as I have only posted about one half the build. I am currently working on the beakhead bulkhead and carving all the ornamentation that is there. Thanks for visiting my build and commenting. I will post more tomorrow.

Regards,
Bill
 
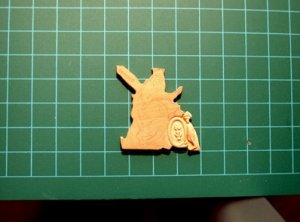
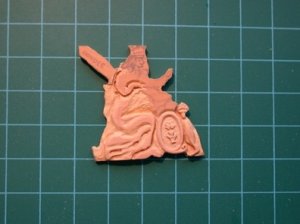
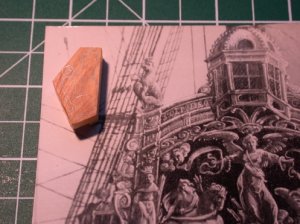
The first carving above the cupolas is a lady in a robe with a shield at her feet.

The carving in the rough....

9A553766-39F9-49BD-9846-3FA257249292.jpeg

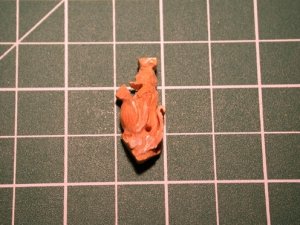
Further progress on the robed lady....

F10A0831-CBA5-4244-80FC-39209F368BFD.jpeg

The shield area nearing completion.....

1241E10A-F141-4EDA-9127-39983D310689.jpeg

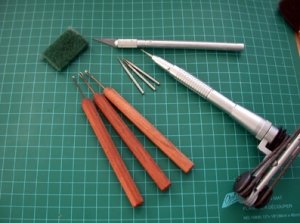
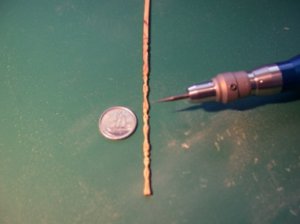
Tools used to carve the lady included the dental drill and several ball end burs, small chisels and carving tools, a #10 xacto blade and a green Scotch-brite pad.

297D74EB-BBA7-437B-AD8A-784EF1B2FA6F.jpeg

More to follow.......
 
Last edited:
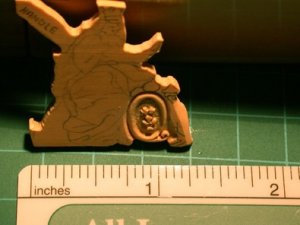
The next carving was of a lion with a shield that sits on the edge of the rail on the port side of the stern.

This photo shows the rough outline of this carving in the round shown against the Lely portrait version.

3CEA98F3-3DD6-4121-91B5-D6D587CC3F9E.jpeg

The start of the carving........

CDD1E5F2-21A2-406D-B87C-AC785E0B9516.jpeg

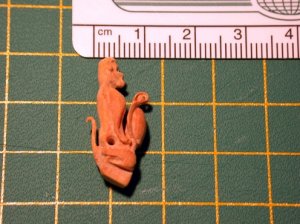
A more refined carving is taking shape........

CC53BAD69-7960-4A2B-86BE-578438289894.jpeg

The finished carving mounted on the stern rail.

F28C70F1-7F45-49C7-A989-2E94A3E6B465.jpeg

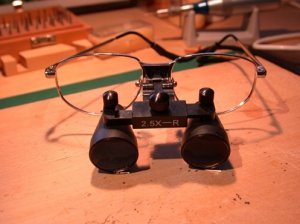
In order to carve the tiny detail of the less than 1 mm thick tail, I used a pair of dental loupes shown in the next photo. They are at 2.5X magnification and allow me to work at about 13" from the work.

D37C780F-9FA5-43A2-B3AC-D33080DAEDB8.jpeg

More to follow.......
 
Last edited:
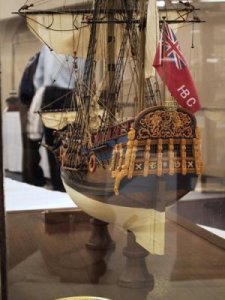
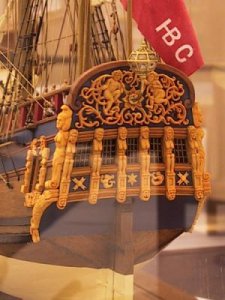
As you have realized by now, the reposting of my build is a time compression of the build that has taken place over a number of years. It is sometimes hard for me to follow the exact progression but for the most part I think it is close to what actually happened. Over those years, I traveled to model shows and conferences and sought out people who I could learn from and who might also critique my carvings. One example of this which stands out in my mind was a visit to the SMA Ship Modeling Conference in Los Angeles. I met a modeler, Jean Eckert from Los Altos California who was exhibiting a beautiful model of The Nonsuch. Jean won the gold medal at the 2000 Mariner's Museum Ship Modeling Conference in Newport News Virginia for her beautiful model. The boxwood carvings on this model were simply exquisite!

Jean's beautiful Nonsuch model photographed through a glass case at the SMA Conference.

8CB59300-F107-40C2-8080-770FA6C31D96.jpeg

79B86929-2550-4BA7-90BD-CC5518AAE1DC.jpeg

Jean was kind enough to sit down with me over a coffee and look at carvings that I had taken to LA. She was most kind and considerate in her criticism. She advised me to pay more attention to undercutting aspects of the sculpture to create depth with shadows. When I returned to Canada, I reworked the Aeolus carving adding undercutting and want to show you what a difference this technique can make on a carving. The following two photos show the before and after results.


Before undercutting

7F6D894B-8FAF-4C9C-B48A-B439DB502609.jpeg

After undercutting

F7EB86F5-CE89-4F2E-994D-E4679FF29D00.jpeg

I am sure that despite the different colour of the wood due to lighting conditions when photographed, you can clearly see the difference the undercuts made in shadows cast by the light. The carving changed dramatically.

I am indebted to Jean Eckert and many others that have assisted me over the years in improving my skills as a modeler.

More to follow......................

Regards,
Bill
 
Last edited:
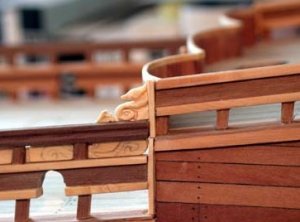
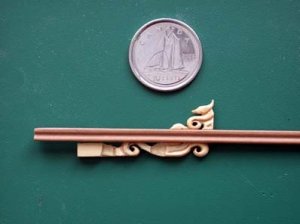
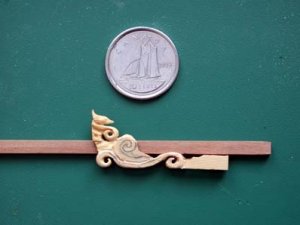
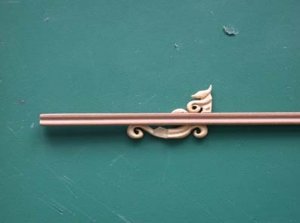
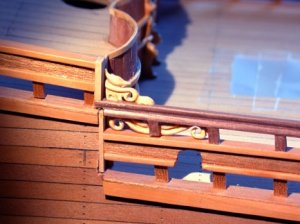
The hance of the waste at the next deck level required a carving that not only transitioned the two decks, but was imbedded in the rail. The following is a section of the Payne engraving showing this carving.

502592A9-E205-4981-BD50-14B42F164964.jpeg

The next series of photos show the carving in progress and finally mountedAC963A9E-BFB5-41D7-A2A4-F2E74E530B84.jpeg

B431ED1C-30EA-4A04-B769-5920F302B637.jpeg

8346DB0F-DEF4-4C35-B1CB-40E4483348D5.jpeg

8346DB0F-DEF4-4C35-B1CB-40E4483348D5.jpeg

FB8A2319-2610-480A-B7BF-1CDA267C805E.jpeg

862E1887-D72A-4542-99A0-85529FECFAEF.jpeg

93B85FBF-DDDB-4A09-BA23-22E08EC64893.jpeg
E2E75997-779F-44EA-91C5-F1CCD8E19058.jpeg


This was a tricky fit and now I had to carve the mirror image for the starboard side. Note the dolphin at the top of the carving.

More to follow..........................

Bill
 
Last edited:
The starboard mirror image of the imbedded hance carving was next. The next photo shows the carving underway.

47CE4704-0E70-432D-AD89-1DB158F3CCF4.jpeg

With the port carving and to show the scale of the carvings.......

E32C1DA0-9A76-4C64-B2F0-3433549861D5.jpeg

More progress.........

29F87684-0407-4228-B0FB-4D0073623873.jpeg

The finished carving installed on the railing between the decks.

EDCD3BBE-1BC4-48BC-98DF-7F29B0ABA755.jpeg

More to follow........
 
Last edited:
GaryM said:
What a difference that makes. Had to see it to really understand what undercutting would do. Simple but very cleaver.

Hi Gary,

The result of undercutting allows light hitting the carving to produce shadows and increases the illusion of depth when viewed. It really does make a difference. I undercut all my bas relief carvings so they appear to be raised from the hull when the light hits them.

Regards,
Bill
 
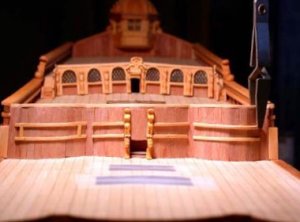
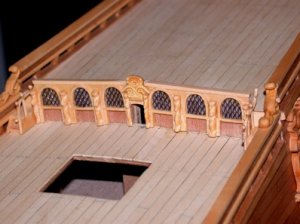
I now began to fill in the bulkhead between the Poop and upper gundecks. After planking it in Swiss Pear and capping the rail with boxwood, the ornamentation was to follow.

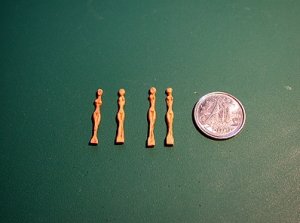
Caryatids for the bulkhead.

A71072C7-05FA-4C4D-931B-A5AA99F49101.jpeg

Assembling and gluing boxwood trim pieces.

CBCB9FE0-C361-4DE4-876A-A9878C8A4CC3.jpeg

Carving large caryatids on a strip of boxwood

11747F96-3C89-4134-9D90-2AA1941E77CE.jpeg

The caryatids separated from the strip.

524CF7CD-1BE5-4604-8433-4326DC2229C0.jpeg

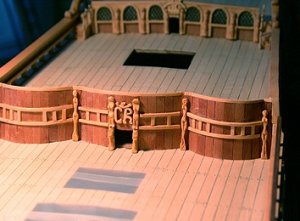
Caryatids mounted on the bulkhead.

3468D5E4-2C69-46EC-9A63-85793176EC03.jpeg

More to follow........
 
Last edited:
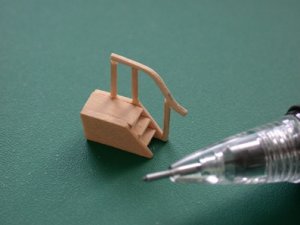
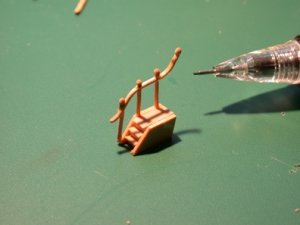
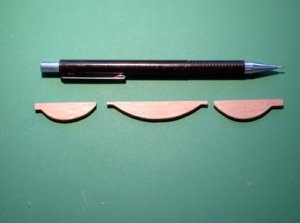
The staircases shown on the Van de Velde sketch were next and I used boxwood for the construction.

The following picture shows a portion of the Van de Velde sketch with the staircases between the upper gun deck and the poop deck.

09A1DCAB-4D8A-400E-8892-0A47EF52BD29.jpeg

The starboard staircase in construction beside the tip of my mechanical pencil.

1BDADB53-46C8-4947-8CFF-221D532163CE.jpeg

The port staircase showing handrail with tiny balls installed.

BC28DB3F-715A-4DC0-B013-FD834FBB8192.jpeg

The staircases installed on the deck.

8A2E1398-B76B-4CC5-9648-4E6EB773393D.jpeg

More to follow.........
 
Last edited:
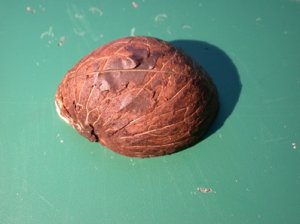
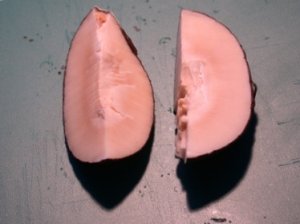
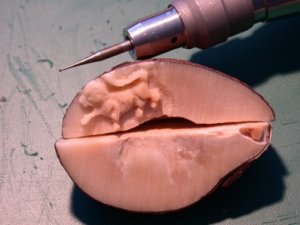
There are other materials to carve with and one of those that is very close to Ivory is Tagua Nut. It is a Brown coloured nut and when cut in pieces and the centre removed, the remaining part of the nut us very hard and Ivory coloured.

The Tagua Nut from the outside.

E5720097-A964-401D-A464-CB2CB9F1029B.jpeg

Cut in quarters with the centre removed...

A4C13E94-2E5E-4D52-92A3-ACBBE7D4CCCD.jpeg

A carving of a lion in the flesh of the nut.

F3A2DEDD-AE33-4A10-BEA2-D721AE56E09F.jpeg

More to follow.........
Bill
 
Last edited:
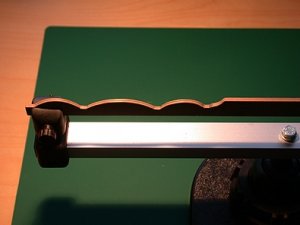
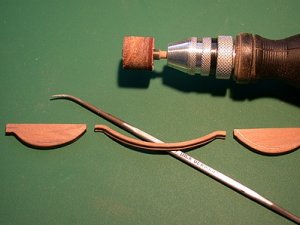
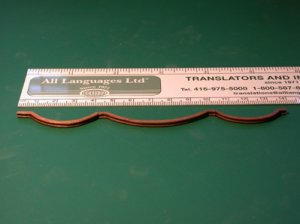
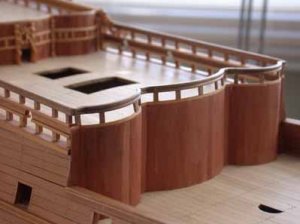
After planking the bulkhead between the upper and lower gun decks, I needed to fashion a curved rail with a profile cut into the leading edge of the rail. As the rail has three distinctive and rather tight curves along its length, I decided to make it from a solid piece of Mansonia and cut out the curves. with the jigsaw and other tools.

The first photo shows the piece with the curves on the front side of the rail cut out. It is mounted in my keel clamp with the profile scraped into the leading edge with a straight edge razor blade.

0DFF0A0D-FDDF-43F9-8DF0-26F43668EC51.jpeg


As the rail does not follow a straight line from port to starboard, I cut it in three sections as shown.

2F6492A4-EE9A-4CFE-8825-B39240FB29B6.jpeg


I used a rotary tool with a drum sander attachment to remove the wood from the rear side of the curves.

7D9F8DF1-77C2-4015-A704-22F96EB5FF81.jpeg

All these pieces are now complete and ready for mounting on the model.


5982BC6E-044E-4C99-8941-16861FC0A872.jpeg
The railing mounted on the top of the bulkhead.
A92399D3-48D6-434E-8A57-B6A30A008587.jpeg

More to follow.......
All comments gratefully received.
Bill
 
Last edited:
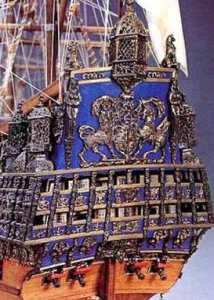
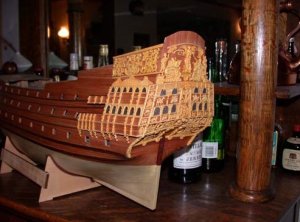
It might be interesting to see the comparisons of the Mantua - Sergal stern, The Sir Peter Lely stern in his painting and my stern The following pictures show the differences.

The Mantua stern

66B07231-D010-4B6B-8EBA-0EF293190739.jpeg

The Sir Peter Lely Portrait

36BDDB3B-4360-47C5-A721-C27E19A591D7.jpeg

My stern

8A6586EB-7F0E-4F6A-B5F7-9EB95A7D8B7E.jpeg


It appears that Mantua copied the stern from the model in Greenwich at the National Maritime Museum.

More to follow.........

Bill
 
Last edited:
Back
Top