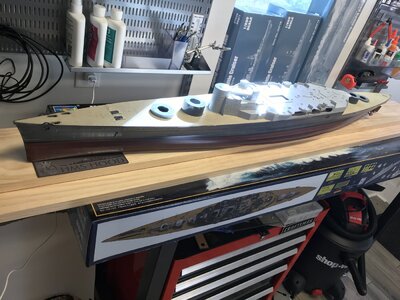
Hello again. I have spent the last two years working on Trumpeter’s massive HMS HOOD in 1/200 scale. She’s still not done, but getting close. These photos show the beginning and initial painting…. The ship is massive and as the build has been slow, new research has come to light in the process.
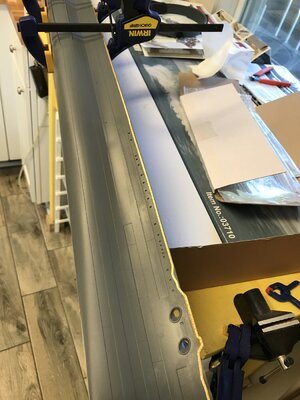
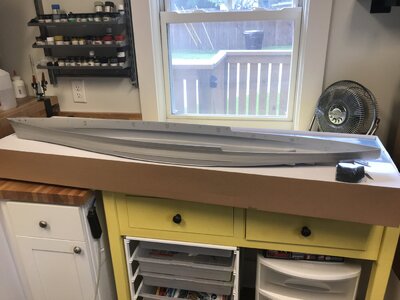
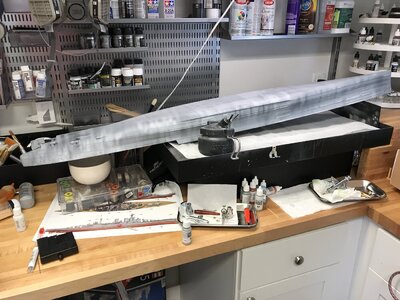
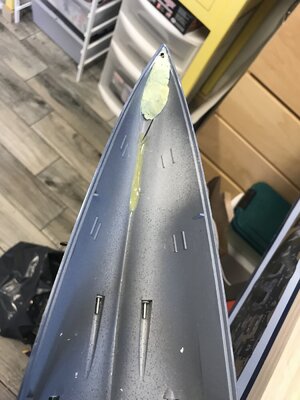
To start, I washed everything and prepared the hull for painting. There were some mold seams to clean up, but nothing major. Clearly, I need a bigger spray booth. The primer was a rattle can and I simply went outside, but I wanted to do a little pre shading and then the Home Fleet Dark gray comes through my airbrush. The photos are a bit out of order… prior to painting I added a photo etch degaussing cable.
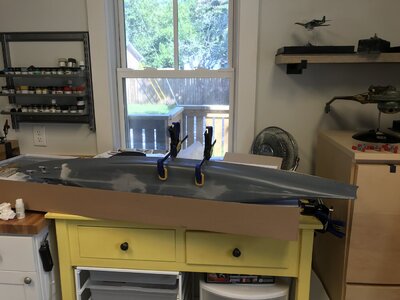
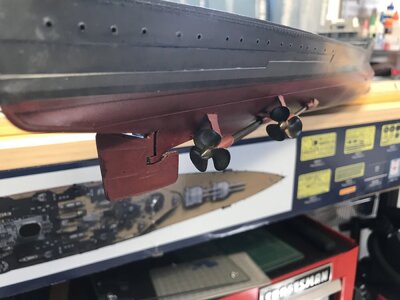
With the initial painting of the dark gray and bottom paint, I got a few things wrong - the boot top is entirely too thin and I had to fix this later. The bottom paint has since been determined by researchers in the UK to have almost certainly been a gray color and not red. At the time I started this information wasn’t yet known. I also fixed this later, causing much headache….
When I installed the rudder, I put it approximately 20 degrees to port, which is how it rests today on the ocean floor, in the position of the final helm command before her destruction. I used some wire as a rudder post along with two part epoxy to fix it in place inside the hull. The hawsepipe in the stern had to be added, as well.
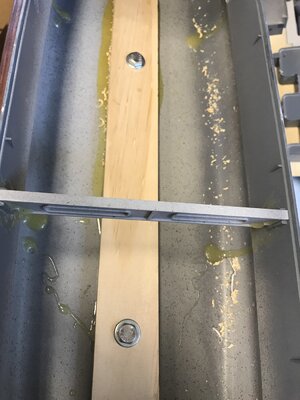
You can see in the images the degaussing cables, reinforcement for the mounting bolts in the bottom, the “rudder post,“ and also the filling in the stern with milliput to drill out the hawsepipe in the stern.


