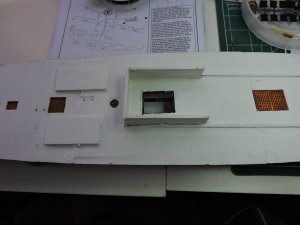
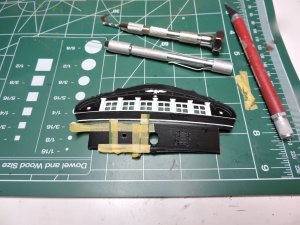
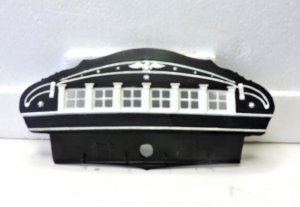
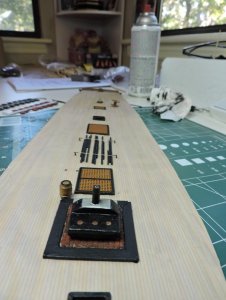
A little over one year now with this kit. I've taken the liberty to add a few things such as a stove, opened up a gun deck hatch and added storage items and also installed a LED lighting kit with dimmer switch. I'm currently working on the 32 pound guns for lower deck. Here is a pic of the gun deck in early stage. I originally tried to paint the deck but I ordered laser printed wooden deck from ScaleDecks. My wife made my stove and brick flooring out of sculpey. I purchased some barrels and crates to use with my build.
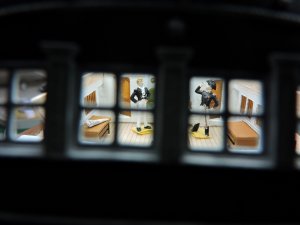
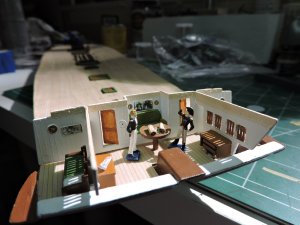
Here is a picture of the officers quarters located at the stern of ship. Many 'thanks' to my wife for printing and reducing my world map on the left wall and the picture of the two of us in our pirate gear (picture in full size) that is above the round table. I added the weathered charts laying on table by coloring some paper with water colors; then drawing a map; crumbled the paper when dried; cut out and rolled into shape and used white glue to attach them to tables.

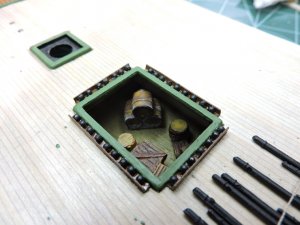
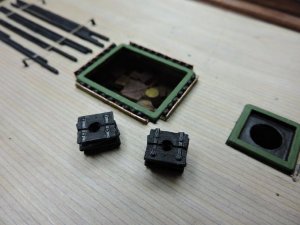
This is the lower hatch that I opened. I realize that the next deck down should be the crew's living quarters, but I used my discretion to show storage below. These were added metal items that I purchased and weathered using acrylic paints. I added them to a faux deck to be glued under the hatch opening. My stacked porthole covers that eventually will be glued down somewhere on the deck. I used my Xacto blade to cut a notch in them to create the split-port covers.
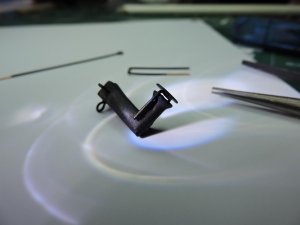
The picture below is my version of the stove vent for the upper deck. I added the smoke baffle by punching out a circle from a styrene sheet. I added the bottom rings for turning of the stove stack.
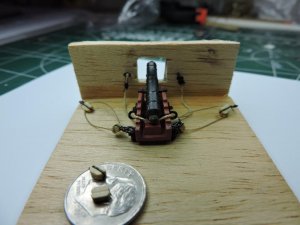
Here is one of my 32 pound guns with it's rigging. All paint used is Testors or Model Master. I try to stay with flats but I also use Dull Coat on any enamels. I'm only rigging the guns that will be visible through the hatches or openings on the gun deck level. I dread the upper deck that awaits!!!
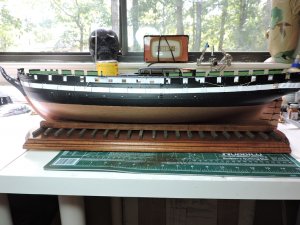
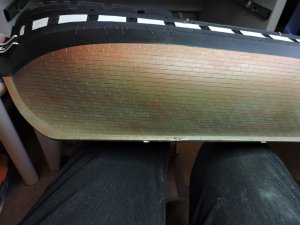
Picture of the hull with green and reddish weathering powders. I then sprayed with dull coat. I also went with a white strip instead of a yellow ochra. After all, I'm captain of this ship
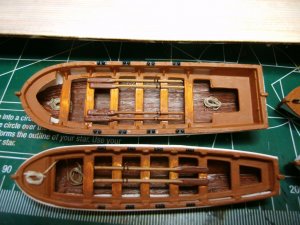
A shot of two of my long boats with coiled ropes that will be installed on top deck.
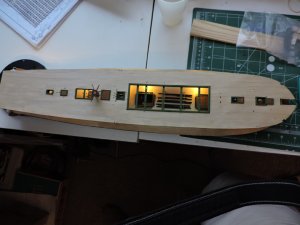
Below is a trial run with the led lights. I used strip led tape and blacked out most of the lights by using black acrylic paint. Lighting has a dimmer switch and is powered by wall connection.
.
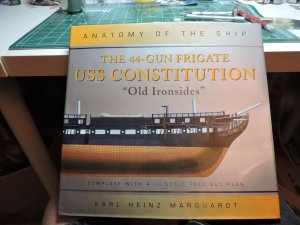
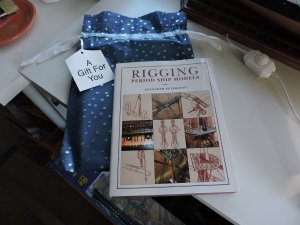
Another good gift from my daughter for future use. She is in California and visited us with our 3 year old grandson. He was totally fascinated with this ship so I made him my 'mate' and let him help me make the rope coils for my longboats! I'll post a picture of this in the near future. I want to thank my daughter, Robin, for her wonderful gifts in reading material. My wife and I introduced her to books very early and it's paid off!!!
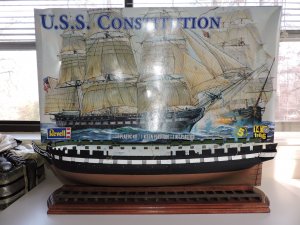
So this is a picture of my hull that I mounted to my wooden base. I found the base at Michael's and stained it. I cut 4" lengths of 1/2" squares and glued them to the base. The wiring for the lights runs from the backside of base and up through one of the mounting columns into the hull. The strip lights are then glued to the underside of the decks.
And once again, I'd like to thank Uwek and Zoltan for turning on 'the lights' when it comes to posting format. !st attempt was pretty brutal. Cheers and here's to our little projects.

Here is a picture of the officers quarters located at the stern of ship. Many 'thanks' to my wife for printing and reducing my world map on the left wall and the picture of the two of us in our pirate gear (picture in full size) that is above the round table. I added the weathered charts laying on table by coloring some paper with water colors; then drawing a map; crumbled the paper when dried; cut out and rolled into shape and used white glue to attach them to tables.


This is the lower hatch that I opened. I realize that the next deck down should be the crew's living quarters, but I used my discretion to show storage below. These were added metal items that I purchased and weathered using acrylic paints. I added them to a faux deck to be glued under the hatch opening. My stacked porthole covers that eventually will be glued down somewhere on the deck. I used my Xacto blade to cut a notch in them to create the split-port covers.

The picture below is my version of the stove vent for the upper deck. I added the smoke baffle by punching out a circle from a styrene sheet. I added the bottom rings for turning of the stove stack.

Here is one of my 32 pound guns with it's rigging. All paint used is Testors or Model Master. I try to stay with flats but I also use Dull Coat on any enamels. I'm only rigging the guns that will be visible through the hatches or openings on the gun deck level. I dread the upper deck that awaits!!!

Picture of the hull with green and reddish weathering powders. I then sprayed with dull coat. I also went with a white strip instead of a yellow ochra. After all, I'm captain of this ship

A shot of two of my long boats with coiled ropes that will be installed on top deck.

Below is a trial run with the led lights. I used strip led tape and blacked out most of the lights by using black acrylic paint. Lighting has a dimmer switch and is powered by wall connection.
.

Another good gift from my daughter for future use. She is in California and visited us with our 3 year old grandson. He was totally fascinated with this ship so I made him my 'mate' and let him help me make the rope coils for my longboats! I'll post a picture of this in the near future. I want to thank my daughter, Robin, for her wonderful gifts in reading material. My wife and I introduced her to books very early and it's paid off!!!

So this is a picture of my hull that I mounted to my wooden base. I found the base at Michael's and stained it. I cut 4" lengths of 1/2" squares and glued them to the base. The wiring for the lights runs from the backside of base and up through one of the mounting columns into the hull. The strip lights are then glued to the underside of the decks.

And once again, I'd like to thank Uwek and Zoltan for turning on 'the lights' when it comes to posting format. !st attempt was pretty brutal. Cheers and here's to our little projects.
Attachments
Last edited:


