
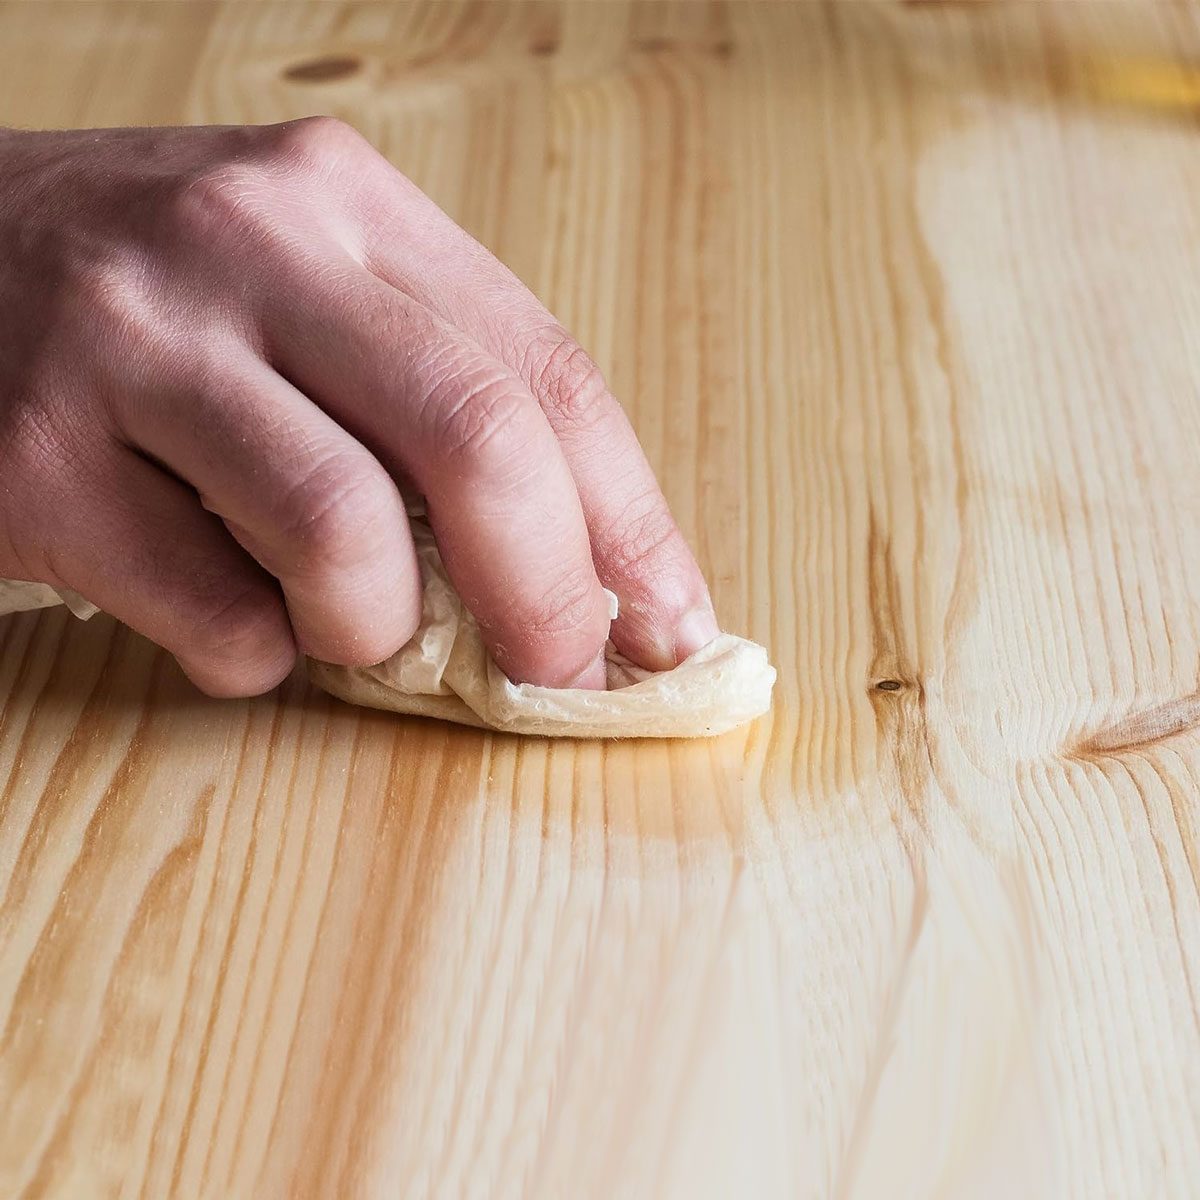
I'm using boiled linseed oil for the first time as a finish on a hull I am building. The planking is walnut. I was wondering if there is any sanding or finishing that needs to be done between coats. It says to let each coat dry 24 hours so I have applied the first coat yesterday and am ready to do the second coat. is any sanding or the like necessary before applying the second and third coat?

-

SUBSCRIBE TO SHIPS IN SCALE TODAY!
The beloved Ships in Scale Magazine is back and charting a new course for 2026!
Discover new skills, new techniques, and new inspirations in every issue.
NOTE THAT OUR NEXT ISSUE WILL BE MARCH/APRIL 2026 -

Win a Free Custom Engraved Brass Coin!!!
As a way to introduce our brass coins to the community, we will raffle off a free coin during the month of August. Follow link ABOVE for instructions for entering.
You are using an out of date browser. It may not display this or other websites correctly.
You should upgrade or use an alternative browser.
You should upgrade or use an alternative browser.
Using Boiled Linseed Oil
- Thread starter KingDaddyo
- Start date
- Watchers 4


I applied the layers on the pear wood of my Bluenose with a cloth, let each layer dry for a few hours, buffed it with a dry cloth and then repeated. I did no sanding anymore after the first layer. Just rubbing with a cloth.I'm using boiled linseed oil for the first time as a finish on a hull I am building. The planking is walnut. I was wondering if there is any sanding or finishing that needs to be done between coats. It says to let each coat dry 24 hours so I have applied the first coat yesterday and am ready to do the second coat. is any sanding or the like necessary before applying the second and third coat?
Regards, Peter
- Joined
- Jun 29, 2024
- Messages
- 1,812
- Points
- 488

I have used boiled linseed oil to finish gunstocks on muzzle loading rifles. I have not used it on ship models.
Linseed oil is the active ingredient used for old time paint finishes. It’s what made the paint dry. It is not fast curing. It may feel dry to the touch but that doesn’t mean that it’s completely cured. Give it plenty of time to dry before rubbing it down and recoating.
Roger
Linseed oil is the active ingredient used for old time paint finishes. It’s what made the paint dry. It is not fast curing. It may feel dry to the touch but that doesn’t mean that it’s completely cured. Give it plenty of time to dry before rubbing it down and recoating.
Roger
- Joined
- Feb 23, 2024
- Messages
- 20
- Points
- 58

Keep in mind BLO naturally oxidizes which turns to a darker reddish brown color with age.
Good to know, I did notice 24 hours was not enough to completely dry it. Any suggestion on how to speed drying up other than passage of time?
- Joined
- Jun 29, 2024
- Messages
- 1,812
- Points
- 488
Japan Dryer is added to linseed oil to make it cure faster. Look for it at paint stores.
Thank you!!
Working on the ribs and stringers right now. Have found my Starrett micrometer and my i-Gauging inside diameter feelers are coming in handy to fit cut and fit the smaller pieces. Forgive the dust on the hull as I haven't cleaned it off while I'm working on the ribs. Wiped off the last application of linseed oil and will reappply after I get my Japan Dryer to mix with it. This is going slowly as I'm having to adjust more to my hand shake as I work. I'm going to talk to doctor about if he can help with this so I can continue to build!!


OK, progress being made. I've got all shutters in place. For those of you who are imagining that I planked over the forward lower deck instead of putting the grating in, you're imaging things... OK, I did slip up there but caught it and made a correction. The advantages of working in wood! I also put in the anti-slip strips, and the finished the ribs and stringers. I also installed the infill blocks between the ribs at deck level. Next, after the current coat of linseed oil dries toughly, I'll have to drill pilot holes where the ribs and stringers cross and then cutoff some small brass brad nails to install. I think I don't have any nails short enough and still the right size that would work and not go thru the hull so I'll cut them off and install them. After that I need to cut and shape rubbing strakes along each side of the hull.


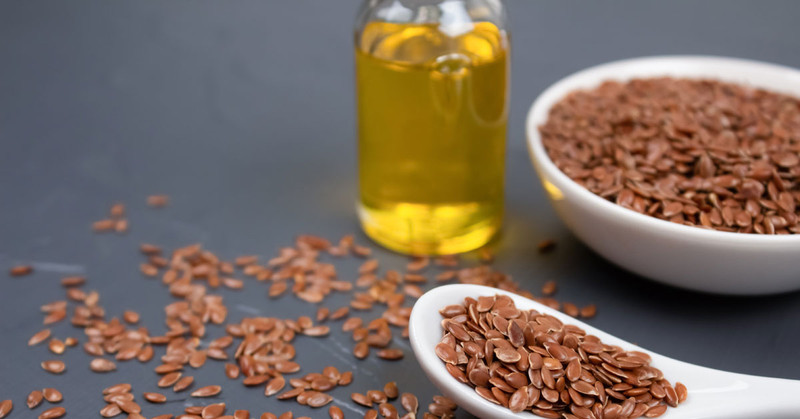
some interesting reading on linseed oil...
 www.familyhandyman.com

 vermontwoodsstudios.com
 linseedpaint.com
Finish Wood With Oil: How To Choose the Right One
Most wood oils are blends of tung and linseed oil. Formulations differ by brand, and the best choice is usually the one with the best reviews.
www.familyhandyman.com
Raw vs Boiled vs Polymerized Linseed Oil
Learn the differences between raw, boiled, and polymerized linseed oil for wood furniture. Explore drying times, safety, and how each finish enhances natural wood grain.
vermontwoodsstudios.com
The Many Types of Linseed Oil - Brouns & Co
Linseed Oil is a fantastically versatile product. It has a huge range of applications, from use in DIY, to health food supplementation to playing a role in the making of linoleum flooring.
All good reading!! Thank you! I have some Japan dry on the way. Right now it looks like my drying time between coats will be 5 to 7 days based on the temps and humidity in my work shop so I’m anxious to try it. I have calculated out a mix for 2 ounces of linseed oil at a time with 3.8ML of Japan Dry so I don’t introduce the Japan dry to an entire bottle of boiled linseed oil.
The people with the first link you added were very helpful.
nothing like cutting 55 tiny nails in thirds and then trying to get the little guys into the tiny holes. That's what I love about this work. Relaxing!!


Well, a small break. I've discovered that trying to hold tiny parts like that to put them in the holes is kind of like drinking 5 energy drinks, give it 15 minutes and then try it. Ordered some small parts holders (grabbers). I think they will come in handy going forward!!
Just curious, The spars and ribs , where they intersect shows a small brad nail as a fastener for the boards. I'm assuming this would have been a normal way to join these elements in real shipbuilding? In thinking about this. I was wondering if I should use the same nails , one on each end, of the anti slip boards that are attached to the lower deck? Seems like it would be a proper place to use said nails and it would also improve presentation of the ship I think. Anyone got and input or suggestions on this idea?
A little update. I got my Japan Drier, have mixed up 1ml of it with 2 ounces of boiled linseed oil for the next application. I finished the ribs and stringers along the hull. I also got all of the anti slip slats in place. I also have planked the keel and deadwood sections. After I finished putting the small brass nails in the ribs I thought it would look good to also put smaller ones in the anti slip slats. I had some brass nails that were half the size of the ones I used in the ribs so I counted and found I needed 96 of them for this change in detail. I drilled out hole son each end of the 48 anti slip slats and then got out some clear Gorilla glue. The stuff takes a couple of hours to harden and 24 hours to dry all the way but I needed something I could pour into a little cup and dip the points of each nail in so I could make sure they stayed in place once I set them in. Went off like a charm. I dipped each in, slid it into the drilled hole and then carefully wiped off the head of each nail.
In about an hour I'm going to do a light wipe down with a damp cloth and then after 15 minutes I'm going to apply another coat of linseed oil to the inside of the hull. I don't know if you can see it, but there are a couple of places on the exterior of the hull that are still not completely cured from the last coat after 10 days. I'm hoping the Japan Dryer works and solves this problem. I really like the ;linseed oil but the drying time sucks without help!!
Before I do the outside of the hull I am going to put the strakes on and some other small trim pieces and then do the outside of the hull.
When I have those things done it's time to read and study before the next steps. I've got a build log from someone who did a great job of documenting their build and about 30 good photos from other builds. Between the prints, the instructions, the photos and the build log I feel like I can muddle my way thru this!!
Again, any suggestions are more than welcome!!!
Got my top rail done. I cheated a little bit. I bought a piece of walnut sheet about 10" x 35" and traced the hull pattern on the wood. I then measured and added 4mm on the inboard side and 3 mm on the outboard side. I also allowed for 3mm for the hull thickness. After cutting it out. I split the stern portion just before the small arc begins and then sanded both sections to a nice finish. I then cut the port and starboard sides apart on the bow and stern sections and fitted them to the top edge of the hull. After a little more sanding I used some thick CA and attached the four pieces one at a time. Once they were all in place I used a brown tint titebond glue to edge the bottom of each piece to the hull for a clean finish. It all turned out nice. I then measured and glued some short blocks together and traced the curve of the arc on each side. I rough cut them and the sanded and fitted slowly until they both matched up to the hull, bottom of the already mounted top rail and top of the top rail. After a little light sanding they matched up perfectly. I applied a single coat of linseed oil pre-mixed with the Japan Dryer. ( I used a new glue bottle and added 1ml of Japan Dryer and 2 ounces of linseed oil). The mix has worked perfectly as it dries overnight very uniformly. In the attached photos I've just applied a second coat of linseed oil.


