- Joined
- Jan 25, 2023
- Messages
- 543
- Points
- 308

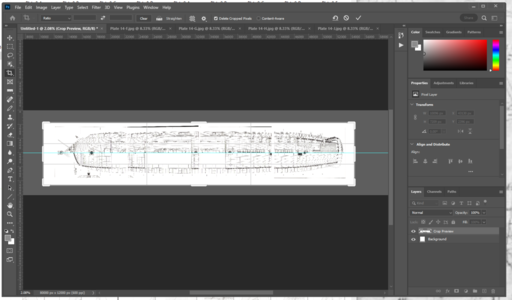
If you are like me, you have a ton of very large blueprints and technical drawings lying around. If you are even more like me you have absolutely zero room in your office to go spreading them around while you are working on your models. It is for this reason that I will scan them into my computer as jpegs and then use Photoshop to stitch them together into something I can use on the computer while I work on the model. I also use photoshop to measure off the drawings, and using a predetermined scale factor get accurate measurements to use in my models. So if you are interested, keep reading and I will explain how I use photoshop to stitch drawings together and then get accurate dimensions from it.
Firs things first. The drawing I am using for this tutorial are copyright protected by ANCRE and are used for demonstration purposes only!
To get started it is important to know how big you scans are and the resolution they were scanned at.
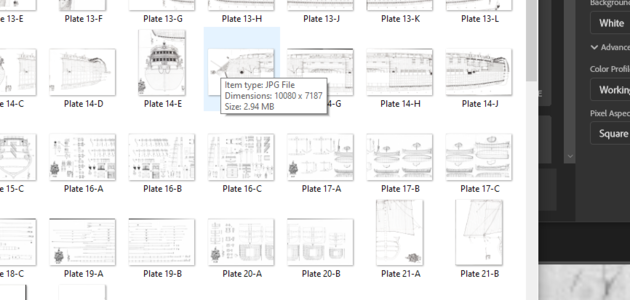
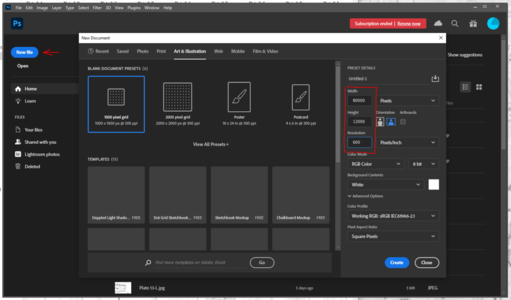
In this case they were scanned at 600 DPI and the resulting file is 10k x 7k pixels. In Photoshop we need to create a canvas where we can easily move these huge scans around so it must be several multiple times larger than one image. Click on New File and set the sizes accordingly.
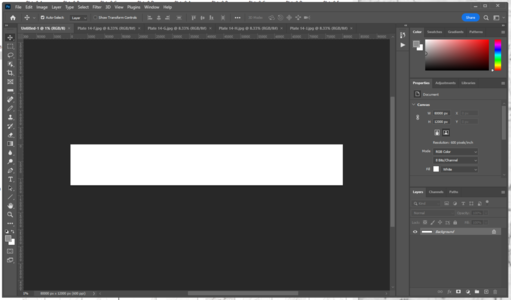
The resulting blank canvas:
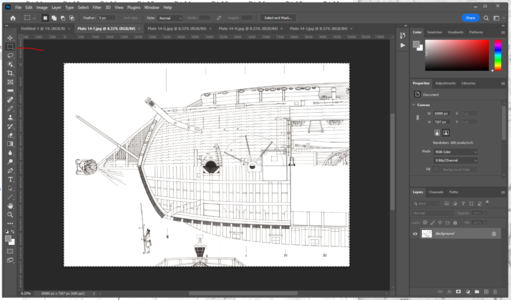
Notice that I have also opened all the the scanned images I will be using in the background. We're going to switch to the first image and use the select tool to highlight the entire image. Use ctrl+c and ctrl+v or copy paste to paste it into our new canvas.
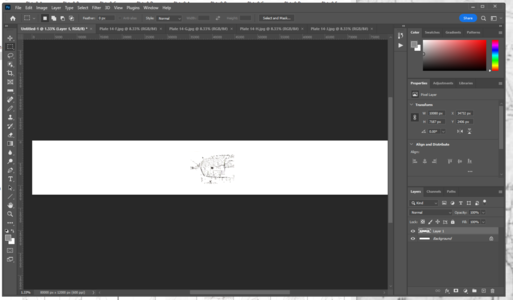
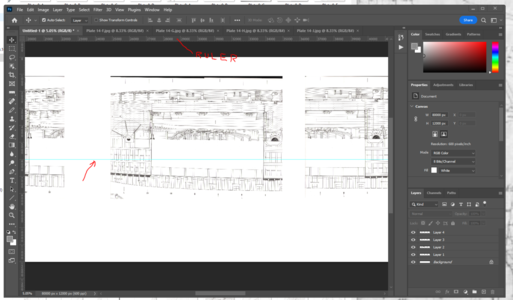
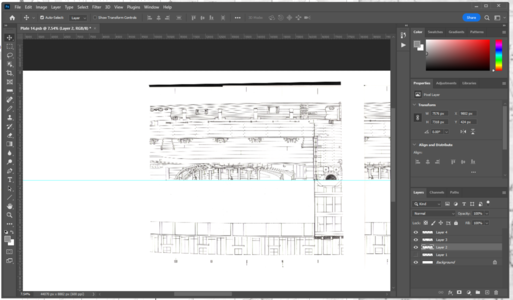
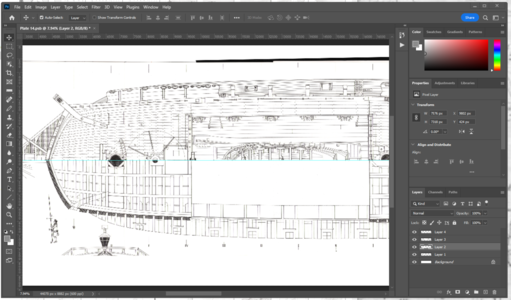
This inserts the entire image into the blank canvas and puts it on it's own layer (Layer1). Use the Move tool to move the image to one side and repeat for all the parts of the scan.
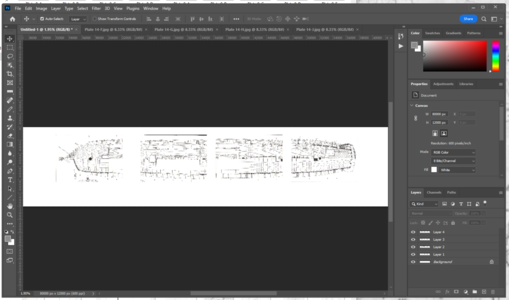
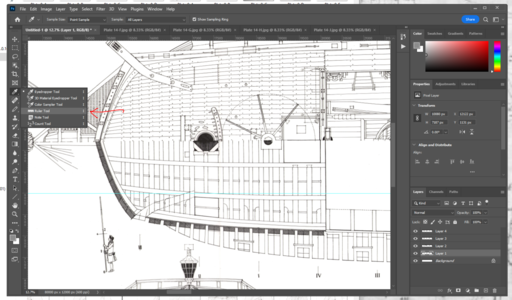
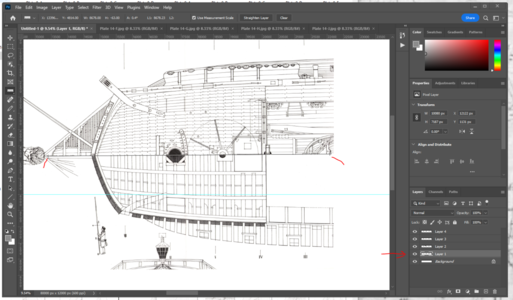
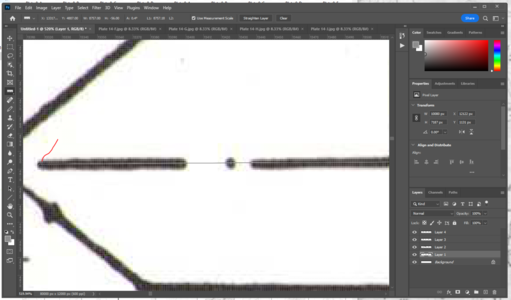
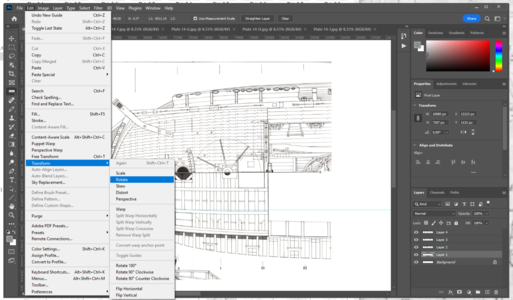
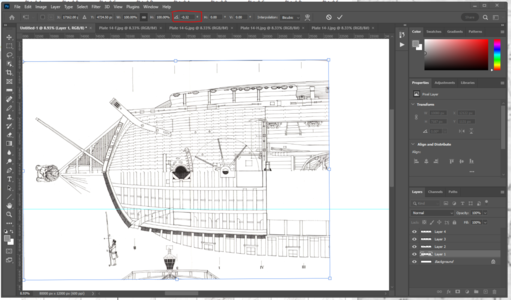
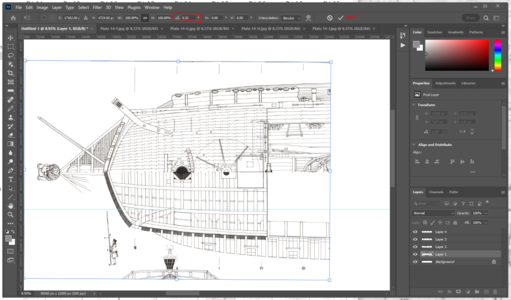
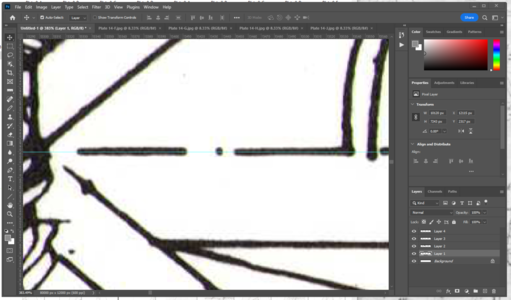
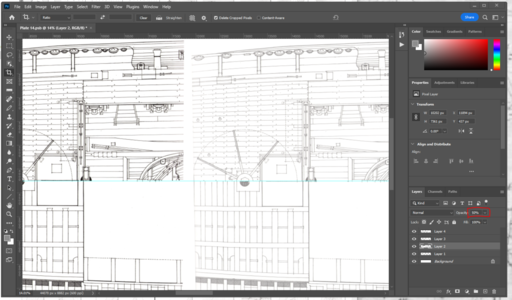
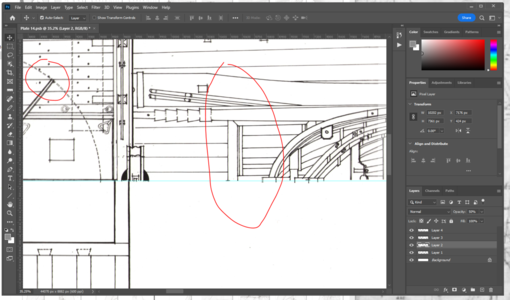
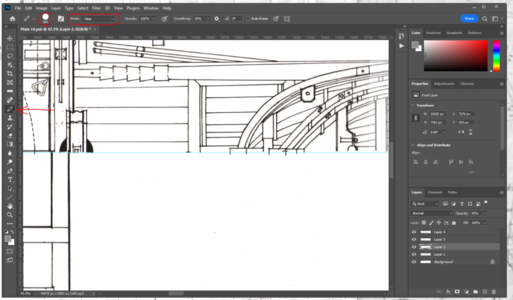
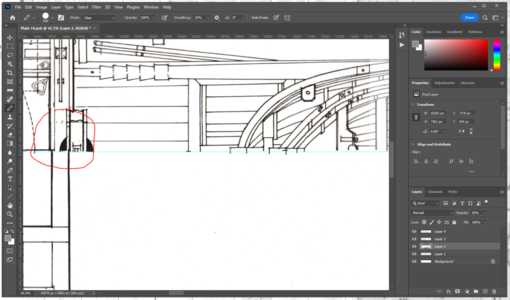
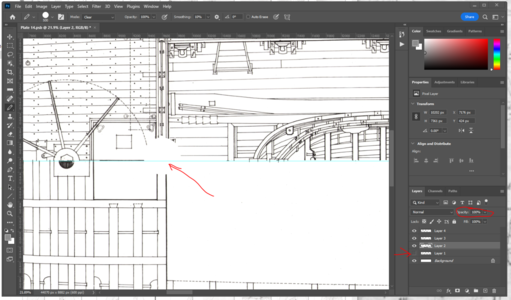
Notice that each segment gets it's own layer. This will be useful for us later on. This concludes the first part of the tutorial. Each segment of this is kinda time intensive so I will break it up into multiple posts top make it easier. Next I'll go over how to rotate the images so the centerline is perfectly horizontal.
Firs things first. The drawing I am using for this tutorial are copyright protected by ANCRE and are used for demonstration purposes only!
To get started it is important to know how big you scans are and the resolution they were scanned at.

In this case they were scanned at 600 DPI and the resulting file is 10k x 7k pixels. In Photoshop we need to create a canvas where we can easily move these huge scans around so it must be several multiple times larger than one image. Click on New File and set the sizes accordingly.

The resulting blank canvas:

Notice that I have also opened all the the scanned images I will be using in the background. We're going to switch to the first image and use the select tool to highlight the entire image. Use ctrl+c and ctrl+v or copy paste to paste it into our new canvas.


This inserts the entire image into the blank canvas and puts it on it's own layer (Layer1). Use the Move tool to move the image to one side and repeat for all the parts of the scan.

Notice that each segment gets it's own layer. This will be useful for us later on. This concludes the first part of the tutorial. Each segment of this is kinda time intensive so I will break it up into multiple posts top make it easier. Next I'll go over how to rotate the images so the centerline is perfectly horizontal.
Last edited:


