• Win a Free Custom Engraved Brass Coin!!!
    As a way to introduce our brass coins to the community, we will raffle off a free coin during the month of August. Follow link ABOVE for instructions for entering.

USS Missouri 1:350 by VeryFire

Perfect. I’ll do that before getting the wood down. I had some gray primer delivered today as I was not a fan of the black (all I could find locally) to get everything primed and ready for the camo.

My girlfriend has a cricket cutter so I’m trying to get masks made to make things a little more simple on me.
 
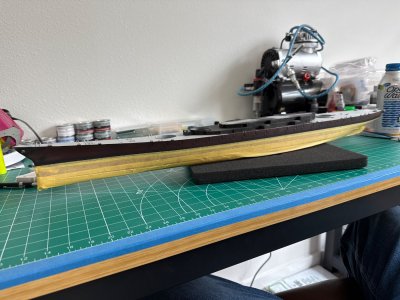
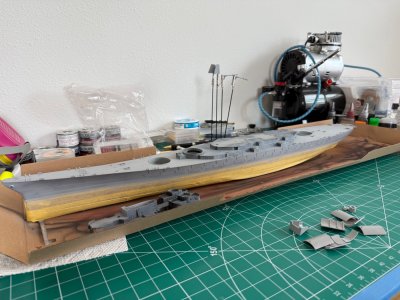
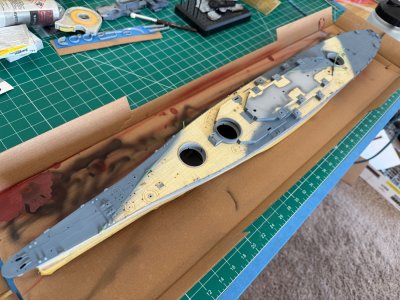
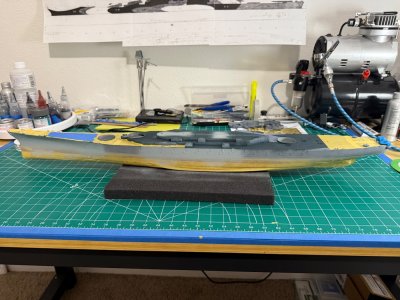
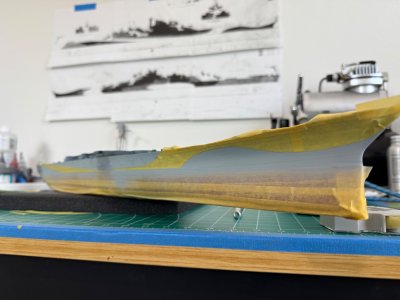
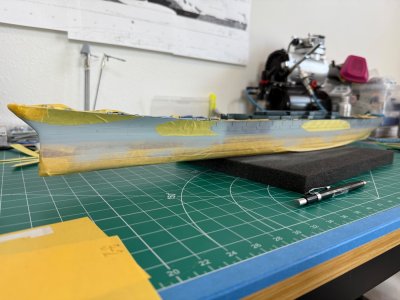
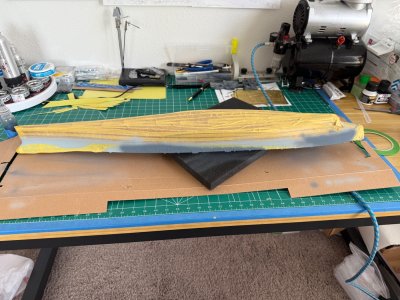
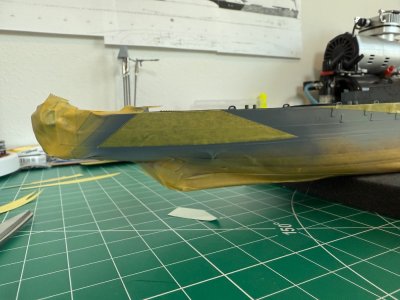
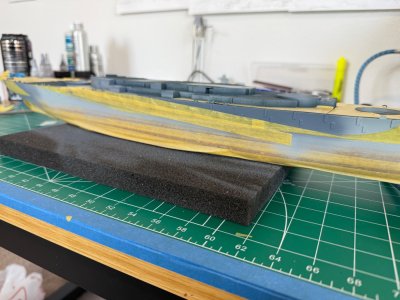
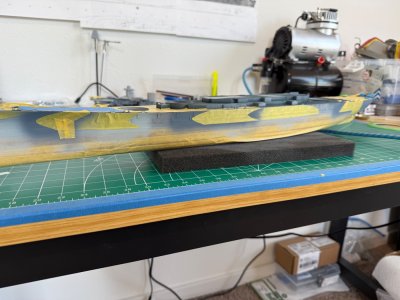
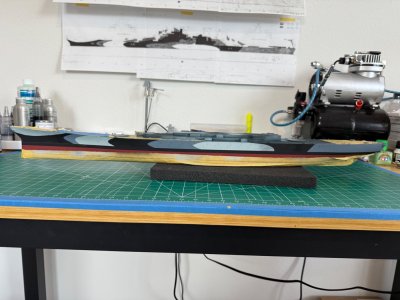
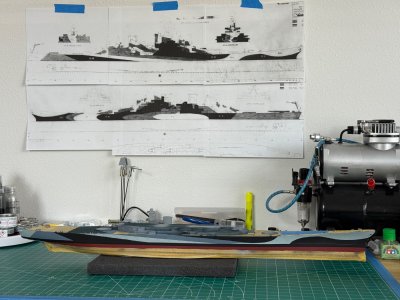
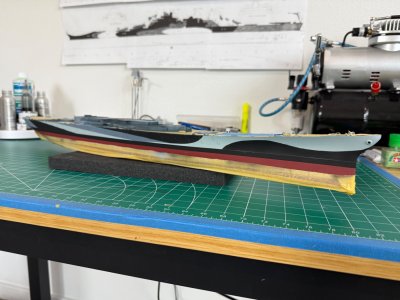
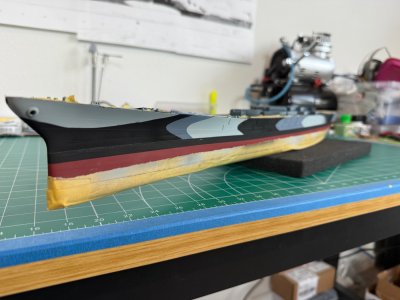
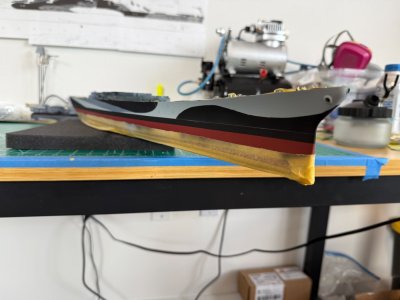
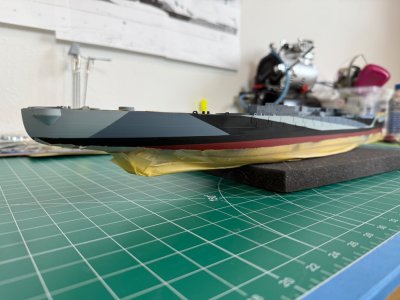
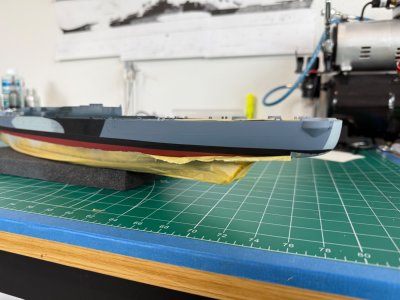
In the interest of trying to create the best model possible I went back with a #11 blade to scraped down some of the paint on the boot top to remove a paint line from the hull red underneath (I’ll go back and touch it up later), masked it up and got down a gray primer since I found the black primer took more paint than I was happy with to cover it. IMG_6904.jpeg
IMG_6905.jpegIMG_6906.jpeg

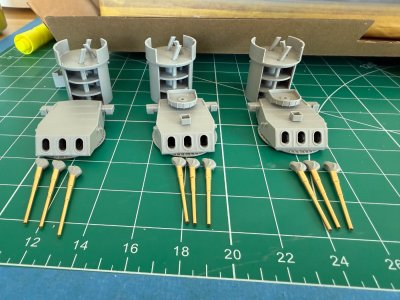
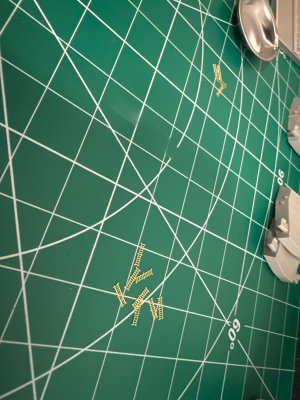
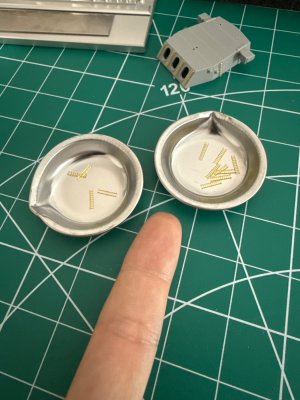
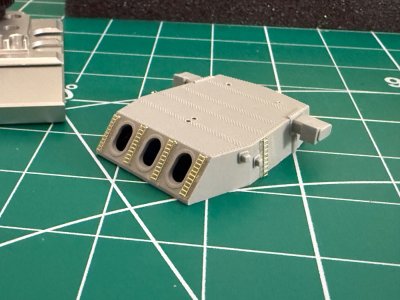
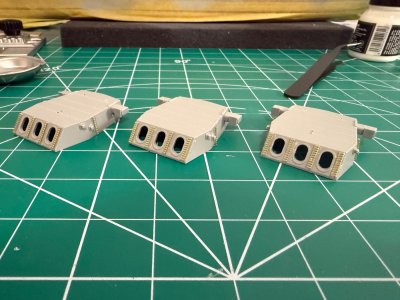
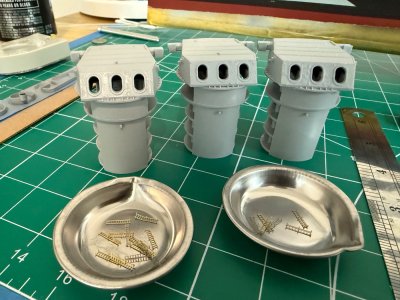
While waiting for the primer to dry I started working on some sub assemblies and decided to start on the 16” turrets. I found it interesting very fire decided to add the detail inside parts of the assembly that nobody will ever see. For alignment purposes I assembled the lower portions, but I’m electing not to install the actual turrets and other small parts inside as it will be complete sealed shut. I’ll start working on the PE ladders for the turrets next once the #10 blades come in the mail.

IMG_6908.jpeg
 
Last edited:
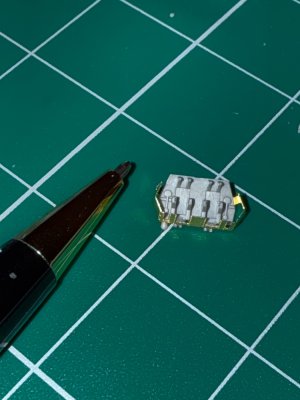
I tried my hand at trying to assemble some of the 40mm twin bofors, and while I managed not the destroy the PE, I realized it’s going to be way more challenging than I initially thought.

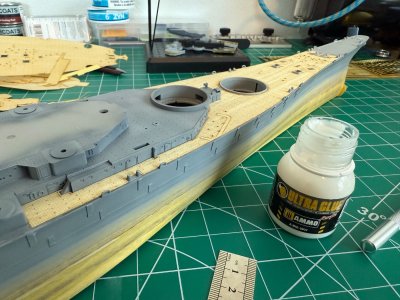
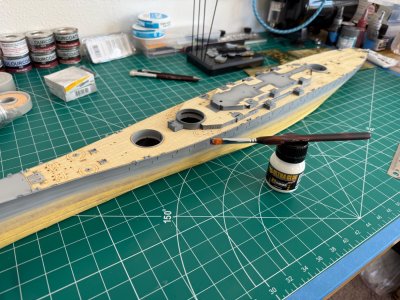
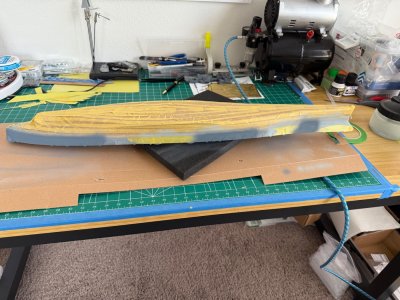
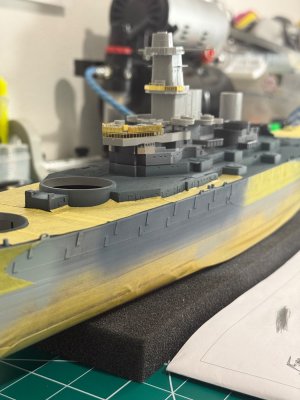
Taking a break from that, I got down the wood deck using the Mig ultra glue like somebody recommended. Allows I can say is this is definitely a great way to go about it. Allowed for plenty of time to align the pieces and work them over and around things before it started to set made it an absolute BREEZE.

I read a bunch of horror stories of people having issues and breaking them trying to get them down but I managed to do it near perfectly I’d say for my first time. IMG_6911.jpegIMG_6914.jpeg
 
are you certain those were 40mm twin bofors not twin barrel 20mm Oerlikons?
 
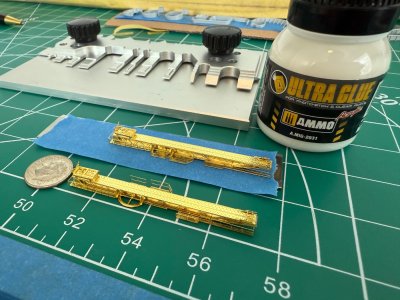
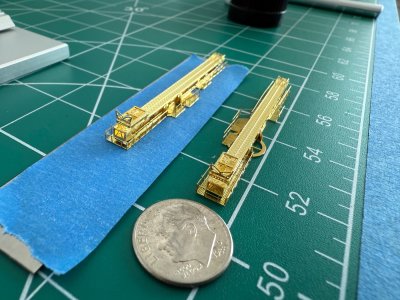
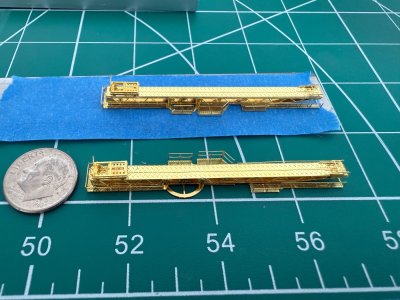
While I’m working on getting paint masks made up I decided to try my hand at some more PE parts. Chose to start with something if I royally screwed up I could get a resin replacement. After 4 methodical hours I managed to get the catapults put together. I did accidentally put one of the catwalks on backwards, but overall I’m really excited at how well these guys came out! IMG_6933.jpeg
IMG_6932.jpeg
IMG_6931.jpeg
 
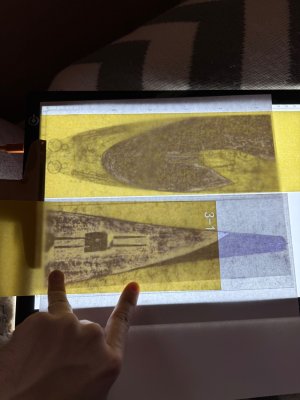
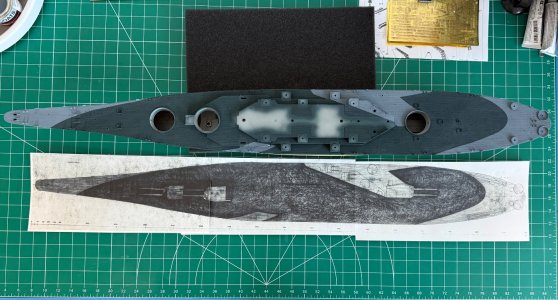
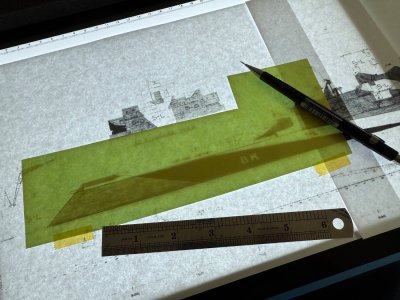
Since nobody makes measure 32 masks anymore and I determined there was no way I was going to accurately freehand the lines with Tamiya tape, I decided I’d have to make my own using the naval archive drawing to trace the camo pattern into decal paper that I’ll cut out to make the masks.
IMG_6946.jpeg
 
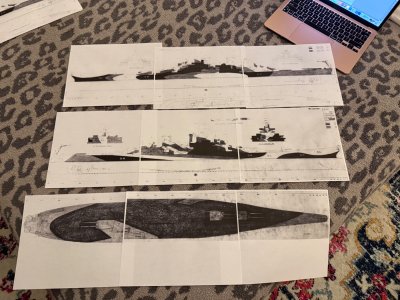
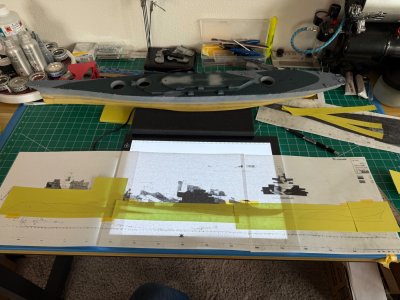
After a few hours trying to get three different files scaled the exact same and getting everything printed I trimmed and taped them together so that I can make masks. IMG_6948.jpeg

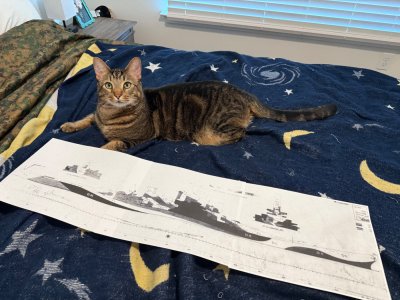
Got the supervisors keen eye and meow of approval before getting to work IMG_6958.jpeg
I started with the 5-O and got those parts of the deck painted. IMG_6960.jpeg

After that I used pre cut deck masks with the pattern traced onto them and cut to cover the 5-O sections of the deck.

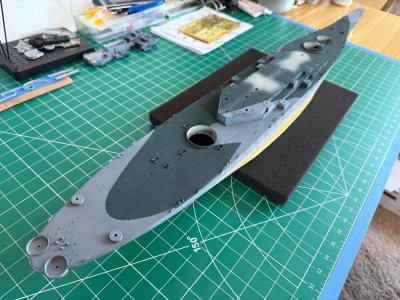
Once everything was nicely taped up I started spraying the 20-B deck blue. It came out way better than I could have expected and I’m really excited about it. IMG_6970.jpeg
IMG_6968.jpegIMG_6967.jpeg
 
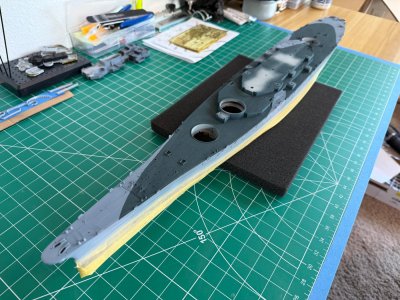
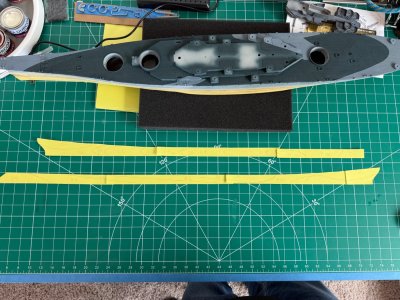
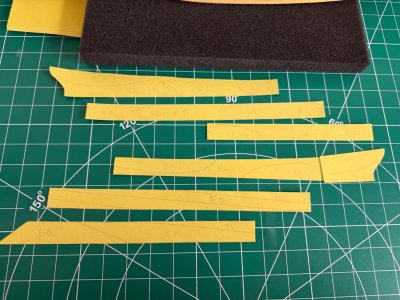
While waiting for the wood to dry so I can mask it I started prepping the templates for the sides. It appears my scaling is either ever so slightly off, or the more likely explanation, my boot stripe is about 1-2mm too high.

Not a big deal because nobody will ever know. Except for me…and everybody who reads this.
IMG_6980.jpeg
IMG_6981.jpeg
IMG_6982.jpeg
IMG_6983.jpeg
 
After a few hours trying to get three different files scaled the exact same and getting everything printed I trimmed and taped them together so that I can make masks. View attachment 533793

Got the supervisors keen eye and meow of approval before getting to work View attachment 533789
I started with the 5-O and got those parts of the deck painted. View attachment 533801

After that I used pre cut deck masks with the pattern traced onto them and cut to cover the 5-O sections of the deck.

Once everything was nicely taped up I started spraying the 20-B deck blue. It came out way better than I could have expected and I’m really excited about it. View attachment 533790
View attachment 533791View attachment 533792
Dang that is attractive!

very good job on that!
 
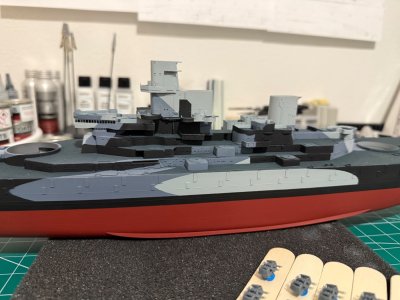
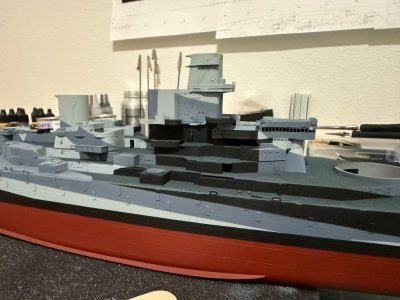
Spent the last three days painting the hull. IMG_7024.jpeg
IMG_7027.jpegIMG_7028.jpeg
IMG_7029.jpegIMG_7030.jpegIMG_7060.jpegIMG_7061.jpegIMG_7062.jpegIMG_7064.jpegIMG_7069.jpegIMG_7063.jpegIMG_7065.jpegIMG_7066.jpegIMG_7067.jpegIMG_7068.jpeg

I also started working on some of the super structure parts. Mostly dry fitted the plan is to build all of this separate from the ship so it’s easier to have on my bench, while simultaneously starting to add all of the smaller details like gun tubs and AA guns to the hull.

I made some progress on the 16” guns adding PE ladders.
IMG_7059.jpeg

IMG_7039.jpegIMG_7040.jpegIMG_7038.jpeg
IMG_7045.jpeg
 
Sorry for the delay everybody. I’m probably missing some photos and things I did - but here’s the big stuff.

I decided to remove the PE ladders from the 16” guns for ease of painting, to clean up the extra glue that was unsightly, and to avoid knocking them off. IMG_7186.jpeg
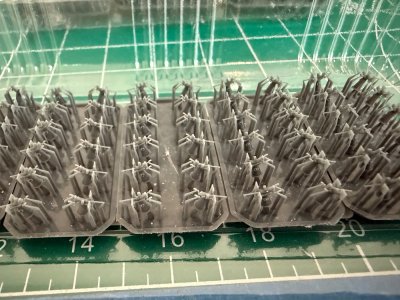
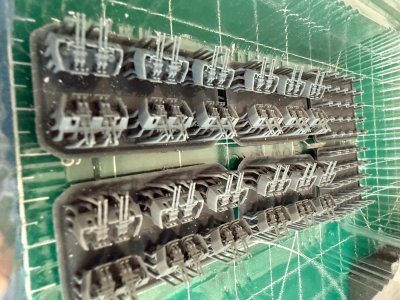
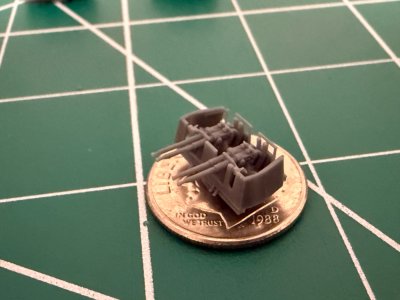
Got tired of fighting the PE and guns into the kits bofors, so I browsed eBay and found this guy making pretty nice resin parts extremely cheap. It’s not bunker studios quality, but it’s pretty darn good in my opinion. IMG_7161.jpegIMG_7162.jpeg
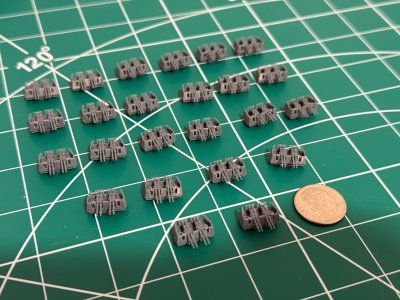
Got them all cleaned up and ready to paint. I’m still unsure what color they need to be so they’re sitting around waiting for me to get my life together. Just like my ex wife, they’ll be waiting awhile.
IMG_7292.jpegIMG_7293.jpeg

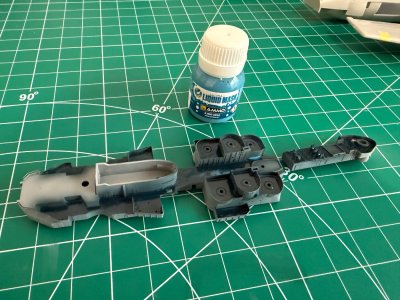
I was getting some deck delamination from masking tape (somebody called it) and I was also not in the mood to cut 9 million pieces of tape in all sorts of weird sizes to mask the desk so I took a gamble and tried liquid mask.
IMG_7307.jpeg

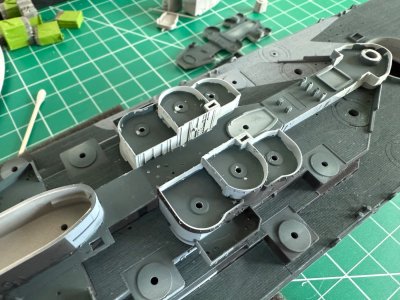
Now here is where the issue happened. I used a paint brush to apply the mask. My painting skills with a brush are….non existent to say the least. I mainly built planes so I never really learned to use a brush. Too large of a brush with shakey hands resulted in getting the mask where I didn’t intend to, and since it dried almost transparent on the blue deck I didn’t notice until I removed it and well…
IMG_7318.jpeg
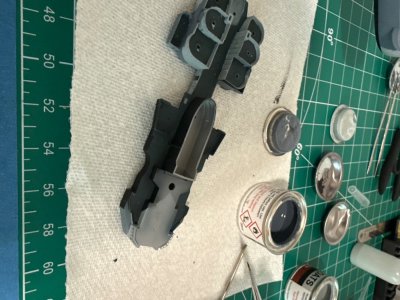
So I decided now was a good time to practice my brush skills. I can live with the results. I took my time, did everything to steady my hand and got to work.
IMG_7321.jpeg

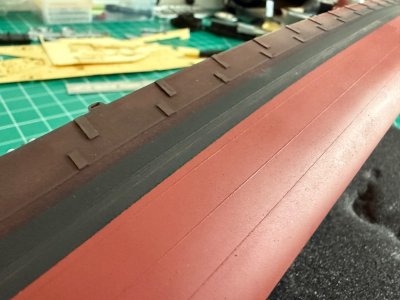
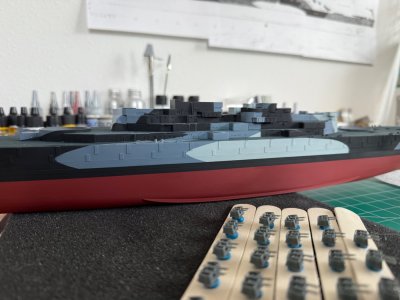
I finally went back and corrected the boot top stripe since I had the black paint out.
IMG_7317.jpeg

Since I had a little more of the picture, cross referencing all the pictures I committed to finishing all of the super structure parts.
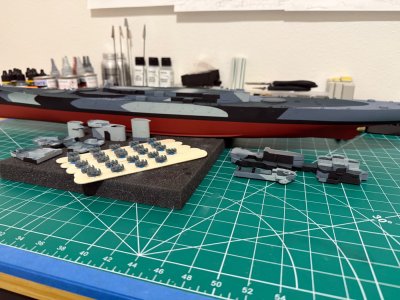
IMG_7334.jpeg

Quick dry fitting while I am waiting for the paint to cure.
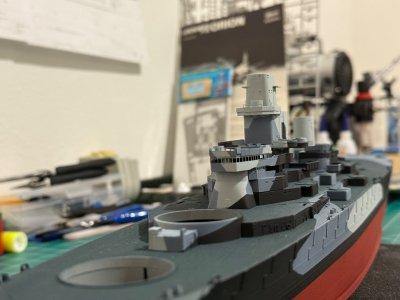
IMG_7333.jpeg
IMG_7332.jpegIMG_7331.jpeg

Is it perfect? No. Is it winning any IPMS competitions? Also no. But I’m happy with it and I learned a lot.

Until next time.
 
Back
Top