- Joined
- Dec 3, 2022
- Messages
- 1,547
- Points
- 488

I finished building Alert a couple of months ago and took the photographs with the red background around that time. The pictures with the blue background were taken last week, because I thought I'd lost the others. Happily when I uploaded from my camera I found the earlier ones so here's a selection from both sets, of the parts of the model with which I'm most pleased. I've left them full sized so that you can see ALL the mistakes. If you see errors that I haven't already drawn attention to, please leave a correcting comment for anyone who might follow in my mistaken footprints. I won't be offended. 
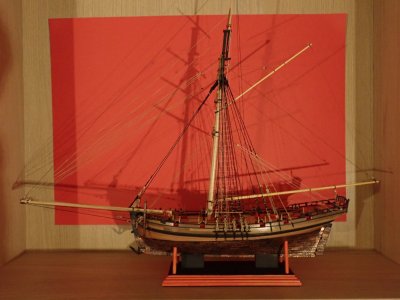
The wide angle shot for introduction. It was a nice kit and the only difficulties I had were of my own making as I tried to improve it and make it mine own.
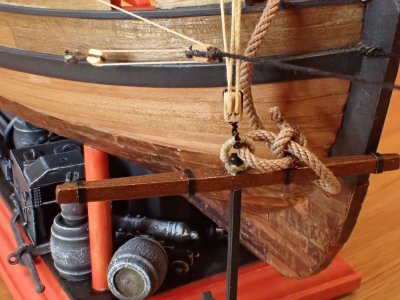
It was necessary for me to simulate the clinker built planking, fortunately the copper cladding reduced the number of planks requiring modification.
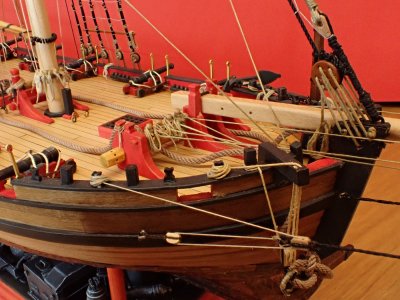
I enjoyed the rigging very much. There was enough of it to challenge me without being overwhelming.
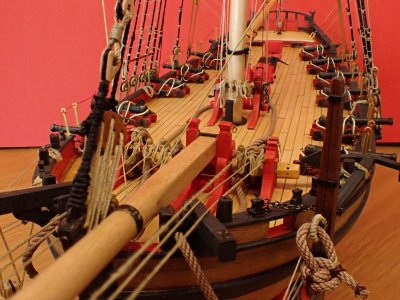
As I look at it today though, I feel a strange urge to rig a three-masted ship!
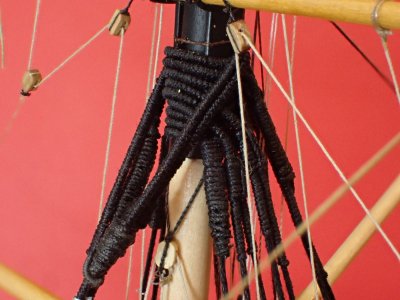
The top of the shrouds is my favourite part of the model. There's a lot going on there and most of it is mostly correct. The serving was done on a machine that one of my children made for me, which makes it personal.
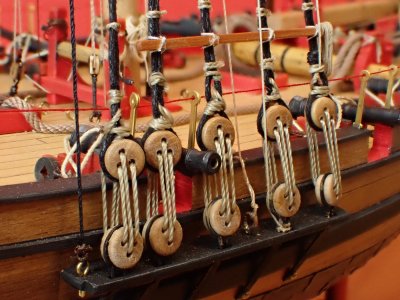
I resisted avoidable 'do-overs' to maintain momentum. It was a learning experience and the shabby parts reflect this. (I only just noticed the stanchion that avoided the guard rope!) I'm pleased with the metallic appearance of the gun muzzle though.
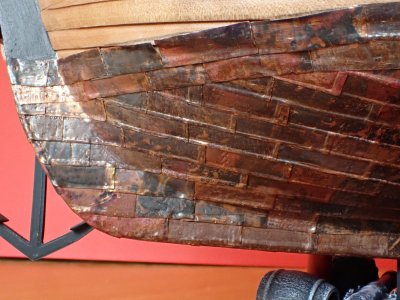
A better view of the clinkered planking and the copper plates. The copper was heat treated and aged with many different techniques to give this very interesting effect.
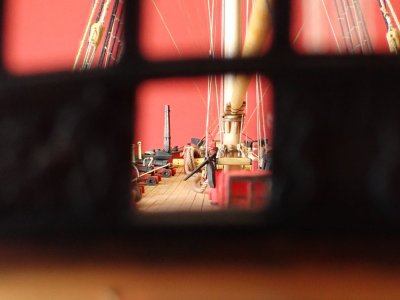
Pirate's eye view of a sleepy ship.
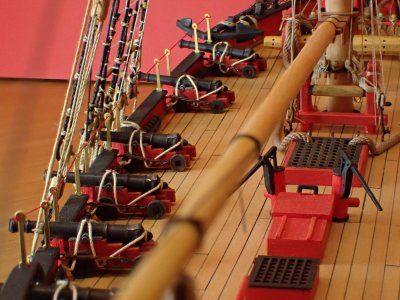
I was pleased with the guns, though I simplified the rigging of them. Do you like the lead aprons over the touch holes?
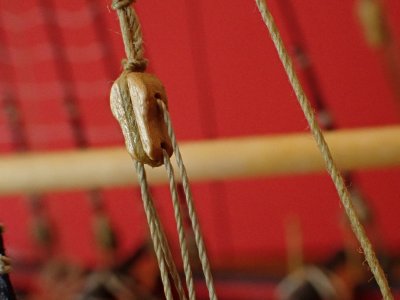
The fiddle block gets its own photo because I made it. My first homemade block. In close up like this I realise how much better the synthetic thread looks than the hairy natural fibres. (In my opinion. Other opinions are available. Ts and Cs apply.)
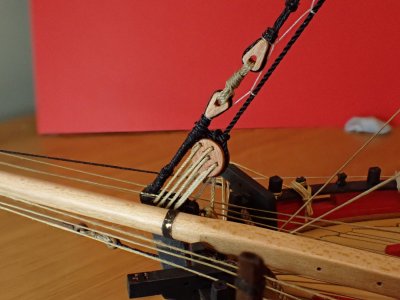
I snaked the stays as recommended by Capt Aubrey.
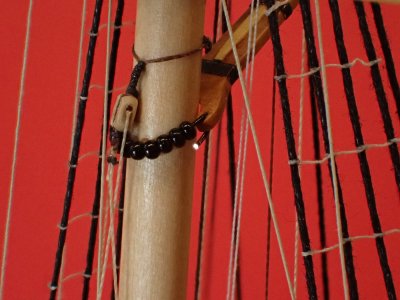
There's a slight simplification with the parrel beads. I threaded them on wire in order to make them manageable by my big fingers.
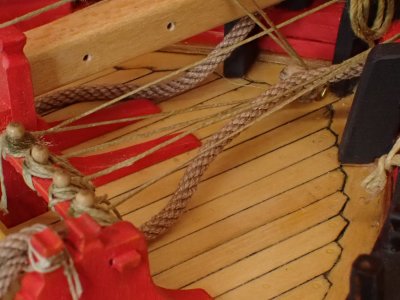
This was my first attempt to spirkett the deck planks into the waterway. It looks complicated but was actually fairly easy to do once I'd understood the geometry. Note the round wooden covers over the deck plank bolts.
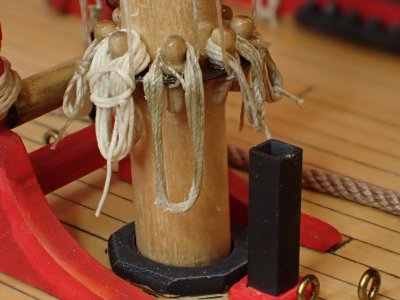
Enlarged like this the pin rail seems to have been sneezed on but it's only glue.
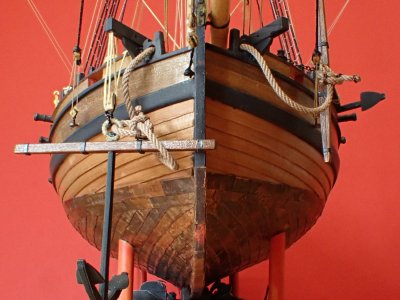
Dramatic view!
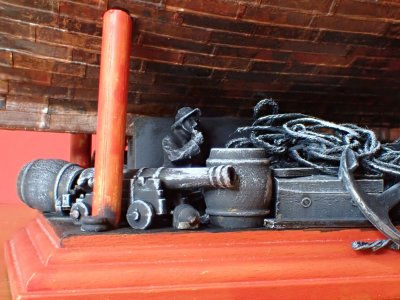
The base was my own design using a selection of leftovers.
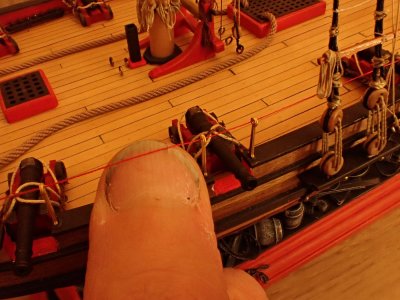
And there's one of the big hands mentioned earlier.
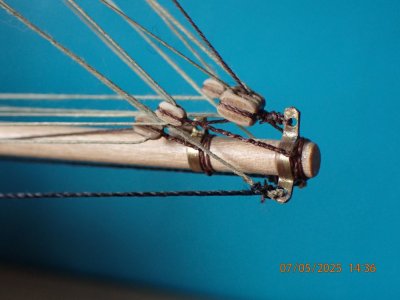
I made the iron(brass)ware from scratch to replace the two dimensional photo etched pieces. It's a rough as a badger's bum but I'm still very proud of it. Not bad for a first/second/third attempt.
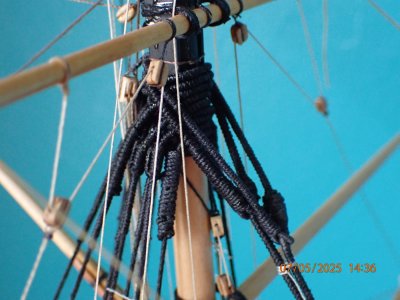
Back up top again. I really did like that part, didn't I?
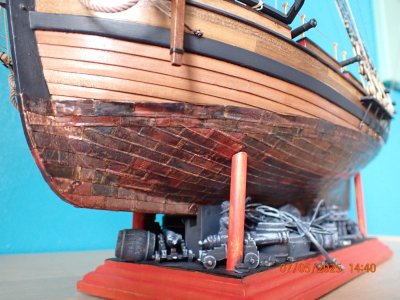
Though this is a small model, it seems to have quite a presence. I think it's an effect of the natural materials, wood metal and polyester thread.
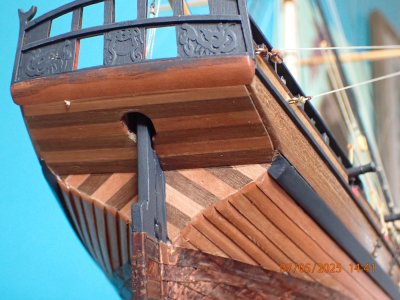
The striped rear end was my own invention. In fact these boats were cheaply made and not decorated in any way. Even the photo-etch 'carving' provided in the kit is bogus.
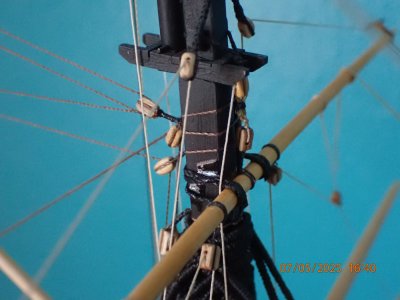
More glue slime. Using too much glue is a perennial mistake of mine.
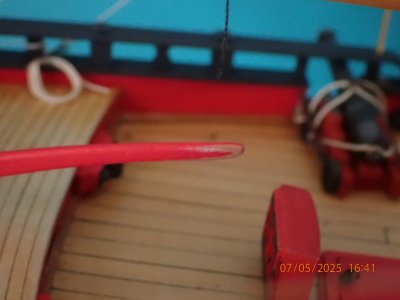
And finally, the paint wears off the tiller under the horny hands of the helmsmen.
I hope you enjoyed this little display. To see the build log CLICK HERE.

The wide angle shot for introduction. It was a nice kit and the only difficulties I had were of my own making as I tried to improve it and make it mine own.

It was necessary for me to simulate the clinker built planking, fortunately the copper cladding reduced the number of planks requiring modification.

I enjoyed the rigging very much. There was enough of it to challenge me without being overwhelming.

As I look at it today though, I feel a strange urge to rig a three-masted ship!

The top of the shrouds is my favourite part of the model. There's a lot going on there and most of it is mostly correct. The serving was done on a machine that one of my children made for me, which makes it personal.

I resisted avoidable 'do-overs' to maintain momentum. It was a learning experience and the shabby parts reflect this. (I only just noticed the stanchion that avoided the guard rope!) I'm pleased with the metallic appearance of the gun muzzle though.

A better view of the clinkered planking and the copper plates. The copper was heat treated and aged with many different techniques to give this very interesting effect.

Pirate's eye view of a sleepy ship.

I was pleased with the guns, though I simplified the rigging of them. Do you like the lead aprons over the touch holes?

The fiddle block gets its own photo because I made it. My first homemade block. In close up like this I realise how much better the synthetic thread looks than the hairy natural fibres. (In my opinion. Other opinions are available. Ts and Cs apply.)

I snaked the stays as recommended by Capt Aubrey.

There's a slight simplification with the parrel beads. I threaded them on wire in order to make them manageable by my big fingers.

This was my first attempt to spirkett the deck planks into the waterway. It looks complicated but was actually fairly easy to do once I'd understood the geometry. Note the round wooden covers over the deck plank bolts.

Enlarged like this the pin rail seems to have been sneezed on but it's only glue.

Dramatic view!

The base was my own design using a selection of leftovers.

And there's one of the big hands mentioned earlier.

I made the iron(brass)ware from scratch to replace the two dimensional photo etched pieces. It's a rough as a badger's bum but I'm still very proud of it. Not bad for a first/second/third attempt.

Back up top again. I really did like that part, didn't I?

Though this is a small model, it seems to have quite a presence. I think it's an effect of the natural materials, wood metal and polyester thread.

The striped rear end was my own invention. In fact these boats were cheaply made and not decorated in any way. Even the photo-etch 'carving' provided in the kit is bogus.

More glue slime. Using too much glue is a perennial mistake of mine.

And finally, the paint wears off the tiller under the horny hands of the helmsmen.
I hope you enjoyed this little display. To see the build log CLICK HERE.


