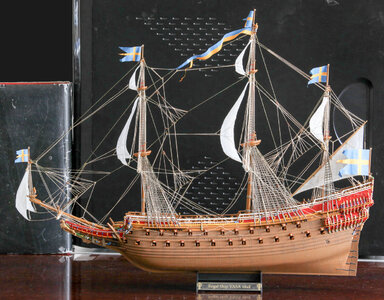
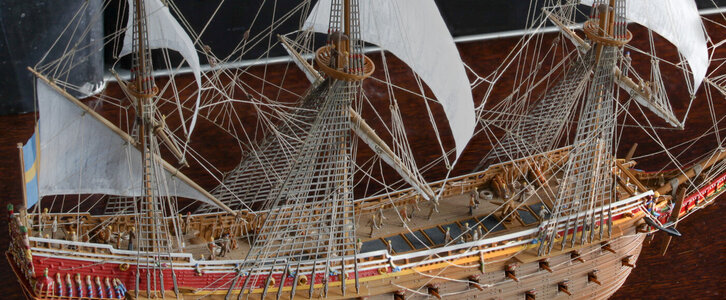
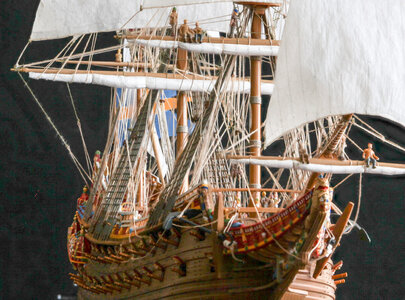
Vasa 1:150 Revell

Joined
Mar 11, 2021
Messages
29
Points
58

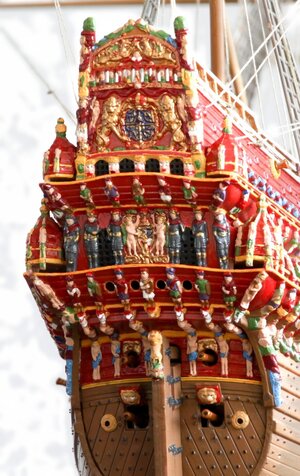
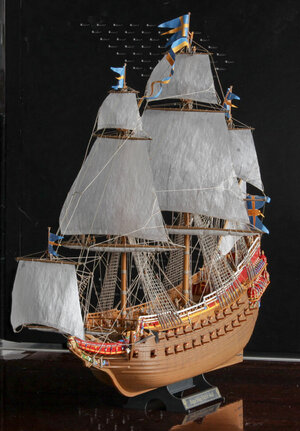
For over a year now, on and off, I am building de Vasa from Revell.
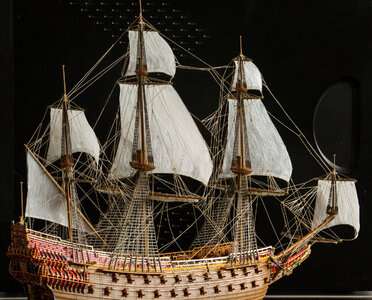
I've collected tons of pictures from the Vasa, and I try to be close to the 1:10 museum model as possible.
This is what I have now.
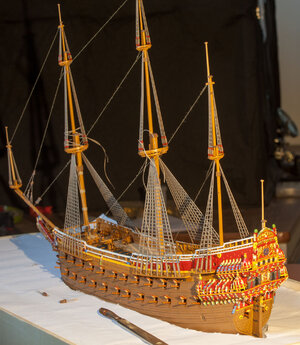
IMG_2006.jpg
I took the liberty to make a few changes. For instance I painted the grating anthracite. It was too hard for me to make only the holes black.
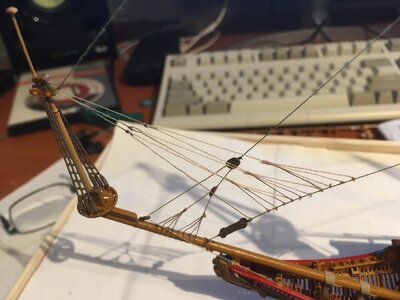
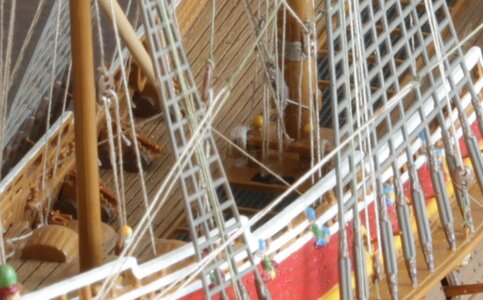
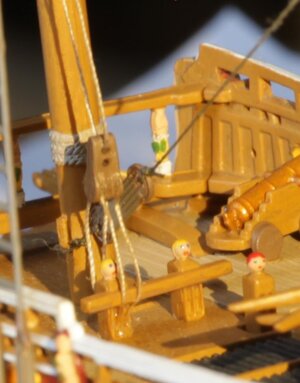
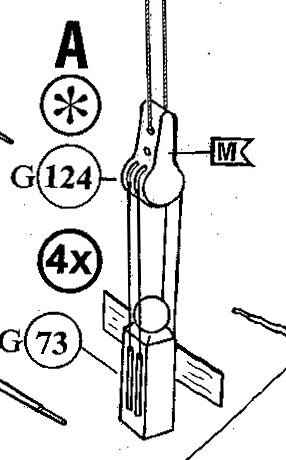
I've come a long way now, but I am not so happy with how the rigging is done in the Revell instructions.
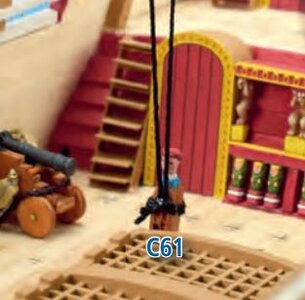
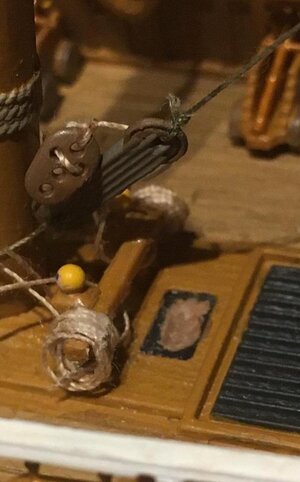
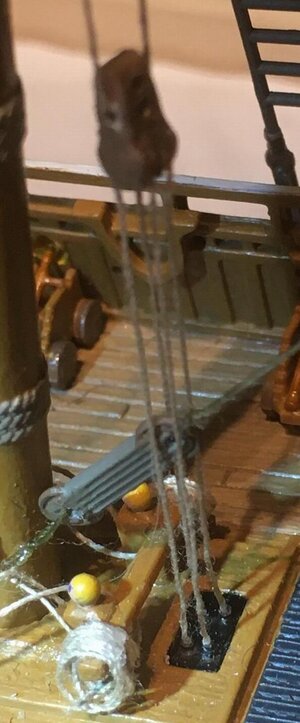
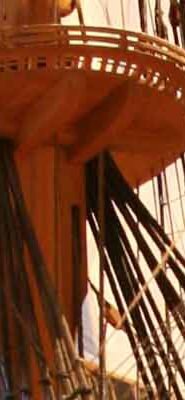
Now I am stuck with this detail. Yeah, it's why I came to this forum. According to the instruction it should be like this:
(ropes in my model not yet under tension)
IMG_2005.JPGWasa - Revell 17.JPG
But it doesn't make sense to me. In the pictures of the Vasa I found I can't get a clear view on it. o_O
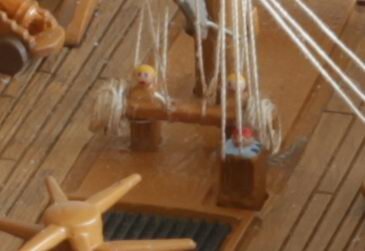
In those pictures it looks like there is only one rope going up, but according to Revell 4 and 2. If it some kind of pulley, how many ropes
should there be? Or shouldn't that block be there anyhow?
Perhaps someone has a clear view on how the ropes should be configured? Would appreciate it very much!

Never mind the question. I found a solution.
 
Last edited:
Lets reply to my own then. :)
I have found the instructions for the Vasa on the d'Agostini website, so I am going to do the rigging roughly according to those, except when the scale forbids the detail.
I think 4 instead of 6 lines on each rigging fan looks nice!
IMG-1267.JPG

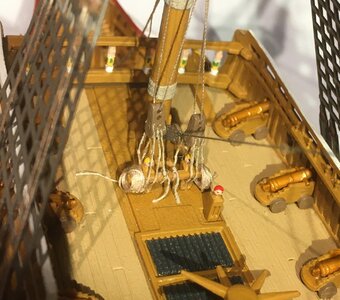
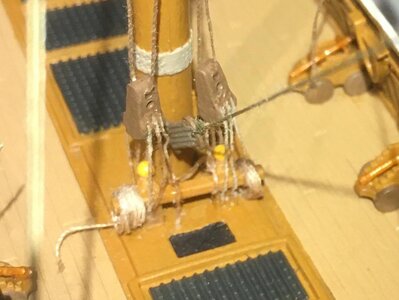
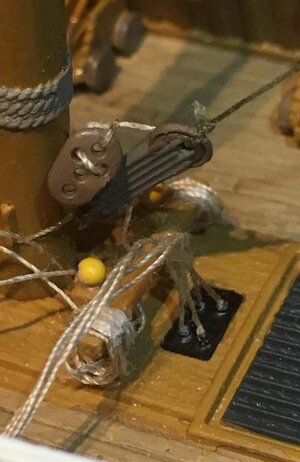
Concerning the halyards; with three wheels in the ramshead block, and two in the knighthead, I would assume the rope would be tied to the knightheads bar, and after going through the wheels, be tied again to the bar with a coil of rope.
However, the end result is messy. I wonder if I will leave it at that or start over and make it simpler.... :(
I seem unable to give all those ropes the exact length to get them all straight under tension.
IMG-1265.JPG
I wonder if I should use the ramshead at all, I can't see them in the pictures of the 1:10 museum model. Revell don't even pretend to use them in their example model. The don't even tie a rope to them.

I am disappointed to see d'Agostini just tie the rope to the knighthead:
Capture.JPG

Speaking of which, they tie the halyards of the main and topsails to the knighthead bar, without tackles, and the gallants don't have them at all. It might be a necessary simplification, but hey, it's scale 1:65!

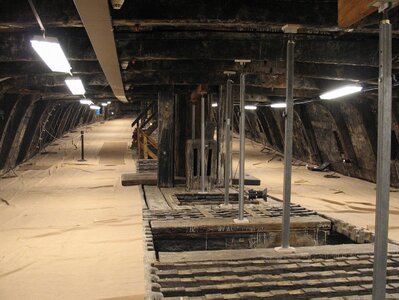
To make matters worse, I see there should be an opening next to the main mast, and on the real deal there is a knighthead below on the upper gun deck.
In the museum model there are ropes going down there.
The Revell kit has a sunken part in the deck, which I painted black. If I had known earlier I'd cut a hole there.
Vasa-upper_gun_deck-2.jpgVasa-upper_gun_deck-2z.JPGIMG-1266.JPG
I would guess that knighthead was used for the main yard, and those on deck for the top and gallant. But what do I know?

The d'Agostini kit has not even a hole in the deck there. Hmm.
Any comment is welcome.
 
Removed the messy ropes, I will rewire the halyards.
Concerning the knighthead on the gun deck, I am going to 'use' it, though it is only virtually there.
I have made a new black hole with holes for the ropes and I glued it on the existing black hole. (What would Stephen Hawking have thought of that?!)
IMG-1272.JPG
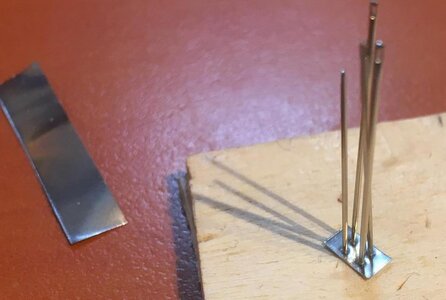
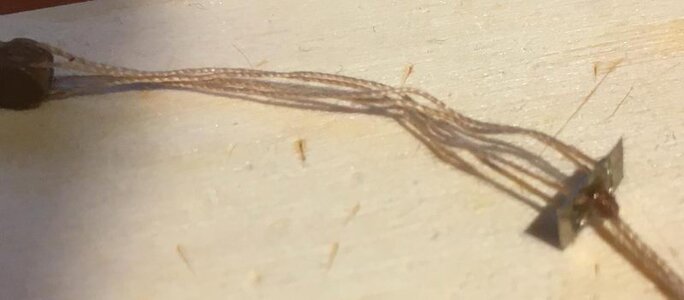
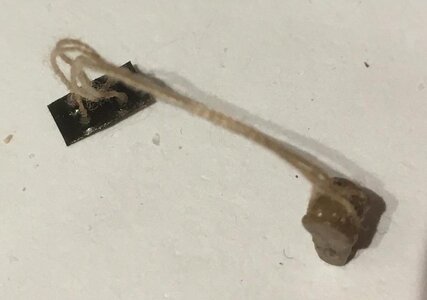
Cut a sheet of .1mm nickel, en stuck 4 needles in it.
IMG-1278.JPG
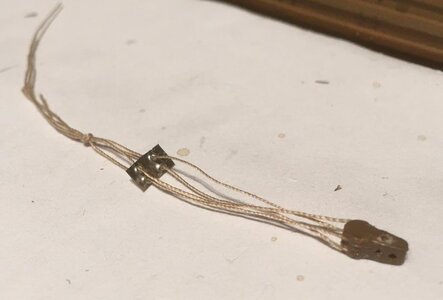
Pulled the ropes through en laid a knot.
IMG-1280.JPG
Glued the knot to the nickel
IMG-1282.JPG
Cut of the knot and painted the nickel glossy black.

IMG-1281.JPG
Drilled a hole in the hole.
IMG-1283.JPG
Glued the black hole with the holes on the black hole with the hole.
IMG-1284.JPG
Tension! (After refixing that central rope to the mizzen mast)
The real thing looks better than the picture!
 
Maarten and Shane, thank you for your interest!

As it is, I just finished the rigging of the masts and the yards yesterday, and I was already planning to do some pictures today.
Here it is:
IMG_2083.JPG
Wheew, it was much work, thanks corona I got the time.....
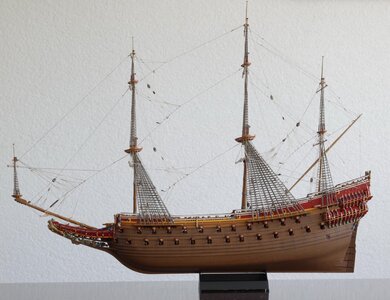
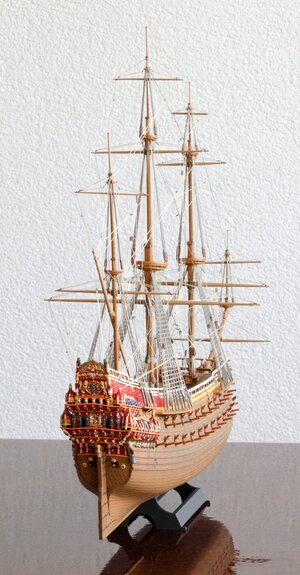
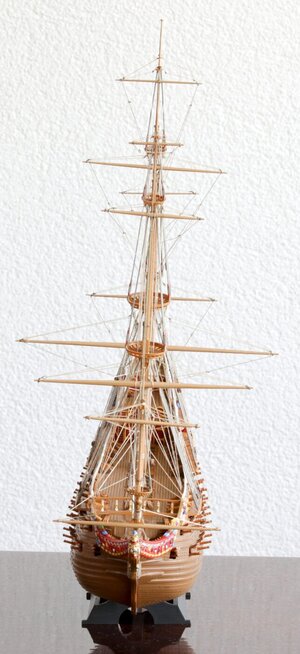
And thanks to tips on this forum, I also managed to make some half decent shots in the length of the vessel:

HF1.jpg HF2.jpgHF3.jpg
Hmm, in the middle it is listing a bit, but hey, thats what the Vasa is famous for of course.

I also got the halyards reasonably straight now.
IMG_2097c.JPGIMG_2099c.JPG
And aren't those little guys lovely? :p
And this is really weird. I tried to make the planking visible by applying thinned black and brown paint. (I use all water based)
But in the end the effect wasn't as pronounced as I hoped. (I think I read I should have used enamel based panel liner, but then afterwards you should clean it up, and the deck isn't any longer accessible for that)
However, it really looks nicely weathered now, so no complaints! But in these pictures, it looks like the planking looks nice, but the weathering effect much less so!

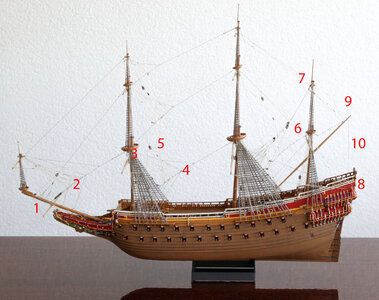
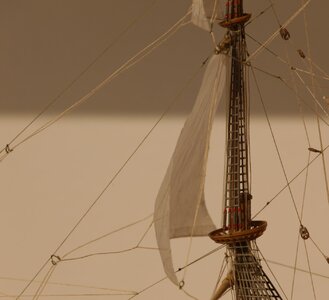
The Revell instruction for the rigging are not that good, so I set out to try the use the Vasa Museum Model (MM) instead. Hard, cause the available pictures are not always clear in all details. Now as said earlier I found the d'Agostini model (AM) instructions on the net, and I have used those, comparing them to the MM.
There are quite some differences, and for those interested, I try to list them here:
IMG_2084e.jpg
1. The spritsail yard lacks the lifts in the AM, in the MM they are clearly there. Edit: They are there, but line 1 is the topsail clewline.
2. The rigging fans in both the AM and the MM have 6 lines, however I do 4 for reasons of scale and it would only look clobbered if I tried to put more in.
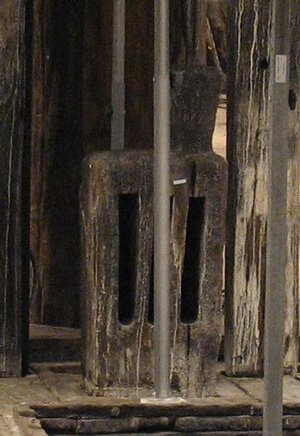
3. In the AM, all halyards go over blocks to the yards, but I am pretty sure in the MM the halyards all go through sheathes or slots in the masts or the bibbs as seen here:
gIMG_6295.JPG
4. Various lines are connected to the main stay to different places in the AM and the MM.
5. The braces of the gallant and top yards go in the AM directly to their pins, but in the MM they have an extra connection with a block to the stays they cross. (I myself missed the maintop stay crossing I see now) I suspect it is against abrasure.
6. In the MM, the braces of the main topyard connect beneath the cross-jack yard to the mizzenmast. How can that yard than be lowered without hassle if need be? I followed the AM where the connection is above said yard.
7. The top gallant yard braces go from the mizzenmast back to the main shroud in the AM. In the MM they go down allong the mizzenmast.
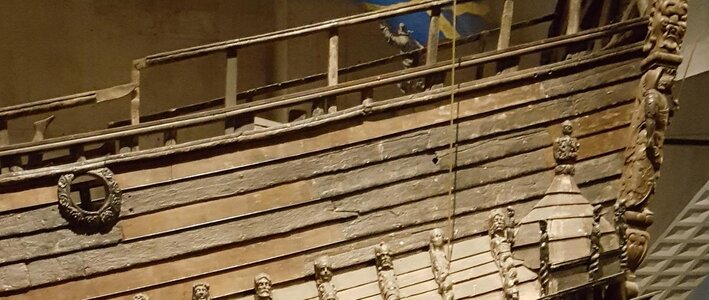
8. The connection of some lines are made just below the railing in both ths AM and the MM. I wonder if thats correct. There is a hole in the Vasa after all and there are no other holes in the original planks:
20180510_152044.JPG
Besides, the gunport on the left is in the AM completely absent! :oops:
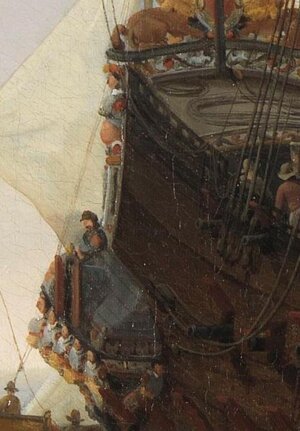
One might think that the lines should be connected directly under the railing to be accessible, however, this 17th century painting detail tells differently:
SK-C-1707c.JPG (Dutch Ships in a Calm Sea, Willem van de Velde the Youger)
9. The braces of the mizzen topsail goes in the MM directly to their pins, while in the AM they go via the mizzen mast. I've followed the AM, because the MM would give the lateen sail much less space to billow.
10. The brace of the lateen is completely missing in the MM. I follow the AM, obviously for at least constructional reasons.

Now for the sails.... That will take even more time I suspect...
 
Last edited:
Whew! I'm exhausted just reading about all the adjustments you had to make. a real tour de force model build....
 
Thank you DougP. But I see many here whose models are waaaaaaaaaay more work tham mine!

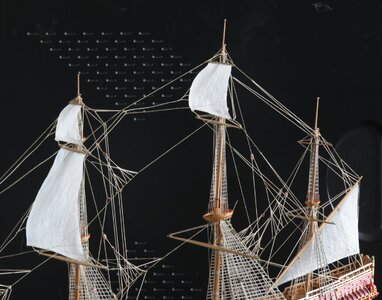
Well, I'm busy with the sails now, and I have made a few now.
1.JPG

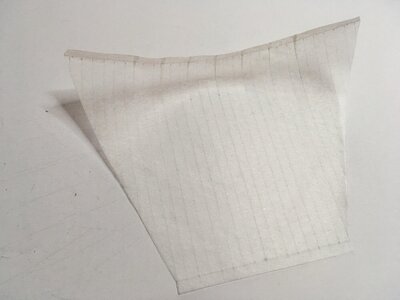
I don't use the plasticky Revell sails, and I make them from teabagpaper.
5.JPG
Then I glue a thread in;
6.JPG

7.JPG
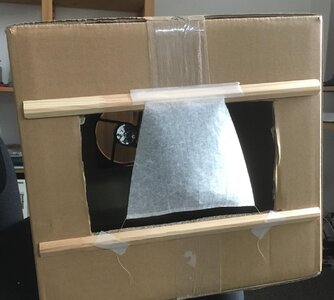
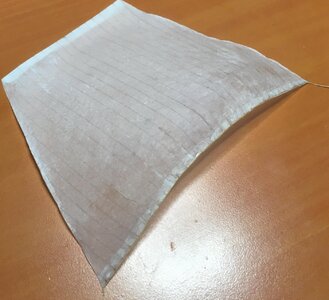
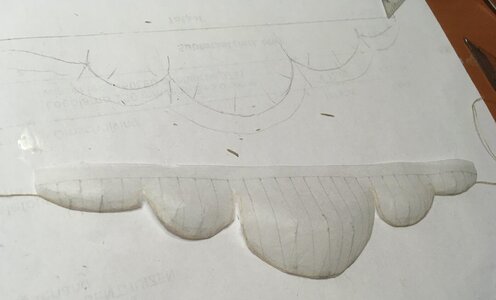
In my 'sailmaker' I coat them with thinned woodglue.
8.JPG

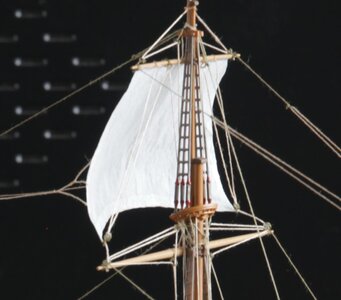
I am not completely happy with the result, the upper side of the sail does not have the billowing effect and there it is not formed as planned, but I think it is way better the using cloth or plastic. At some time I had to stop experimenting and go for real, but there is always room for improvement.
The clew lines were hard to model; the can't be put under much tension, as the real wind force vector is absent.
2.JPG

But it is not that bad taken into account its scale is 1:150
14.JPG
I also put in bow lines. The are absent in the d'Agostini model. No idea why, they are not that hard, and are very visible.
I put no tension on them so you can see them waver due to the memory effect of when the thread was on the bobbin.
Now the fun part of that is that in real life those lines would also waver due to having laid coiled.
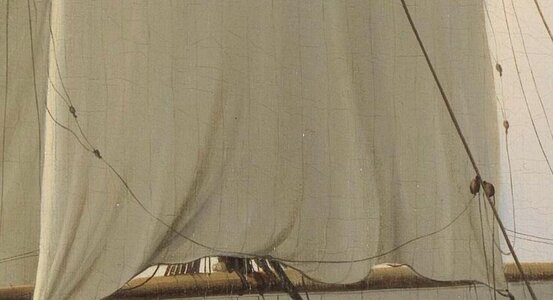
As is proven by that wonderful painting of Willem van de Velde:
15.JPG

Now I wonder what I will do. Setting the vessel with full sails, or with hoisted mainsails? I can use the same technique, and it would render the deck more visible,
But it is a more complex form and hence less nice than regular sails.
9.JPG10.JPG
Decisions, decisions. :rolleyes:
 
I think your sails look great. When trying to figure out how to do the sails on my La Flore and Glorieux, I experimented with silkspan (tissue paper for model aircraft), much like what you did here.

A note about the billowing: Paintings often show square sails in dramatic states, as do many models. In reality, a properly set square sail should have the leeches and foot as taut as possible. Billowing sails are spilling wind and would be done only if trying to reduce windage. This is different from fore-and-aft sails where the airfoil shape is critical to their function. Square sails can also derive some of their drive as an airfoil, but really only close-hauled, and the cuts of sails before the mid-nineteenth century really precluded this to a large degree.

Your sails actually look very good, and appropriately set. - I wouldn't worry about making them billow any more than that. Also, when the sail is set, the clewlines should be somewhat slack, so more tension on yours isn't necessary and they look good as they are.
 
Last edited:
Thanks, Gerin. I had the problem that my lines would curl to everywhere when slack, until I discovered I could get them to be looking like being gravity influenced when making them wet... :p
Concerning billowing, indeed, the Vasa model has it sails also put on 'undramatically'. Well, I am content now with the amount I have, and I'll stick to it.
It might be more than it originally would have been then, but part of building this model for me is about romantically being inspired to it, next to authenticity.
And I will forego the half hoisted mainsails. They look too fake from behind. I go for fully hoisted.

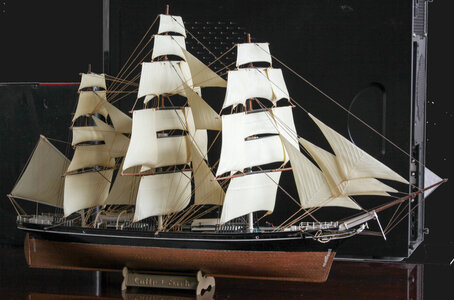
The first model of a sailing ship I build was the Cutty Sark. I build it more than 30 years ago, (the real wonder is thats it is still in one piece. ;))
IMG_2198.jpg
It was build exactly to the instruction, whith 2 exception (which I was really proud of - hey, I was a kid!) The addition of the middle railing lines and the traditional horsetail in the hand of the figurehead.
I had it always on display, but there was always a slight nagging cause I somehow disliked the sails. One reason for doing the Vasa, my second sailing model, was to do the sails better this time.
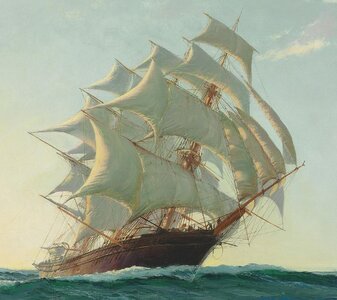
montague_dawson_c.JPG (Montague Dawson)
In fact this painting shows how I wanted the Cutty Sark to look really.

Back to the Vasa, well, I have finished sails and rigging. :cool:
When I started it, I was not planning to do extra rigging next to the Revell instructions. I only wanted to make my own sails. But some rigging was so illogical that I wanted to improve, and after getting on this forum there was no stopping till I got where I am now. So it is now complete within the confines of the 1:150 scale.
I did nearly all, including even the martnets of the main sails.
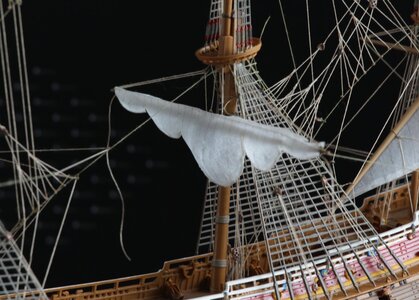
I threw in most from the museum model, and some which are only on the d'Agostini model. I have also made some correction since my earlier post. I lowered some lines to get more room for the mizzen topsail, which I made whith a concave underside.
2021-04-10 13-12-49 (B,Radius8,Smoothing4).jpg
I kind of 'regret' now not buying thicker lines for the stays and the shrouds, it might have been nicer if I made them myself. But perhaps not.
I also wonder about the supplied blocks. Perhaps I should not have used them at all, or perhaps I should have bought extra and put them in everywhere, but then it might have looked too cluttered perhaps.

Still to do: The flags, retouching paint everywhere, rope coils and the crew(!) Also thanks to this forum for that idea. Yes, I found 1:150 microhumans on ebay.
And after that I like to make a piece of simulated sea.
 
Last edited:
For now, it's finished.
Still want to do a seascape, but that will take some time. And there is never an end to improve on miniature painting and fiddling with the flags.
n-2021-04-12 15-20-26 (B,Radius8,Smoothing4).jpg n-2021-04-12 15-38-29 (B,Radius8,Smoothing4).jpg

Here's a good view on the crew:
n-2021-04-12 15-23-58 (B,Radius8,Smoothing4).jpg

This shot shows why I hoisted the main sails:
n-tt 2021-04-12 15-31-45 (B,Radius8,Smoothing4).jpg

I see a lot of things which I should have done better. Like removing the cast seams and burrs Redface. But at a certain point I want to have it finished and be done with it. I just don't have enough patience. Well, I do, but somehow I can't do anything else till it is finished, and I have other priorities now.

Next project before the seascape; breaking open the bathroom floor, cause there's a leak. :mad:
 
Great model, especially extensive rigging skills! Be sure to provide images in our completed models' section!

BTW, good luck with your next project :cool:
 
For over a year now, on and off, I am building de Vasa from Revell.
I've collected tons of pictures from the Vasa, and I try to be close to the 1:10 museum model as possible.
This is what I have now.

I took the liberty to make a few changes. For instance I painted the grating anthracite. It was too hard for me to make only the holes black.
I've come a long way now, but I am not so happy with how the rigging is done in the Revell instructions.
Now I am stuck with this detail. Yeah, it's why I came to this forum. According to the instruction it should be like this:
(ropes in my model not yet under tension)

But it doesn't make sense to me. In the pictures of the Vasa I found I can't get a clear view on it. o_O
In those pictures it looks like there is only one rope going up, but according to Revell 4 and 2. If it some kind of pulley, how many ropes
should there be? Or shouldn't that block be there anyhow?
Perhaps someone has a clear view on how the ropes should be configured? Would appreciate it very much!

Never mind the question. I found a solution.
Hallo @Jhoanor
we wish you all the BEST and a HAPPY BIRTHDAY
Birthday-Cake
Are you working actual on a project?
 
Thank you very much!
I was planning to make a seascape (not for the Vasa, but for the Queen Mary) and I even purchased the materials, but after that other activities demanded my attention. So I haven't been modelling for a time now. :(
Hallo @Jhoanor
we wish you all the BEST and a HAPPY BIRTHDAY
Birthday-Cake
Are you working actual on a project?
 
Back
Top