Dear all,
I recently started a 1:500 waterline model of Rotterdamsche Lloyd´s Willem Ruys, launched in 1947 for the Rotterdam - Jakarta service. I do not own a sophisticated workshop or fancy tools, but hope to get a proper result using basic techniques.
What I did so far:
1. found some deck plans
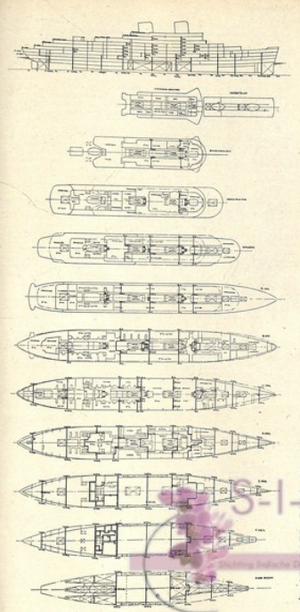
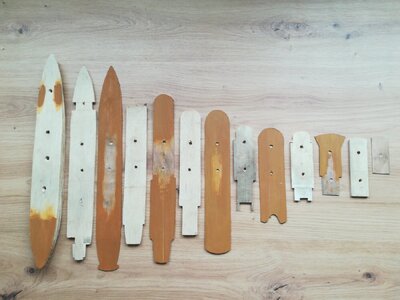
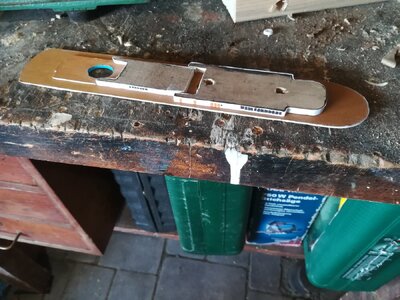
2. Scaled those I need for the waterline model, transfered them to plywood (1 and 4 mm, respectively), and cut the decks out with my jigsaw
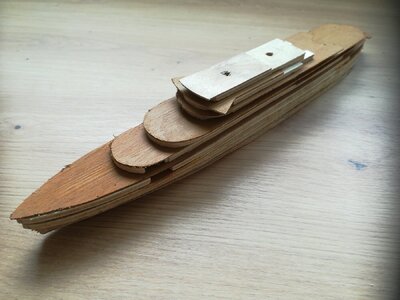
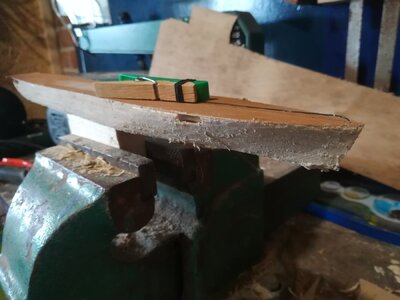
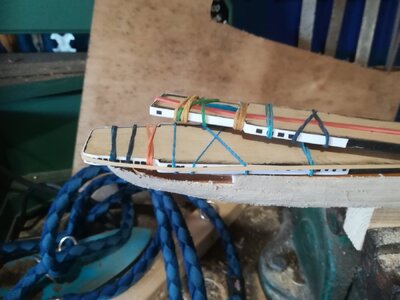
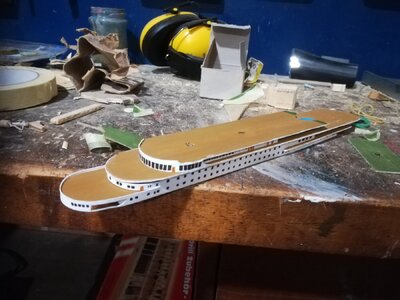
3. Arranged the decks and fixed them to a straight piece of wood. My idea is the following: I want to reproduce the sheer, and therefore need to bend the wood slightly. To achieve this, I added spacers beneath the lowest deck (to achieve the bend), arranged all decks, soaked them in water for a few hours, and then let them dry. My hope is that they´ll stay in shape after drying. (I´d be curious to know: Do you know other techniques to achieve this "controlled bending" of plywood?)The washers you see on the fotos allow the wood to dry faster. Here´s where the model stands today:
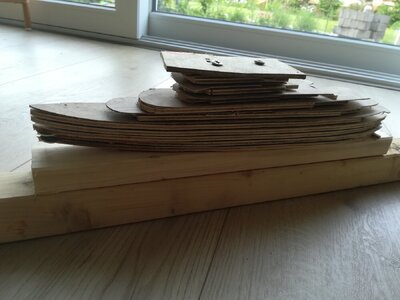
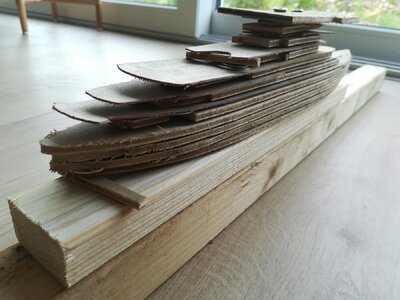
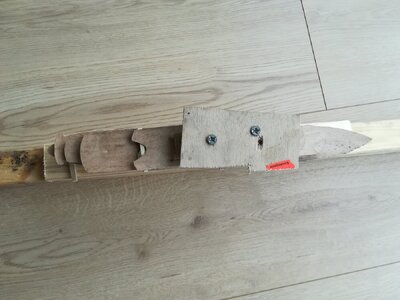
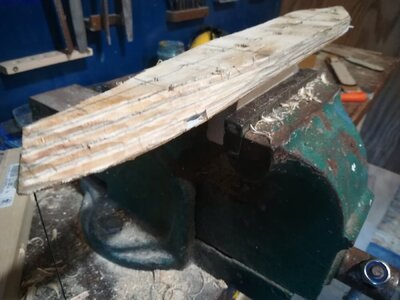
You can see that when I drove the screws in (the holes will later be covered by the stacks) the whole arrangement twisted quite badly. I´ll need to see how to improve the technique for future models. For now, i just hope it will work out.
I´d be happy if you enjoy this tiny project! More posts to follow soon.
I recently started a 1:500 waterline model of Rotterdamsche Lloyd´s Willem Ruys, launched in 1947 for the Rotterdam - Jakarta service. I do not own a sophisticated workshop or fancy tools, but hope to get a proper result using basic techniques.
What I did so far:
1. found some deck plans

2. Scaled those I need for the waterline model, transfered them to plywood (1 and 4 mm, respectively), and cut the decks out with my jigsaw
3. Arranged the decks and fixed them to a straight piece of wood. My idea is the following: I want to reproduce the sheer, and therefore need to bend the wood slightly. To achieve this, I added spacers beneath the lowest deck (to achieve the bend), arranged all decks, soaked them in water for a few hours, and then let them dry. My hope is that they´ll stay in shape after drying. (I´d be curious to know: Do you know other techniques to achieve this "controlled bending" of plywood?)The washers you see on the fotos allow the wood to dry faster. Here´s where the model stands today:


You can see that when I drove the screws in (the holes will later be covered by the stacks) the whole arrangement twisted quite badly. I´ll need to see how to improve the technique for future models. For now, i just hope it will work out.
I´d be happy if you enjoy this tiny project! More posts to follow soon.


