YQ Bluenose Ted R

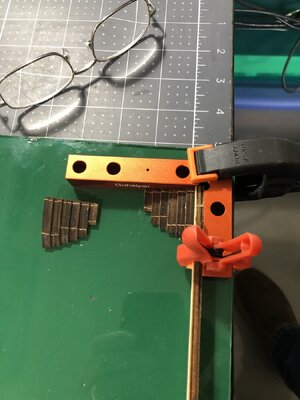
Firstly you could dry fit the transom closure piece, to check how that matches with the other transom parts. Luckily for us, these spider legs don't show on the finished model, so you have some wiggling room. From what I distinguish from your pictures it looks as if you've been rather enthusiastic in your char removal efforts. In order to save the day, you could cut thin strips of scrap wood and bond that to the transom pieces at the required locations. A little sanding and order might have been restored.
Thank you,
 
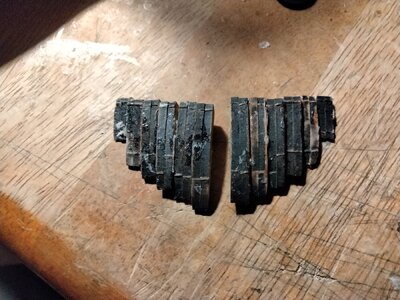
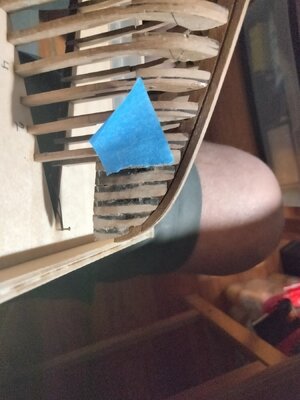
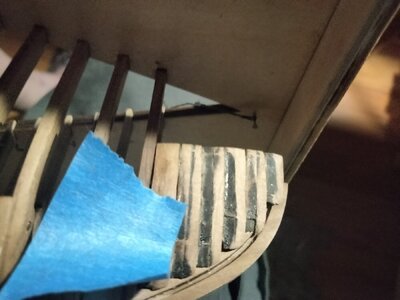
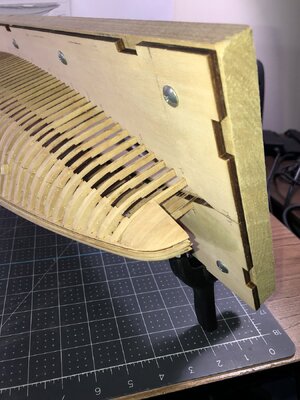
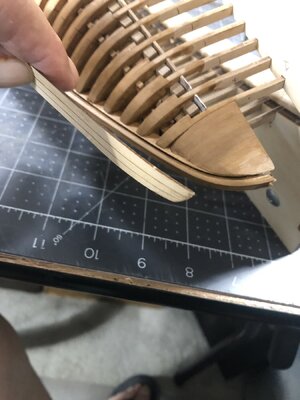
I'm working on the bow filler pieces and haven't found a drawing showing how to finish the pieces and how the forward part ends. Should I save finishing these until starting the planking to determine fit.17139110500252122330365817512050.jpg17139111063878598952761646220827.jpg
 
I'm working on the bow filler pieces and haven't found a drawing showing how to finish the pieces and how the forward part ends.
Hello Ted. I think you have to look more careful to the plans and manual.
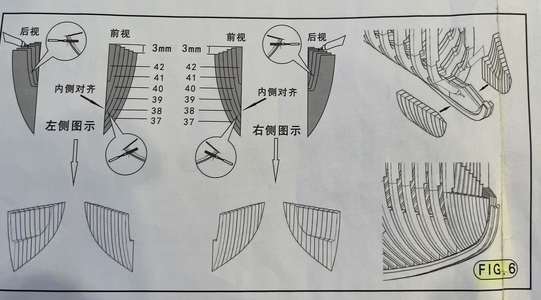
Look at plan 8-1, fig.6:
1713942283820.png
This is also shown on page 9 of the manual:
1713942091002.png
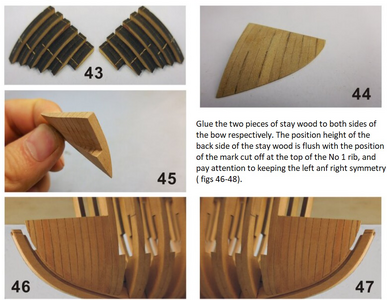
See also picture 48 and 51 of the manual.
The curve of the underside of that part must follow the curve of the rabbet in the keel part.
The top will be sanded later.
Regards, Peter
 
Last edited:
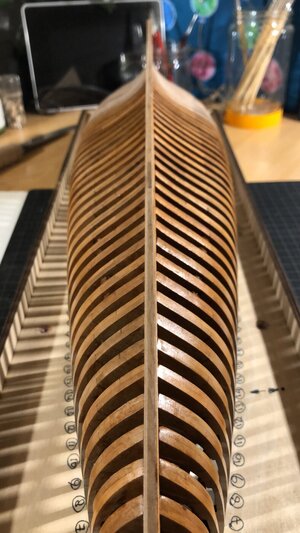
Hi Ted, I only have a partial sequence of the nose pieces to show you from my build. Of course, the main idea is to remove all the char while preserving the proper shape as detailed in the plans. Before I glued the subassembly onto the nose keel, I made sure I had pre sanded so as to fit the rabbit in the keel. Once glued in then finish sanded to conform to the adjacent ribs. For me this was one of those particularly difficult stages of construction. You can see from my efforts the result not perfect but close enough for planking on. Hope this helps.

IMG_2473.jpgIMG_2498.jpgIMG_2506.jpgIMG_2583.jpg
 
Hi Ted, I only have a partial sequence of the nose pieces to show you from my build. Of course, the main idea is to remove all the char while preserving the proper shape as detailed in the plans. Before I glued the subassembly onto the nose keel, I made sure I had pre sanded so as to fit the rabbit in the keel. Once glued in then finish sanded to conform to the adjacent ribs. For me this was one of those particularly difficult stages of construction. You can see from my efforts the result not perfect but close enough for planking on. Hope this helps.

View attachment 443574View attachment 443575View attachment 443576View attachment 443577
I think I have the concept now. Mine aren't coming out as pretty as yours
 
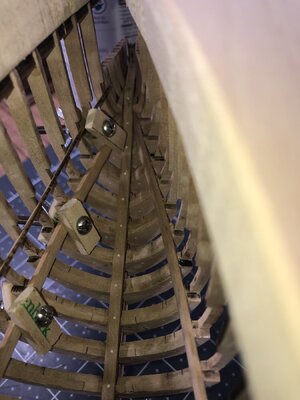
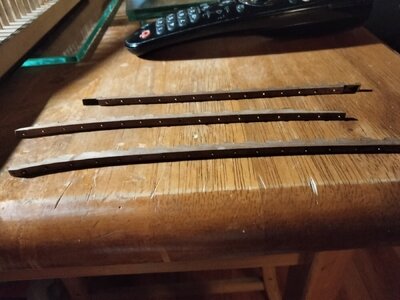
Some nice progress you're showing, Ted. Keelsons looking good and those darn little bilge pump holes have also been taken care off.

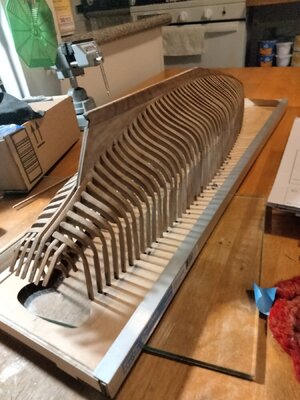
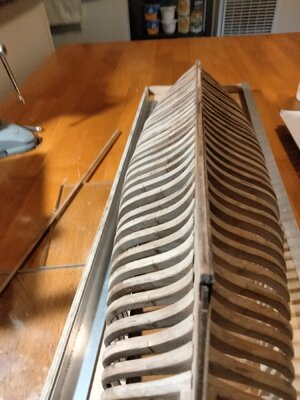
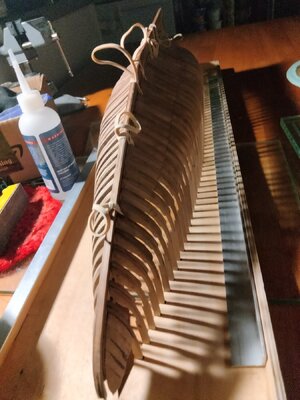
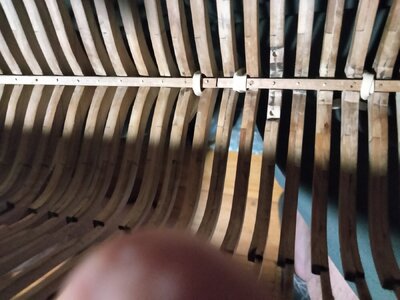
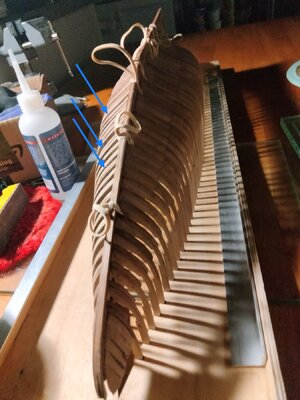
Hoping you don't mind; what struck me in one of your pictures was the misalignment of some of the frames. It might be useful to check proper position and alignment. At keel and jig side that should be okay, but make sure those frame extensions sit properly in the notches of the jig. If necessary, use shims to maintain frame pitch. When the misalignment still exists, it becomes a matter of shims and sanding.
The reason I am bringing this up is that imperfection at this level will unconditionally show up in the next steps.

IMG_0477.jpeg
 
Some nice progress you're showing, Ted. Keelsons looking good and those darn little bilge pump holes have also been taken care off.

Hoping you don't mind; what struck me in one of your pictures was the misalignment of some of the frames. It might be useful to check proper position and alignment. At keel and jig side that should be okay, but make sure those frame extensions sit properly in the notches of the jig. If necessary, use shims to maintain frame pitch. When the misalignment still exists, it becomes a matter of shims and sanding.
The reason I am bringing this up is that imperfection at this level will unconditionally show up in the next steps.

View attachment 444073
Thank you. I will work on them immediately.
A
 
I was working on the exterior transom frame extensions but Am concerned that they may get broken if installed now. Would it be ok to wait on glueing these in place layer?
 
Some nice progress you're showing, Ted. Keelsons looking good and those darn little bilge pump holes have also been taken care off.

Hoping you don't mind; what struck me in one of your pictures was the misalignment of some of the frames. It might be useful to check proper position and alignment. At keel and jig side that should be okay, but make sure those frame extensions sit properly in the notches of the jig. If necessary, use shims to maintain frame pitch. When the misalignment still exists, it becomes a matter of shims and sanding.
The reason I am bringing this up is that imperfection at this level will unconditionally show up in the next steps.

View attachment 444073
Oh, please don't hesitate to point out areas I need to rework. Your input is always welcomed.
 
I was working on the exterior transom frame extensions but Am concerned that they may get broken if installed now. Would it be ok to wait on glueing these in place layer?
You can't leave it out or too long; once you're at the step of installing longerons 102 and 103 they need to be in.
(I think I at least broke three of these spider legs, before covering up...)
 
Back
Top