ZHL Royal Caroline Kit, scale 1/30

I cannot believe it is over three years since I worked on my Royal Caroline, so for a change I have dusted her off and will continue with the build, but first there are some repairs to make, one side of the main cabin was damaged and the two front windows had the top parts of the frame broken off, so i decided to repair these first,

1268.jpg
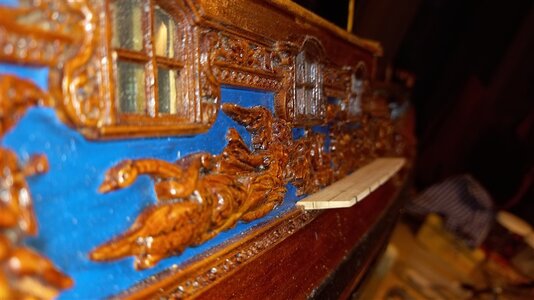
I damaged the top edge of the cabin roof when I accidentley bumped it into the side wall,


1269.jpg
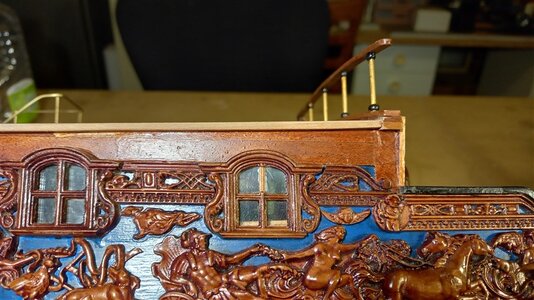
I cut the whole side plank off and replaced it, you can also see the broken frame in the first window,

1270.jpg
after replacing the plank,

1271.jpg
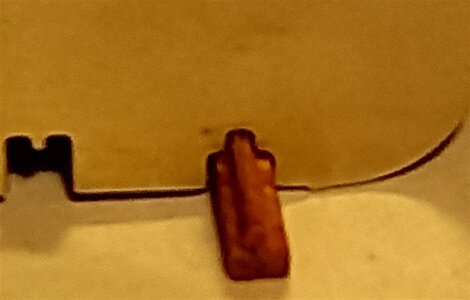
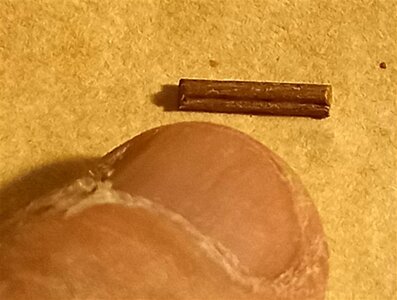
To repair the window frame I cut some strip wood to size and ran one of Artesania's shapers over it,

1272.jpg
This is the size of the pieces I needed,
1273.jpg
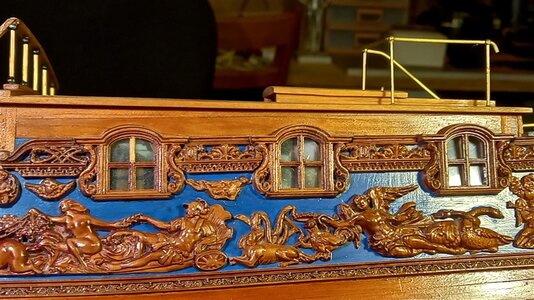
The port side piece glued in place, i used the Cockpit canopy glue, worked out great no smudging,
1274.jpg
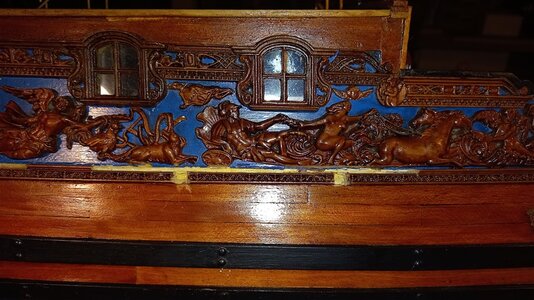
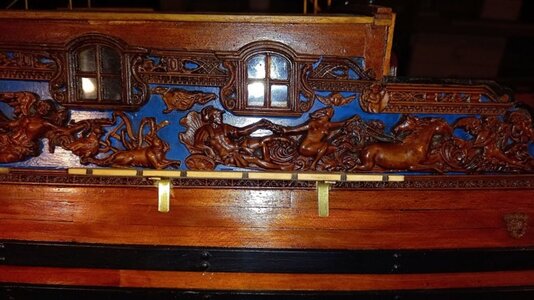
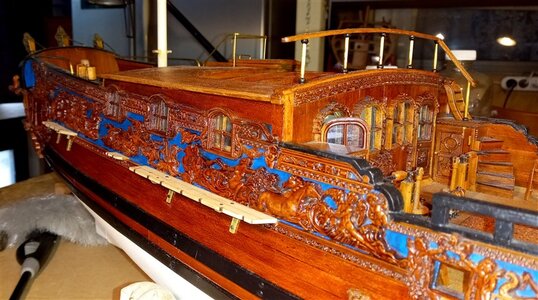
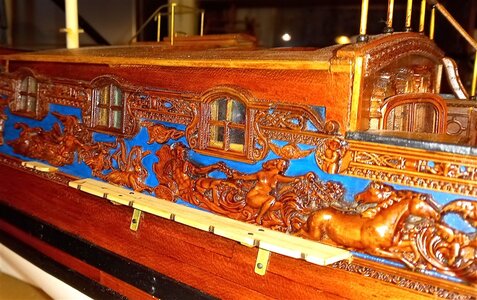
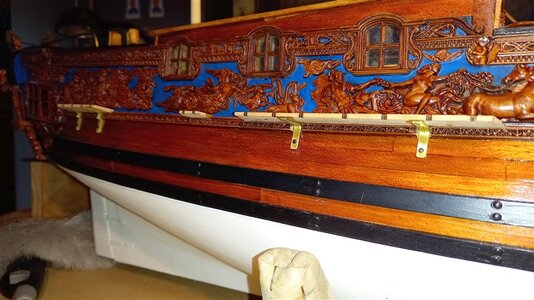
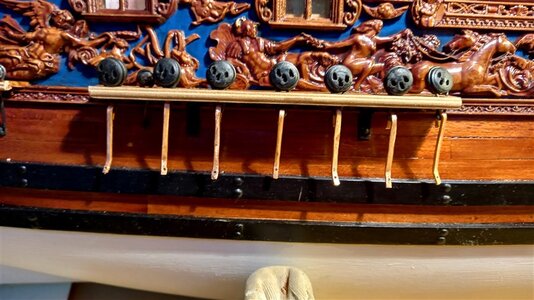
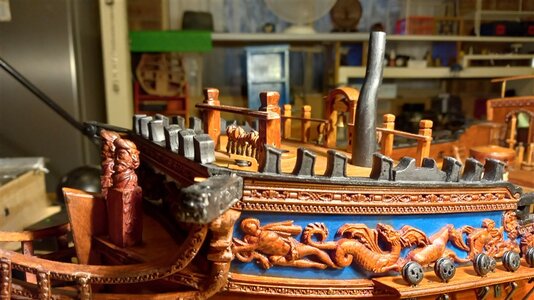
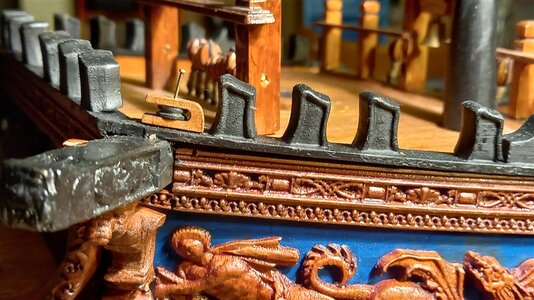
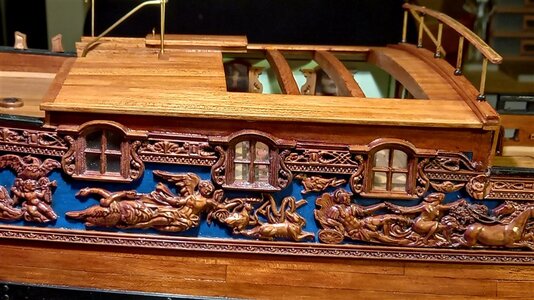
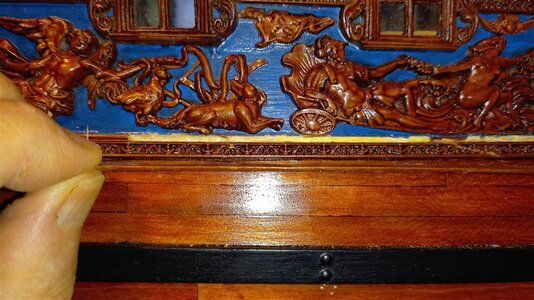
and this is the starboard side after the repaired plank and window frame have been repaired and re varnished, next up will be the chain wales, they are supposed to sit above the lower carvings where that very thin bead is running along the top of the carvings, hopefully i will be able to cut back the beading in the area where the chain wales will sit, I never had the actual draughts when I attached the the long strip of carving, and with this model I may have to do what Maarten did and attach them under the carving strip, I know Rick milled out his carving strip and attached them over the carvings, but according to the draughts they sit above the carvings, but i suppose that is another option, also the chain wales supplied are too thick and they have to be thinned down and also tapered out to the edges,

thank you for visiting,

best regards John,


.
 
I cannot believe it is over three years since I worked on my Royal Caroline, so for a change I have dusted her off and will continue with the build, but first there are some repairs to make, one side of the main cabin was damaged and the two front windows had the top parts of the frame broken off, so i decided to repair these first,

View attachment 408611
I damaged the top edge of the cabin roof when I accidentley bumped it into the side wall,


View attachment 408612
I cut the whole side plank off and replaced it, you can also see the broken frame in the first window,


View attachment 408613
after replacing the plank,

View attachment 408614
To repair the window frame I cut some strip wood to size and ran one of Artesania's shapers over it,


View attachment 408615
This is the size of the pieces I needed,

View attachment 408616
The port side piece glued in place, i used the Cockpit canopy glue, worked out great no smudging,

View attachment 408617
and this is the starboard side after the repaired plank and window frame have been repaired and re varnished, next up will be the chain wales, they are supposed to sit above the lower carvings where that very thin bead is running along the top of the carvings, hopefully i will be able to cut back the beading in the area where the chain wales will sit, I never had the actual draughts when I attached the the long strip of carving, and with this model I may have to do what Maarten did and attach them under the carving strip, I know Rick milled out his carving strip and attached them over the carvings, but according to the draughts they sit above the carvings, but i suppose that is another option, also the chain wales supplied are too thick and they have to be thinned down and also tapered out to the edges,

thank you for visiting,

best regards John,


.
Nice repairs John. All is forgiven.
 
1275.jpg
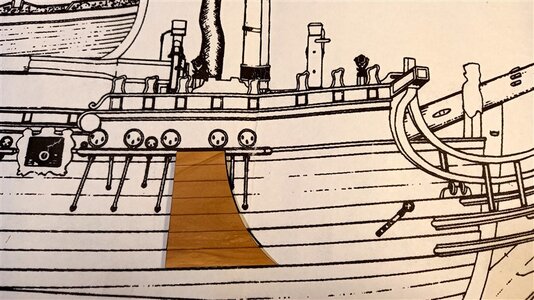
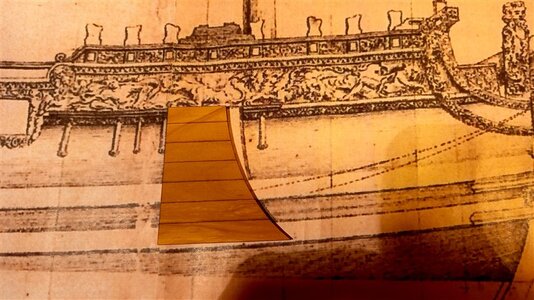
next up will be the channels and the anchor linings, one of the other builders had said that the Anchor linings were too big so I wanted to check them out, this is the lining boards sitting over the kit plan, it looks ok to me,
1276.jpg
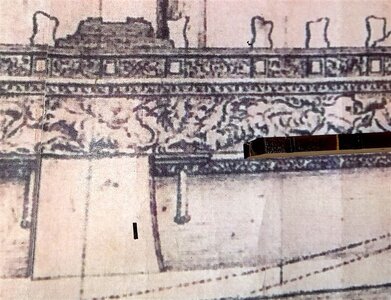
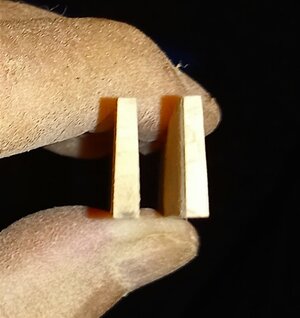
and sitting over the draught, just a little bit too short at the front, but I reckon it will do,

best regards John,


.
 
1277.jpg
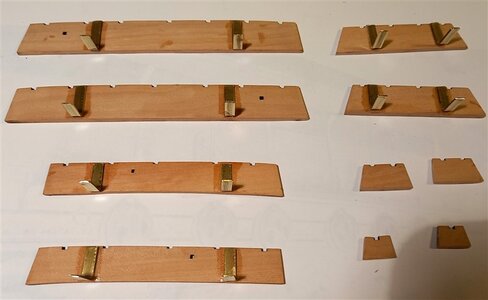
this pic shows the thickness of the supplied channels, nearly twice as thick as they should be,


1278.jpg
in the process of thinning them down and also adding the taper,


1279.jpg
and this is where they will sit, above the carving not on it,


1280.jpg
in the course of fitting the channel, a little bit more trimming yet,


1281.jpg
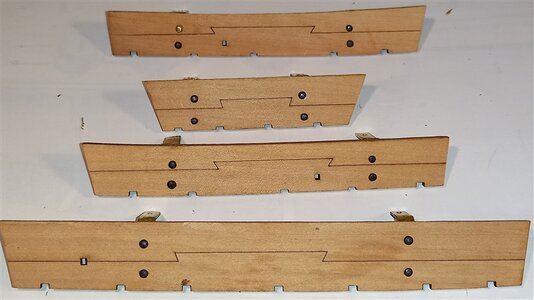
and cutting the slots for the support brackets,


1282.jpg
and how it ends up,


1283.jpg
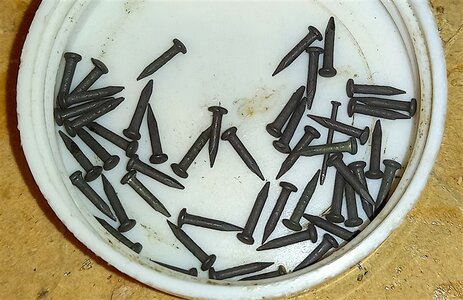
thats all the channels made up, tomorrow I will drill them and add some brass pins for strength,

thanks for looking in,

bet regards John,


.
 
Hi John,
Good to see you back on the RC.
And after this one you have another one :)
Thank you Maarten, yes another one, I was thinking of doing the second one with some hull framing, will have to see how I go, I have the high res draught now an d some framing plans from another member, its just a matter of time,

best regards John.
 
1286.jpg
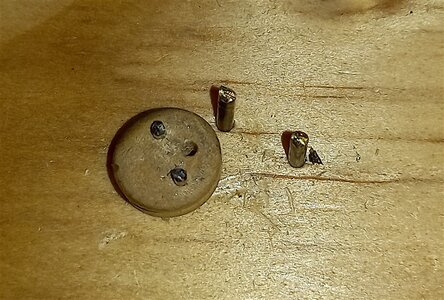
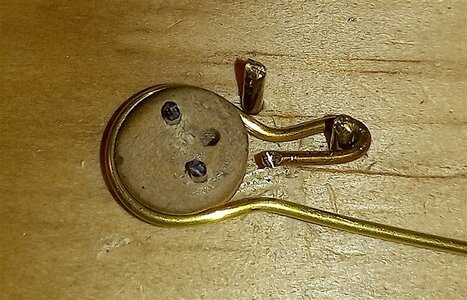
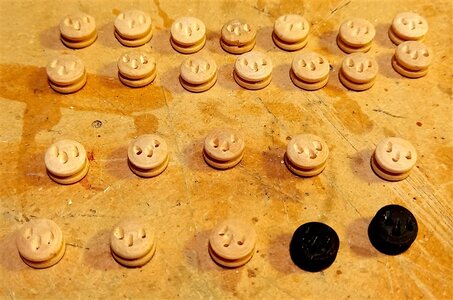
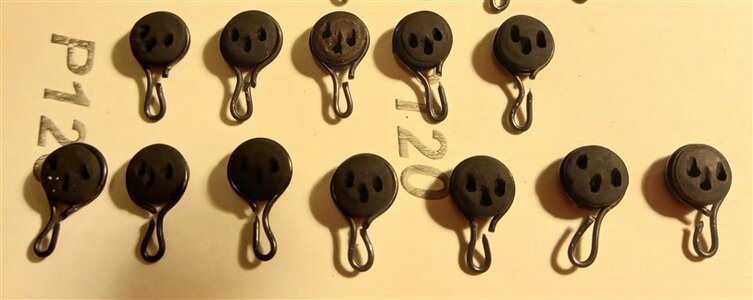
Time for making up the dead eyes and straps, I tried my own way and it wasn't successful, so I went to Maartens build log and copied his jig, what a difference so easy and no soldering,


1287.jpg
Just wrap the brass wire arround the jig and trim to size,


1288.jpg
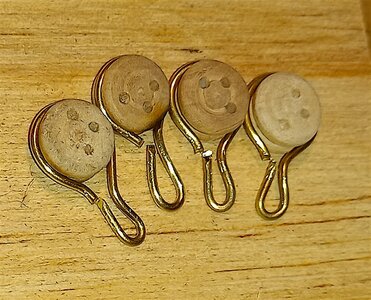
I done a few quick test ones and really liked the way the jig worked, Thank you Maarten,

1289.jpg
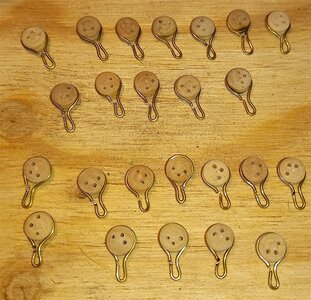
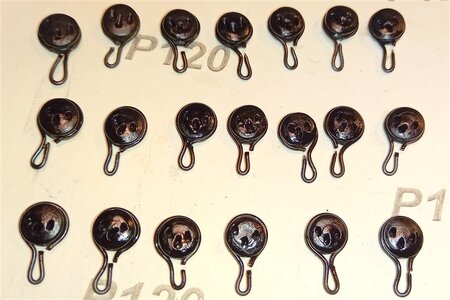
and this is enough for the Fore Channels and the Main Channels, maybe not quite as good as Maartens, but I am pleased with, now I have just to make the straps, guees who I am gonna copy,


thanks for dropping in,

best regards John,


.
 
1294.jpg
After a couple of coats of Black ink, I couldn't get any ecoline but the black ink seems to have worked,

1295.jpg
and a final seal with some matt varnish, the varnish is still wet, should dull down when dry,

1296.jpg
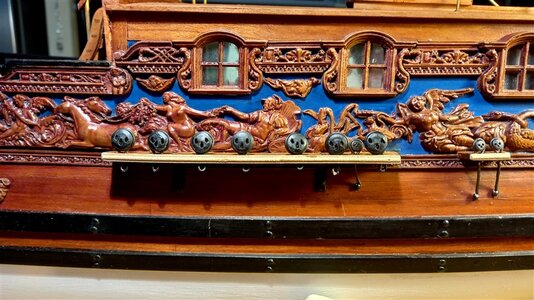
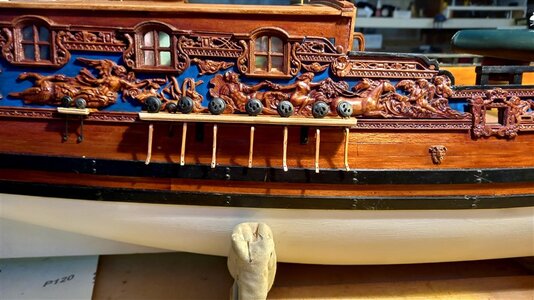
and mounted on the channels,

Best regards John.
 
Last edited:
1302.jpg
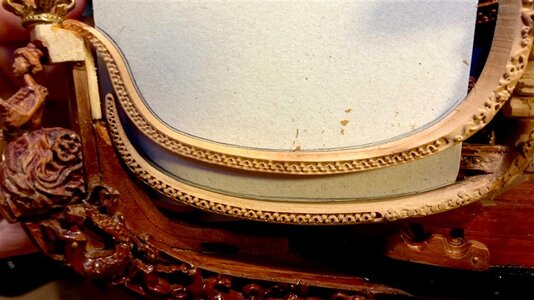
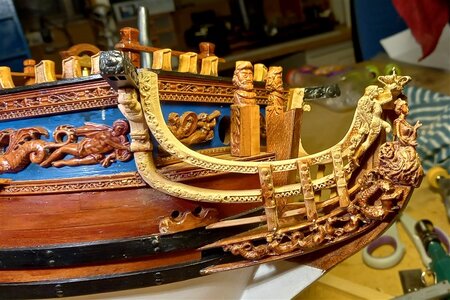
I've attached the figure head and been working on the head rails, once I got one side fixed in the position I wanted I used a piece of cardboard to make a template for the other side,

1303.jpg
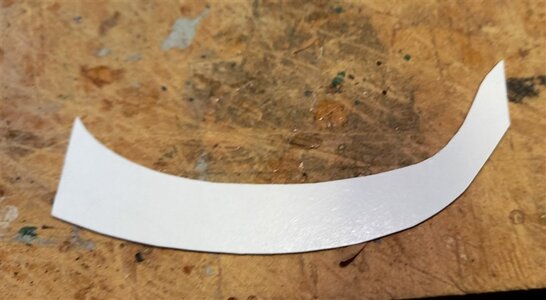
after cutting out the template,


1304.jpg
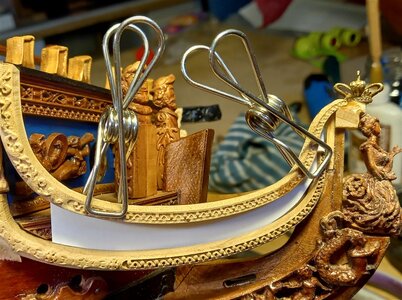
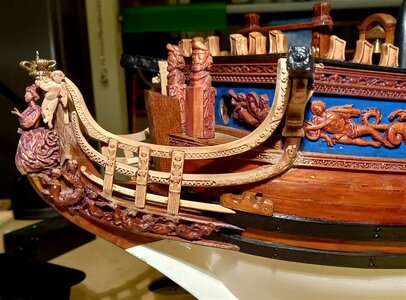
I then attached the top rail and after the glue was set I clipped the template to it and fixed the other rail in place,


1305.jpg
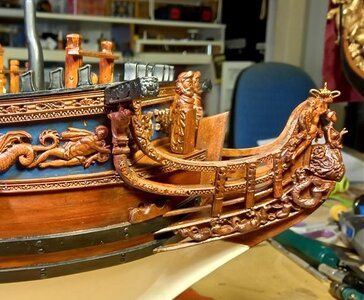
and a view with the bottom rail in place and also the support rails, after the glue had set I carved away the excess wood behind the figure head and under the crown,

best regards john,


.
 
1306.jpg
port side view,

1307.jpg
after a coat of the wax,

1308.jpg
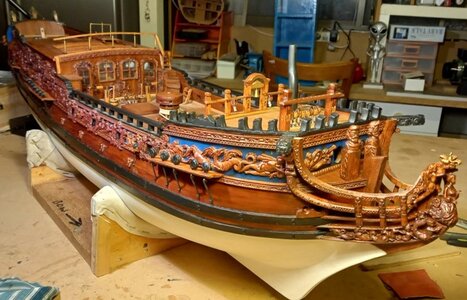
General view along the starb side, I have also painted and nailed in position all the dead eye straps, and painted the knights heads,


1309.jpg
attaching the snatch block for the cat head,


1310.jpg
a close up view,

thank you for dropping in,

best regards John,

.
 
1300.jpg
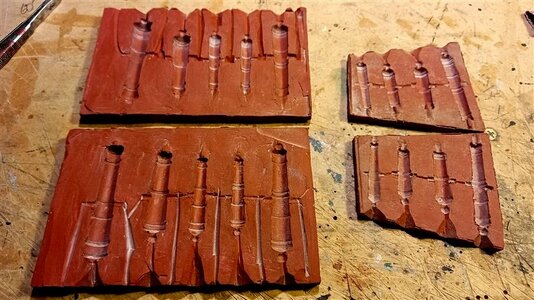
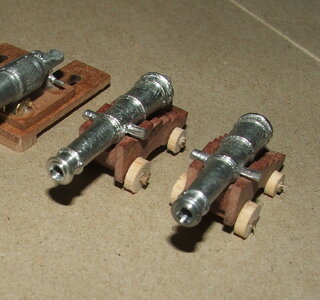
I was going to change the cannon barrels, I had a couple of molds that i had made for the Royal William that were the right size, but after looking at the carriages that I had already made I decided to use them as it would have meant destroying all the metal work on the carriages, maybe on the next one,


1301.jpg
one of the cannon already made,

139.JPG
these are the cannon that i was thinking of using,


best regards John,

.
 
View attachment 414194
I've attached the figure head and been working on the head rails, once I got one side fixed in the position I wanted I used a piece of cardboard to make a template for the other side,

View attachment 414195
after cutting out the template,


View attachment 414196
I then attached the top rail and after the glue was set I clipped the template to it and fixed the other rail in place,


View attachment 414197
and a view with the bottom rail in place and also the support rails, after the glue had set I carved away the excess wood behind the figure head and under the crown,

best regards john,


.
Coming along and looking good John.
This part of the build is so tedious and time consuming. So much work goes into getting everything to fit right and cutting, shaping and getting it all to line up defently test ones patience.
 
Coming along and looking good John.
This part of the build is so tedious and time consuming. So much work goes into getting everything to fit right and cutting, shaping and getting it all to line up defently test ones patience.
Thank you Rick, I agree with you, I just finished attaching the cleats and pin rails, ( will attach some pics next post ) the pin rails were not too bad but the cleats drove me crazy, I'm happy with them but the large cleats by the focsle ladders I had to move down a bit so they didn't interfere with the ladders, ah well such is life.
And thanks everyone for the likes, they are much appreciated,
Best regards John,
 
View attachment 139777
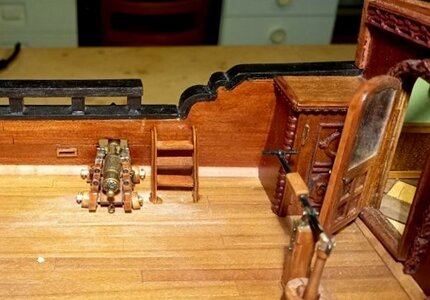
While I was up on the cabin roof I thought that i might as well finish the railings around the aft companion way
hatch, this is a pic from the manual on how it should look,

View attachment 139778
They supply 2mm brass rod for this, but I thought it looked a bit on the thick side, you are supposed to use the
rod and form eyelets at the top of each stanchion you make for the 2mm rails to go through, I had some 1.5mm
single hole stanchions left over from a 1/32 scale tug I built, they were just right and I also used 1.5mm rod as
the rails,

View attachment 139779
the first two stanchions lined up, you have to be careful drilling the holes as if you get them wrong there is no
way to hide the mistakes, measure twice and drill once,


View attachment 139780
bending the rod to shape,


View attachment 139781
nearly there, just a little bit of final adjusting,


View attachment 139782
and the final result,


View attachment 139783
another view,

.
Looks much better than the kit supplied parts!!! Well done!!!
 
Back
Top