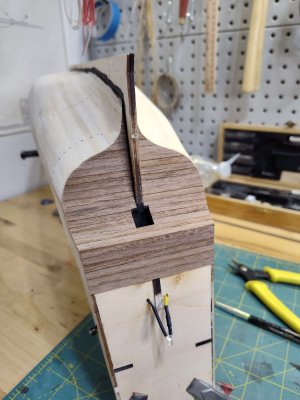
ZHL - The Black Pearl 1:65 Gold Edition

Joined
Mar 18, 2025
Messages
23
Points
48

Location
Cache Valley, Utah
Now that I've finished my Model Shipways Prince De Neufchatel, I can now start on The Black Pearl that I was recently gifted. This kit was purchased from Model Expo, which has been my go-to for the last 16-ish years of ship modeling.

I'm hoping to just do a little something each day to keep moving forward. My last kit took about 16 years on-and-off work to get done. Granted there were a lot of plastic kits of model cars mixed in between, and some navel guns builds. But the PDN was side stepped for other projects when I felt "stuck". To make a long story short, apologies for the oversharing of minute progress, but it will be progress nonetheless.

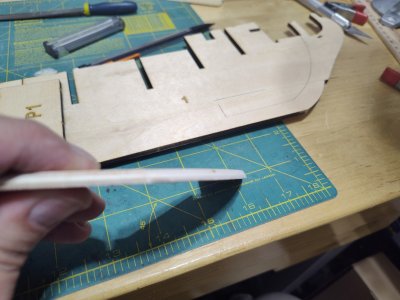
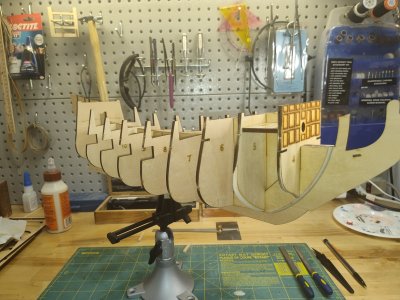
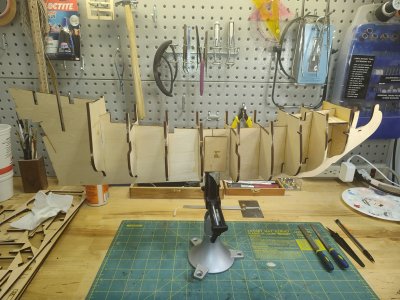
First things first, the keel and center frame has been glued up. It's a two piece keel with blocks "P1" that get glued on both sides to strengthen frame. The wax paper was to prevent me accidentally gluing the frame to my work bench. This is my first time experiencing this type of keel. First impressions of this keel is that I'm not a fan of the keel and center frame being all one price. I'm going to see what I can do to make it more authentic, as the instructions just show to plank all of it.
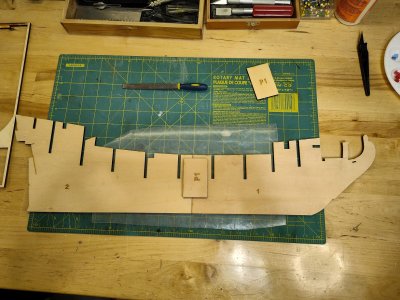
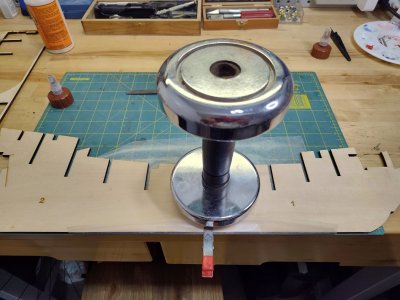
IMG_20250407_190034381_HDR~2.jpgIMG_20250407_190614079_HDR.jpg

This build is also giving me a change to use google lens to translate the instructions. There are several sections in the instructions where there are notes in Chinese, but not in English. And some of the English translations are off. The picture below is more for reference

Untitled.png
 
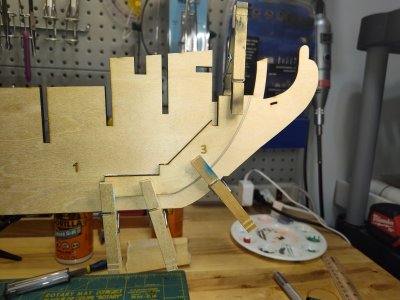
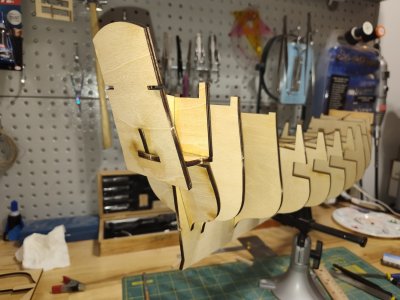
Small update for today. Just minor shaping and starting to lay the frames into place. After I installed the front bulkhead on the bow, I've realized there's not much depth for installing and mounting the bow spirit. I'll have to add some blocking and drill it out after working out the correct angle. Granted it also will rest on that support right in front.

IMG_20250408_200713794.jpg
IMG_20250408_201429518.jpg

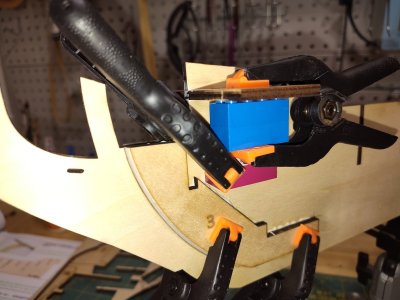
Did you know that Lego's work great in a pinch to square your frames? I've used this in the past with good results.
IMG_20250410_190029193.jpg
The details on the bow are also laser cut, so they're looking a little rough. I'm going to try and see if I can smooth it out with some diluted wood filler.
IMG_20250410_202001192.jpg
 
I had some time in between yard work over the weekend. I was able to get most of the frames installed, hopefully the rest will be done later this week.

The instructions showed to bevel the frames to a laser engraved line to help with planking. I'm thinking I should have waited until everything was together. I can see that more shaping and wood filler may be needed to fix frames 4 and 5 to match the keel and not make the planking misshapen. But we'll see when we get there.
IMG_20250413_200516385.jpg
IMG_20250413_200528233.jpg
 
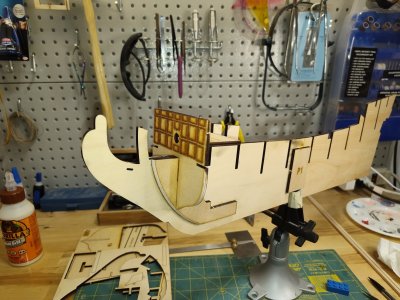
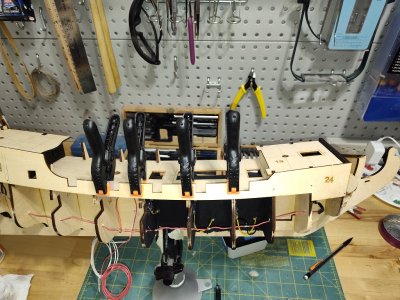
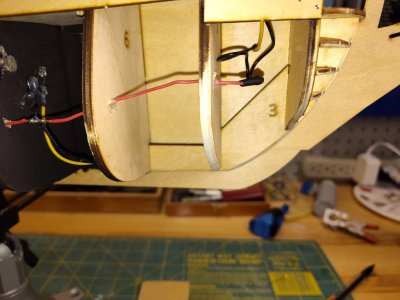
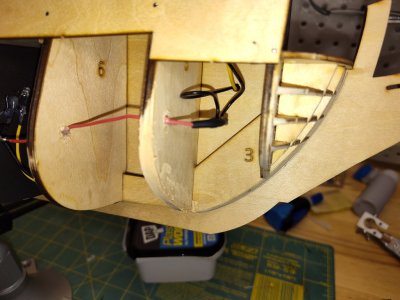
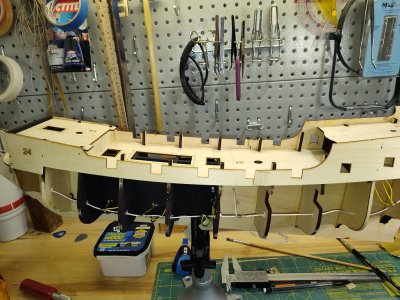
I finished the framing and can now move on to installing the decking. I'm now to the point where I need to plan and install the lights.

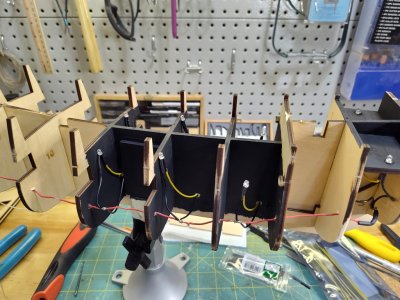
But the light that came with kit are just LED's with spool of bare copper wire. I've ordered some LED's that will "flicker" to give the lights a more lantern look to them, so I'll put a test together before I fully commit to the lights. I'm still not 100% sure that I even want them to be honest. I have a kit-bashed Ghostbusters Ecto-1 model I did a couple of years ago where I went through the effort to add lights and wiring and I've once or twice turned it on since I finished the model.
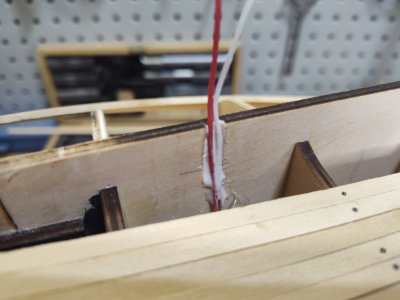
IMG_20250414_221314593.jpgIMG_20250414_221325548.jpgIMG_20250414_221510132.jpg
 
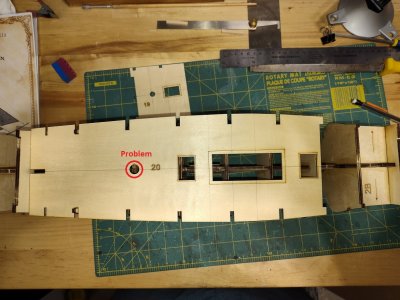
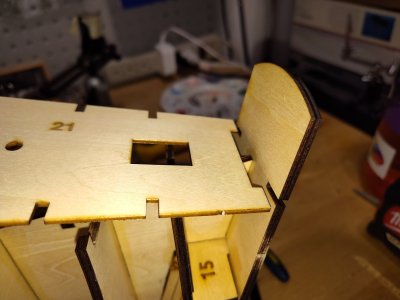
Found my a couple of issues with this kit last night, and they center around the main false deck. As assembled the false deck is around 1/16" too long. But I think it has something to do with the center line of the keel, where the two halves are glued together. It was fairly loose when I did the dry fit, so I pushed it all together tightly before gluing. Everything seems to deviate from that center point. Meaning all the notches line up forward or after depending on the center line. So I'll need to modify the deck to get it into place. As the main mast hole is also off, but will need to evaluate as I lay down the false deck.IMG_20250416_003226094.jpgIMG_20250416_003334768.jpg

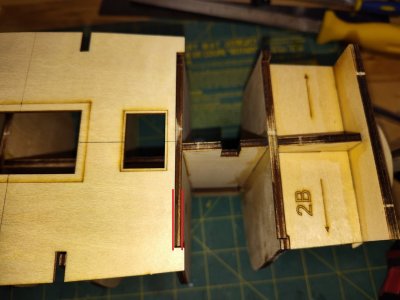
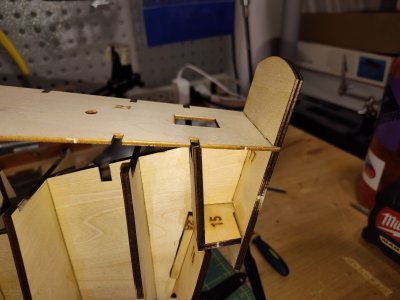
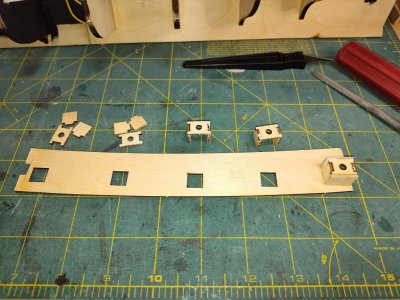
Another issue I found is around how the main and aft false decks are installed. The instructions made no mention of not gluing certain frames, and I wish I had the foresight to not glue a couple of the frames into place so make installing the false deck easier. There are tabs that need to fit into the frame. and it would have been easier to slide those frames into place as I lowered the false deck. Currently I can't do that with the notches cut out for the other frames and having to bend the deck to install.
IMG_20250416_003906128.jpgIMG_20250416_003915917.jpg
 
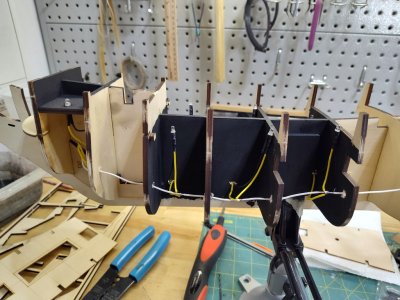
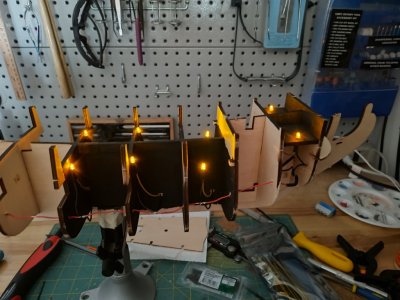
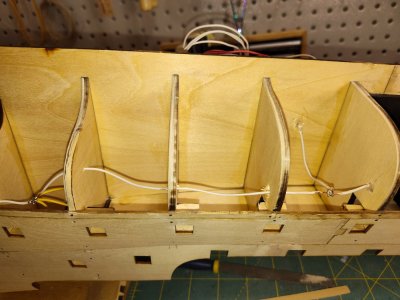
I had a couple of days this weekend of being able to work on the Pearl. I spent most of the weekend planning and laying out the lighting. I ordered some 12v flickering LED's to give it more of a lantern lighting effect. I'm ditching the included light kit and batteries and moving to a plug that will be mounted into the base and hidden.

IMG_20250418_190721735_HDR.jpg

IMG_20250418_190731376_HDR.jpg
IMG_20250418_190819226.jpg

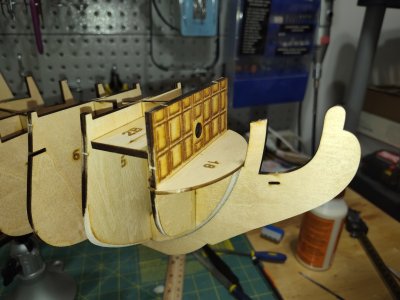
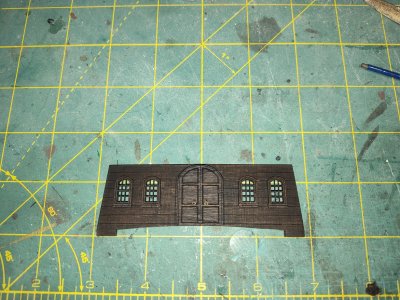
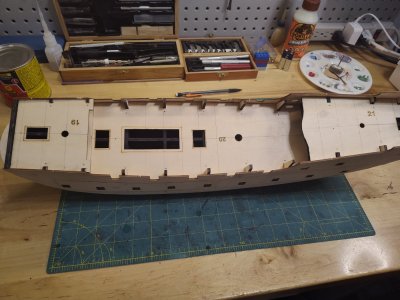
I have the false decks installed with some tweaking to make fit right. I ended up having to remove the tabs that fit into the already glued in frames, as there was no other way to install them without breaking the deck. I also did a color test on the captains cabin wall. The Black Pearl was originally the Wicked Wench before she was burned and sank. So I don't want the ship to be all black, but I want some browns to show through. I stained the walnut a deep brown (first photo) and then did a black wash over the top and blended in some light gray (2nd photo). For the cabin doors, I used some eyebolts from another kit to make the door rings.
IMG_20250419_180840751.jpg
IMG_20250419_194037083.jpg
 
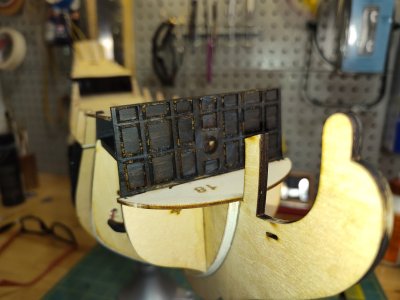
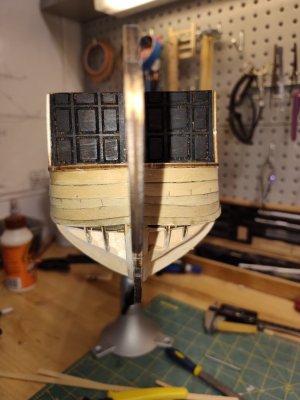
I was able to get a little more done last night. I test painted the front bulkhead as that is just a laser etched piece of plywood. I stained that a dark walnut and then did a black wash over the top. It looks like I need to paint a little more in the etched lines as the camera flash brought out where the paint did not settle. IMG_20250419_195059199.jpg

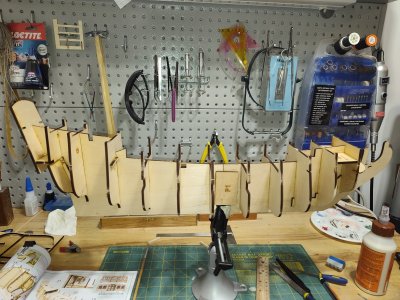
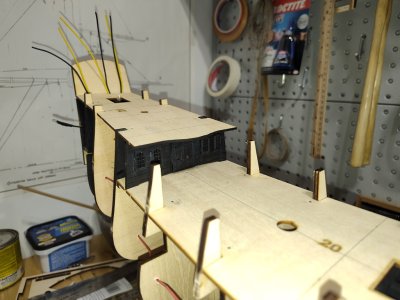
Next up the side plates were added. The fit and glue up is a little tricky. The frames that show above deck are to be cut out later per the instructions, so glue contact was minimal across the decking. And the frames showing above the wall aren't an issue because they will be cut flush with the deck. Since there is a joint in the middle of the plate, I glued in a patch of wood to clamp and mount flush with the intent that it will be sanded down flush.
IMG_20250420_171148188.jpgIMG_20250420_204302680.jpg

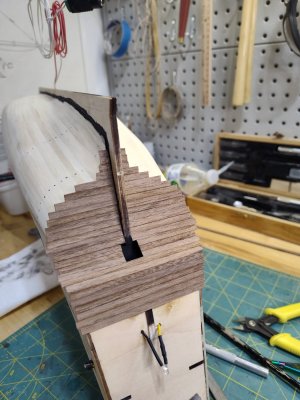
I had to "fix" my sanding error on the forward frame. The instructions stated to remove material down to the laser cut line. but once I installed this, it was clear that lines would be off for planking. So I pulled out the wood filler and reshaped the frame to reset it. I should have waited to fair out frames after it was assembled. But it was the first time doing a new ship in 16 years so I was little excited to get started.
IMG_20250420_203042812.jpgIMG_20250420_203047773.jpg
IMG_20250420_204244281.jpg
 
i didn't know model expo sold zhl kits. most retailers stay away from the chinese kits as they usually violate copyright laws. i checked model expos website and they only have the black pearl available in the plastic kit form at 1:150 scale. the fact that parts don't fit is a dead give away that this is a chinese knock off kit ( that and the chinese instruction manual ).
 
i didn't know model expo sold zhl kits. most retailers stay away from the chinese kits as they usually violate copyright laws. i checked model expos website and they only have the black pearl available in the plastic kit form at 1:150 scale. the fact that parts don't fit is a dead give away that this is a chinese knock off kit ( that and the chinese instruction manual ).
To be fair the OcCre Black Swan is also based off the Black Pearl. It's just a different figure head and name. It was a more clever way of getting around copyright laws and licensing from Disney. This kit came from ModelExpo back in late February. I'm not sure why this was pulled from their website (possibly due to recent tariffs increases?). It had been there for well over a year prior to ordering. But the instructions are not great, or at least the English translations. Google lens does a great job translating.

I wouldn't say that there is an overall issue with parts not fitting correctly mostly the keel being about 3/32" to short and the domino affect that has caused. The biggest issues are the order of operations and lacking instructions and detailed plans. But I'm up to the challenge.
 
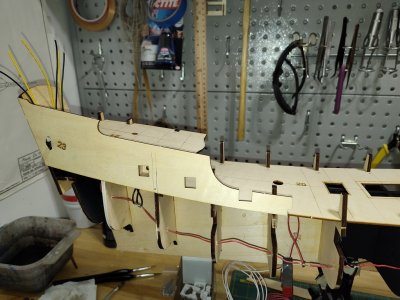
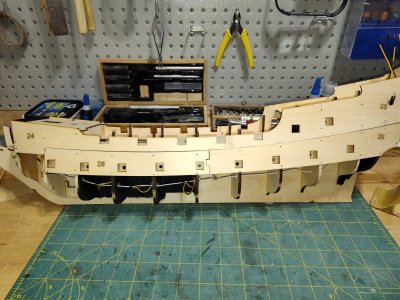
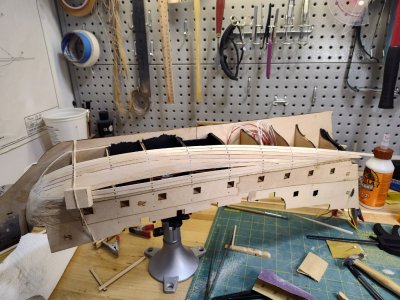
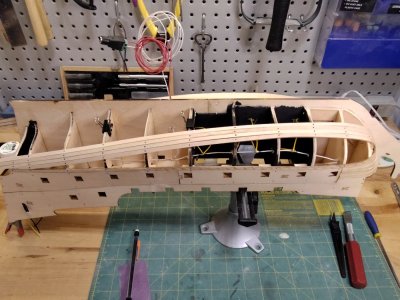
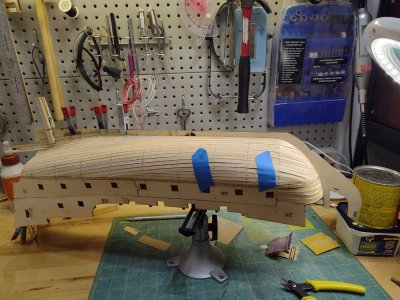
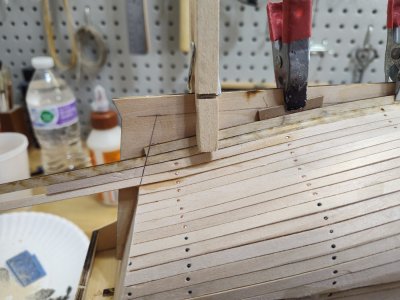
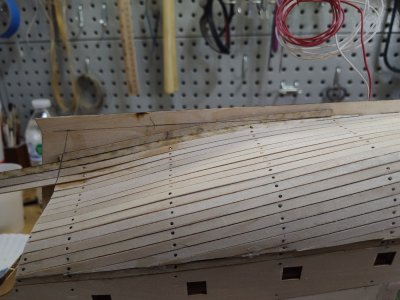
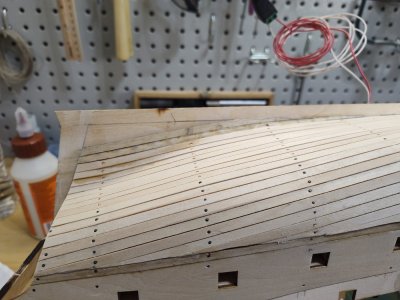
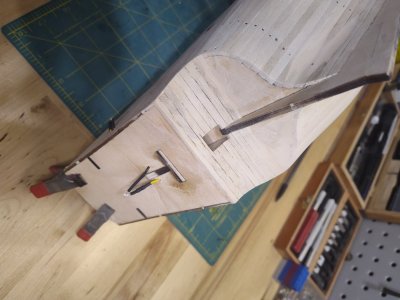
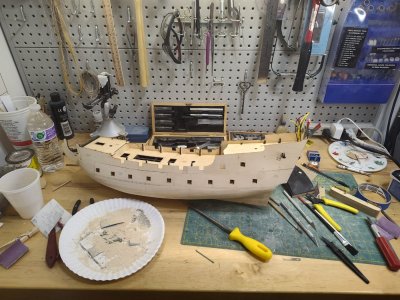
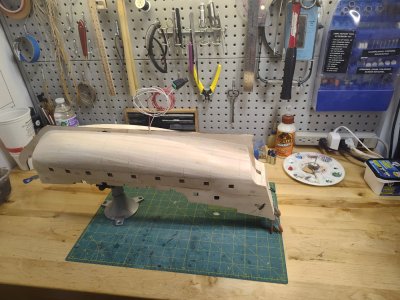
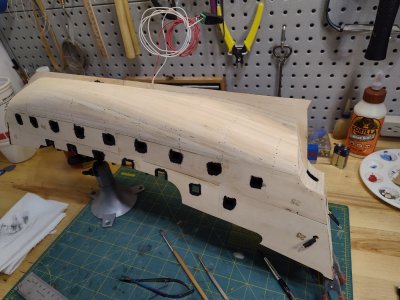
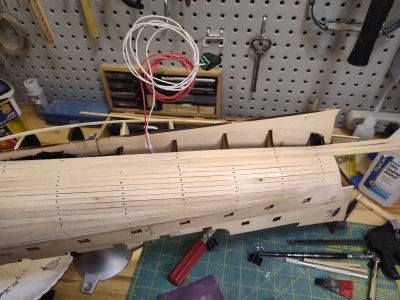
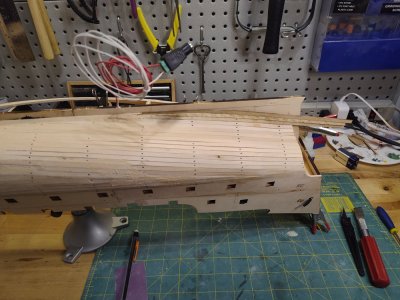
I was able to work a little bit over the weekend and installed the upper bulwarks. The lower deck and false gun ports were also put together. Port side of the lower deck is completed. The starboard side is half finished.
IMG_20250426_092156904.jpgIMG_20250426_214440928.jpg
IMG_20250427_142559886.jpg
 
Last edited:
Back
Top