-

Win a Free Custom Engraved Brass Coin!!!
As a way to introduce our brass coins to the community, we will raffle off a free coin during the month of August. Follow link ABOVE for instructions for entering.
-

PRE-ORDER SHIPS IN SCALE TODAY!
The beloved Ships in Scale Magazine is back and charting a new course for 2026!
Discover new skills, new techniques, and new inspirations in every issue.
NOTE THAT OUR FIRST ISSUE WILL BE JAN/FEB 2026
You are using an out of date browser. It may not display this or other websites correctly.
You should upgrade or use an alternative browser.
You should upgrade or use an alternative browser.
- Joined
- Sep 18, 2022
- Messages
- 206
- Points
- 113

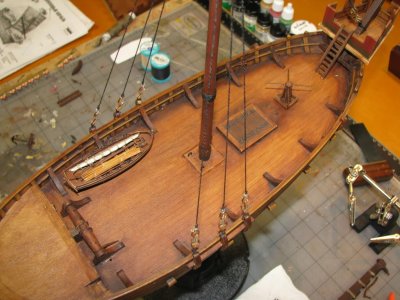
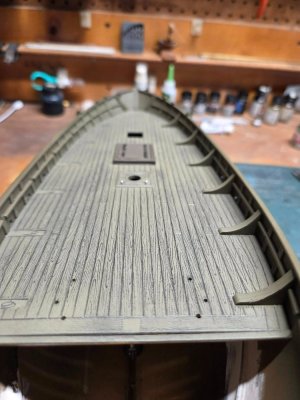
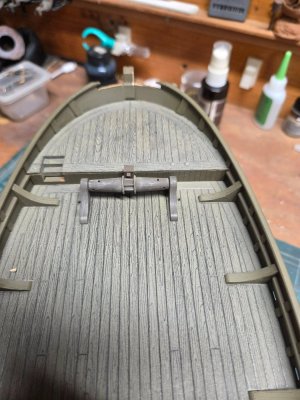
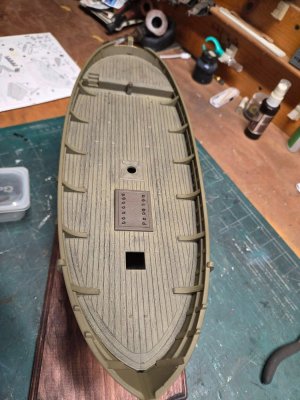
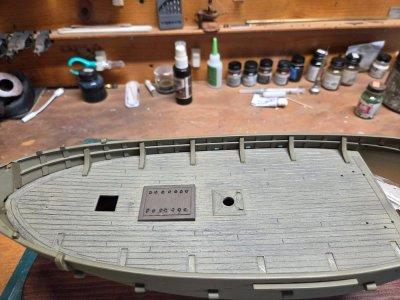
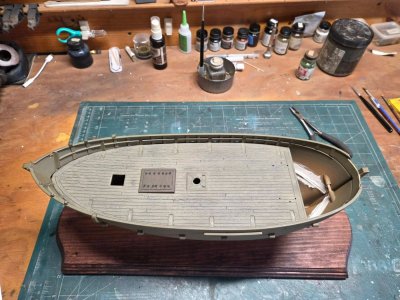
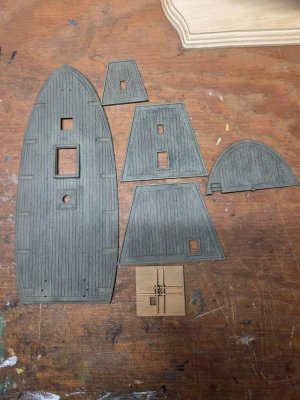
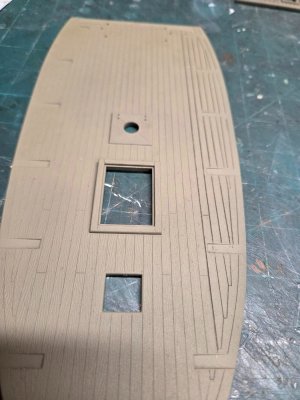
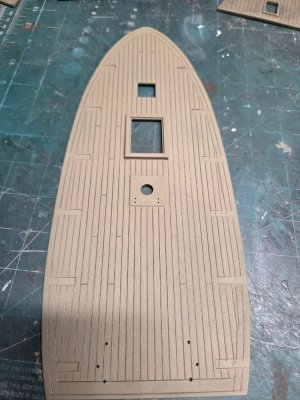
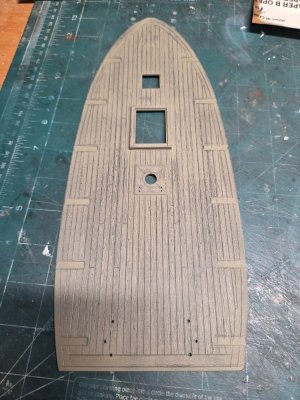
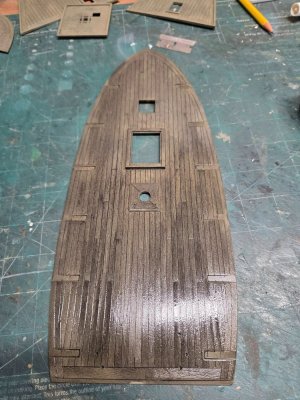
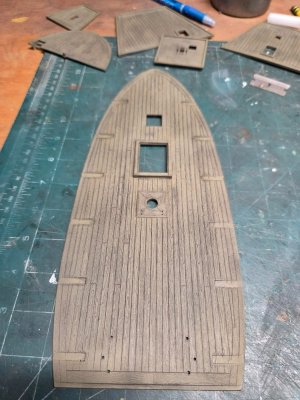
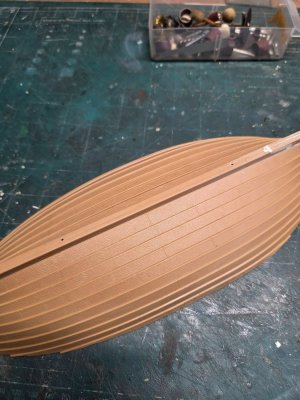
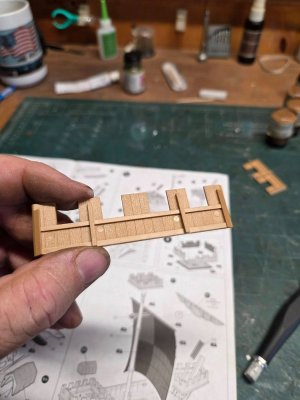
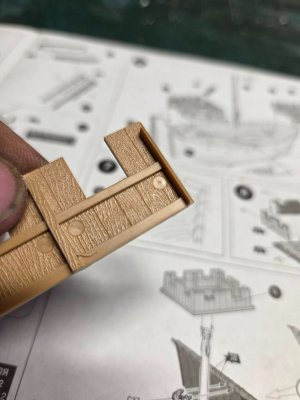
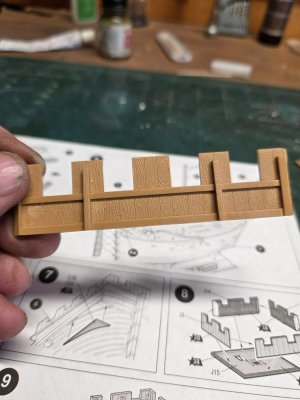
Last of the deck sections sanded, scribed and washed, I dry fitted the hull section together to see how they will sit in the stations. I found if I scribe the caulk line before I sanded, it was MUCH easier to see them
 I realized that I forgot to paint the underside of the crow's nest platform - what's another 2 days in the build.


- Joined
- Sep 18, 2022
- Messages
- 206
- Points
- 113

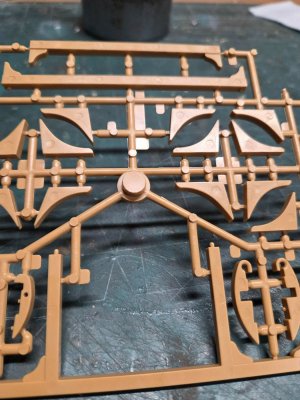
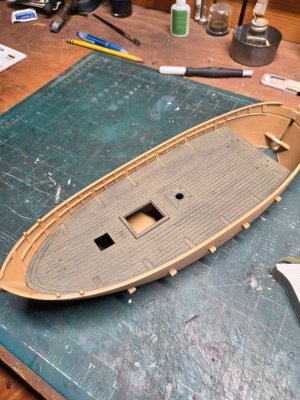
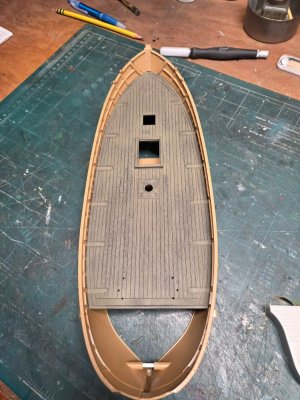
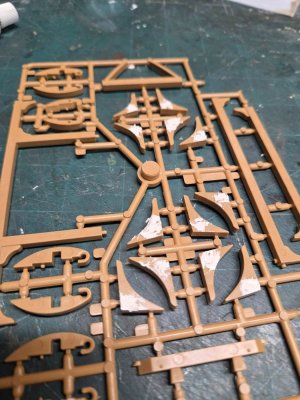
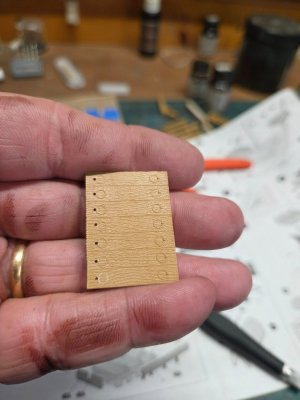
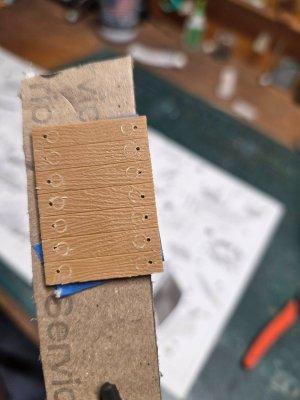
Test fitted main deck and started filling the ejector pin marks. If I could find the right sized punch, I'd punch some thin plastic sheet and simply fill that way and sand flush. Each one is a separate number and slightly different, so I'll leave them on the tree for now. I'll remove them just prior to sanding and will mount them to a backer board with their numbers. One other thing I'll do is rake a fine tooth saw over the pits to give them a light woodgrain effect, so they won't be so smooth.


Last edited:
- Joined
- Sep 18, 2022
- Messages
- 206
- Points
- 113

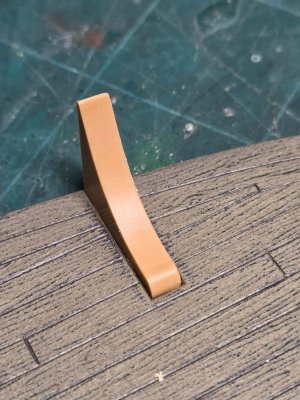
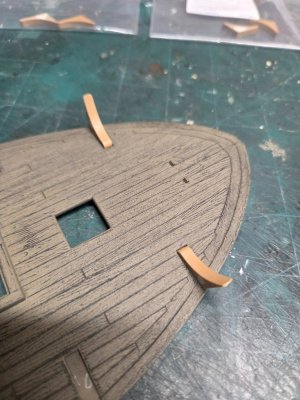
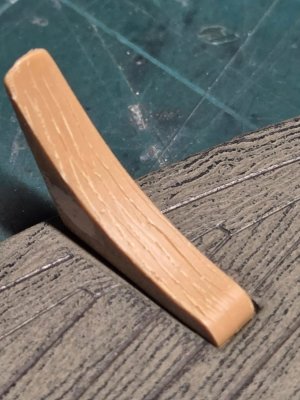
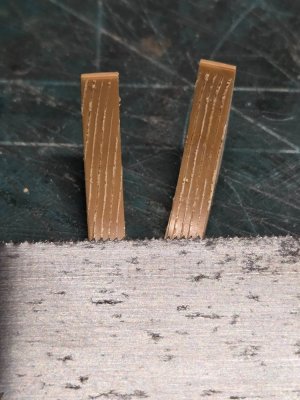
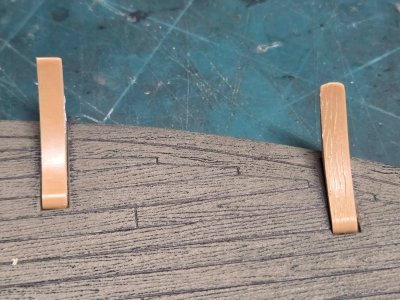
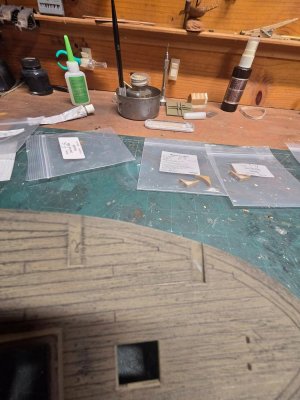
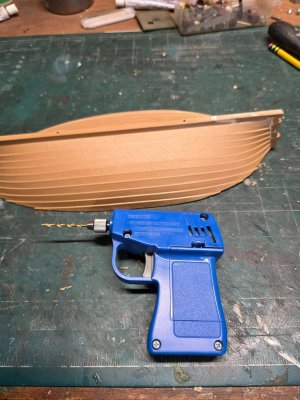
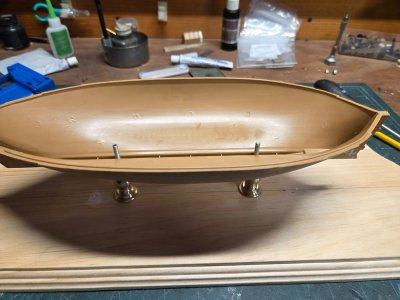
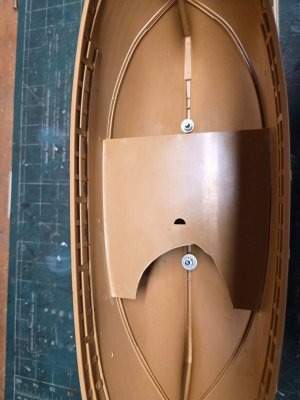
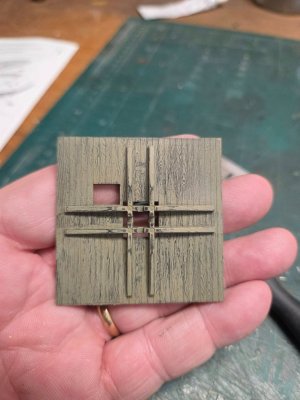
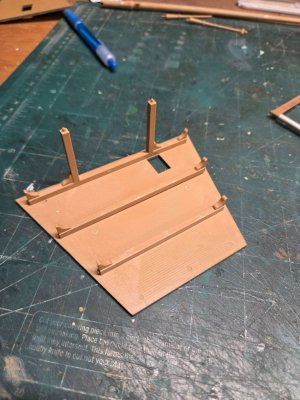
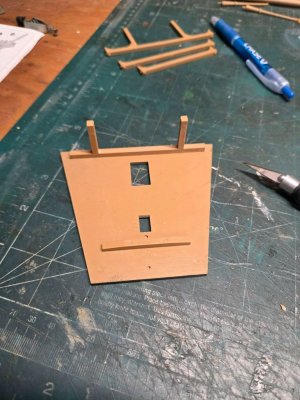
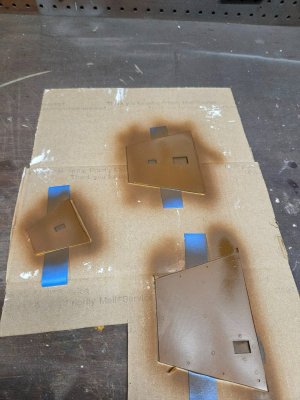
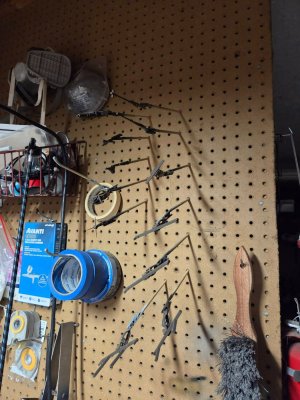
Drilled out the pilot holes for the pedestals and screws, the blue Timiya low speed drill is what you need to drill deep slow so as not to melt the plastic. I had to remove a bit of the inner brace so I could access the nut. I got the rib tops fitted and detailed and ready for painting. Got the deck undersides painted. Painted the mast and other fittings.


- Joined
- Sep 18, 2022
- Messages
- 206
- Points
- 113

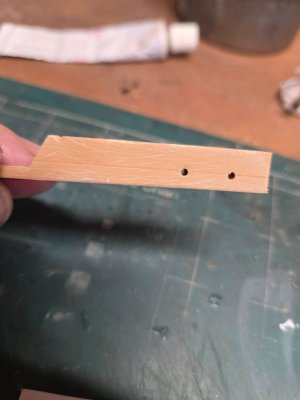
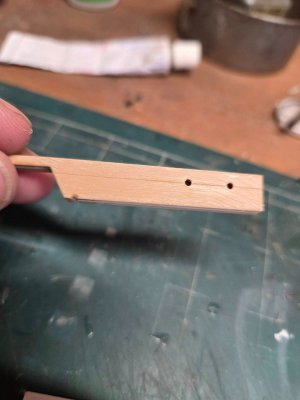
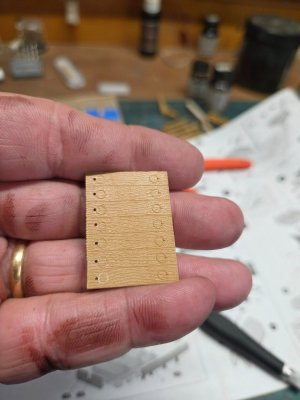
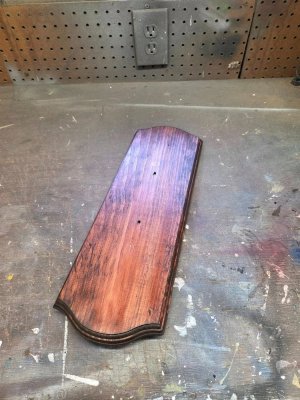
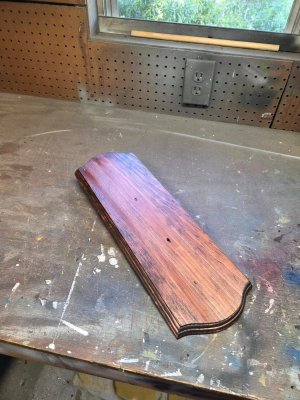
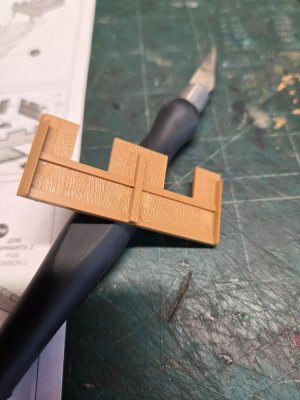
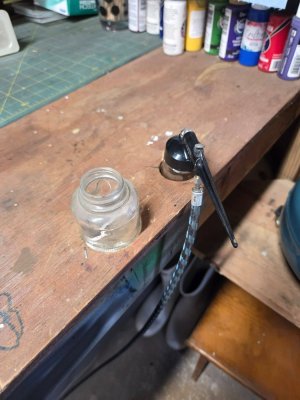
Detailed and cleaned up most of the last parts, I was able to camouflage most of the pin marks by scribing some lines, area was too tight to get any sanding and filling done. Base is stained with its first coat. I removed the molded hatch rings they were too small to detail paint. Will replace them with metal rings and eyebolts. I also wanted to share a trick/tip on holding your airbrush bottles, I drilled the appropriate sized hole to hold the airbrush bottles while handling other things.


- Joined
- Sep 18, 2022
- Messages
- 206
- Points
- 113

- Joined
- Sep 18, 2022
- Messages
- 206
- Points
- 113

Question for the Gurus, in looking at the rigging plans, I noticed there is nothing in regard to a means to get to the crows nest, I figured Zvezda just did not add it on the plans, but they had to have a rope ladder or did they simply rope climb - which really makes no sense. Your thoughts?
- Joined
- Sep 18, 2022
- Messages
- 206
- Points
- 113

Moving right along....
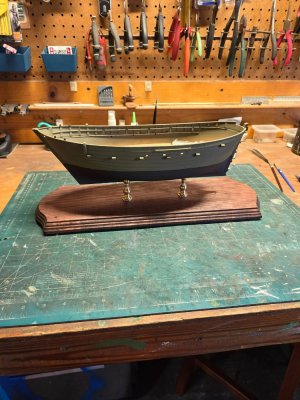
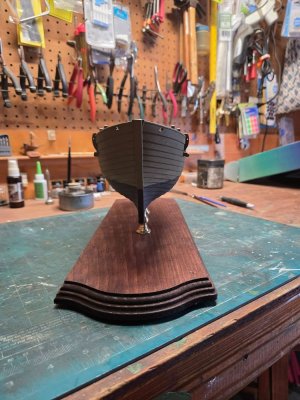
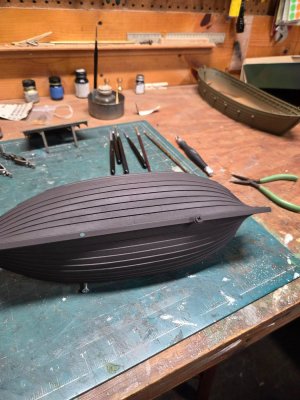
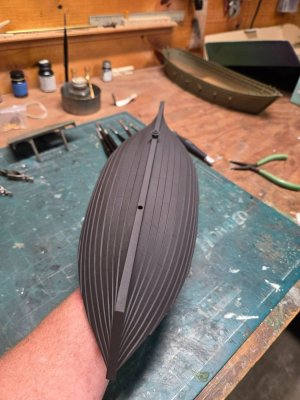
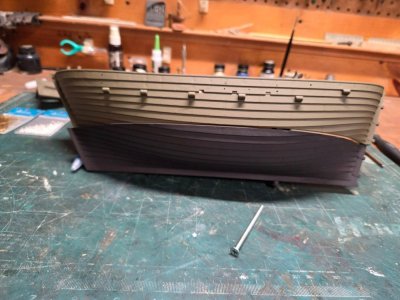
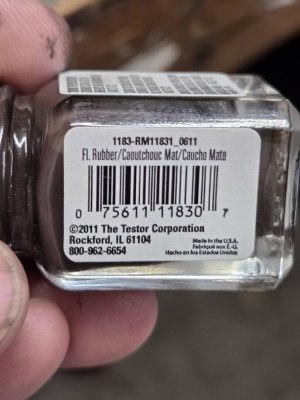
I was finally was able to pick up a few bottles of Testors 'Rubber' paint - as compared to Floquil Roof Brown, its much darker and fits the 10-12th century hull coatings vs. plain black. Its contrasts well against the Floquil Rail Brown, which most of all the rest of the parts are painted. Because this is not a War Ship, it will not be painted with bright colors, but more muted tones.
One thing that I don't understand is why does Testors still produce the small 1/4oz. square bottles (I'm not complaining, saved me from mixing), but not the older 1/2oz. bottles.
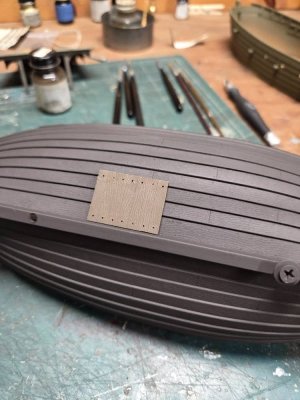
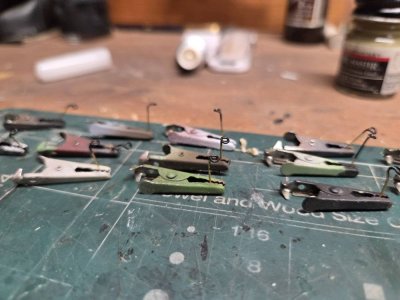
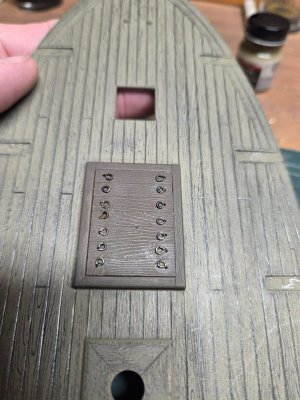
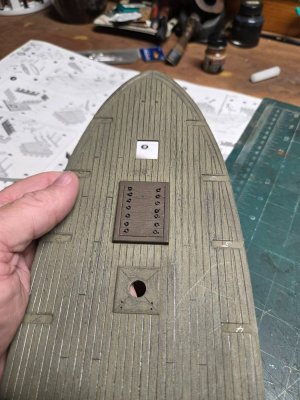
I had to make the hatch eyebolt pull rings, will look better than the factory molded ones.


- Joined
- Sep 18, 2022
- Messages
- 206
- Points
- 113

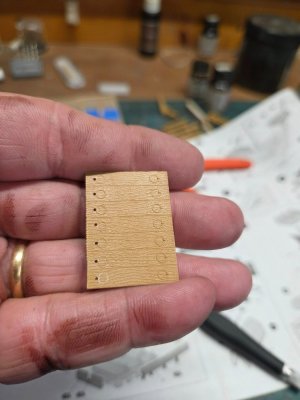
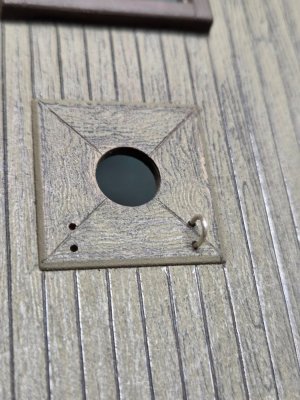
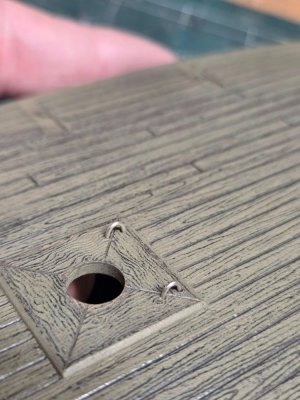
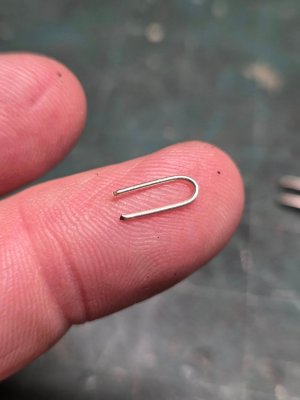
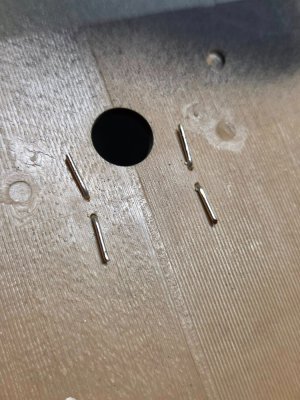
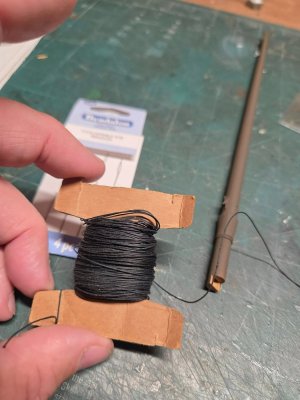
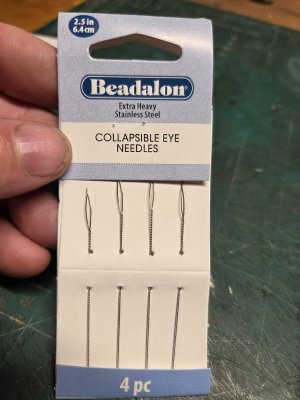
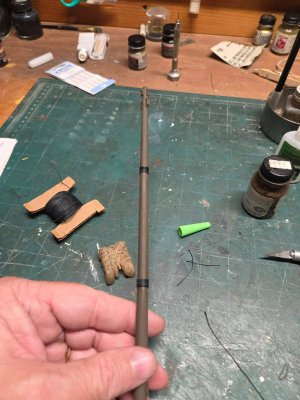
Chipping away a little each night. The homemade hatch rings came out great, much more detail to scale than the molded ones and look more natural than the uniform look they had before. At the mainmast base, there are 2 U-bolts that are used to secure the halyard lifts for the yard, I won't trust the plastic ones, so I made these from wire and bent to secure, I'll add a drop of ACC to secure as well. I made up the mast woolings this evening as well.


- Joined
- Sep 18, 2022
- Messages
- 206
- Points
- 113

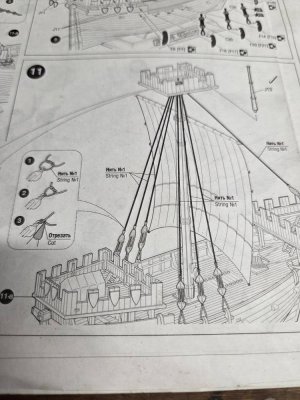
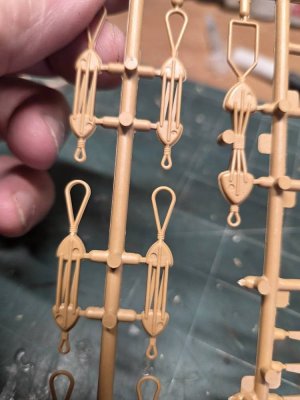
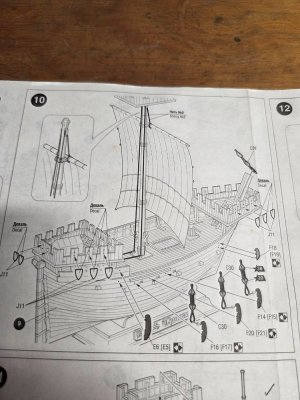
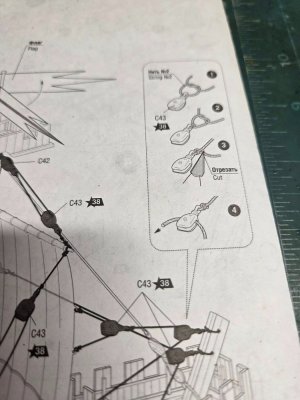
Next comes the hunt for the more correct heart shaped tackle, I can't for the life of me use what the kit provided, while nice, with such small amount of rigging I have no problem with replacing the molded one. Also, would the ships use for merchant trade have any shield on them at all? If not, I'll plug the holes.


- Joined
- Sep 18, 2022
- Messages
- 206
- Points
- 113

I found this while searching for the correct blocks I'm trying to get it ordered to the US. https://www.hismodel.com/en/kogga-ship-lanovi-sada-kladek-pro-lode-typu-kogga/
Last edited:
- Joined
- Sep 18, 2022
- Messages
- 206
- Points
- 113

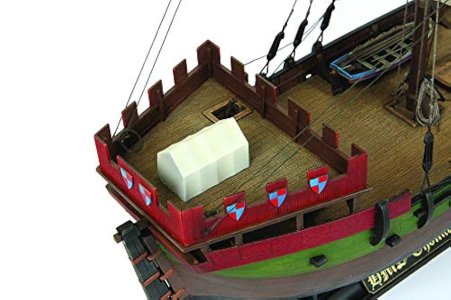
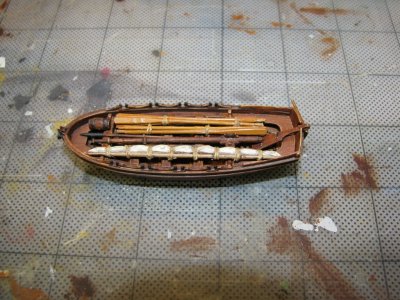
OK the next bit took me a day or so to figure out, but this kit is the same as the Hansa Kogge Kit, except the Tent for the 'King' and the shield decals. the confusion came in because the instructions do not tell you about the extra parts for the "Trading Kogge" the other ship has a smaller foredeck, the warship has the larger foredeck as well as the crow's nest, on the trading vessel you use the smaller foredeck and do not use the crow's nest. the kit does not come with a lifeboat as well, which is s puzzle, nor do the rigging instructions explain you'll need to make a rope ladder to get to the crow's nest.
- Joined
- Sep 18, 2022
- Messages
- 206
- Points
- 113

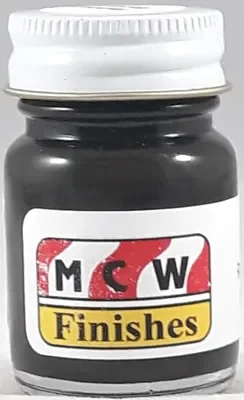
Andy, I found a supplier for many enamels and various shade including 'Rubber' MCW Paints make a line of enamels, I order 6 bottles. while I wait for them to come in, I picked up 2 of the small Testors rubber to get me through the lower hull painting. this line makes many colors in flat - https://mcwfinishes.com/Yes. Testors flat rubber is a paint I have used frequently. It works well for models because black is often too intense for a scale appearance. Fair winds!
- Joined
- Sep 18, 2022
- Messages
- 206
- Points
- 113

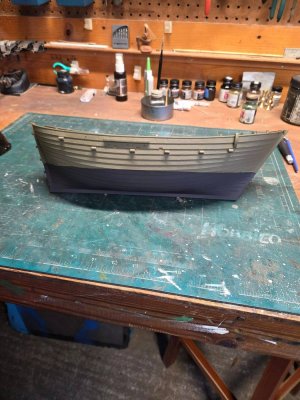
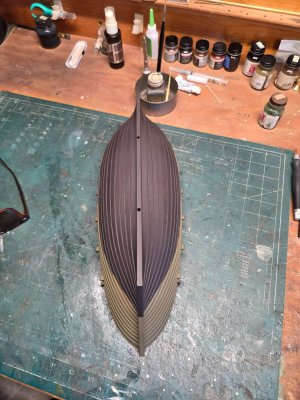
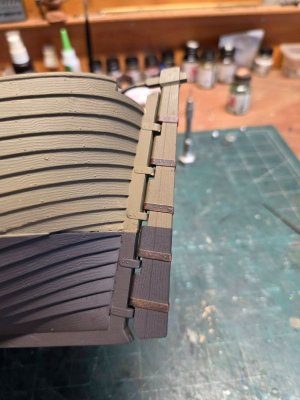
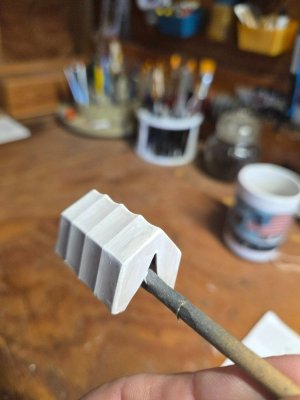
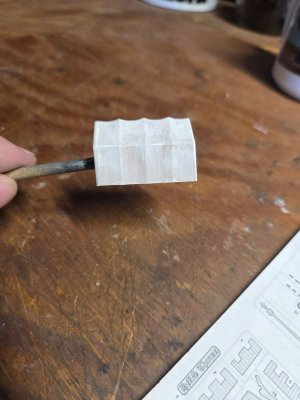
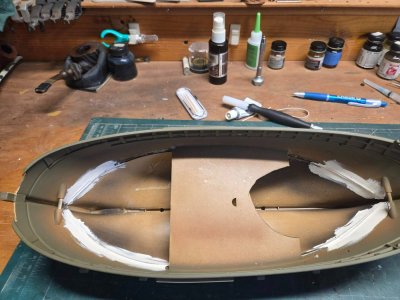
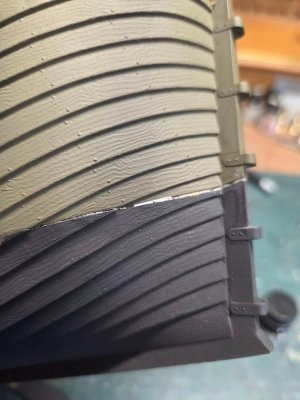
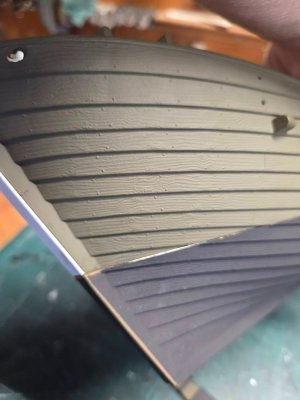
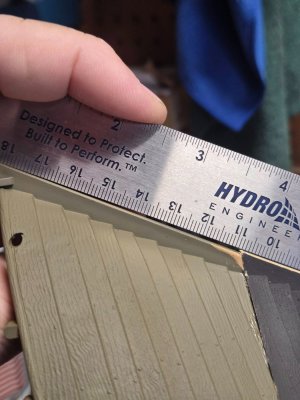
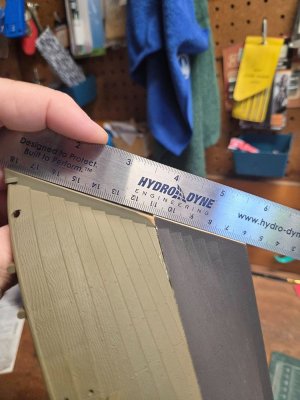
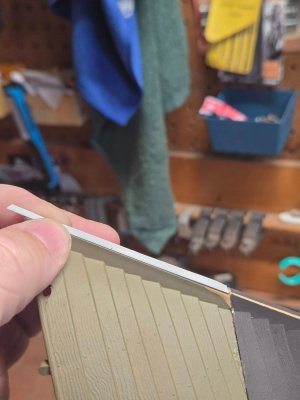
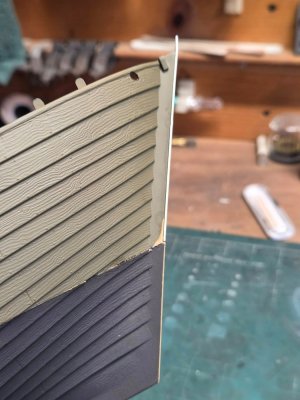
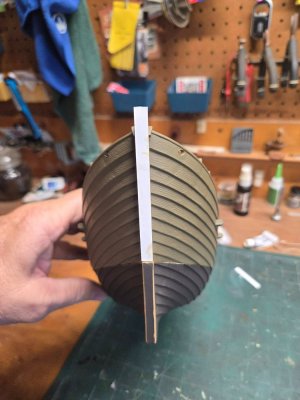
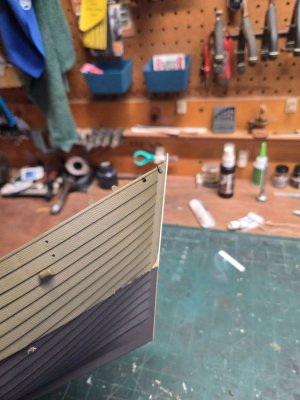
Gave a light whitewash to the Kings or Captains tent, I'll drybrush with antique white to age and wear. The hull alignment for this model was a bear to get just right, however the gaps are small enough to fill with putty and by applying from the inside puts just enough to the gap so not a lot of sanding needs be done. the step alignment was another area that needed a fix, I had to add a shim of 1/64th. thick styrene to offset and level the stempost that I will sand flush.


- Joined
- Sep 18, 2022
- Messages
- 206
- Points
- 113

Got a bit of work done today between errands and yard work. Repainted the lower hull, and test fitted the rudder which is a bit tricky and I had to redrill the holes and could not reach them to well. I hope to drop in the main deck tomorrow. I still need to touch up the hull half joint a bit. I'm not sure about the rudder, if it was painted/coated at the hull line? any ideas?
