Follow along with the video below to see how to install our site as a web app on your home screen.
Note: This feature may not be available in some browsers.
Win a Free Custom Engraved Brass Coin!!!
As a way to introduce our brass coins to the community, we will raffle off a free coin during the month
of August. Follow link ABOVE for instructions for entering.
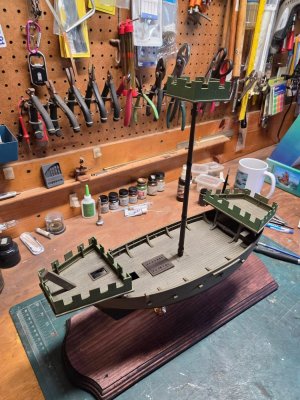
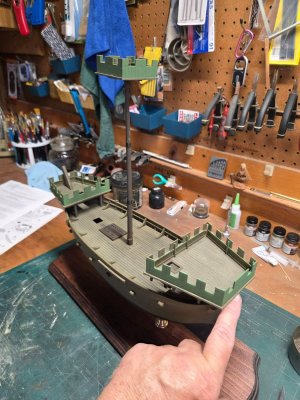
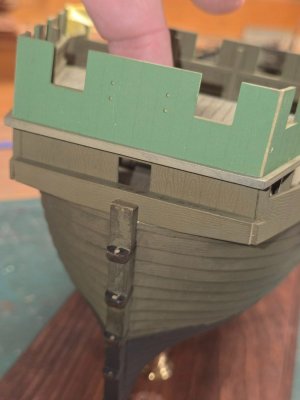
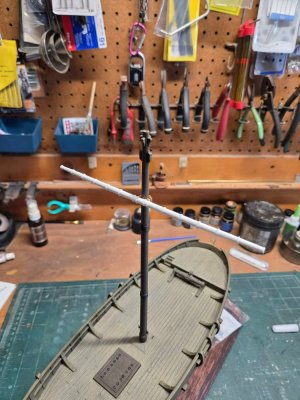
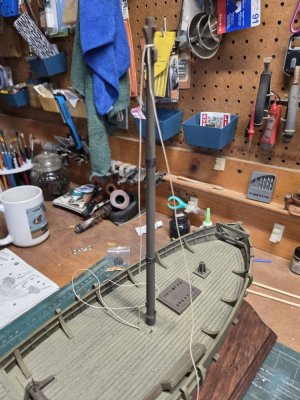
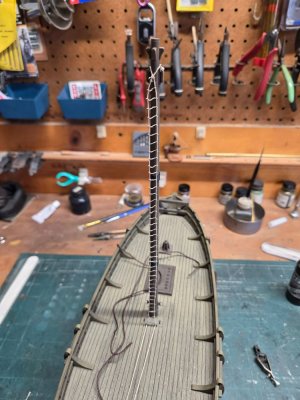
Woke a bit early and got some quite time on the Kogge, pre-stepped the mast to check fit as well as the crows nest. Set the bitt brace in place under the foredeck, test fitting the foredeck and added some more dark wash to add some 'grime', she's getting there.
Dry fitting the parts and though they were close, I still had to sand some material off the corners to fit without being bent. The kit gives you all the parts for both a standard Hansa Trading Kogge and King Henry's Fighting Kogge 'HMS Thomas', but the instructions provided in the kit are for the Thomas, you have to download a set for you doing a trading vessel. The main difference is the much smaller raised forecastle and Crowsnest (trading vessels normally did not have those). so I'll need to decide which I'm doing. While King Henry did have Kogges that carried cannons and small caliber weapons, this model did not.
Got about 2 hrs. on her today, did the water-based wash down and did some trim up painting. I repainted the rudder the darker hull color as it was more correct.
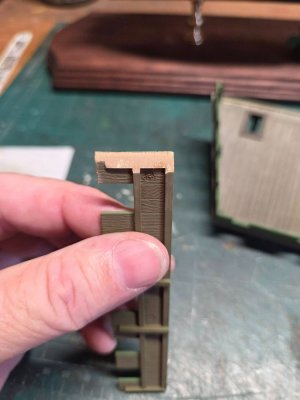
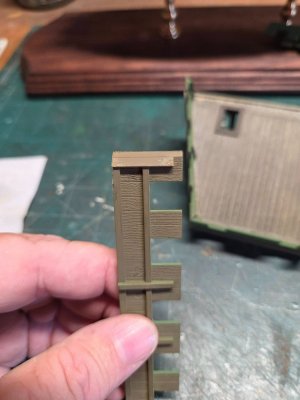
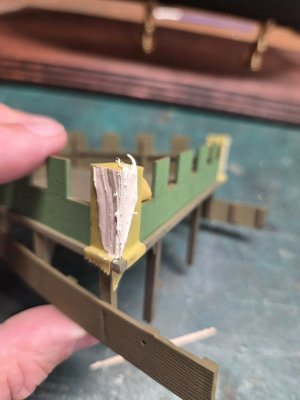
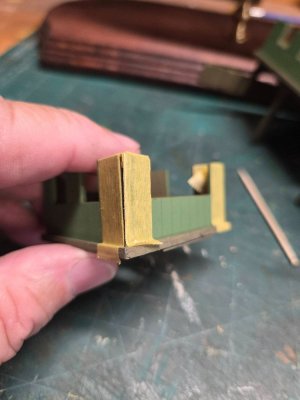
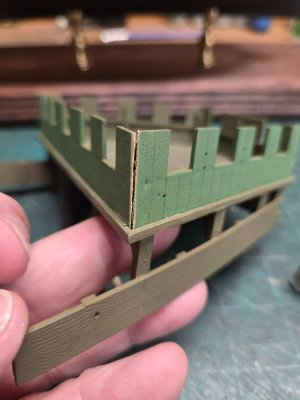
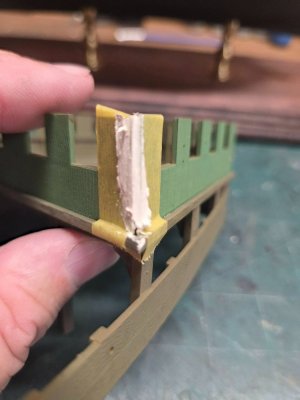
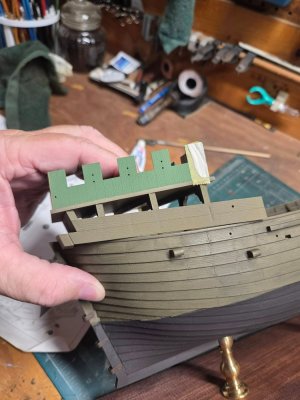
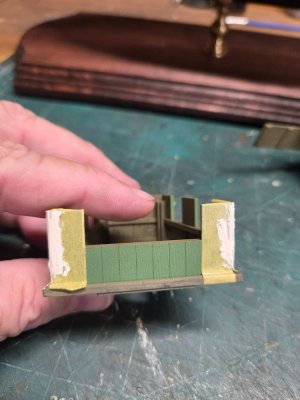
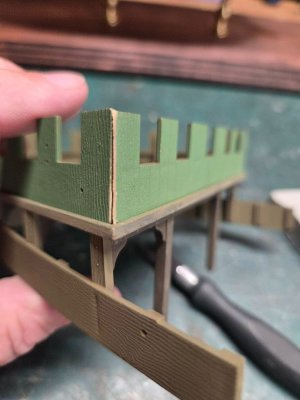
Not a lot done tonight except prepping the corners of the 'castles' upper deck sections. By taping the edges before filling the gaps with putty, this allows a clean removal of putty without covering the wood grain. I fixed the shroud bases because I'm going to make up the deadeyes vs. use the plastic kit supplied preformed deadeyes, while nice they just don't look natural. I test fit the stern assembly to see where I might run into issues with placement, I'll need to trim a bit from the rudder post, so the stern brace fits easier. You can see the difference in Pre-wash vs. was on the stern section of the upper decking, I have washed that yet.
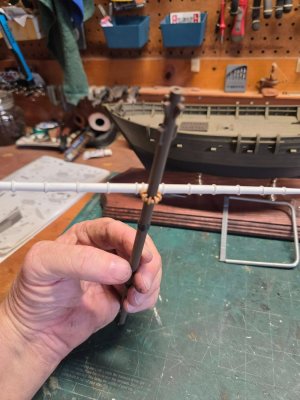
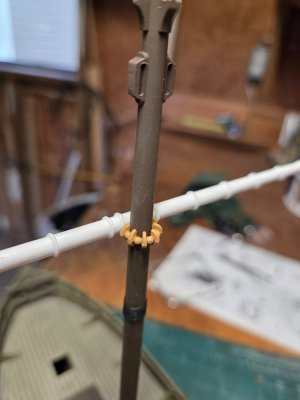
I'm going to try and use the kit yard, I cut off the preformed sail because it looked bad, while it was molded correctly, it would have been way too thick. I'll play around with some thinner muslin sail cloth or silk to see how it will look furrled to the yard. I'll need to add the metal tips back on the ends. They were bent and broken out of the box. If I'm not satisfied with the look, ill make a new yard from wood. I'm reviewing the rigging history of the period because the kits rigging instructions are lacking a few things.
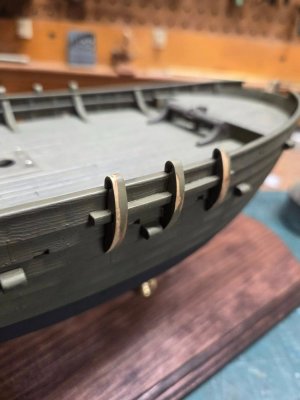
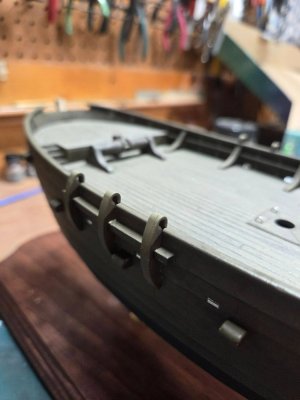
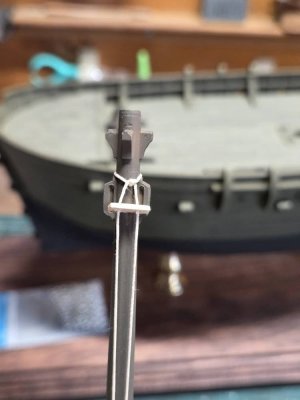
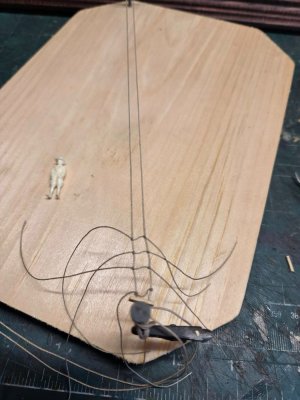
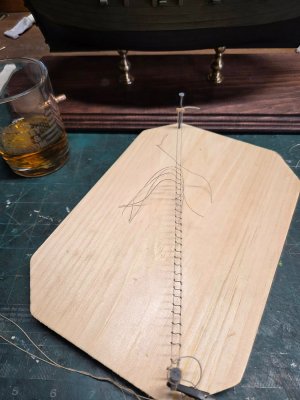
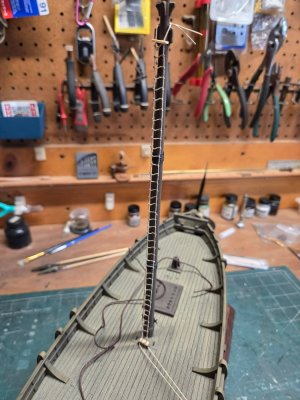
Today's progress, in doing some 'net sleuthing, I found a references to how the sailors got to the Crowsnest and yard. Although Hansa Kogge's never had ratlines (not invented or designed yet at this point in history) the sailors still had to get to the upper works, a fixed ladder wasn't practice due to length and yard pivot, so they made up a rope ladder, similar to a Jacob's ladder), this may have been the beginning of ratlines.
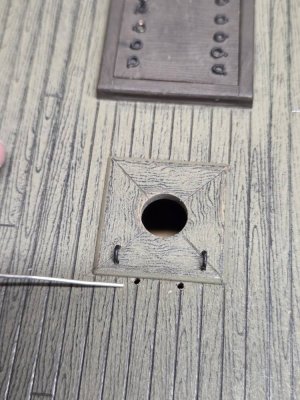
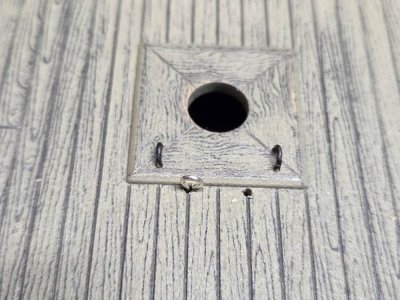
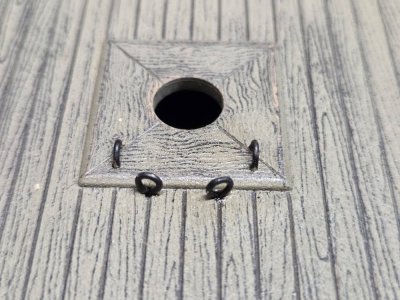
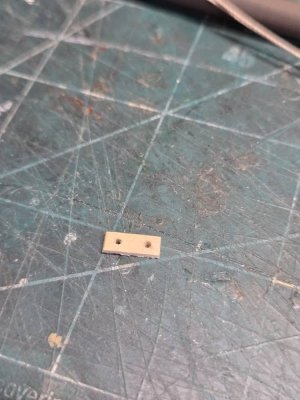
The kit instructions don't even mention nor provide any drawings of guidance. In the pics, I used a small piece of wood at the top and bottom to serve as spreader to keep the spacing uniform. Once finished, they were snipped out. I have to add 2 eyebolts to the deck to serve as a fixed-point t as well.
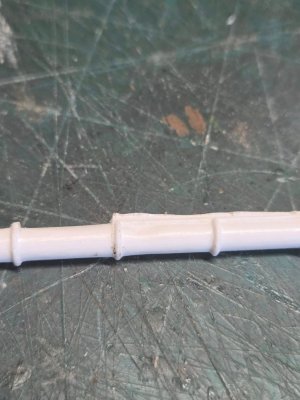
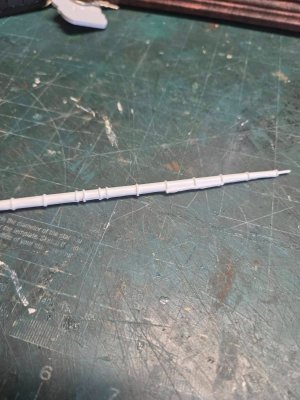
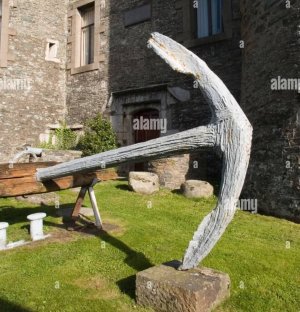
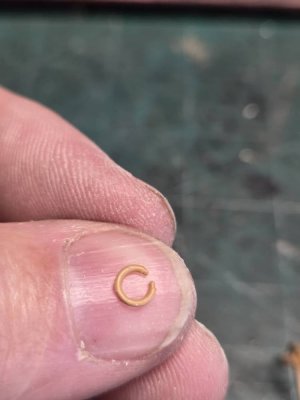
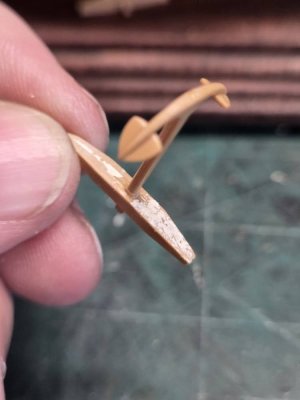
The anchors seemed too modern, but a pic was found showing the period correct flukes, which are right. Tiny things, although you'll never see the bottom of the stocks, I hate to leave a seem and puttied them out.