18th Century Longboat Model Expo 1:48

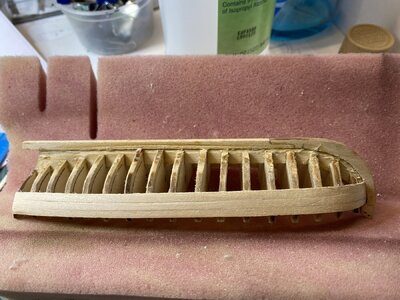
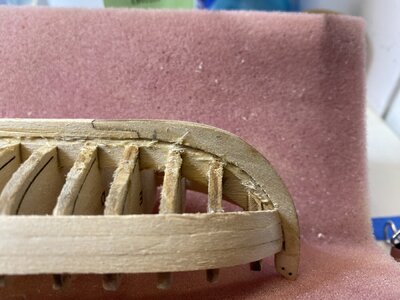
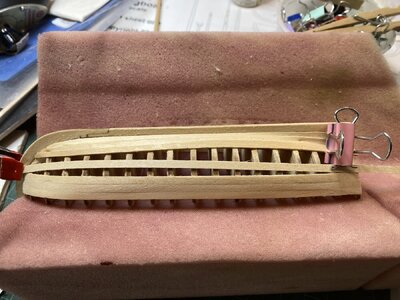
To lessen the curve in the bow, I am considering using "Cheater" planks as pictured below. Do people think this is acceptable?

View attachment 445202
As long as you accept this, it will be accepted by us! This has happened because you didn't place the 'garboard' (the first plank from the keel) plank in the right place. The next time (unless you consider to redo), It would be best if you moved it close to the second bulkhead. Also, you may consider tapering planks close to the bow area.


As long as you accept this, it will be accepted by us! This has happened because you didn't place the 'garboard' (the first plank from the keel) plank in the right place. The next time (unless you consider to redo), It would be best if you moved it close to the second bulkhead. Also, you may consider tapering planks close to the bow area.


Thank you so much for these links. I will study them, am sure there is a lot to learn! I am open to any criticism or suggestions!
 
Thinking everything over, I decided to redo the garboard plank. Luckily i am using PVA glue and am able to dissolve it using water. I brushed water on the planks and waited a while then slowly took off the planks. They came off slowly and I re-brushed on water as needed.
IMG_8683.jpeg

I tried to get off as much glue to leave a fresh surface to re-glue the garboard.

IMG_8684.jpeg
 
Using Jimsky's kind advice, I moves the beginning of the garboard up to the second bulkhead. I also tapered the plank slightly nearer the bow. I attempted a more agressive taper but it did not look right.

IMG_8686.jpegIMG_8685.jpeg
 
Technically known as 'stealers' rather than cheaters they were certainly used sometimes. They never end in a point though - but are joggled into one of the neighbour planks ending (from memory) with the narrow end of the stealer around 1/3 the width of its widest part. But I have seen these more usually used at the stern of a boat rather than at the bow.
 
Placing some more planks, when putting them on to try to fit the planks, the want to "twist" and not configure easily, not lay along the preceding row of planking.
IMG_8690.jpeg
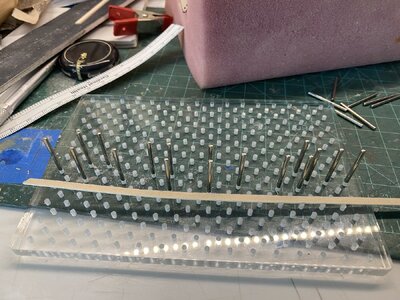
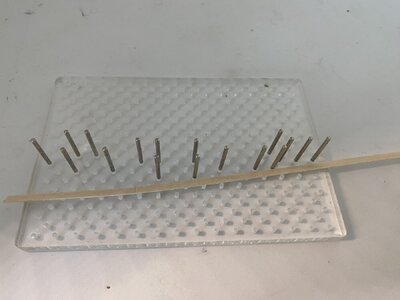
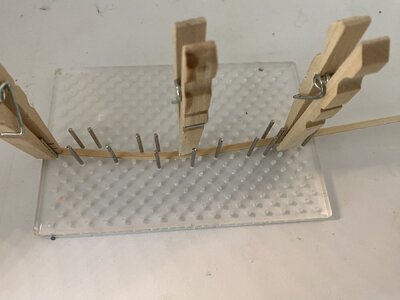
After thinking about it for a while, I decided to try making a jig using a wire forming jig I have from Micro Mark
IMG_8691.jpeg
 
I took some measurements to try to follow the curve I wanted.
IMG_8692.jpeg

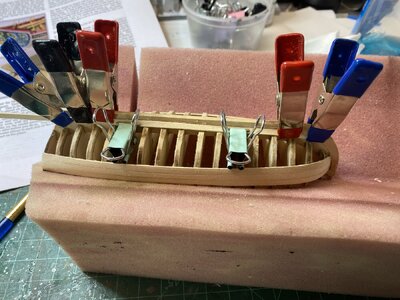
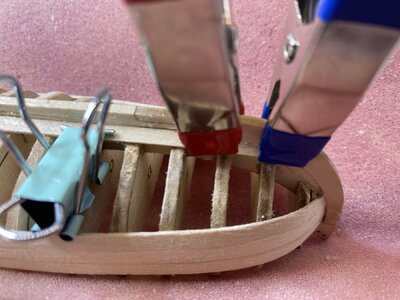
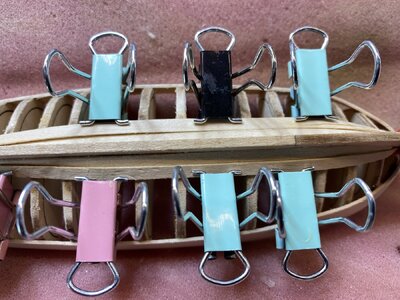
I then beveled the planks and let them soak in hot water for about 10 minutes. I put them in the jig where they promptly tried to flip side ways. I then anchored them into place using clothes pins until they dry. I am doing 2 planks at a time, each a mirror image of the ether for each side.

IMG_8694.jpeg
 
You might find the four part video by Chuck Passaro on planking helpful.
In short, the planks need to taper from midships forward so the are all about the same width where they rest in the rabbet. If you mark off the width they should be on each frame as would be done on the ship itself, this will help a lot. The garboard looks to extend too far forward. Scantlings for boats can be found on W.E. May's Boats of Men of War as well as below.
Allan
 

Attachments

  • Boat Scantlings 1-28-14.pdf
    271.9 KB · Views: 2
You might find the four part video by Chuck Passaro on planking helpful.
In short, the planks need to taper from midships forward so the are all about the same width where they rest in the rabbet. If you mark off the width they should be on each frame as would be done on the ship itself, this will help a lot. The garboard looks to extend too far forward. Scantlings for boats can be found on W.E. May's Boats of Men of War as well as below.
Allan
Thank you for the information! I will certainly be watching the video. There must be more than one way to skin a cat here as after my first attempt I was told the Garboard was too far aft! To be honest one reason I am doing this ship is to gain practice when I attempt a bigger on, so any tips are valued!
 
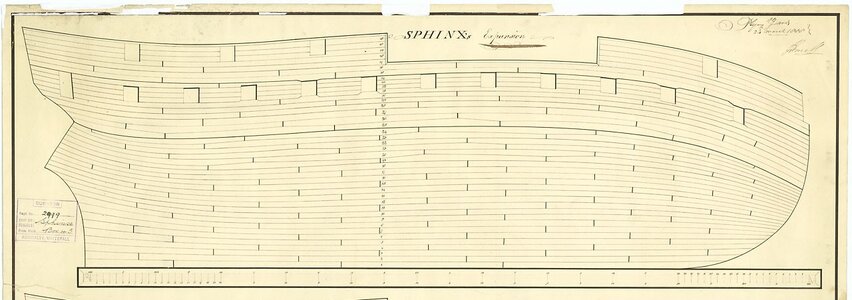
Study a few planking expansion drawings and you will see the lay of the garboard. An exception would be Viking ships that carried the garboard much farther forward with resultant long sweeping rise of the planking at the bow. There are quite a few in the RMG Collections website in low resolution on line and some high res versions on the Wiki Commons site. https://commons.wikimedia.org/wiki/Category:Ship_plans_of_the_Royal_Museums_Greenwich Note in the drawing that the top edge of garboard is almost straight with no rise and bottom is the only part that reduces in width to match the rabbet.
Allan

Planking expansion outboard 2.jpg
 
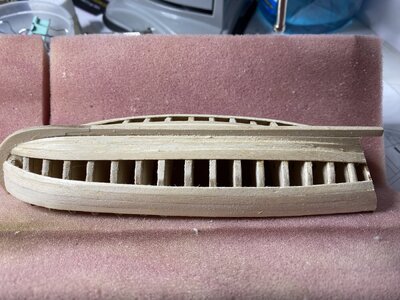
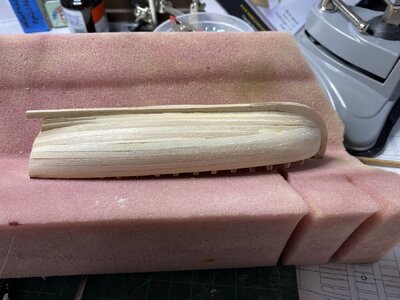
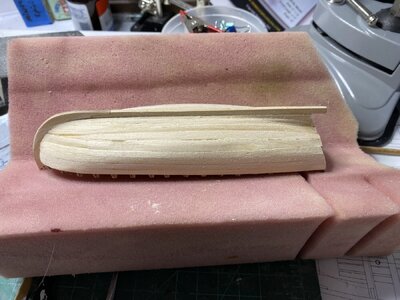
The planking is finally finished. I have learned quite a bit (especially with your kind input) about planking and am glad I tried it out on this ship and my Maine Peapod first. Below are pictures of the two sides of the hull.

IMG_8701.jpegIMG_8700.jpeg
You can see I used a cheater plank on each side. Next time I will be following Chuck Passaro's wonderful you tube guides to planking, which is very easy to understand.

I will now be using some wood filler and then will sand the hull smoother.
 
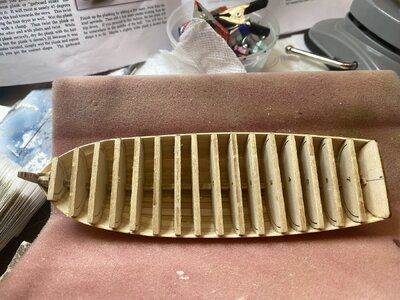
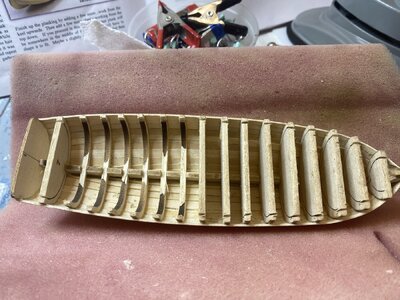
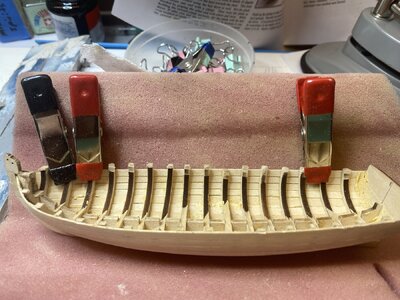
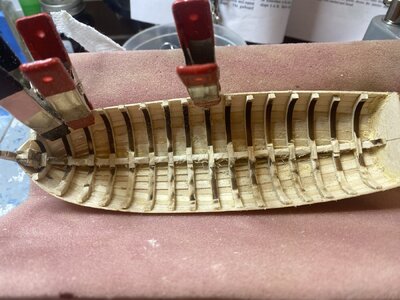
The next step was to hollow out the frames. The frames have been cut through by a laser cutter but the center is held in place by some "tabs" along the top and a more solid connection on the bottom.

IMG_8703.jpeg
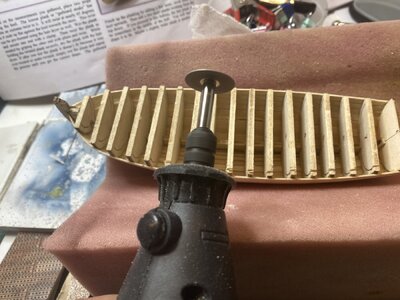
The instructions would have you file down the tabs until you reach the laser cut area. I decided to use a rotary tool with a cutoff disk instead. It wirked well and made quick work on the frames.

IMG_8705.jpeg
 
Back
Top