- Joined
- Feb 18, 2019
- Messages
- 717
- Points
- 353

 |
As a way to introduce our brass coins to the community, we will raffle off a free coin during the month of August. Follow link ABOVE for instructions for entering. |
 |
 |
The beloved Ships in Scale Magazine is back and charting a new course for 2026! Discover new skills, new techniques, and new inspirations in every issue. NOTE THAT OUR FIRST ISSUE WILL BE JAN/FEB 2026 |
 |


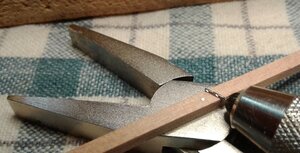
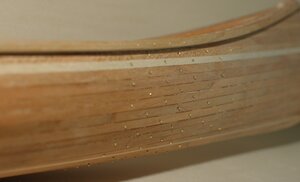
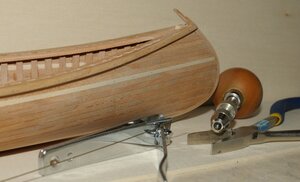


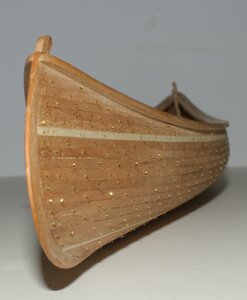

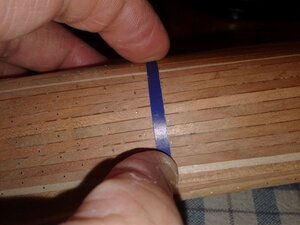
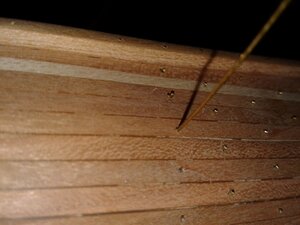
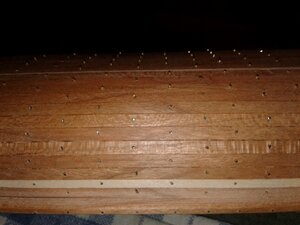
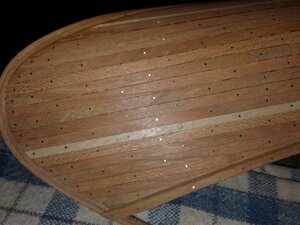
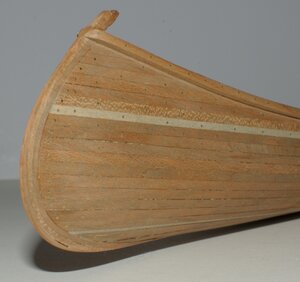


Looks like a dark knot or hole about 5 rows below accent strip in center. Or is that just something else!

I am a visual learner so the clips are appreciated. PT-2Installation of the simulated fastenings on the planking.
Here is a series of short videos showing the process.
Please note that these steps take place one vertical row of nails at a time: except were indicated otherwise...
1) marking the location of the nails onto the planking. The vertical rows follow the location of the ribs.
View attachment 173880
2) drilling the holes
View attachment 173881
3) inserting the nails
View attachment 173882
4) Filing
If sanding with paper, this can be done after having installed all the nails (as indicated in previous post), or by area.
If using a file, you may find it easier to work row by row: this is how I am doing it on this particular canoe.
View attachment 173883
I hope this helps...
G.
I greatly admire the precision of your planking. For my first canoe mine is more irregular, (some of the strips are not fully edge butted but corbeled, off-set as in masonry construction, possibly initiated by some irregularities with my forms which compound the problem as I progressed. Just completing the sides and twisting of the more flat to vertical stem last connections and will try your pins to fasten at the stems recommendation. I found that the strip tries to pull out following the pin itself so I need to try to insert it at more of an angle. At this point I'll finish the 19" learner and do a second 17" applying lessons learned and hoping for better results. Your videos and images are good clarifications as I progress as I am a visual learner. Thanks. PT-2I am a visual learner so the clips are appreciated. PT-2

I greatly admire the precision of your planking. For my first canoe mine is more irregular, (some of the strips are not fully edge butted but corbeled, off-set as in masonry construction, possibly initiated by some irregularities with my forms which compound the problem as I progressed. Just completing the sides and twisting of the more flat to vertical stem last connections and will try your pins to fasten at the stems recommendation. I found that the strip tries to pull out following the pin itself so I need to try to insert it at more of an angle. At this point I'll finish the 19" learner and do a second 17" applying lessons learned and hoping for better results. Your videos and images are good clarifications as I progress as I am a visual learner. Thanks. PT-2
I used the large rubber band to help restrain some of the earlier strips supplementing the spring metal clips. I was staying away from CA but will use that to help in the stem turn where I am now working. I think that the next strips will be dry-fit, trimmed and then installed. There will be a lot of sanding to even the strips out so I'll have to proceed very carefully as some strips have more of the corner in contact than an edge. This is all in learning and then moving forward in a better manner on the second canoe. Already spending money as I hear the rapids ahead when not even arriving at that turn in the canyon. . . just anticipating what the noise will be about. PT-2Thank you.
You can also use your regular wood glue and a drop of CA glue at the stem, then hold it by hand for a minute or 2. Clamps are difficult to use in this area (turn of the stem), but you can also try to use a thick rubber band against the wood on the canoe and around the building base and a clamp over the rubber, it might hold it in place.
G

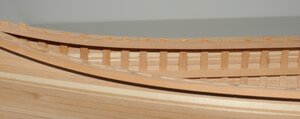
I think that a lot of the final result is made possible by your: care in cutting the stations and setting the strips tightly against those and the edges together. Both were not as they should have been in this my first attempt, so the quality of this late stage trim and sanding did not turn out as well as I would have liked and in comparison with your massive canoe build experience. You photos and guidance provides me with the resources to do better next time. PT-2Finishing the sheer.
The ribs were installed and trimmed down. Then the inner-gunwales were glued in place.
At this point the ribs should still be sticking out a bit, but they need to be trimmed down further to be flush with the other parts forming the sheer line: the inner-gunwale, planking and outer gunwale. Eventually everything will be sanded smooth.
Unless the ribs are trimmed as close as possible to the other parts, there is a chance that some will become unglued and move or even break.
So to trim then down I used a sharp knife.
Here is an image showing one side of the canoe trimmed (closest to the camera) and the other not Further back:
View attachment 176002
Once trimmed, the sheer can be sanded down: I use 180 grit paper first to make the surface even (inner-gunwale, ribs, planking and outer-gunwale) then 320 grit paper. The joints between all these parts should be clean: not cracks, no depressions, nothing sticking out.
And here is the result:
View attachment 176003
You can see the images a bit larger by clicking on them.
G.
