


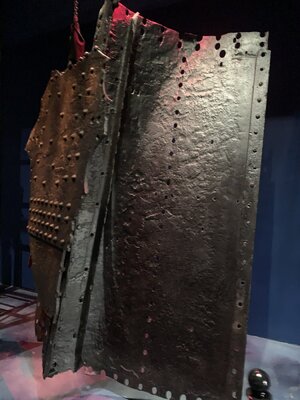
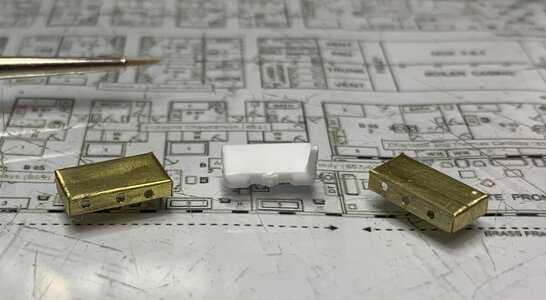
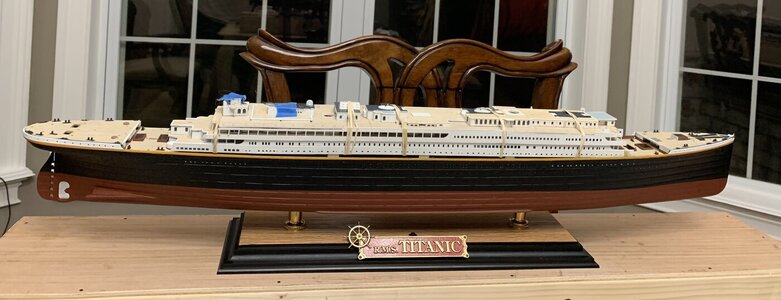
This is my first ship build in many years. Usually its Aircraft and armor. But after visiting the cemetery where victims were interred in Halifax, Nova Scotia, I became intrigued with Titanic's history. I’ve been working on this Titanic in my spare time, which does not amount to much, for almost a year. I chose to detail and light this kit as a learning project. Didn’t think about the size of the project until I was knee-deep into it. Here are a few pics of my project thus far. Quite a bit of work to go.


")
